
It’s the week before Halloween! As parents, it can be a pretty busy week making sure your little one has everything they need before next Wednesday. Life is busy and sometimes there are some of us who leave this sort of thing to last minute. Halloween stores are now packed, which means costumes might be running low, and pumpkin patches are beginning to become picked over. But, we have something to brighten you up and help you out – not one, not two, but THREE DIY’s this week to get your little one ready for Halloween just in time!

If you still haven’t secured a Halloween costume and there’s nothing “good” left in stores, we’ve got you covered. Or, maybe you are one of the lucky ones who has, and you just need to let your little one a get a little taste of getting dressing up without ruining their costume. As we all know, they beg and beg to wear it WAY before Halloween after we purchase it. Either way, this week’s blog will give you, and them, a much-needed magical fairy time distraction. Who doesn’t need that?
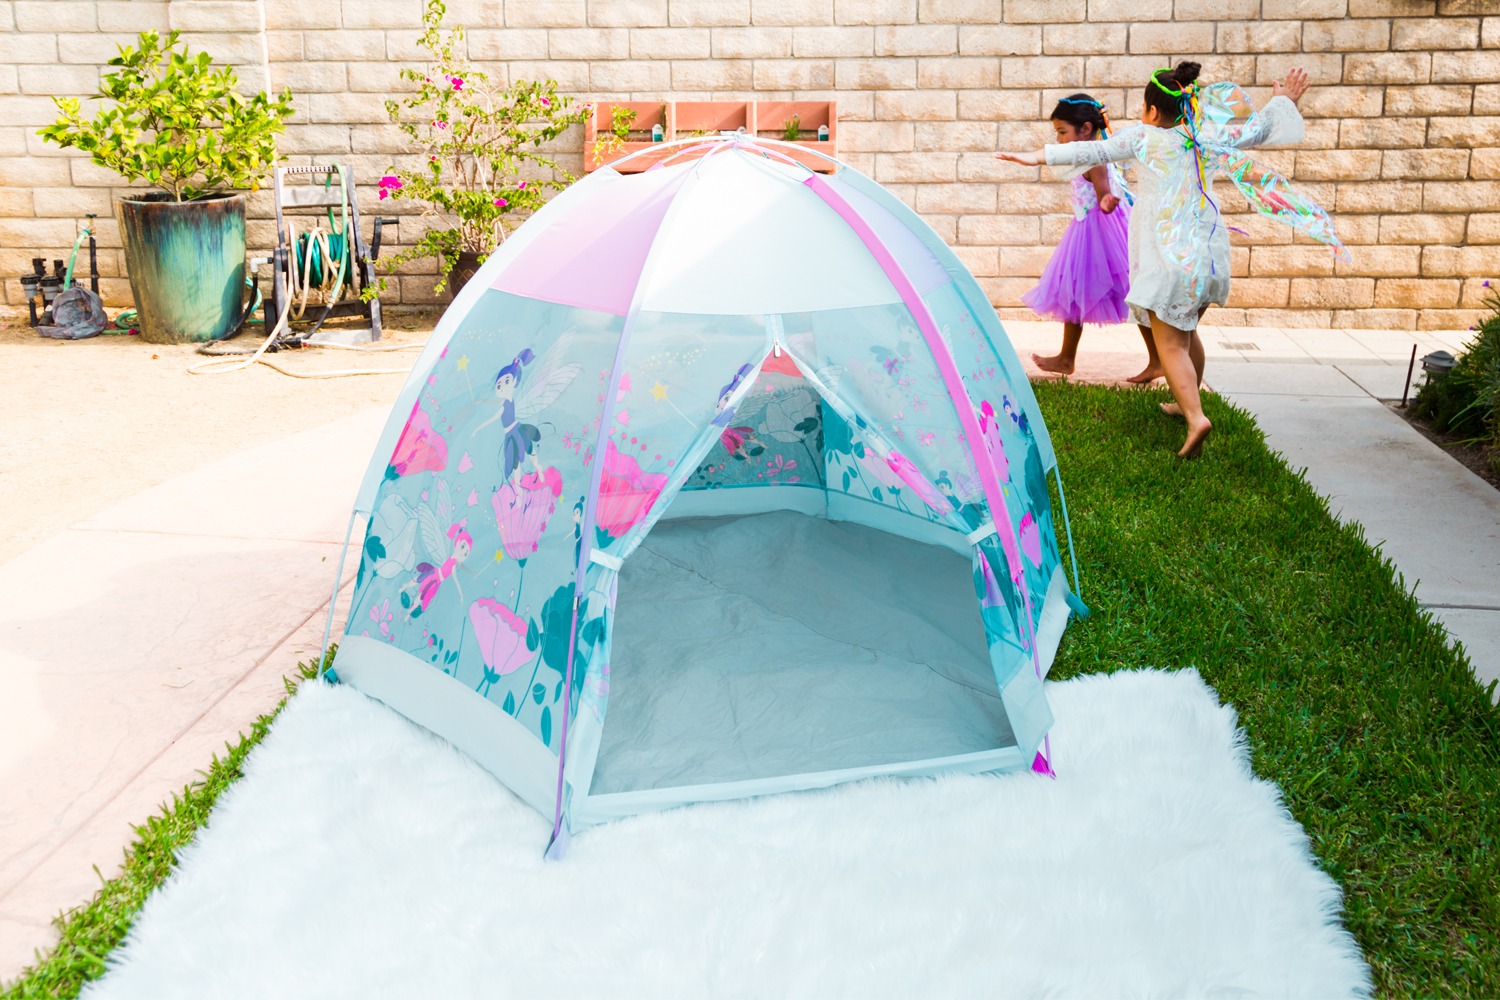
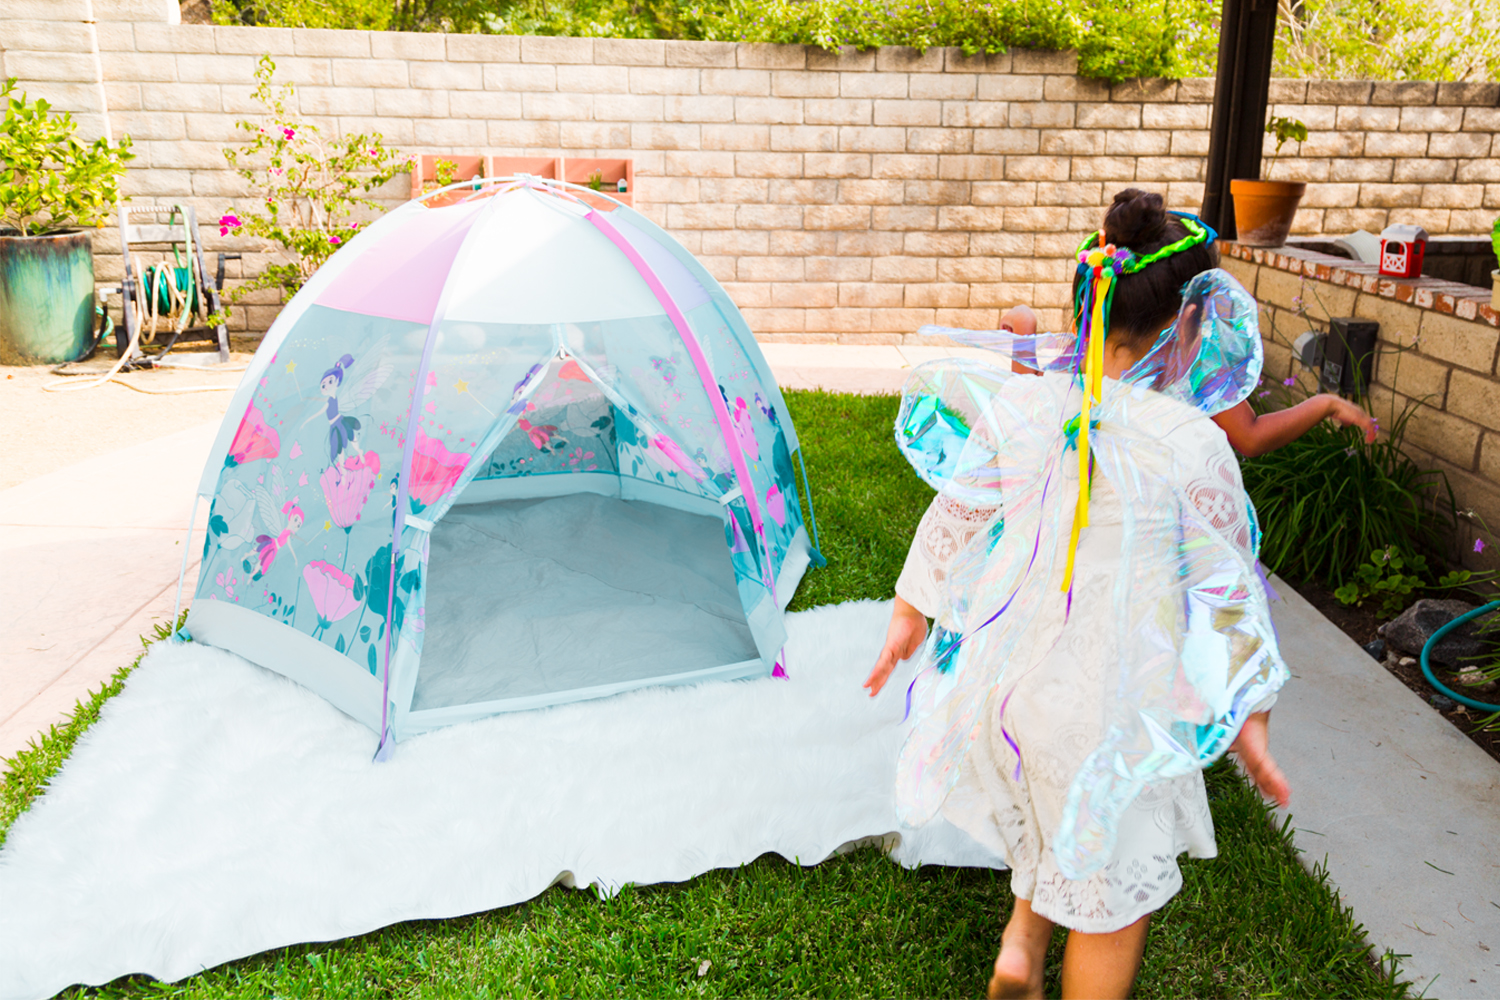
Fairy Blossom Gigantic Dome Tent
If you’re going to have a magical fairy time, then you will need a Fairy Blossom Gigantic Dome Tent! The beautiful pastel colors and adorable little fairies will have your child dancing around with endless amounts of imaginative fun. This 72in X 60in X 49in Fairy Blossom tent has a ton of printed mesh panels for ventilation, and it comes with three color-coded poles. These poles are to be combined with matching colored pole sleeves, making setup super easy. An added bonus is this dome tent has six sides, providing more than enough space for your little fairies!

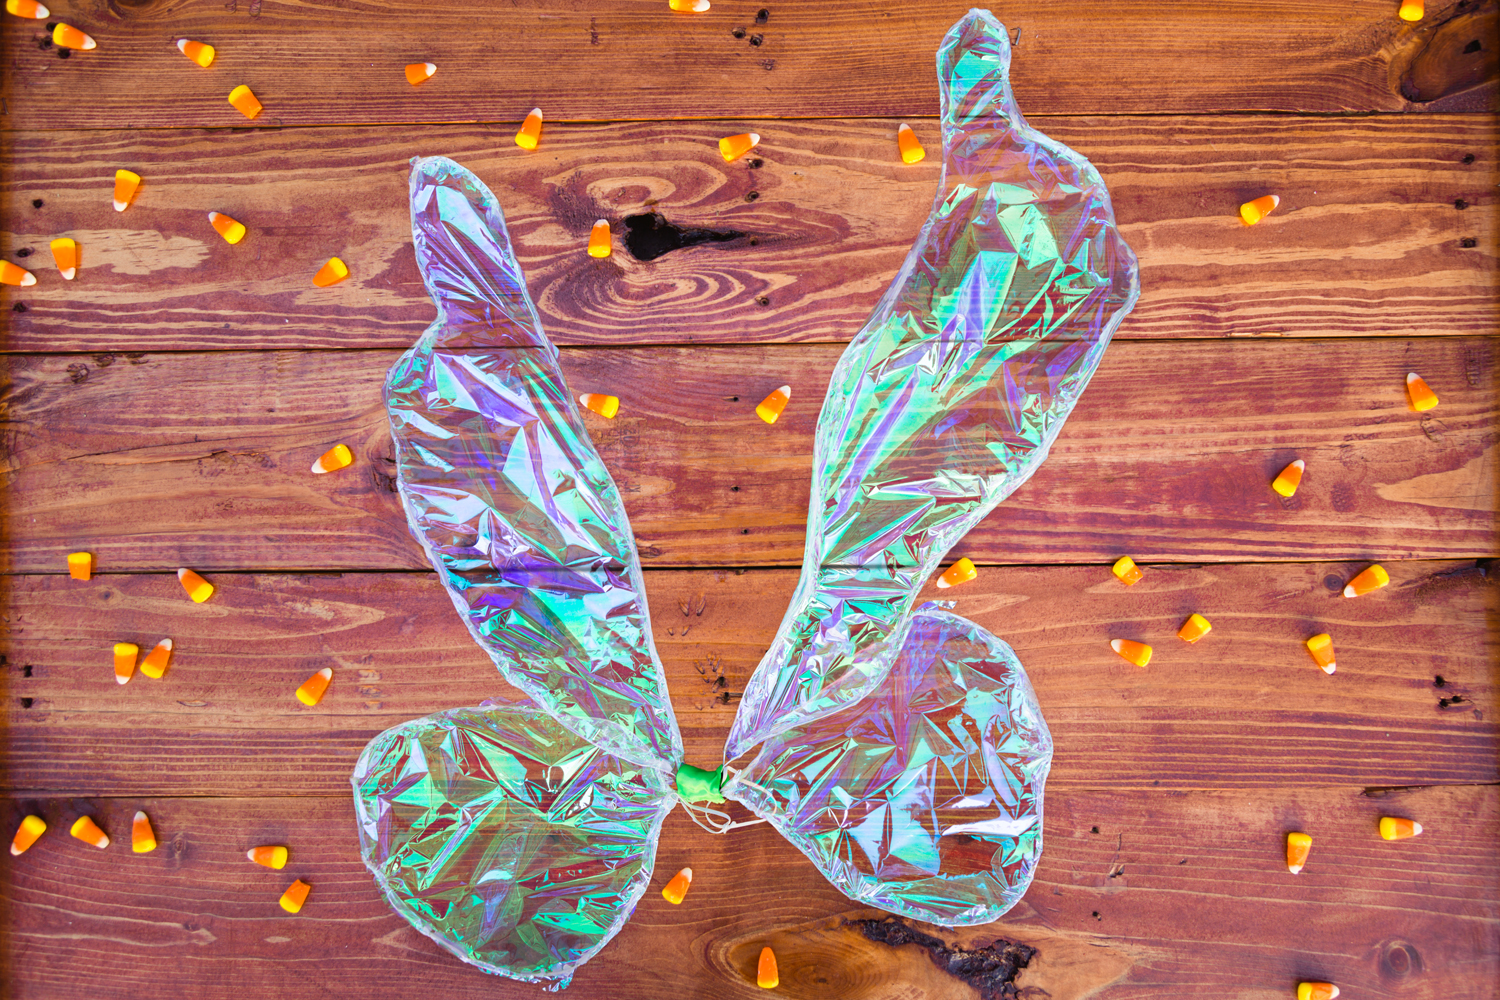
DIY Fairy Wings
These fairy wings were beloved by our little models! This DIY is great because you can swap out the iridescent transparent gift wrap for another color or fabric if one of your kids isn’t too into the look.
Full disclosure: The steel wire is thick and malleable, but it takes some strength to bend and sometimes you have to go in the shape it is allowing you to make. You have to kind of have fun with the shape and not try to make it perfect because the wire will have a bit of a mind of its own!

What you need
- Two packs of 16 Gauge, 25 ft Steel Galvanized Wire
- Pliers
- Electrical tape
- Glue gun/glue sticks
- Iridescent transparent gift wrap
- Ribbon
- Elastic band
- Scissors
How you make it
- For each wing, make four basic shapes. Two for the top that are thinner and long and two for the bottom that are shorter and more round than lean. Twist the ends.
- Take a square piece slightly bigger than the wing and lay it underneath the wing
- Lay hot glue right up next to the wire, and fold over the iridescent paper
- Cut off any extra paper once the glue is dry
- This part a little bit difficult because the wings are not flat, so it takes a lot of finessing and pulling and it’s not going to be perfect, but the end result will look amazing!
- Take all four twisted ends of your wings and wrap together with electrical tape
- TIP: Before you fully wrap the electrical tape, take a piece of the elastic and tie it together making a big circle, then wrap the electrical tape some more to make it secure.
- Wrap ribbon around the electrical tape and secure with hot glue
- Now you have fairy wings for your magical fairies to play with!
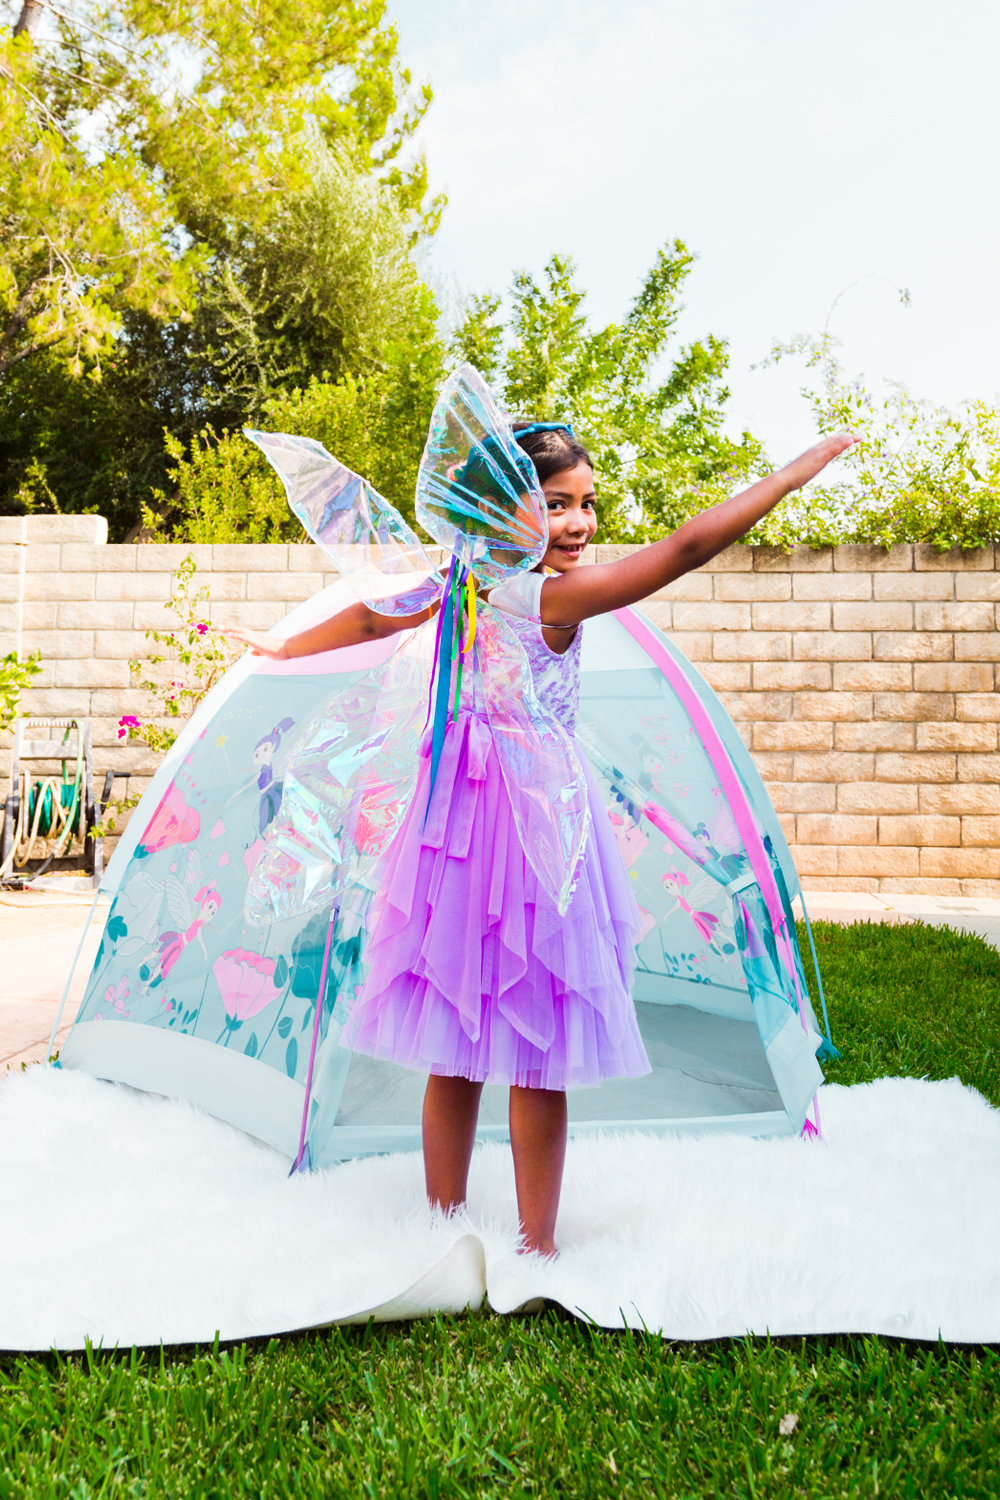
Fairy Crown DIY
So now that your fairy has her wings, she needs a crown! This DIY is super easy to give you a break from the last one. For a full Halloween costume, pair this DIY with the wings and just put on an adorable dress, tights, Mary Jane shoes and TONS of glitter. You can never have enough glitter while being dressed as a fairy. She will love it!
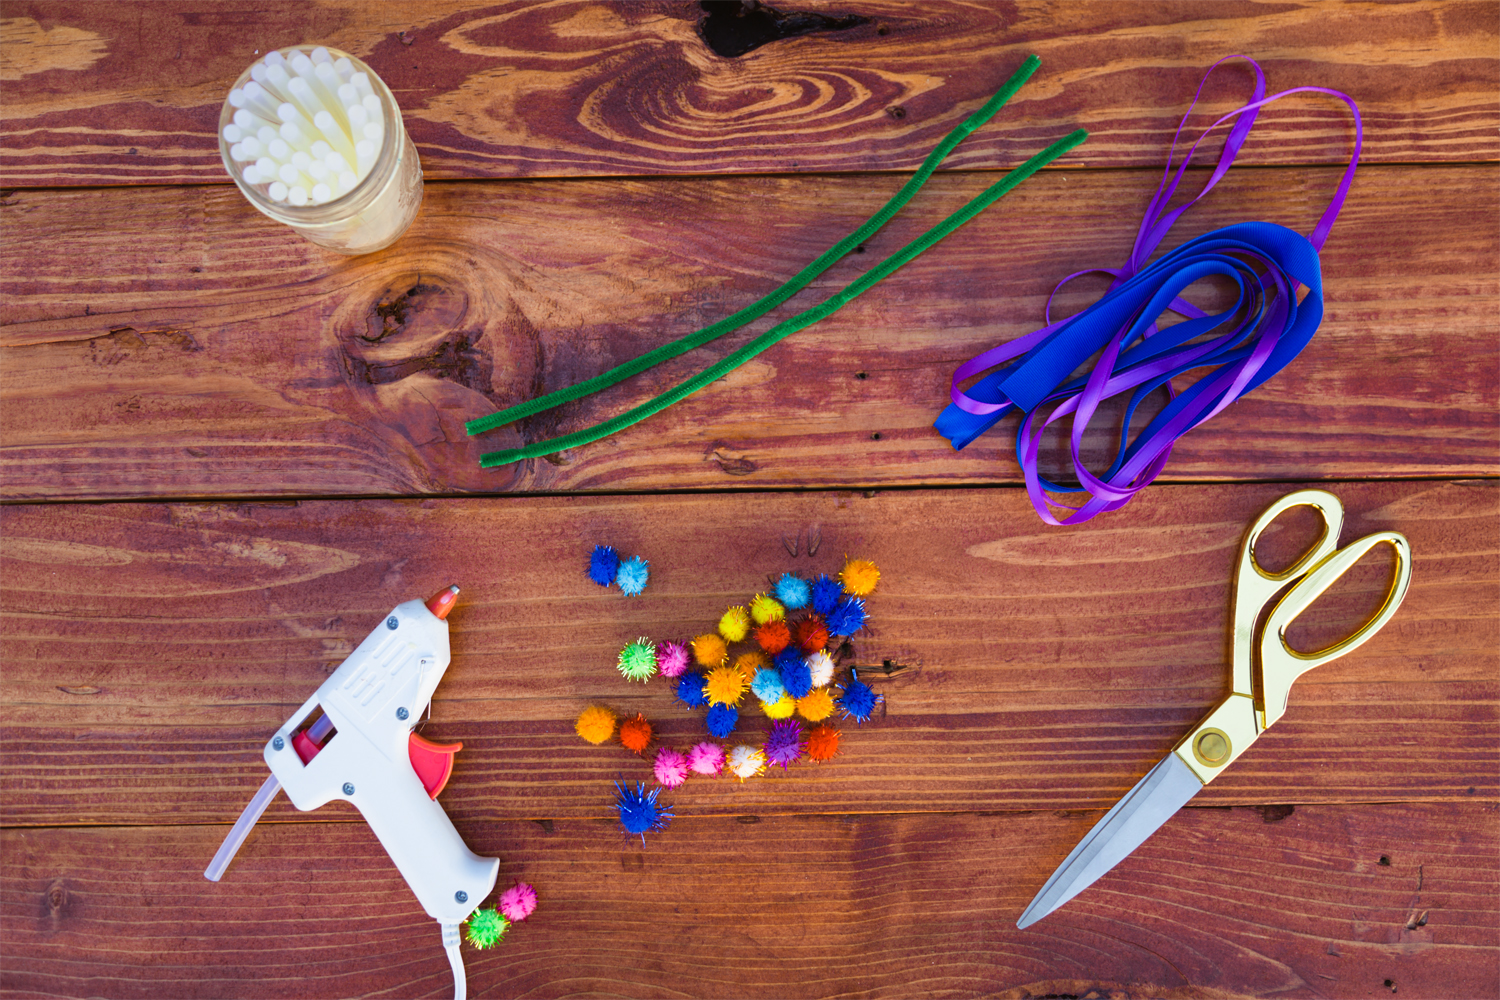
What you need
- Pipe cleaners
- Ribbon
- Glittery pom poms
- Glue gun / glue sticks
- Scissors
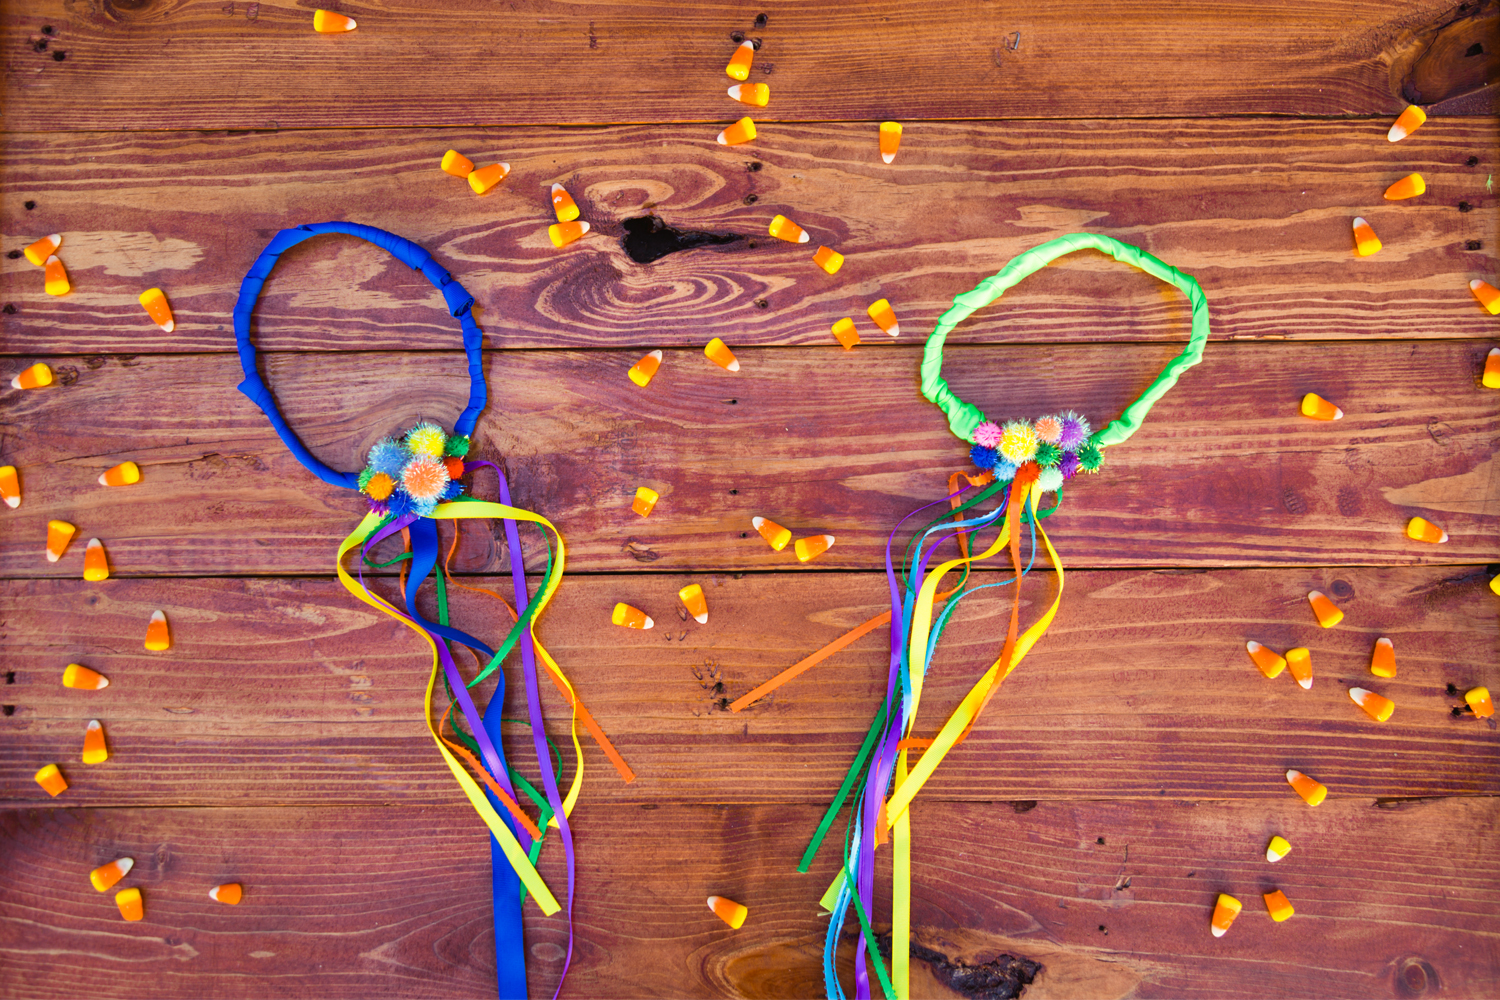
How you make it
- Take 2 pipe cleaners and make a circle, then twist the ends together
- Wrap them in ribbon
- Cut long strands of ribbon to let them hang down the back
- Glue on some pom-poms to cover the tie
- Viola!
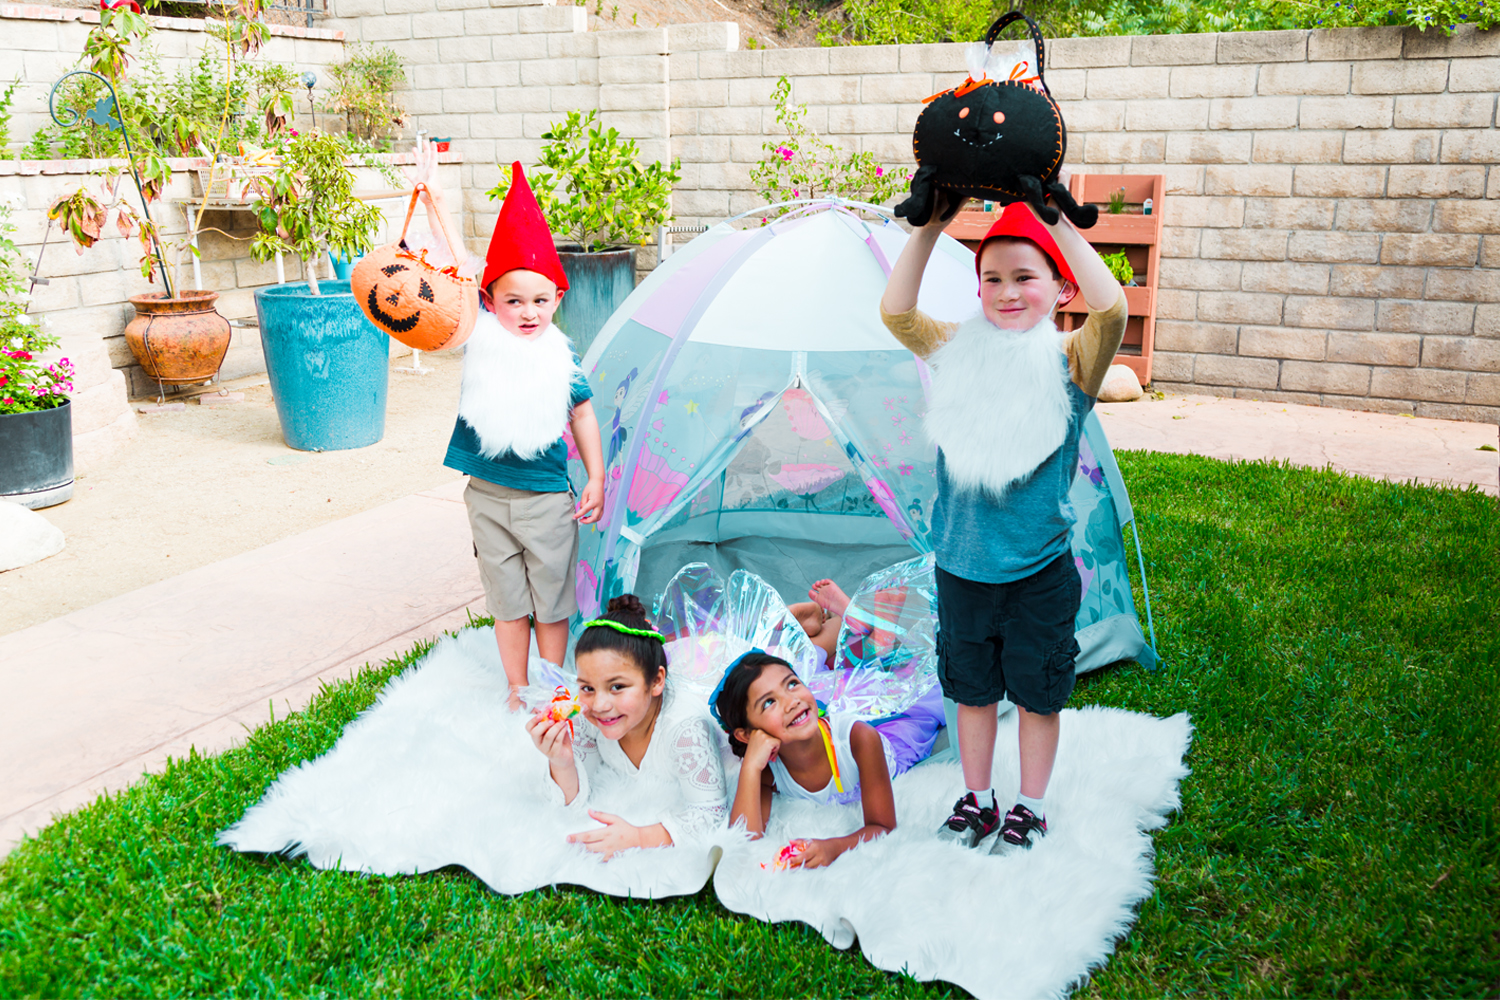
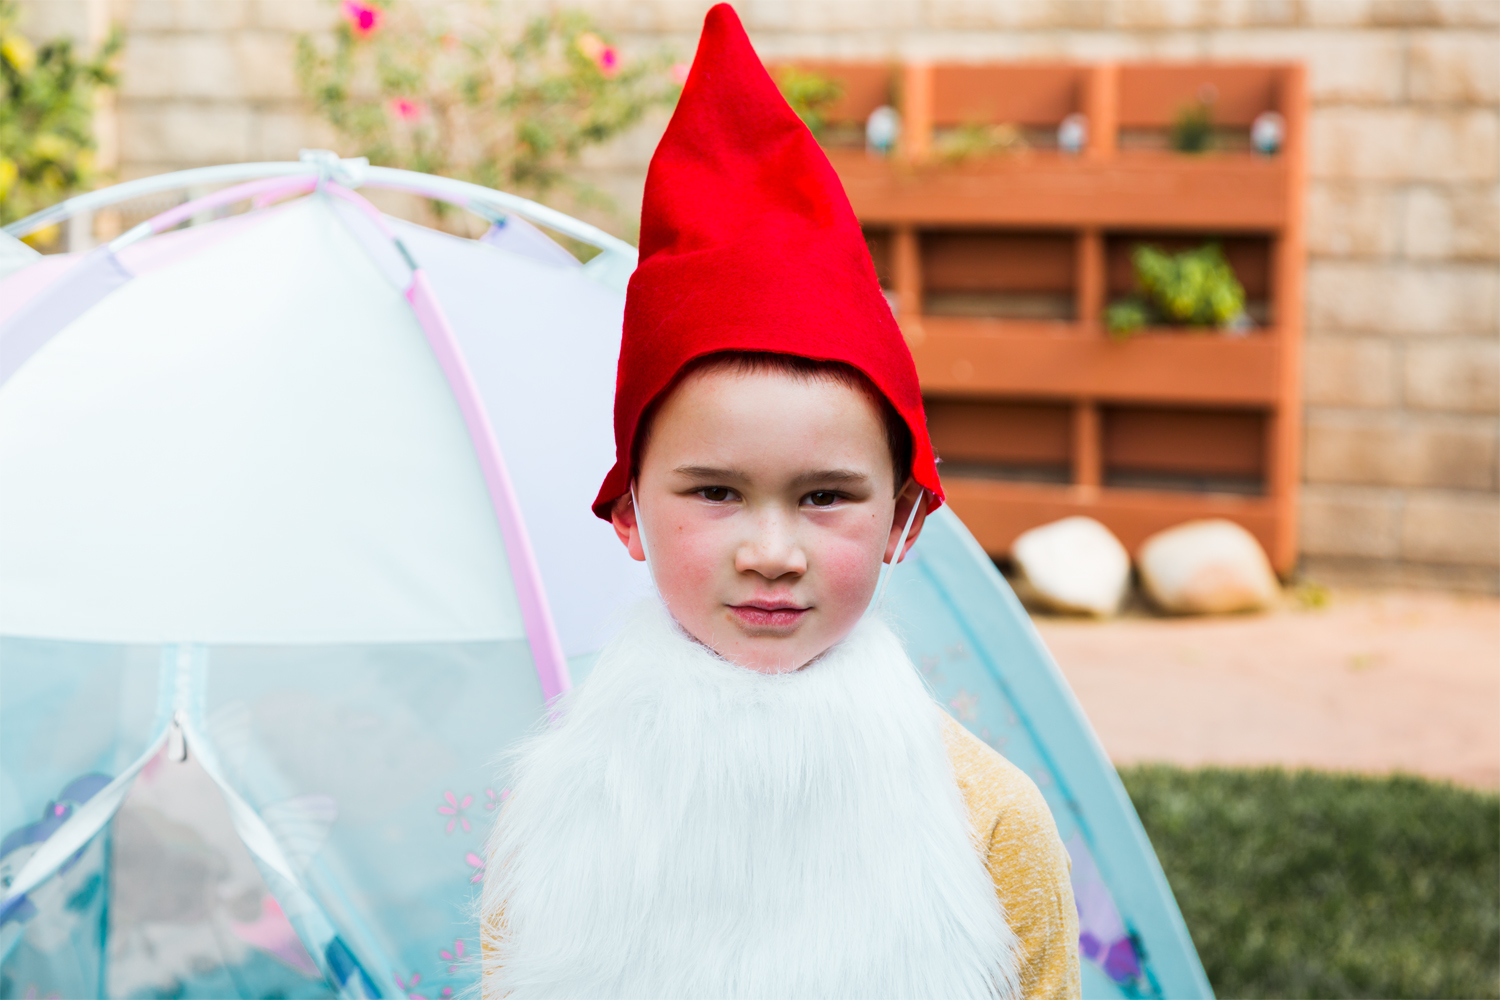
Gnome Hat with Beard DIY
If one of your kids isn’t so much into playing a fairy, why not a gnome? Fairies and gnomes are always together in magical lands, so we couldn’t do one without the other! Be careful that this doesn’t go too much into Santa Clause territory, you can switch out the colors of the felt to make it more custom!
For a full Halloween costume, we recommend pairing this DIY with a plaid shirt, jeans and a giant belt buckle. You can also try out an oversized, solid colored, long sleeve shirt and black jeans!
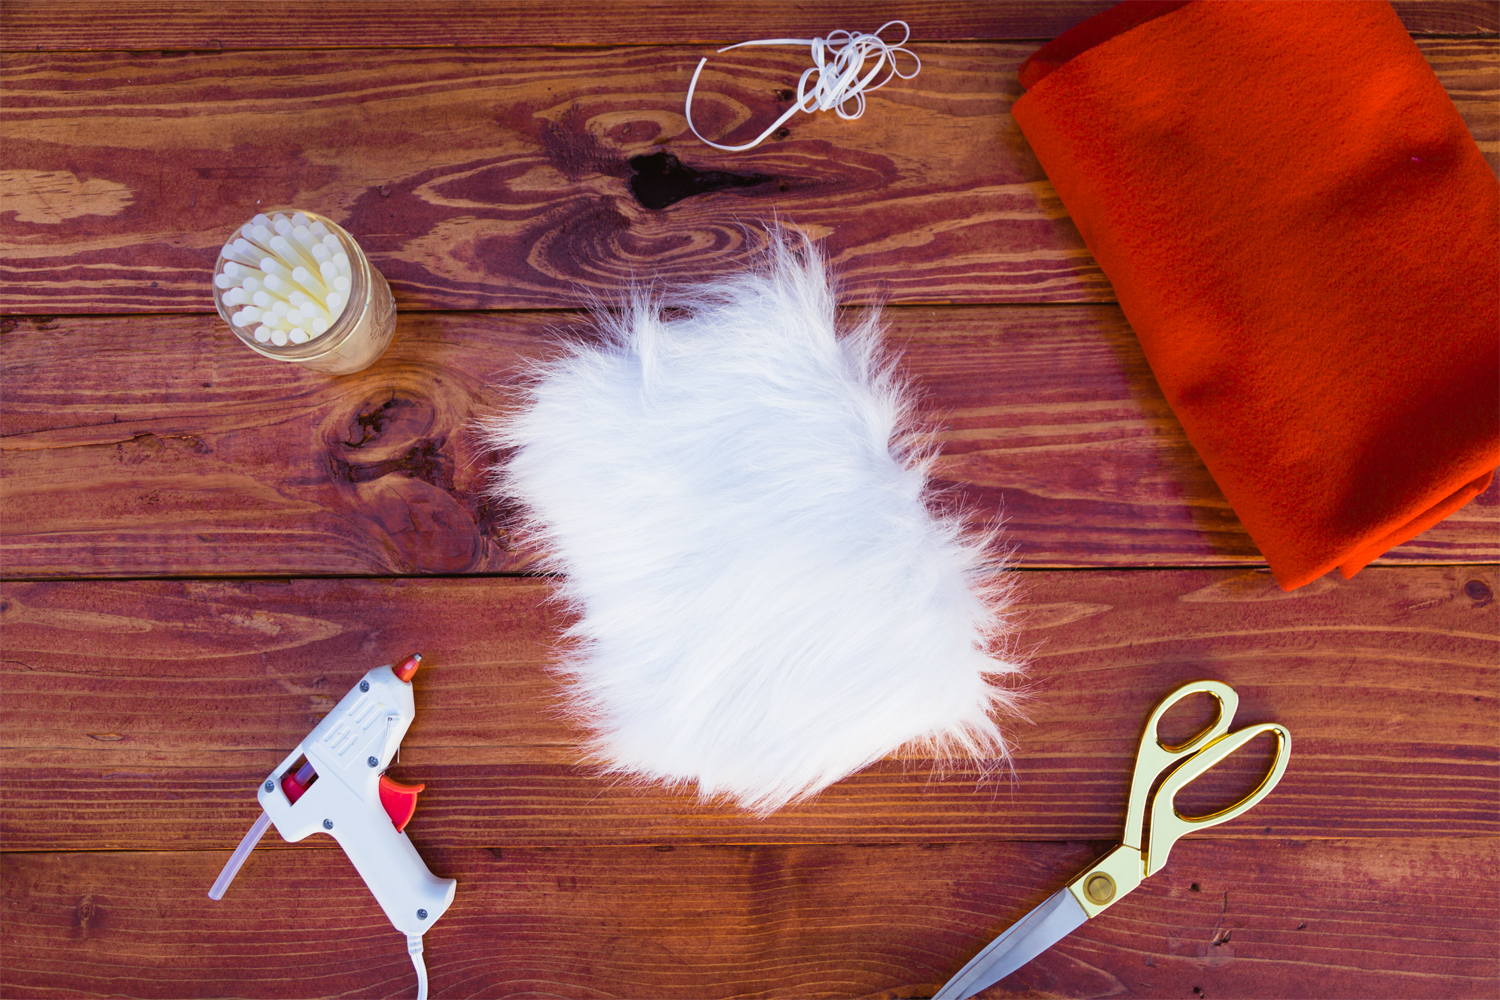
What you need
- Large rectangle of white fake fur – enough to cover a face
- 21 wide by 13 piece of red felt
- Elastic band
- Glue Gun / Glue Sticks
- Scissors

How you make it
- Cut the beard with a round bottom and with a slight smile curve at the top to accomodate for the roundness of the bottom of a face
- NOTE: The more you cut, the more of a risk of the fur falling off so keep the cutting to a minimum
- Use THIS PRINTABLE to cut out the red felt
- Connect it with some glue from the glue gun and flip it inside out so you don’t see the seam
- Attach elastic to the side of the hat and top corners of the beard
- You can make it shorter by cutting and re-gluing if needed
Let us know!
How is your Halloween season going this year? Did you make any of the DIYs? Let us know in the comments below! Have a very happy and safe Halloween!