
It’s that time again….Labor Day! It never fails that every year it creeps up on us out of absolutely nowhere, and so hard to believe that it is basically September and summer is winding down. School, schedules and the busy day-to-day hustle of other priorities are beginning to fill up. Soon enough, it’s going to be cool and crisp outside and gone are the long days spent in the backyard or at the beach. Labor Day is basically the unofficial end to summer right?
Now it has evolved into being marked with parades, BBQ’s, athletic events and more, but Labor Day was originally a creation of the labor movement. It is dedicated to the social and economic achievements of American workers. Always the first Monday in September, it constitutes a yearly national tribute to the contributions workers have made to the strength, prosperity, and well-being of our country. The idea of a “workingmen’s holiday” caught on in across the country, and many states passed legislation recognizing it. Congress would not legalize the holiday until 12 years later, when a watershed moment in American labor history brought workers’ rights squarely into the public’s view. This was on May 11, 1894, when employees of the Pullman Palace Car Company in Chicago went on strike to protest wage cuts and the firing of union representatives.
Luckily, we’ve still got this one last long weekend in our back pocket. If your children have already started school, then it always happens to come at just the right time to give us a happy transition out of summer fun, and this year is no different. If you are still holding on to that summer feeling for one last nod to endless playing in the backyard, we have a craft to help make your summer drag on for a just a little while longer!
DIY Dragonfly Wings
As we all know, dragonflies are friendly creatures who tend to pop around a lot during the summer, especially around bodies of water. They always love to spend their days “patrolling” our swimming pools, lakes and rivers by flying back and forth all day long. They have a unique set of wings, which help them fly in any direction. This includes sideways and backward, and they can even hover in a single spot for a minute or more. They can also fly up to an impressive 18 MPH! Not only are they pretty to look at in the backyard, but they help keep bugs and other critters away from our pools, since they are able to actually intercept their prey in mid-air. They help control the population of mosquitoes, biting flies and lots of other pesky insects. They’re a welcome addition to any backyard. Hooray for these awesome creatures!
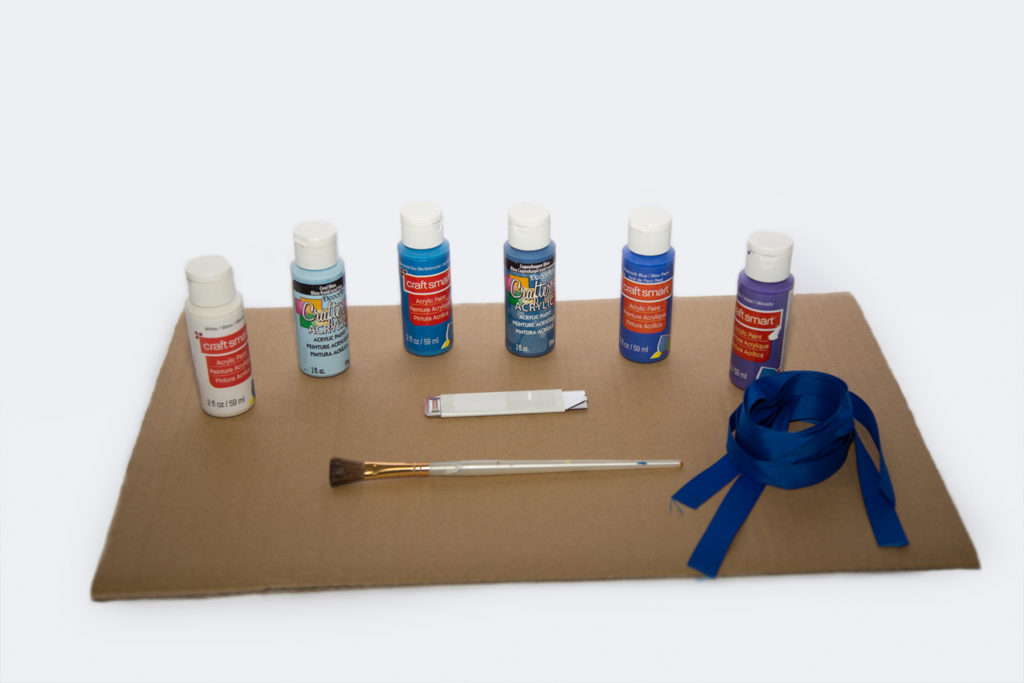
What you’ll need
- Cardboard
- Paint
- Paintbrush
- Printable template
- Note: This isn’t required – you are more than encouraged to paint free-hand if you’d like! We wanted to provide it to you because the template is measured so it can fit through one of our 19″ Diameter tunnels easily.
- Ribbon for straps (we made ours 42″ long)
- Scissors
- Utility knife (adults only!)
How you make it
-
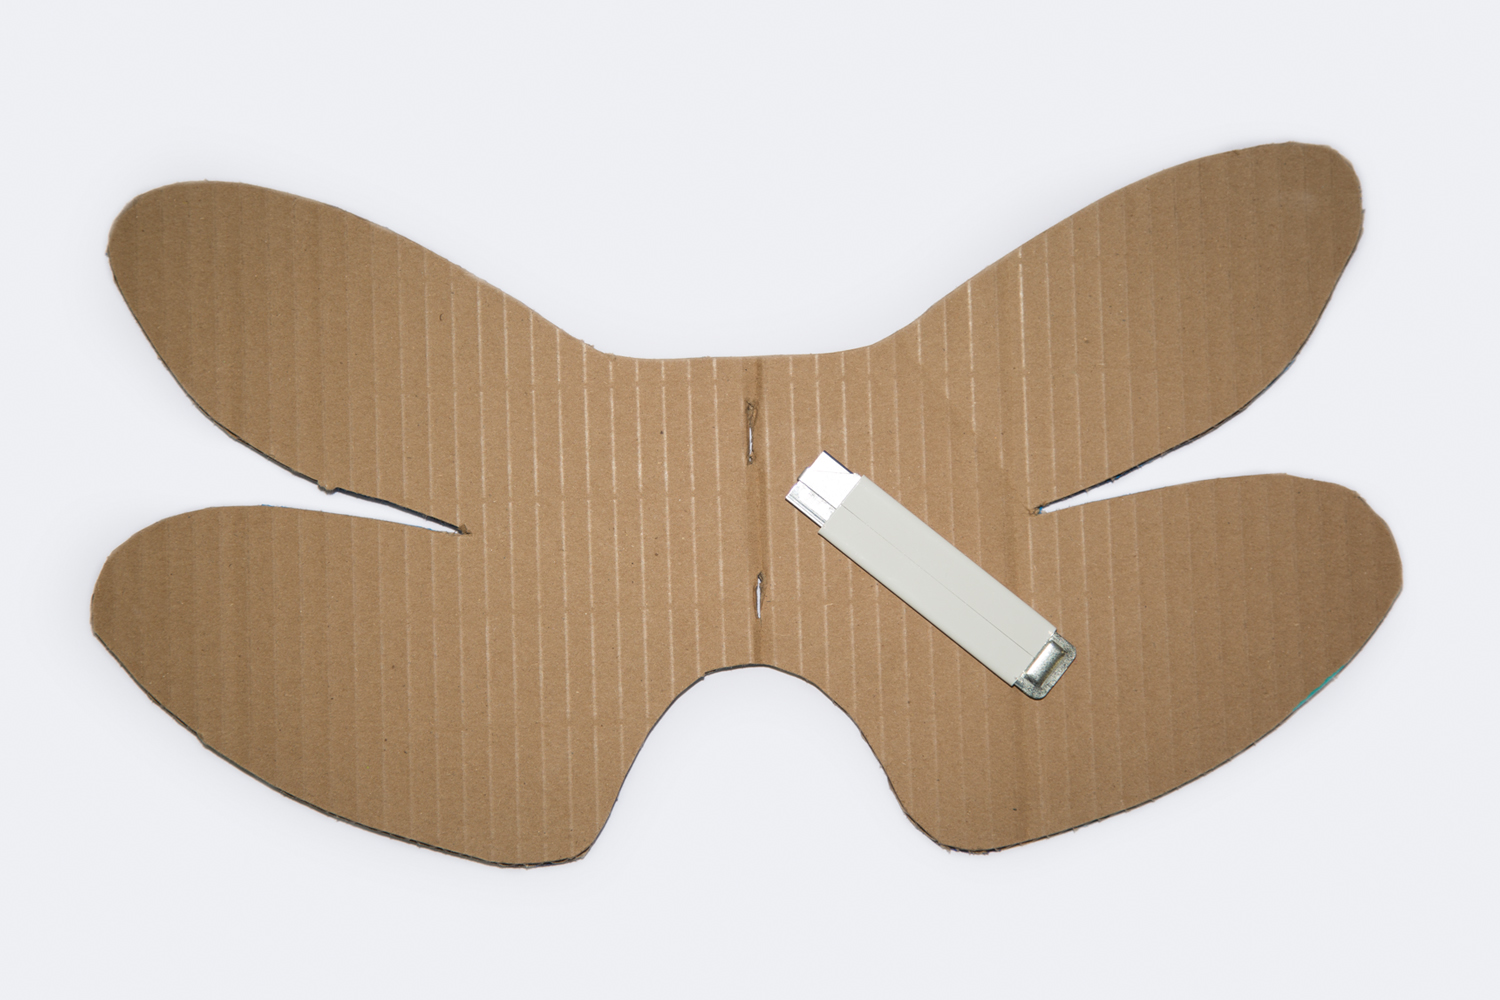
- Grab your cardboard and the Printable Template.
- Cut out the shape of the dragonfly from the printable and tape it on top of the cardboard.
- Using your preferred choice of a utility knife, cut out the dragonfly shape while having the knife cut through the cardboard.
- Now you should have a piece of cardboard in the shape of a dragonfly!
- Remove the dragonfly shape of the printout.
- This is where you can easily go freehand and make any design you want, but if you want a specific design, you can follow the lines inside the wings to help you section out the colors as instructed below.
- Keep the dragonfly shape of the printout taped on top of your cardboard dragonfly shape.
- Score the lines so that you have a guide on where to paint what.
- Remove the dragonfly shape and then grab whatever paint colors you want to paint and have fun filling in the shapes you just scored!
- Once dry, make two 1/2 inch vertical slits in the middle of the dragonfly.
- Make the first slit about 1/2 an inch from the top and the second slit make it a 1/2 inch from the bottom. You should have a 1 and a 1/2 inch gap in the middle, roughly if you are using the template.
- Feed the ribbon through the top slit and then the bottom slit. Repeat with the second ribbon.
- Note: When tying the ribbon to the child around their shoulders, take right top and right bottom ribbon for one shoulder and take the left top and left bottom ribbon for the other shoulder.
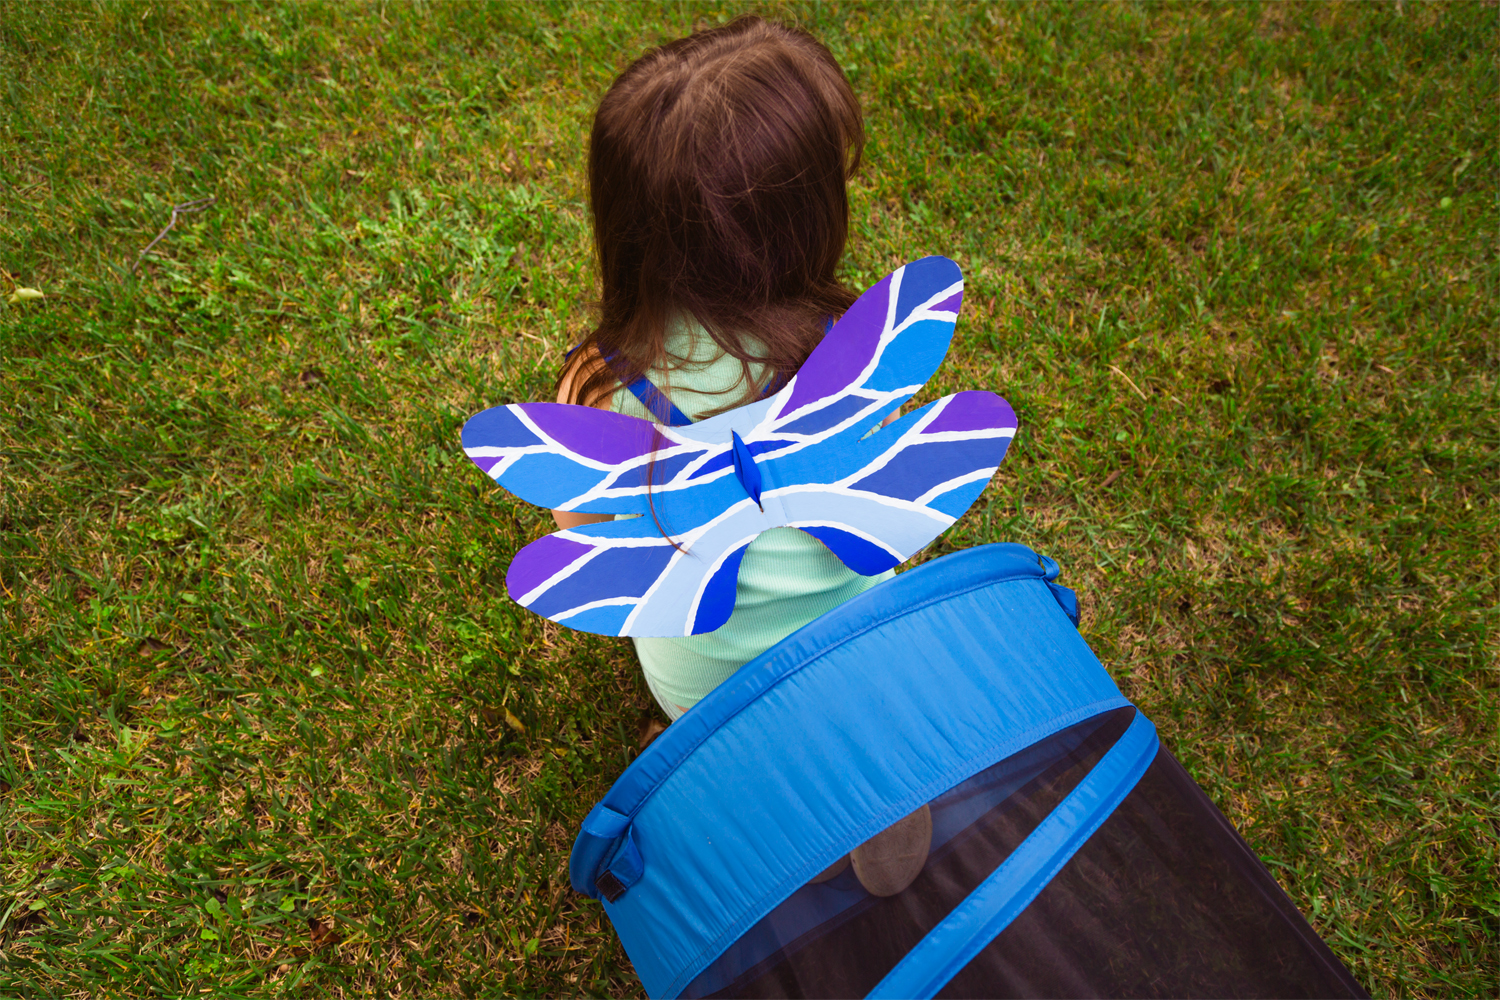
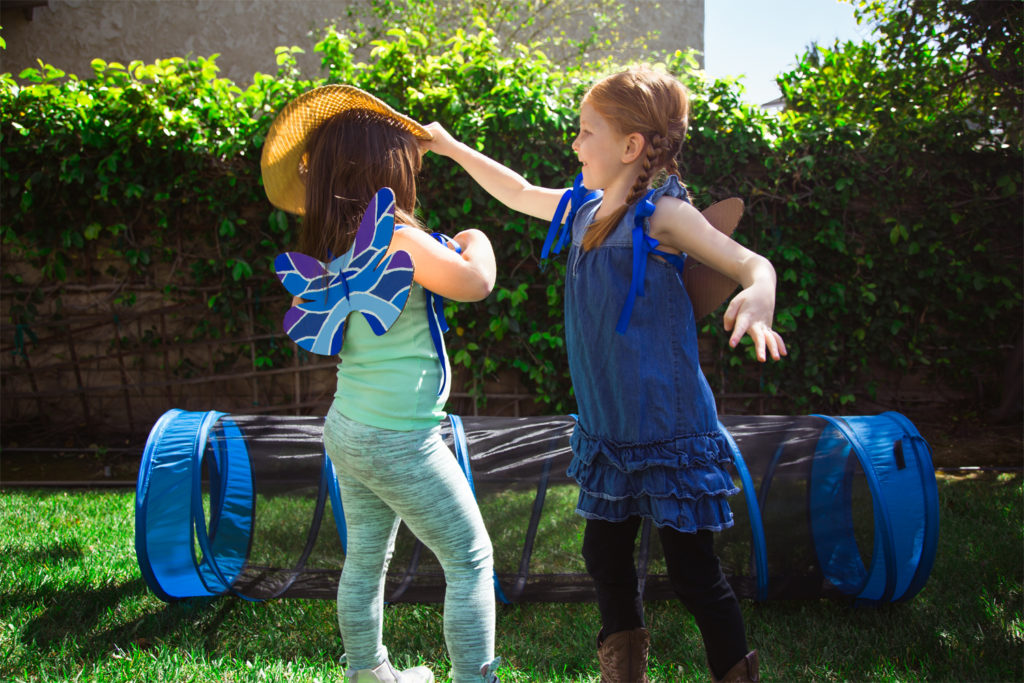
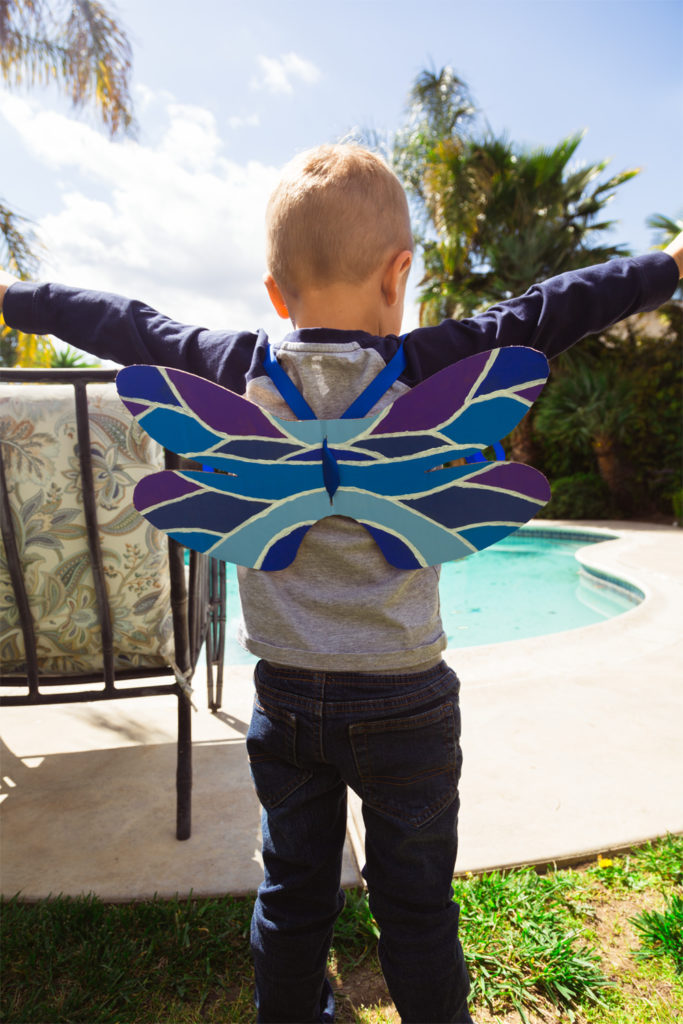
- Voilà! Your child is now a dragonfly!
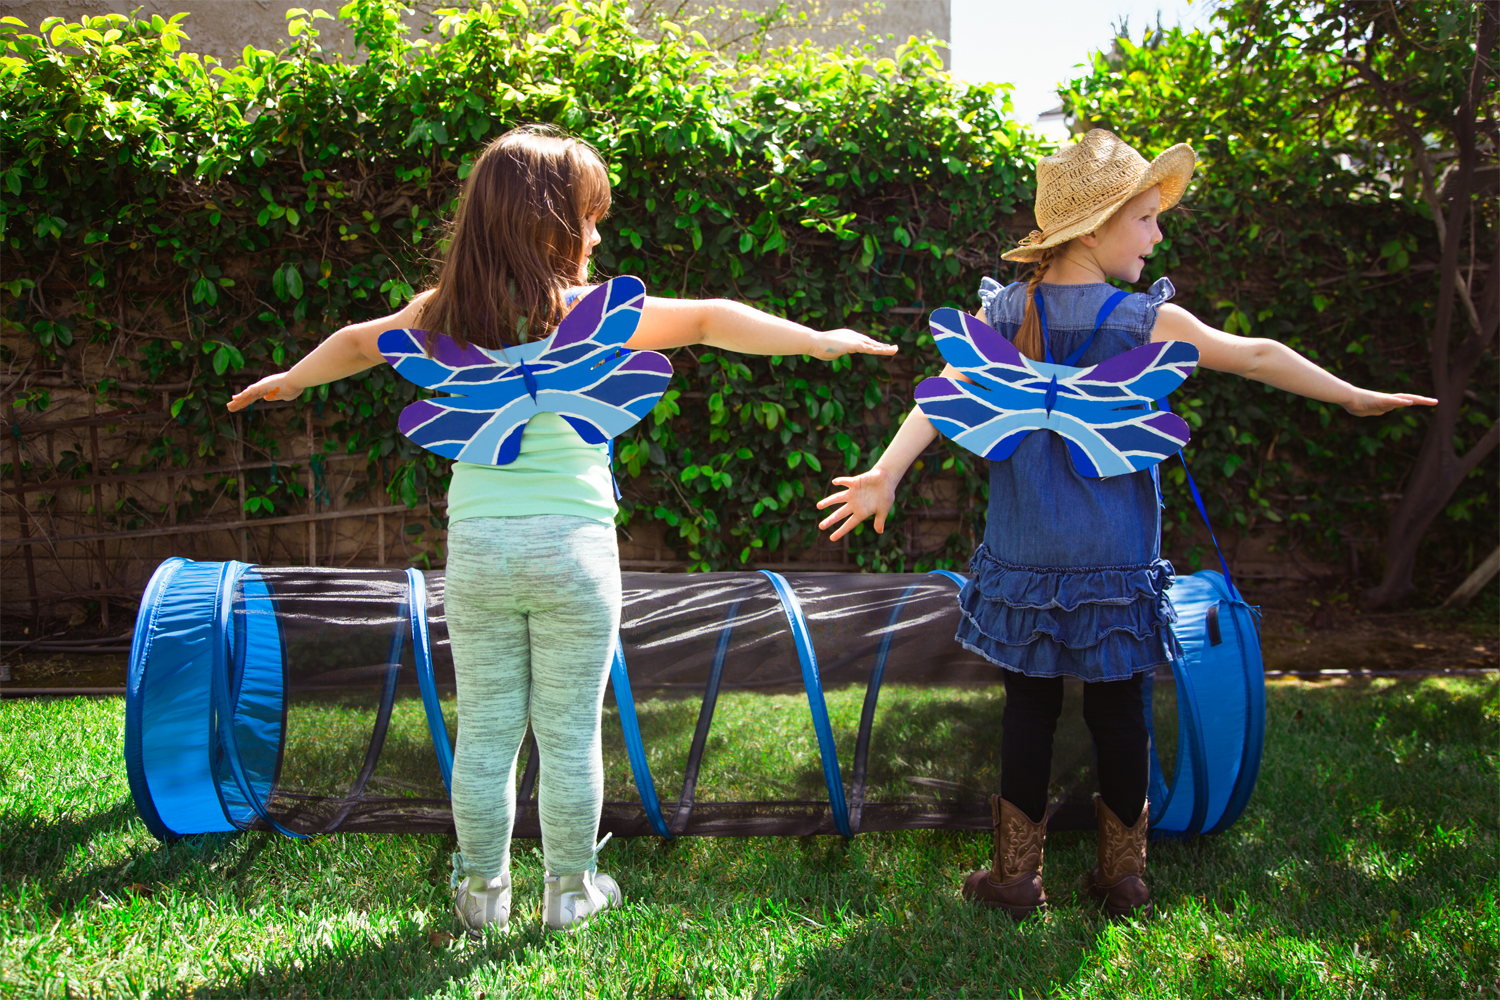
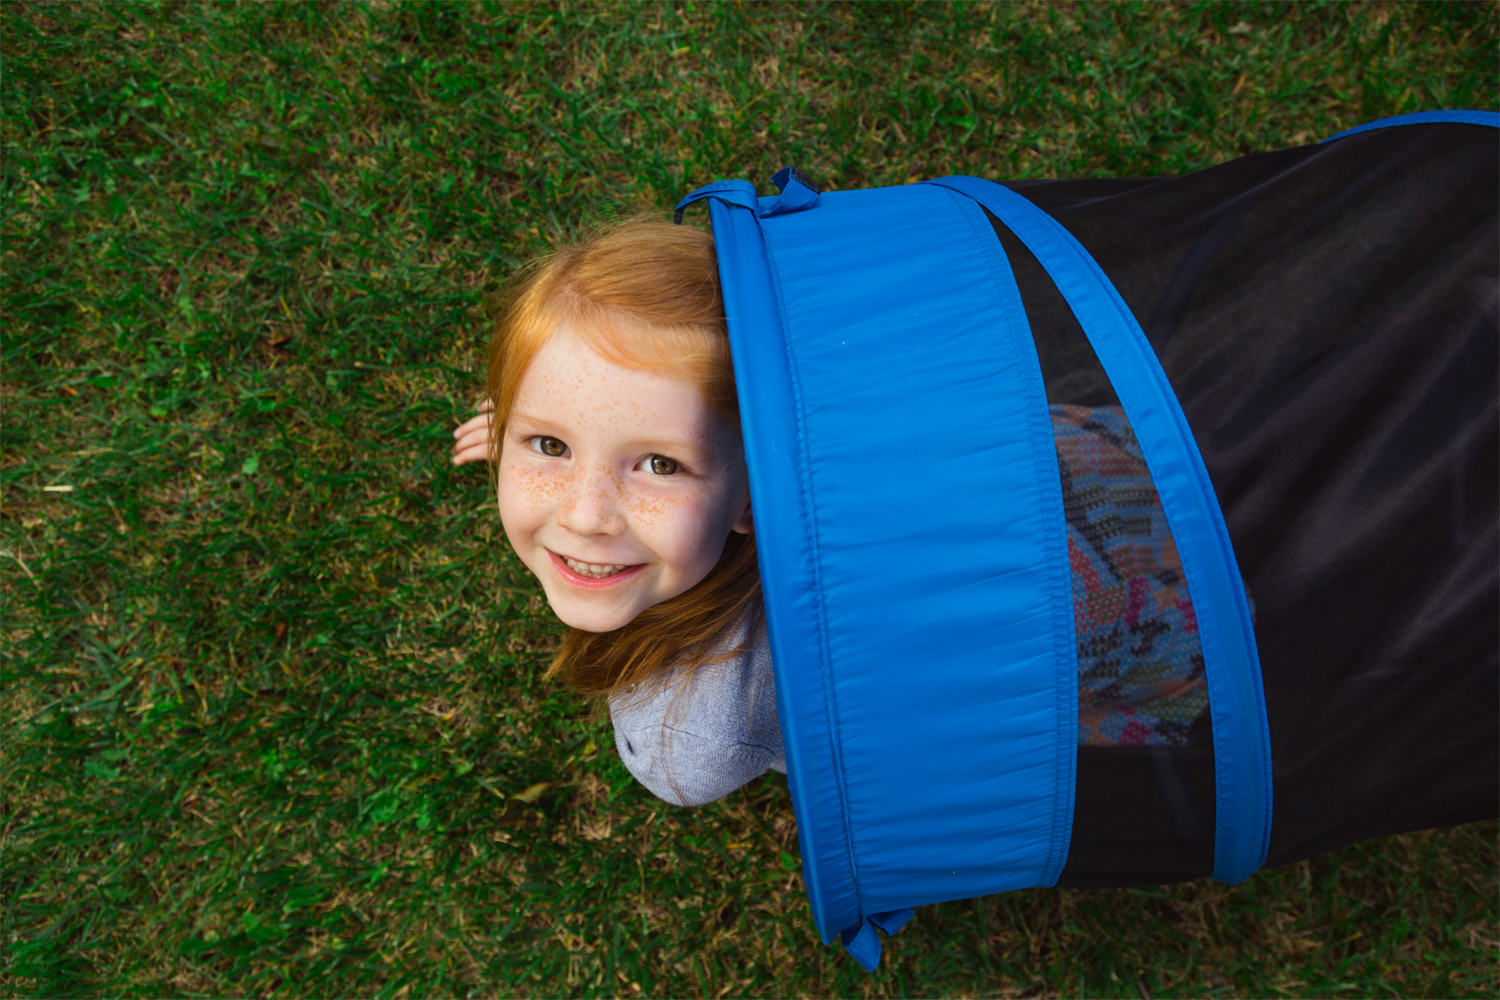
The Fun Tube 6′ Play Tunnel
This tunnel is perfect to go along with this DIY because you can fit the dragonfly wings in it! It’s excellent fun for developing cooperative play this Labor Day (and any other day!) with all those siblings, cousins and friends you might be celebrating with.
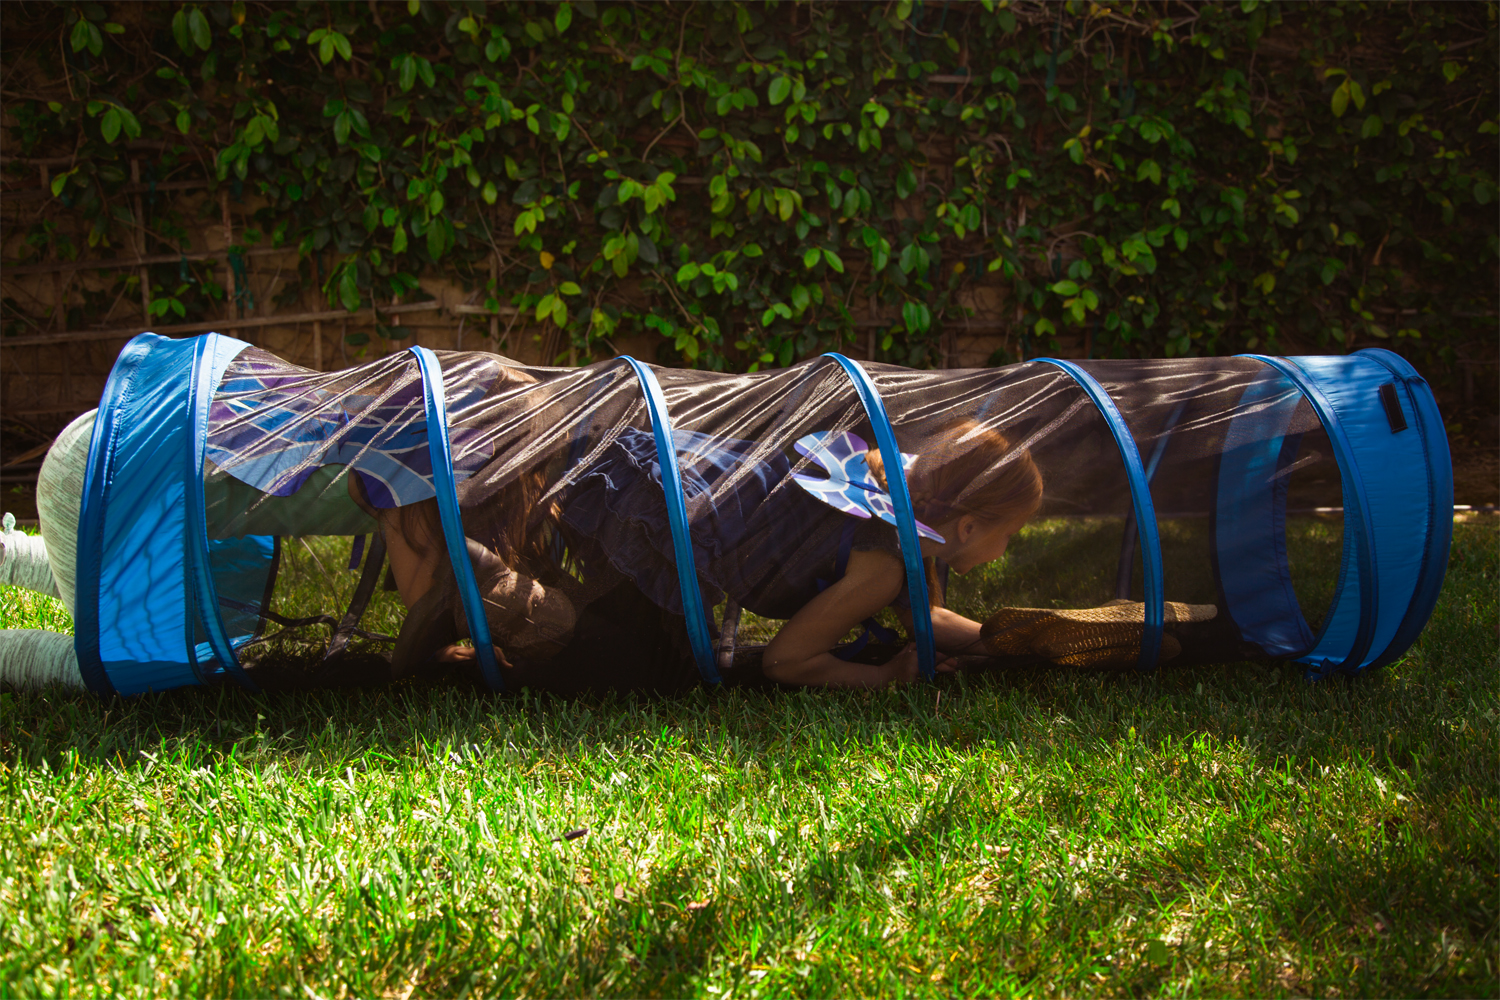
Crawling around on the inside makes it great for muscle development, and it helps to stimulate the imagination for creative playtime. The best part about this tunnel is you can use alone, or connect it to other Pacific Play Tents to make for an even more awesome time!
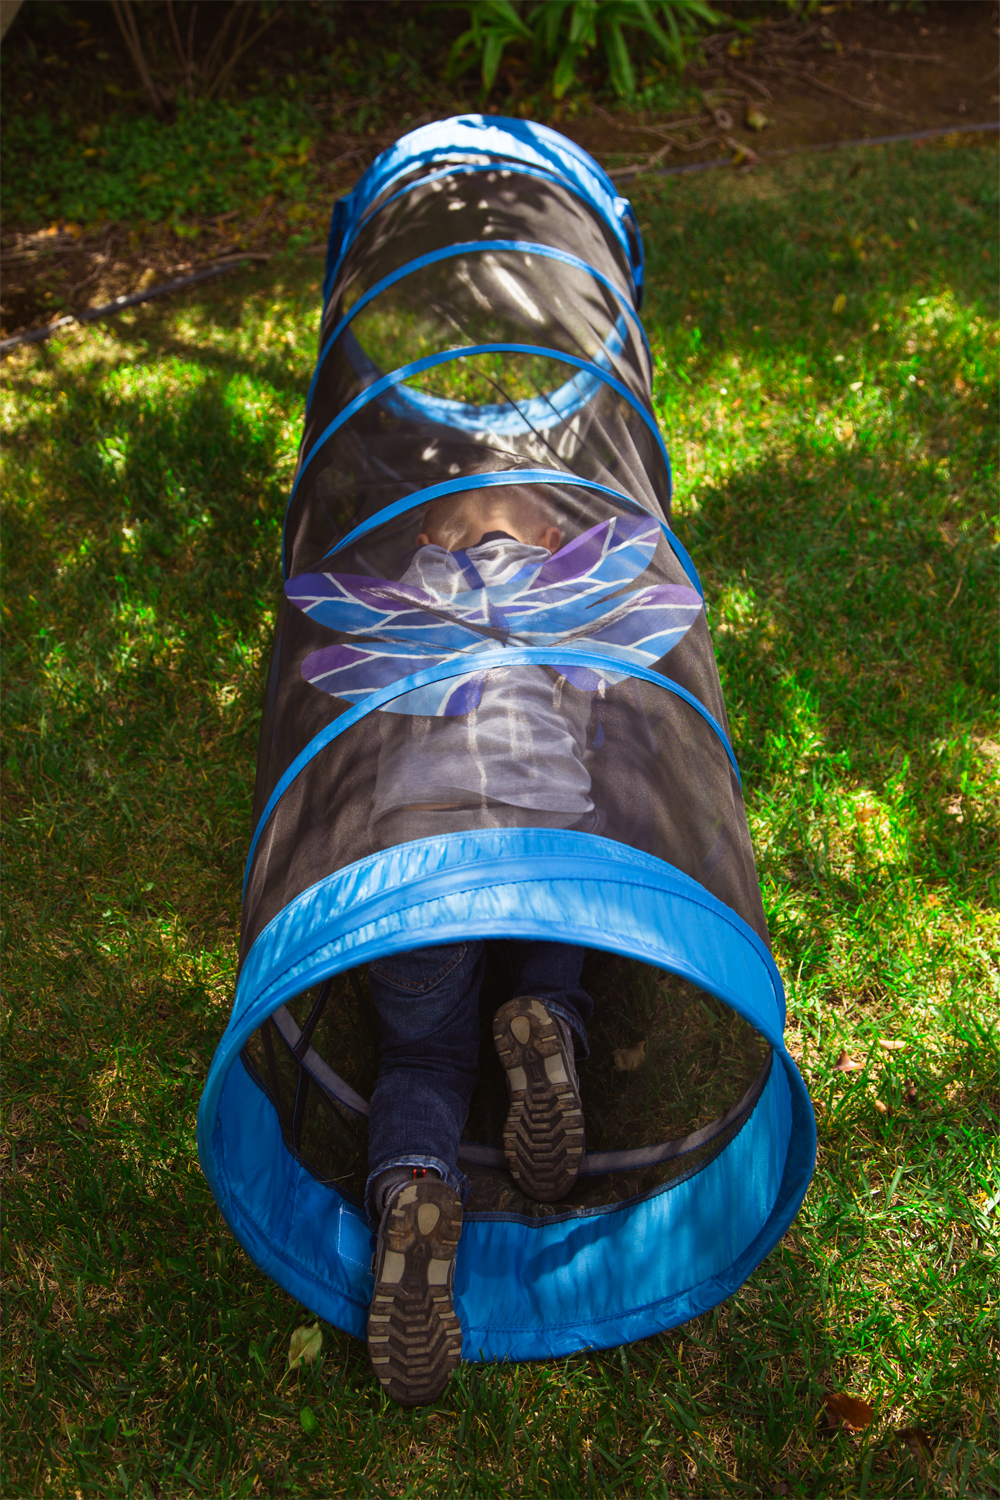
A total see through design helps keep them cool while mom can keep her eye, and also allows the younger children the ability to see everything while providing hours of fun. The sturdy spring steel construction and fine mesh see through design will provide enjoyment for kids from 3 and up. The tunnel collapses down for easy storage and carrying, and of course, wipes clean with a damp cloth.
Let us know!
What are you and your family doing to hold on to the last bit of summer these days? Did you make the DIY Dragonfly Wings? Tell us in the comments below!