
Raising infants is one of the most magical (and most fleeting!) times of parenthood. The world is a brand new place and there is so much for babies to learn and discover! One of the most exciting parts about this phase of life is the major developmental leaps that little ones make as they grow from 0 to 1 year. Whether it’s rolling, crawling, or walking, infants are incredibly adept at propelling themselves one place to another. Once they get a taste of being able to explore on their own, there’s no stopping them! Luckily, we have a few ideas that may entice them to stay in one place for longer than two seconds…
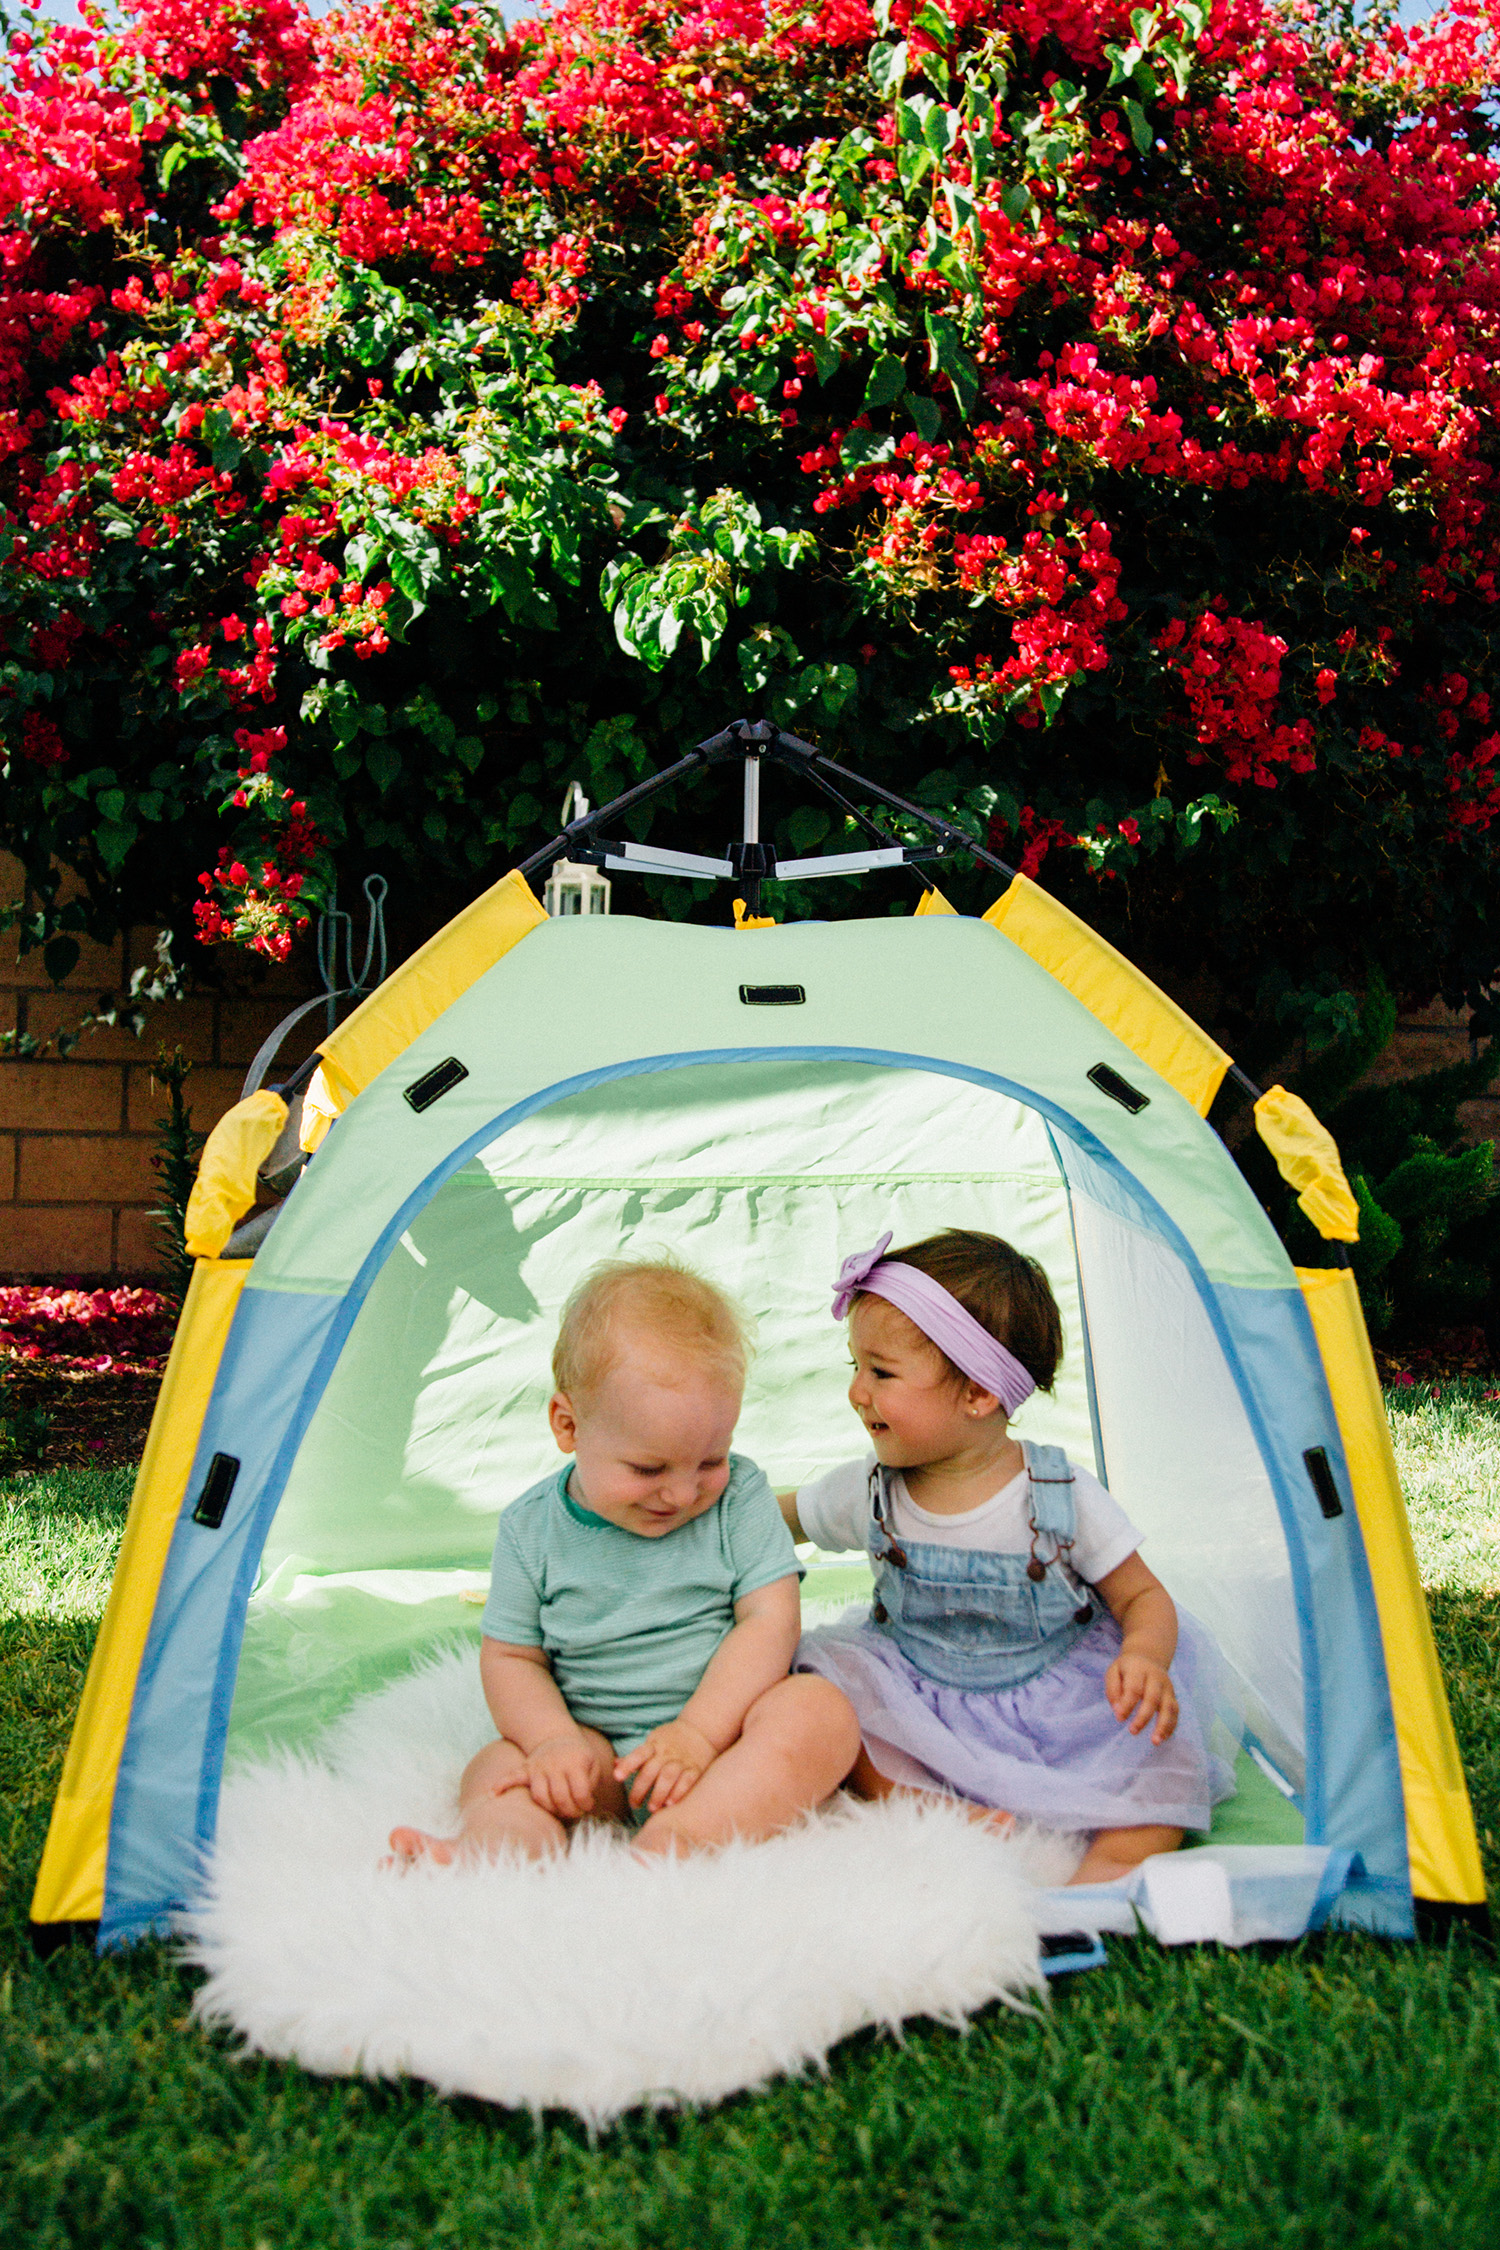
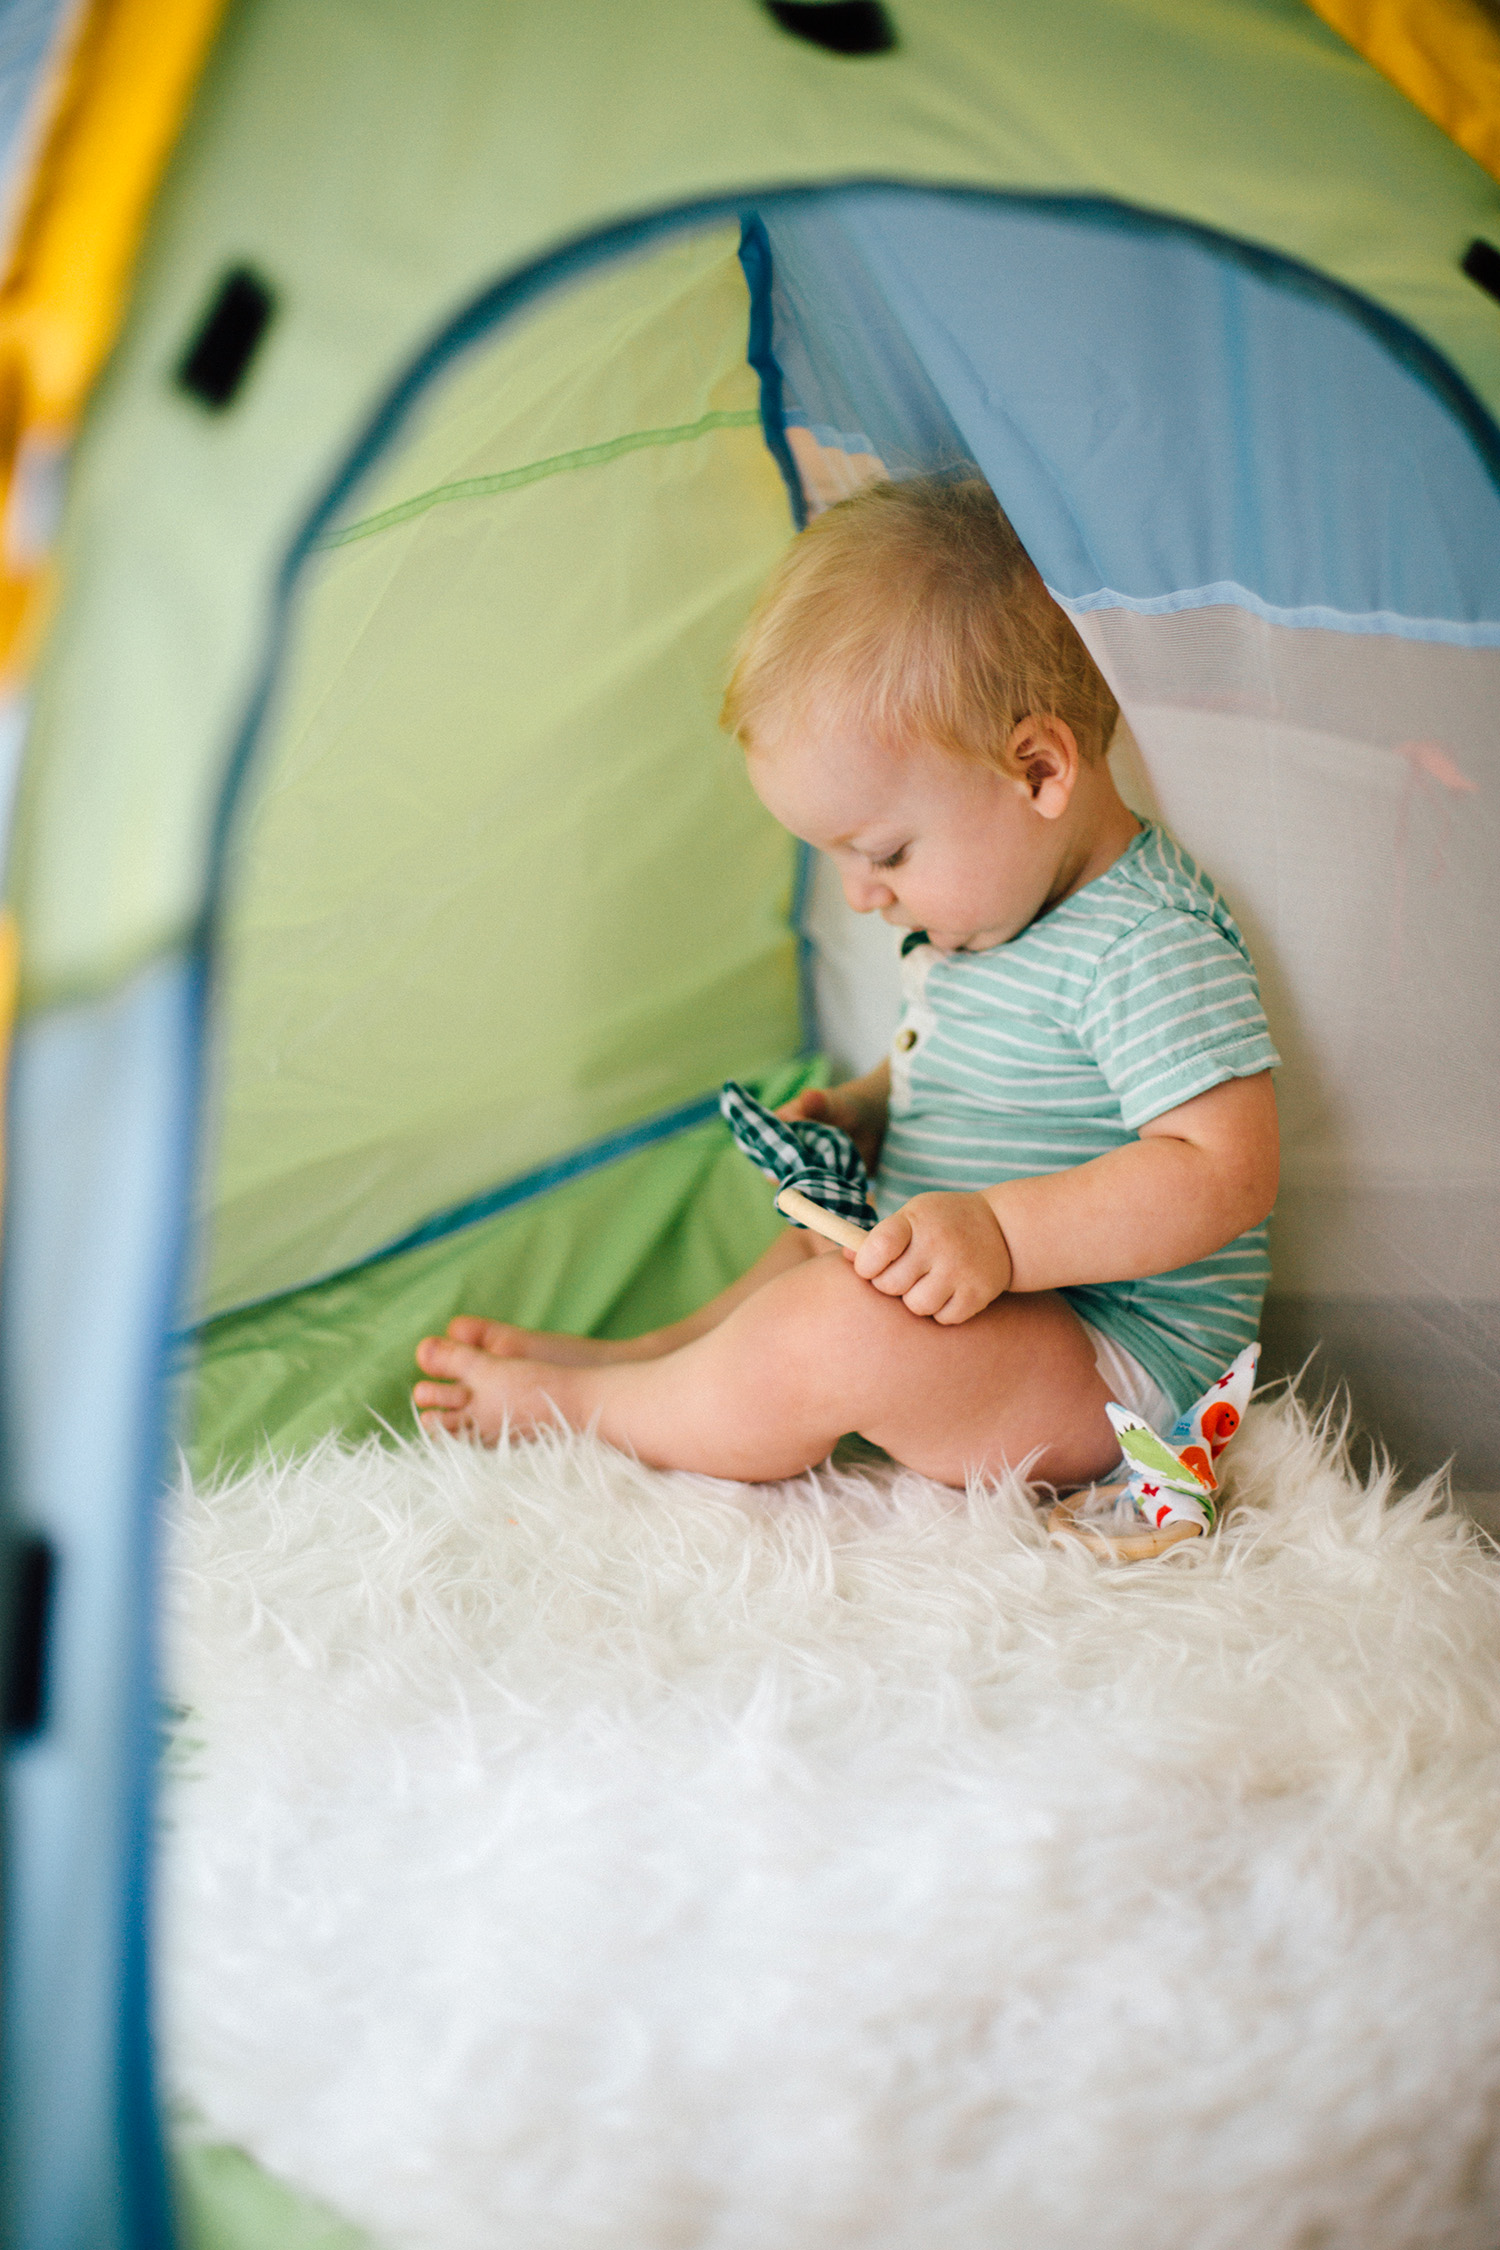
First up is our One Touch Nursery tent. Not only is this tent an inviting place for babies to play but it goes from flat to fully assembled with only one touch, making it the ideal tent for parents juggling a million things at one time.
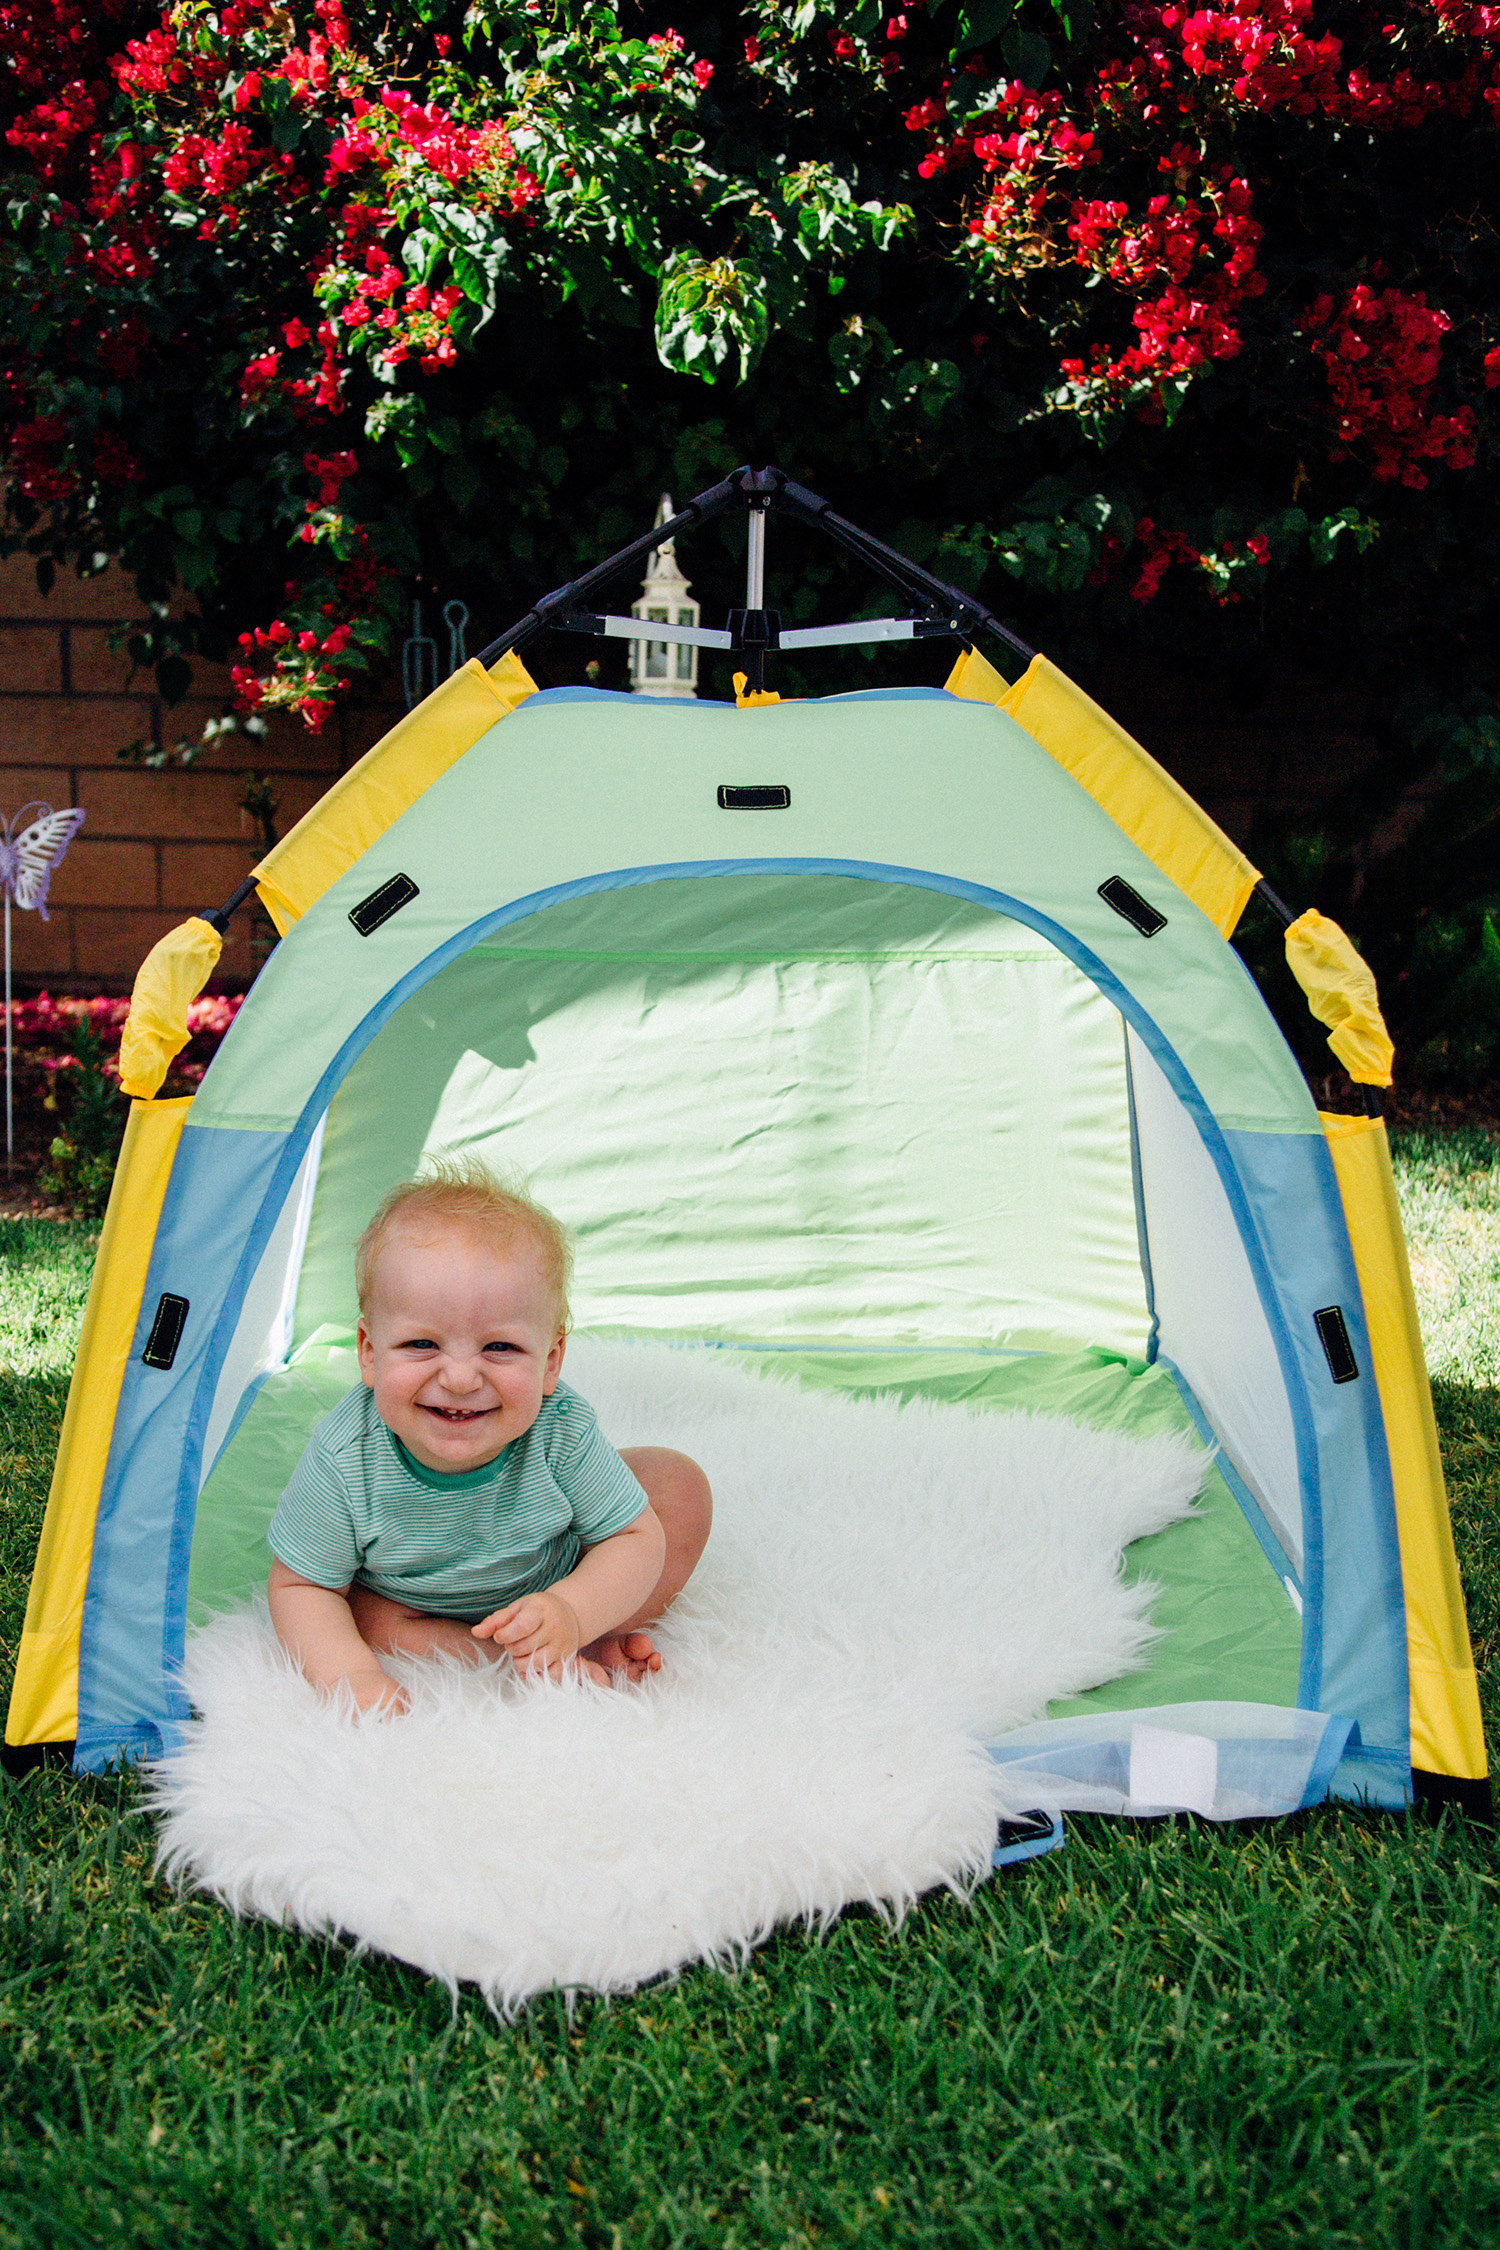
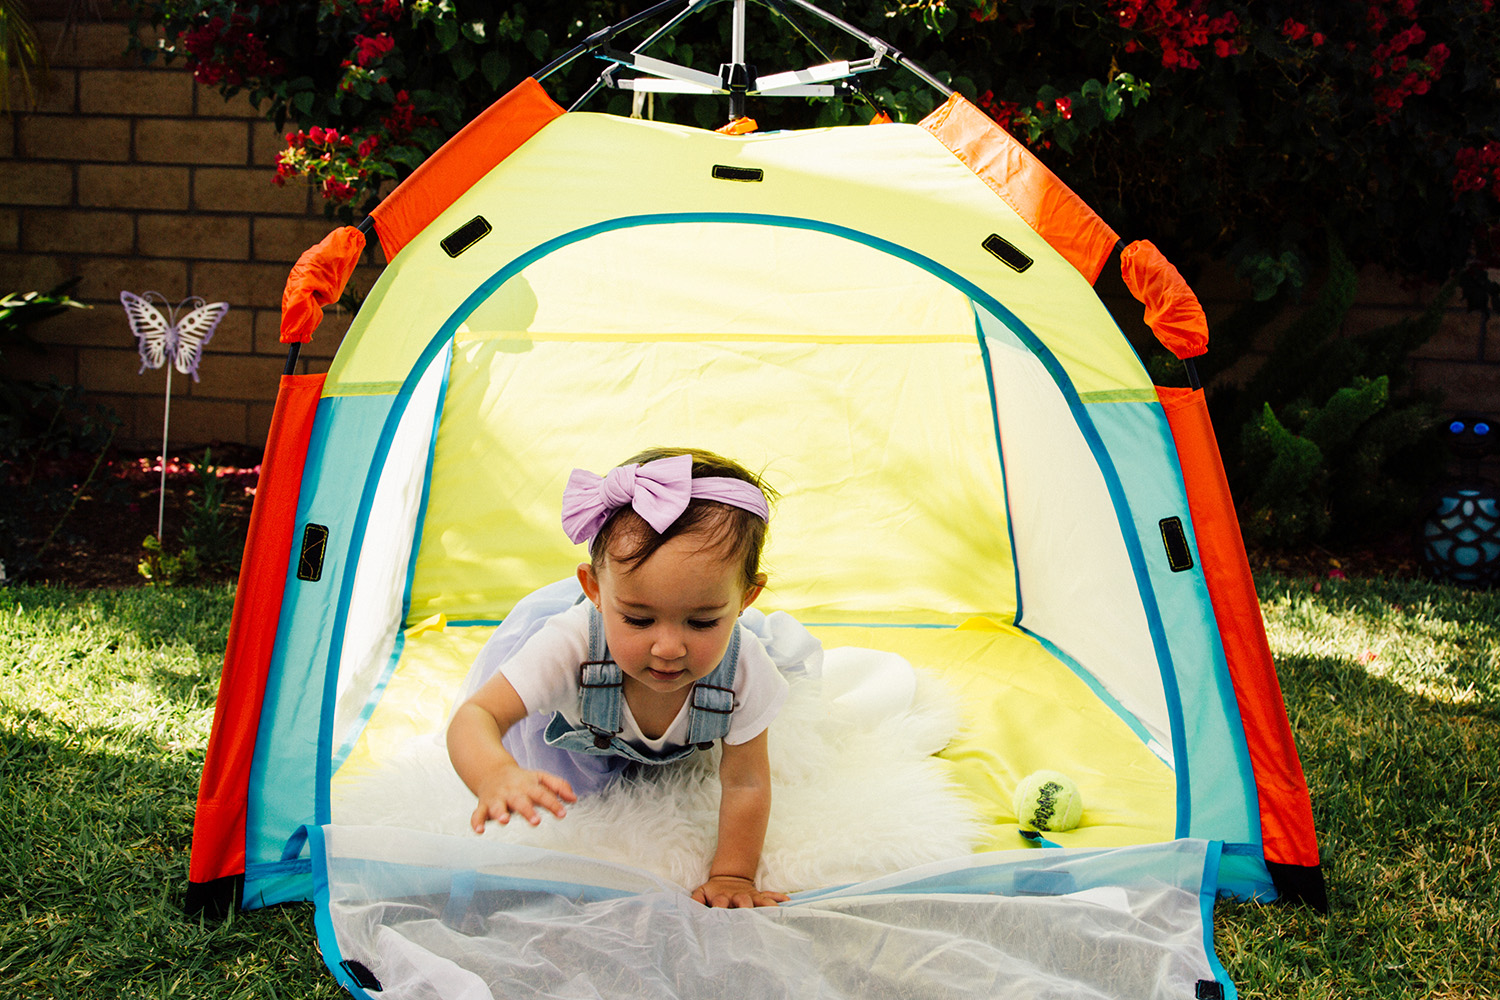
At 36″ x 36″ x 36,” it’s designed with babies and small children in mind. The tiny tent offers little ones a cozy and cocoon-like feeling while still providing plenty of ventilation and light to flow through.
It may be petite, but don’t let the small size fool you! This high-quality tent has the structural stability to withstand wind, provide protection from the elements, and contain spills with its waterproof floor.
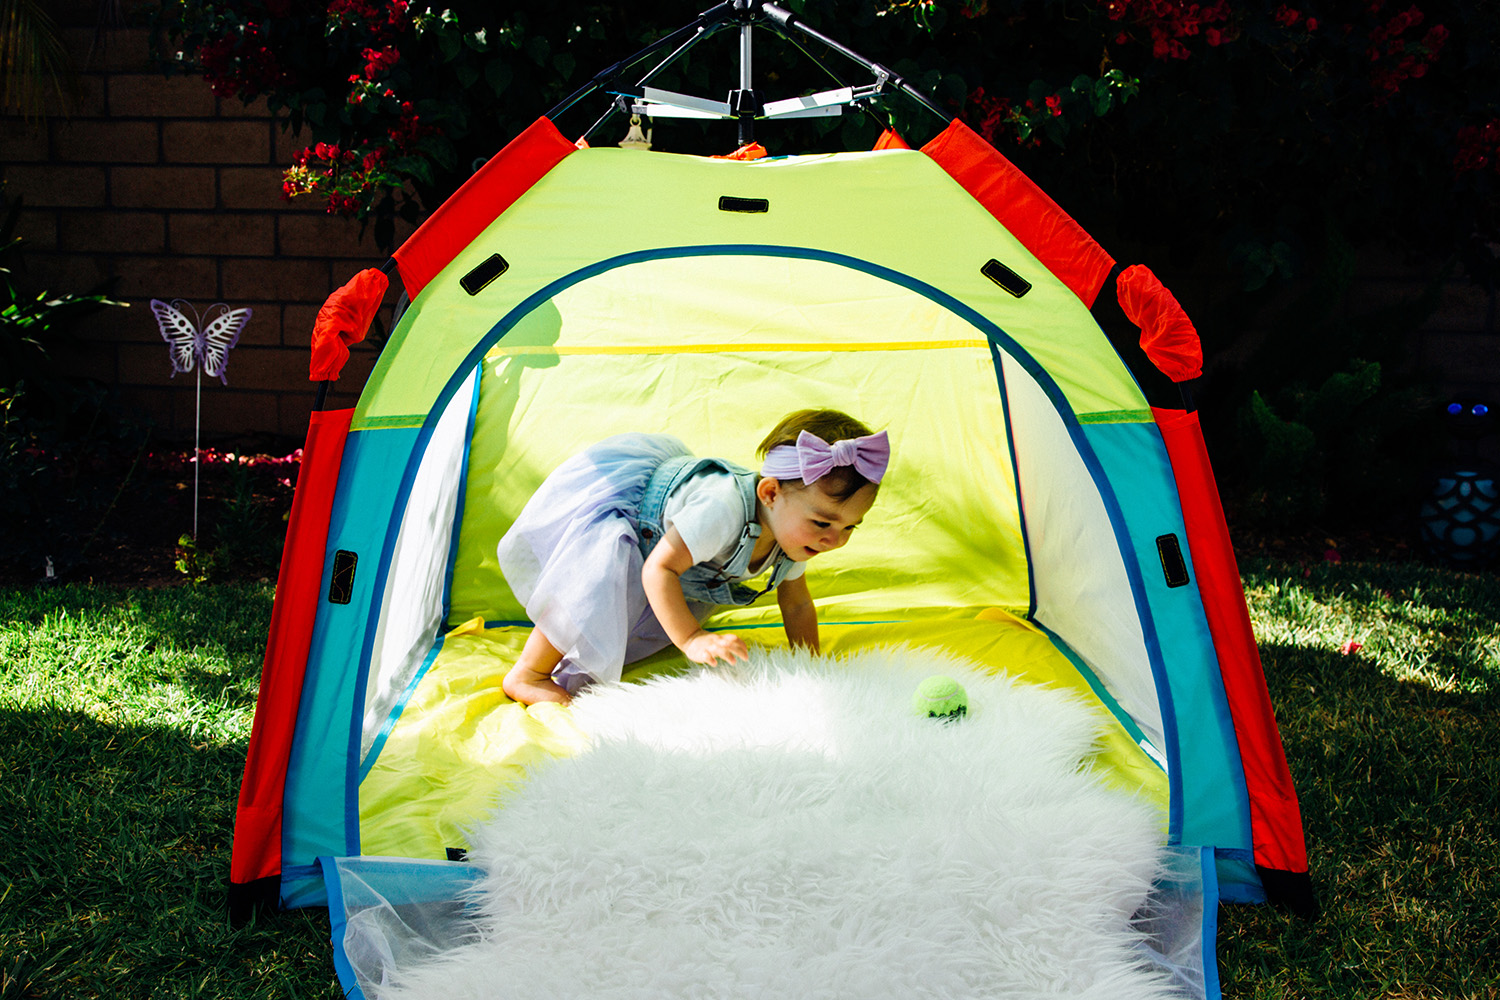
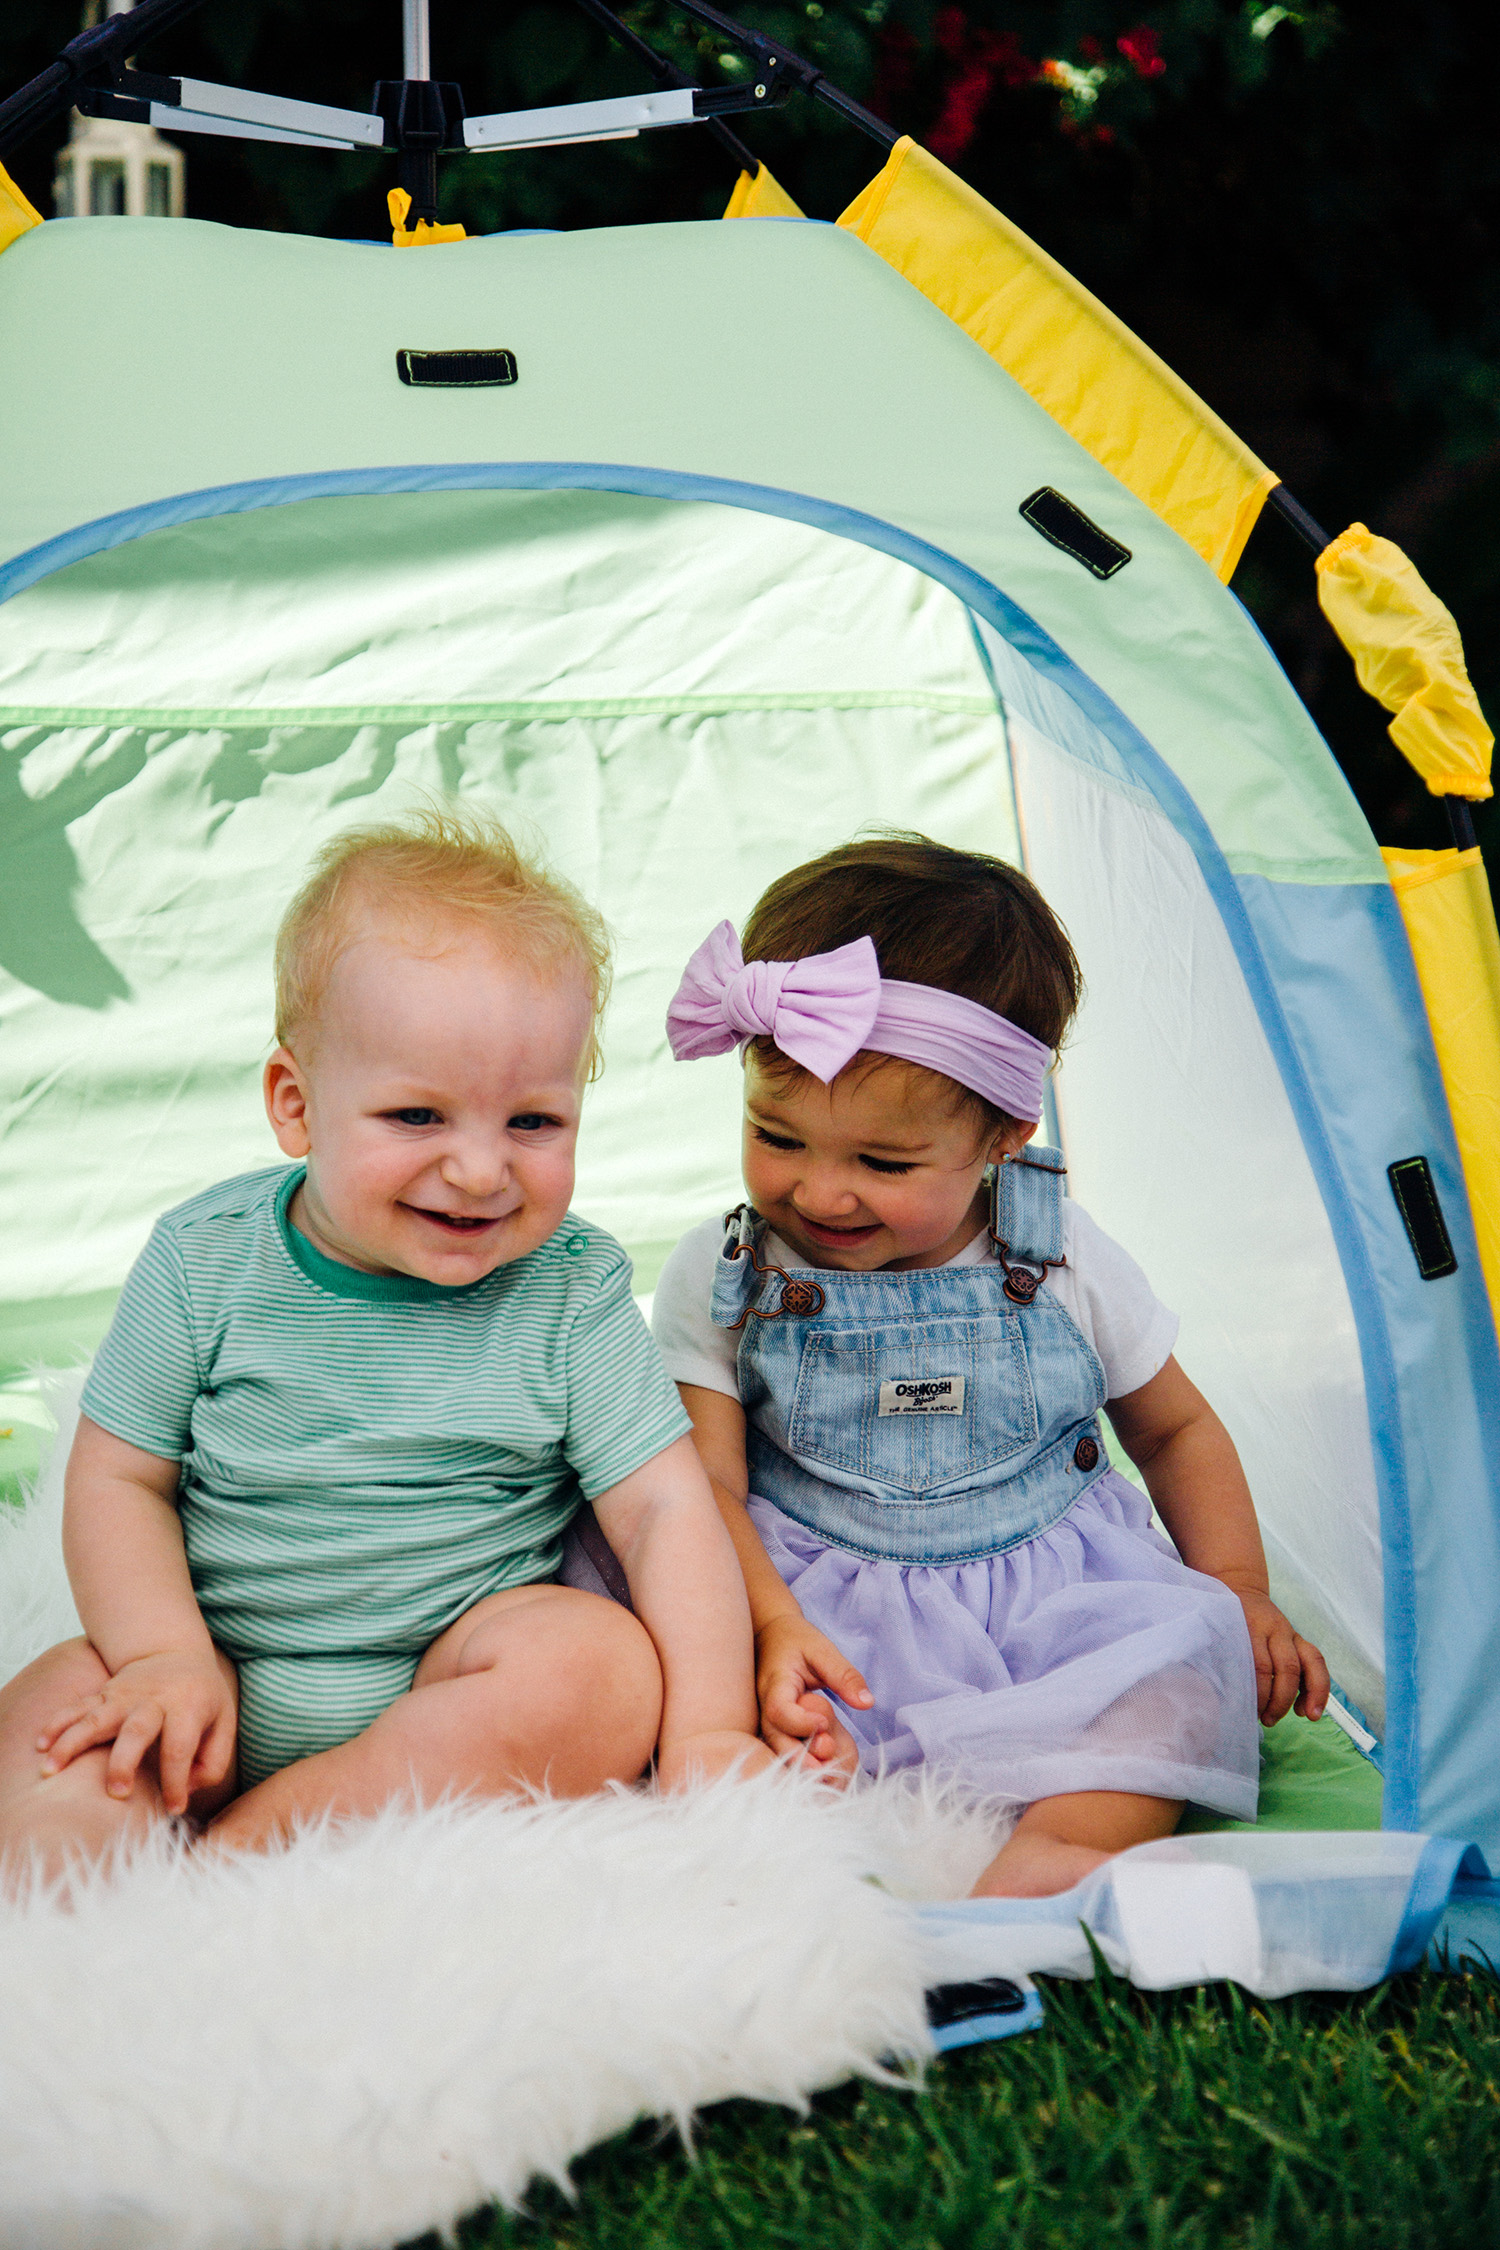
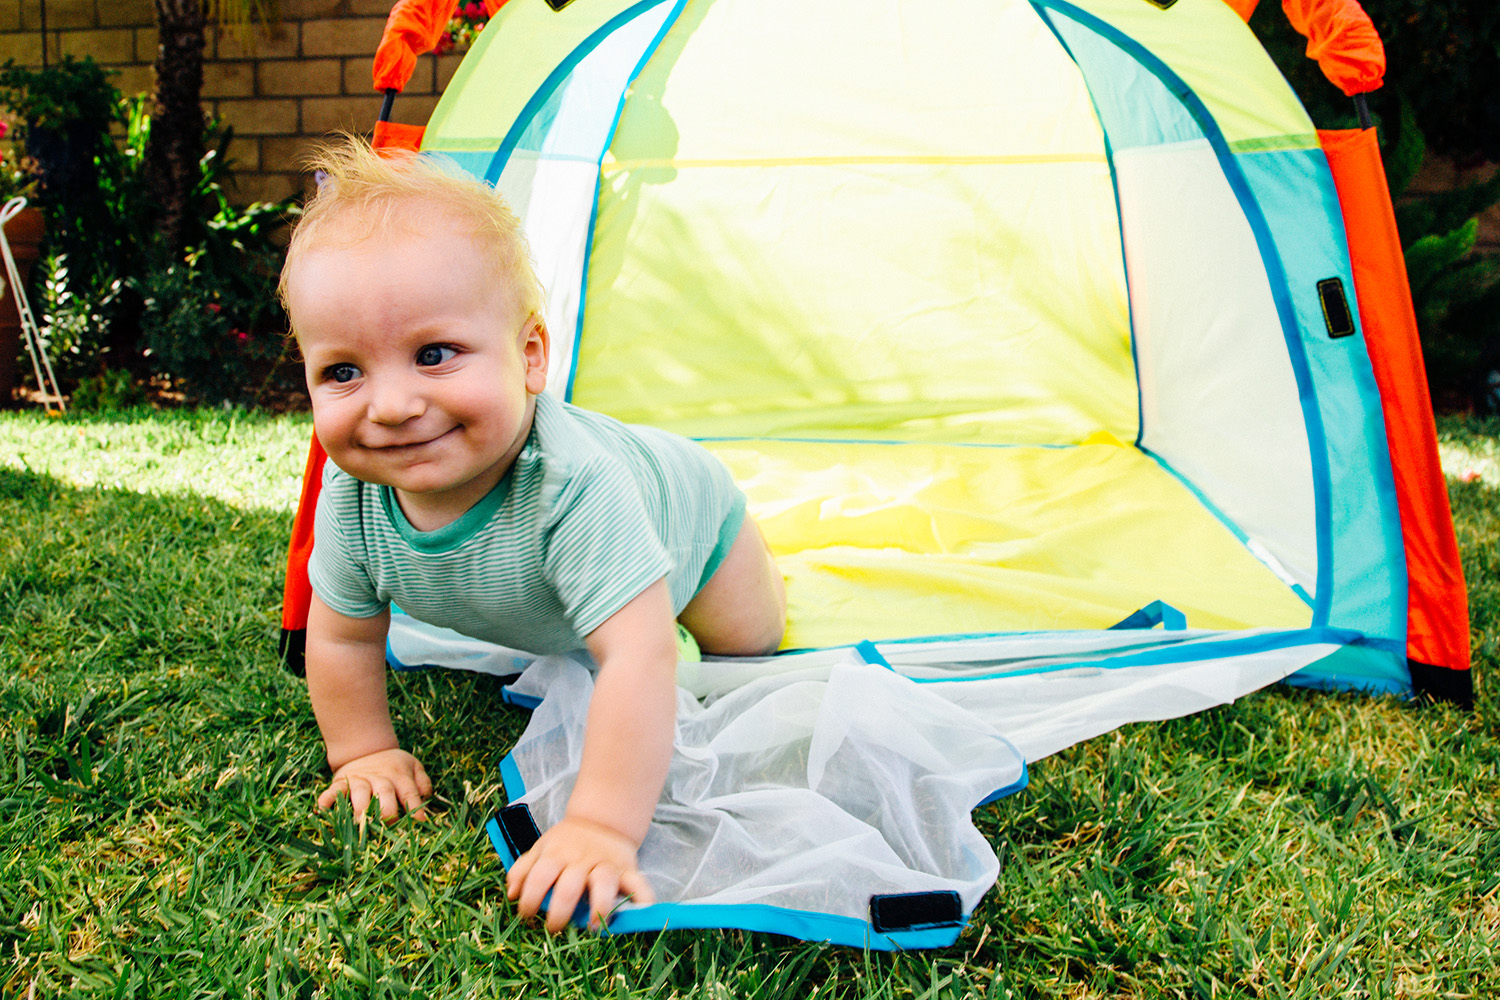
Our One Touch Lil’ Nursery tent offers the same wonderful features as the One Touch Nursery but comes in a bold color palette that is sure to stimulate infants’ minds!

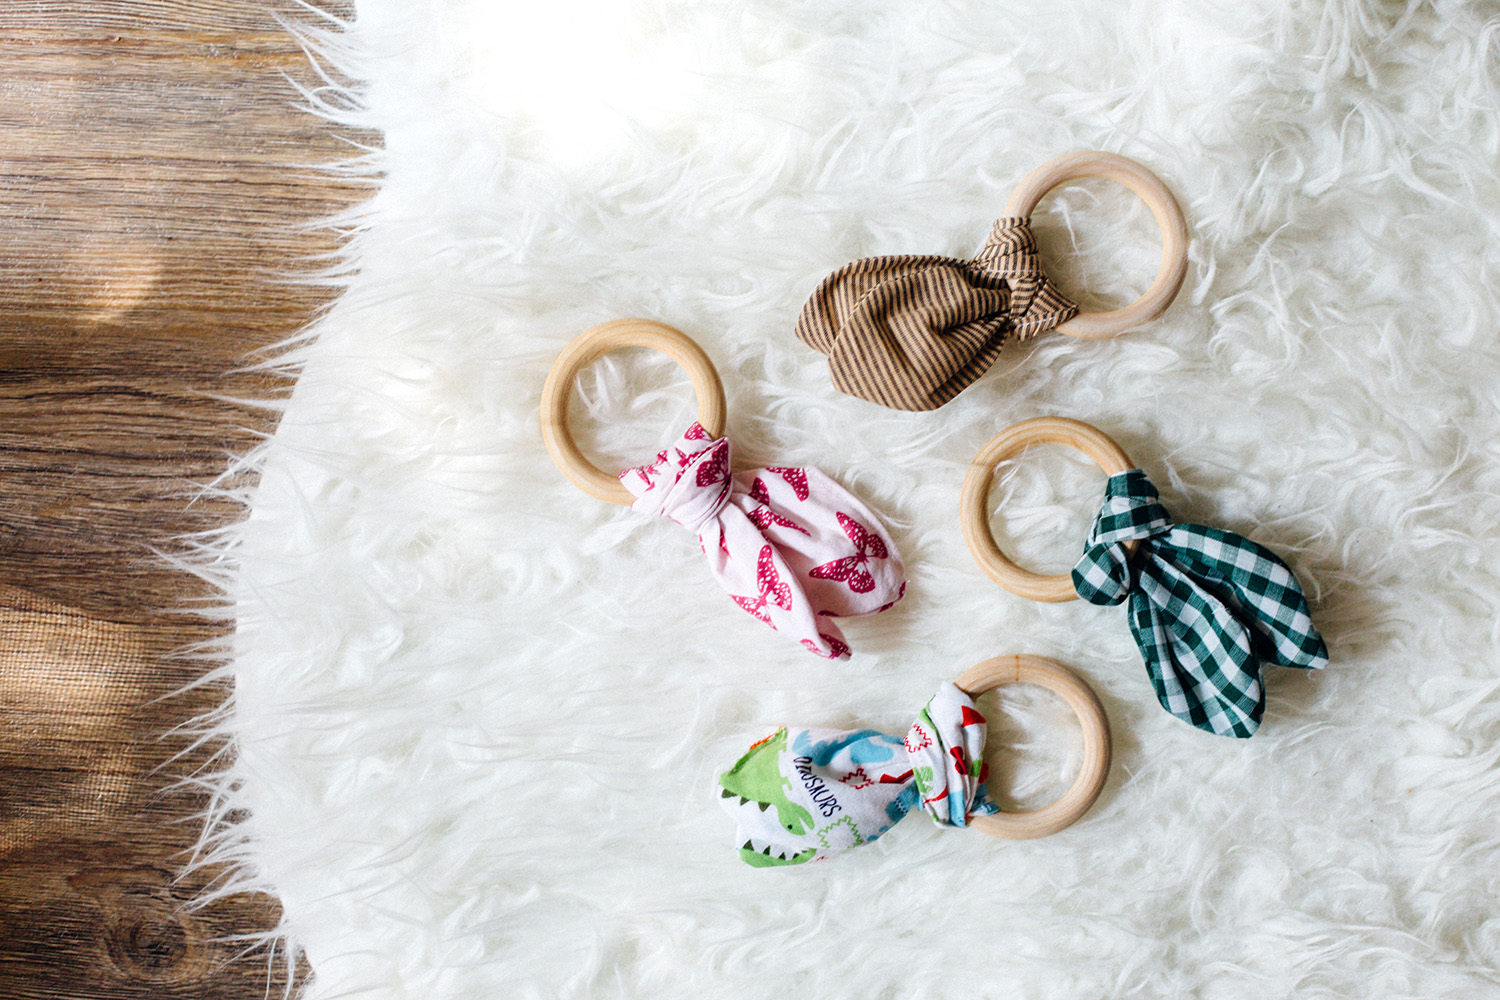
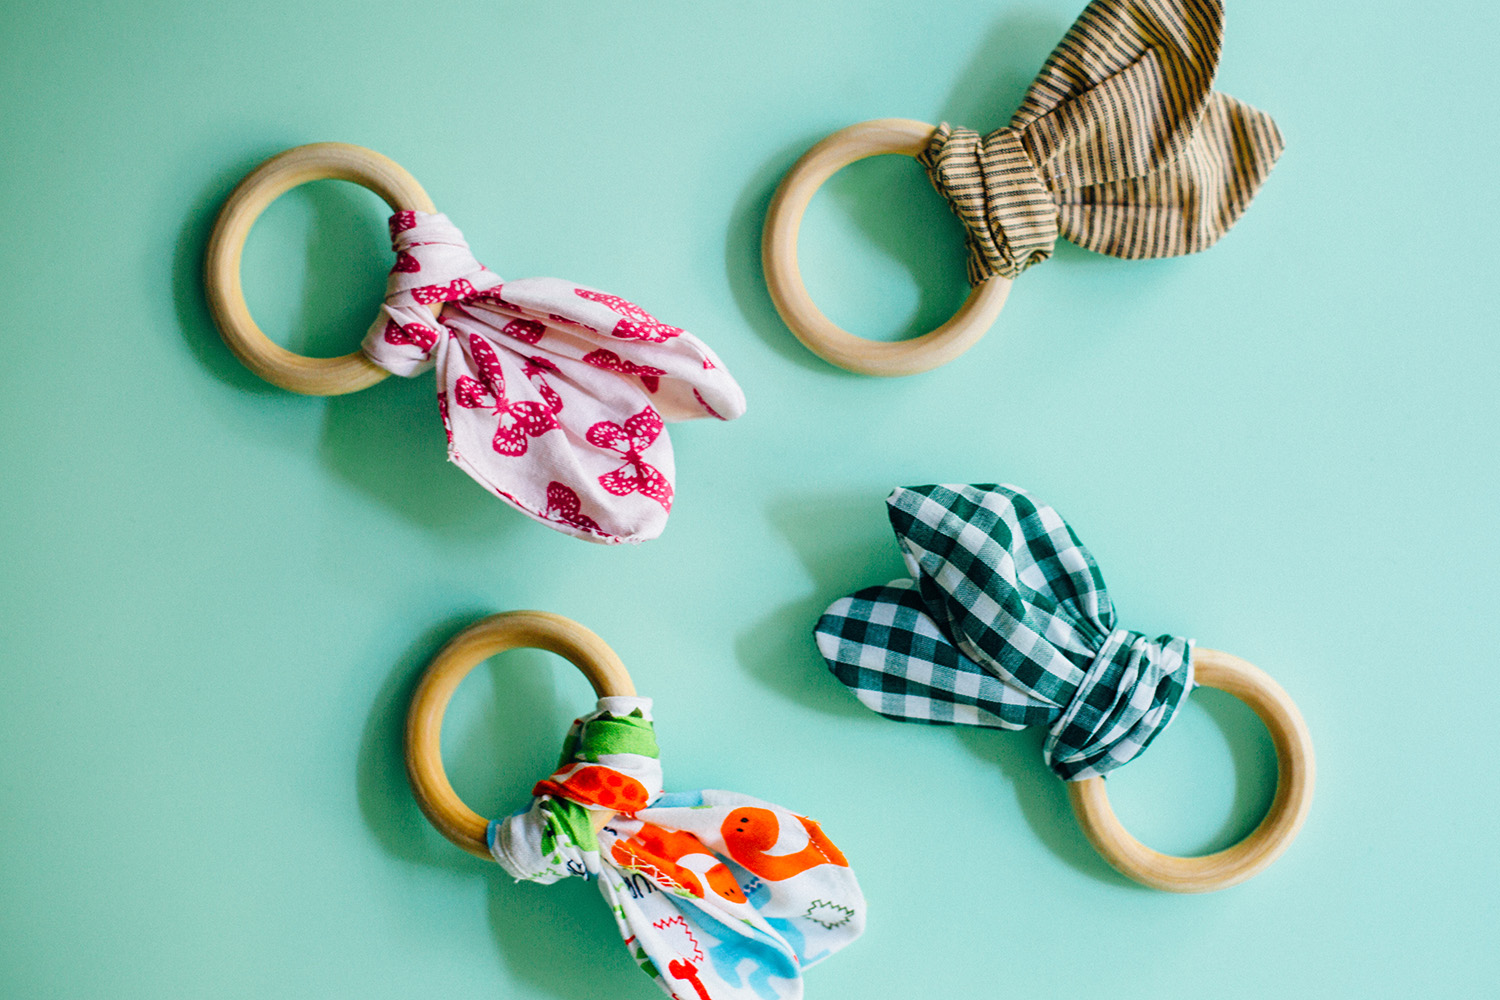
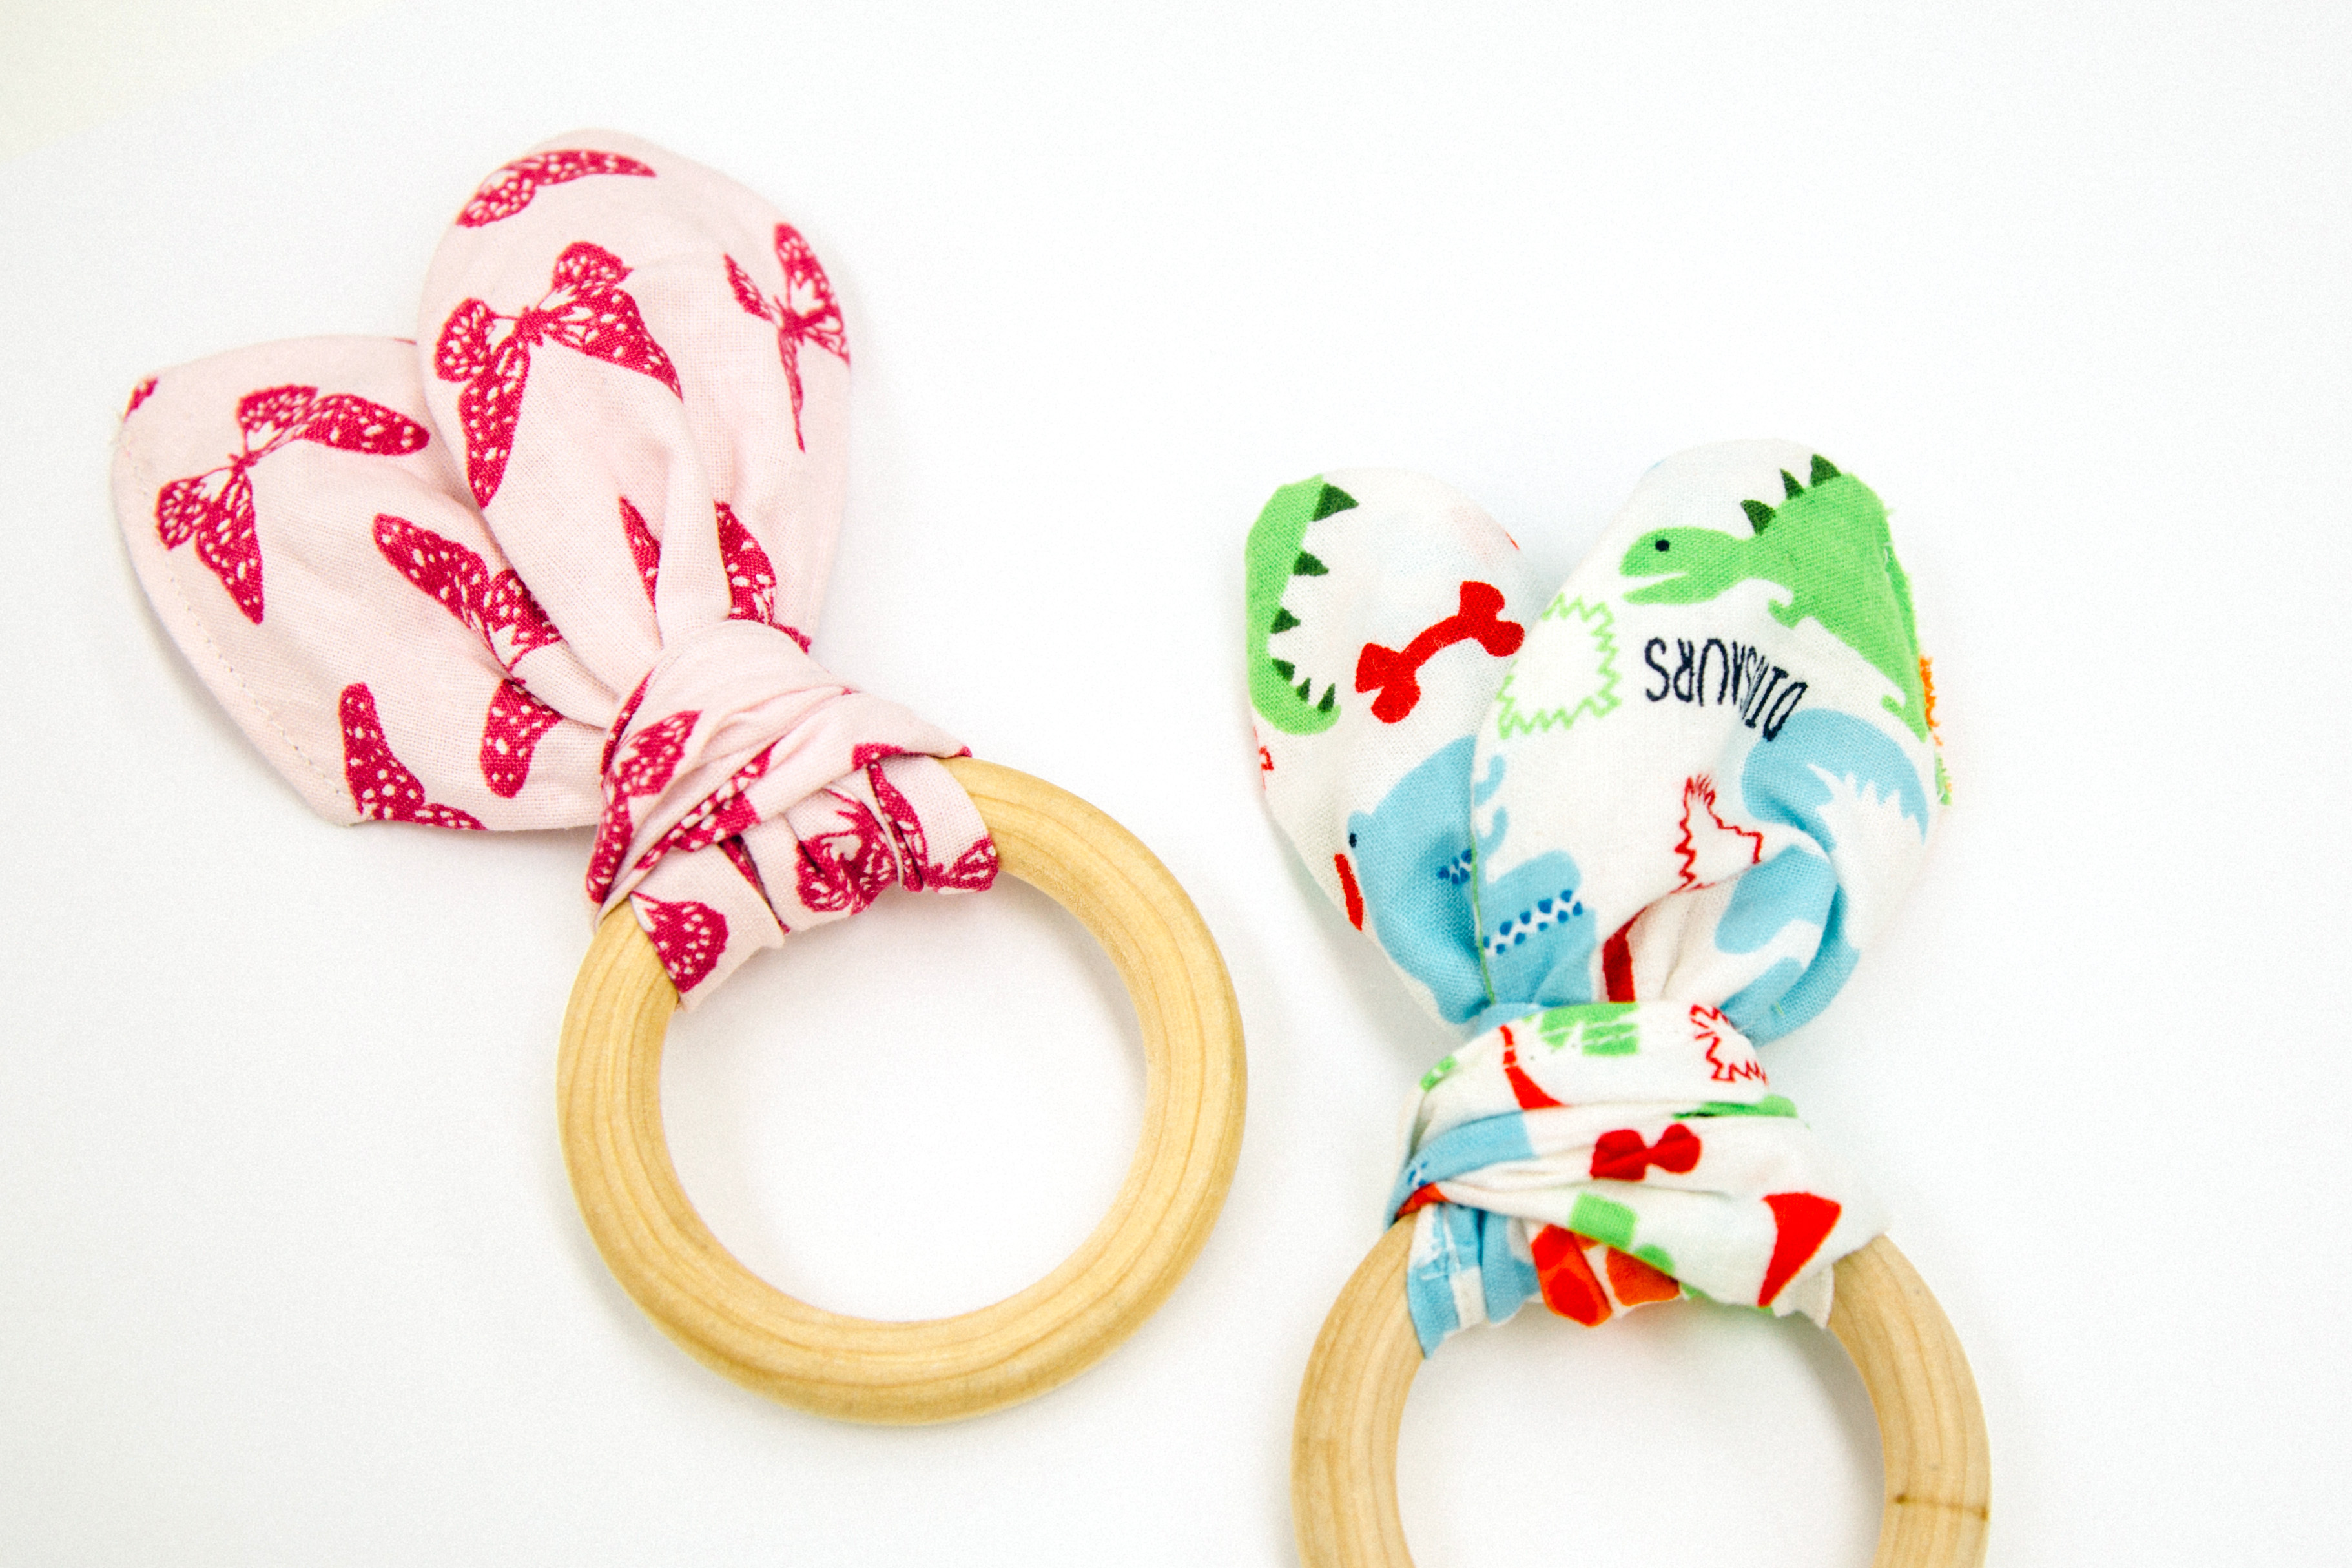
In an effort to keep little ones occupied while they play in their tents, these DIY wooden teething rings can be made in an afternoon and last well through babyhood!
Here’s what you’ll need to create teething rings:
SUPPLIES
- 2.5″ wooden rings
- Wax paper
- Sewing machine
- Scissors
- Sewing pins
- Soft fabric of your choosing
- Printable sewing pattern
- Chopstick or thin wooden dowel
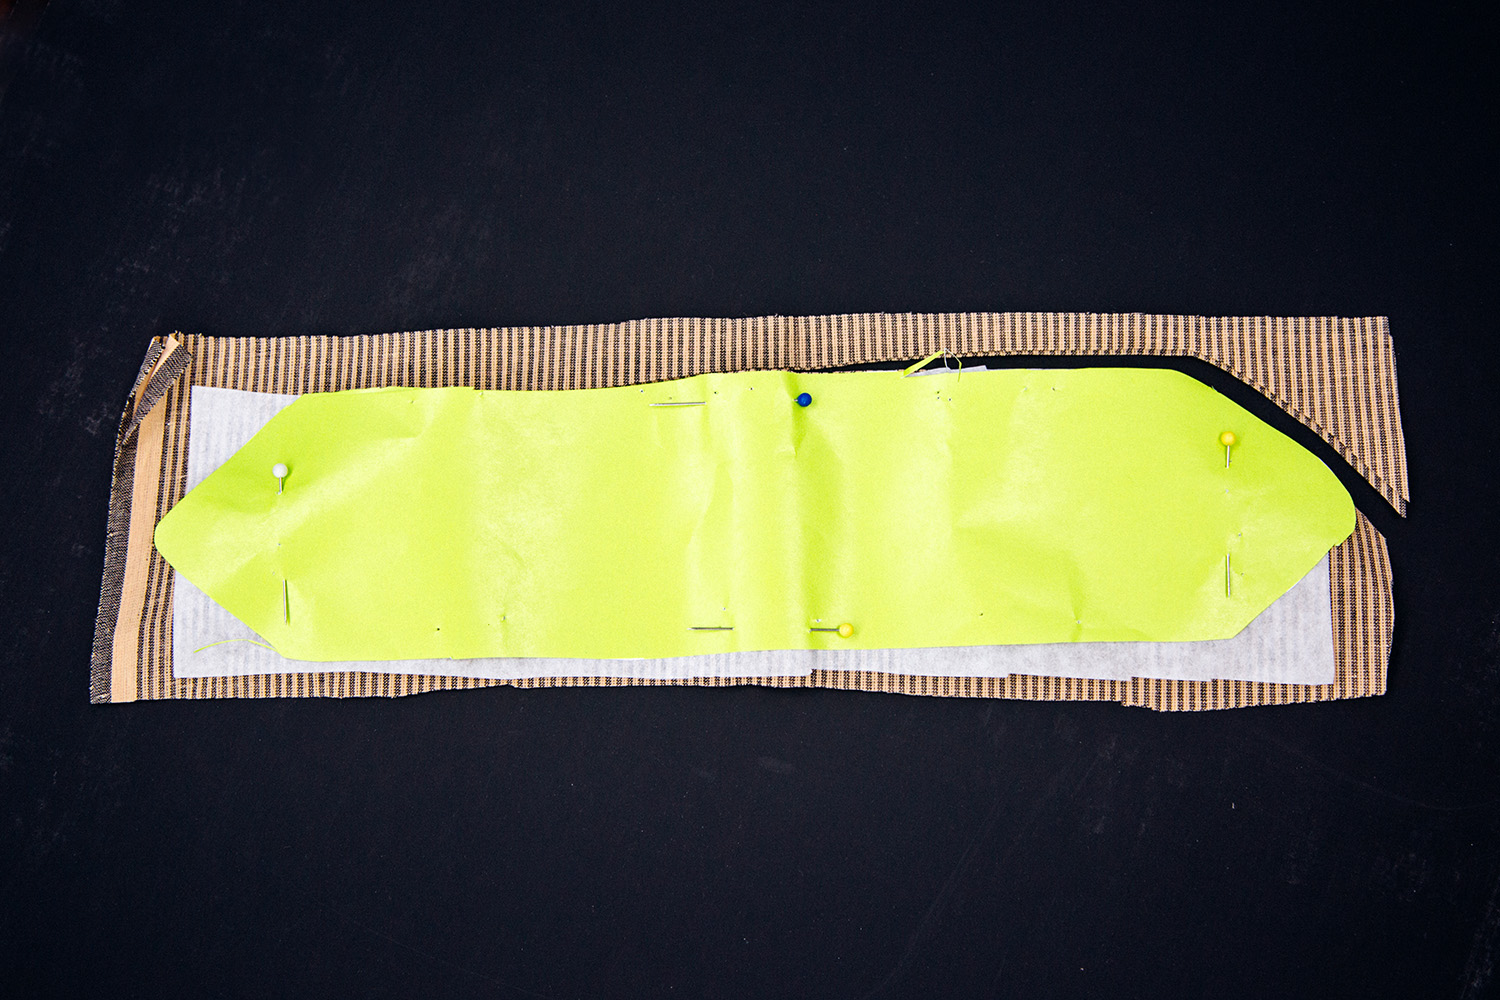
Cut out our free printable sewing pattern and pin it to a sheet of wax paper and two layers of the fabric of your choice.
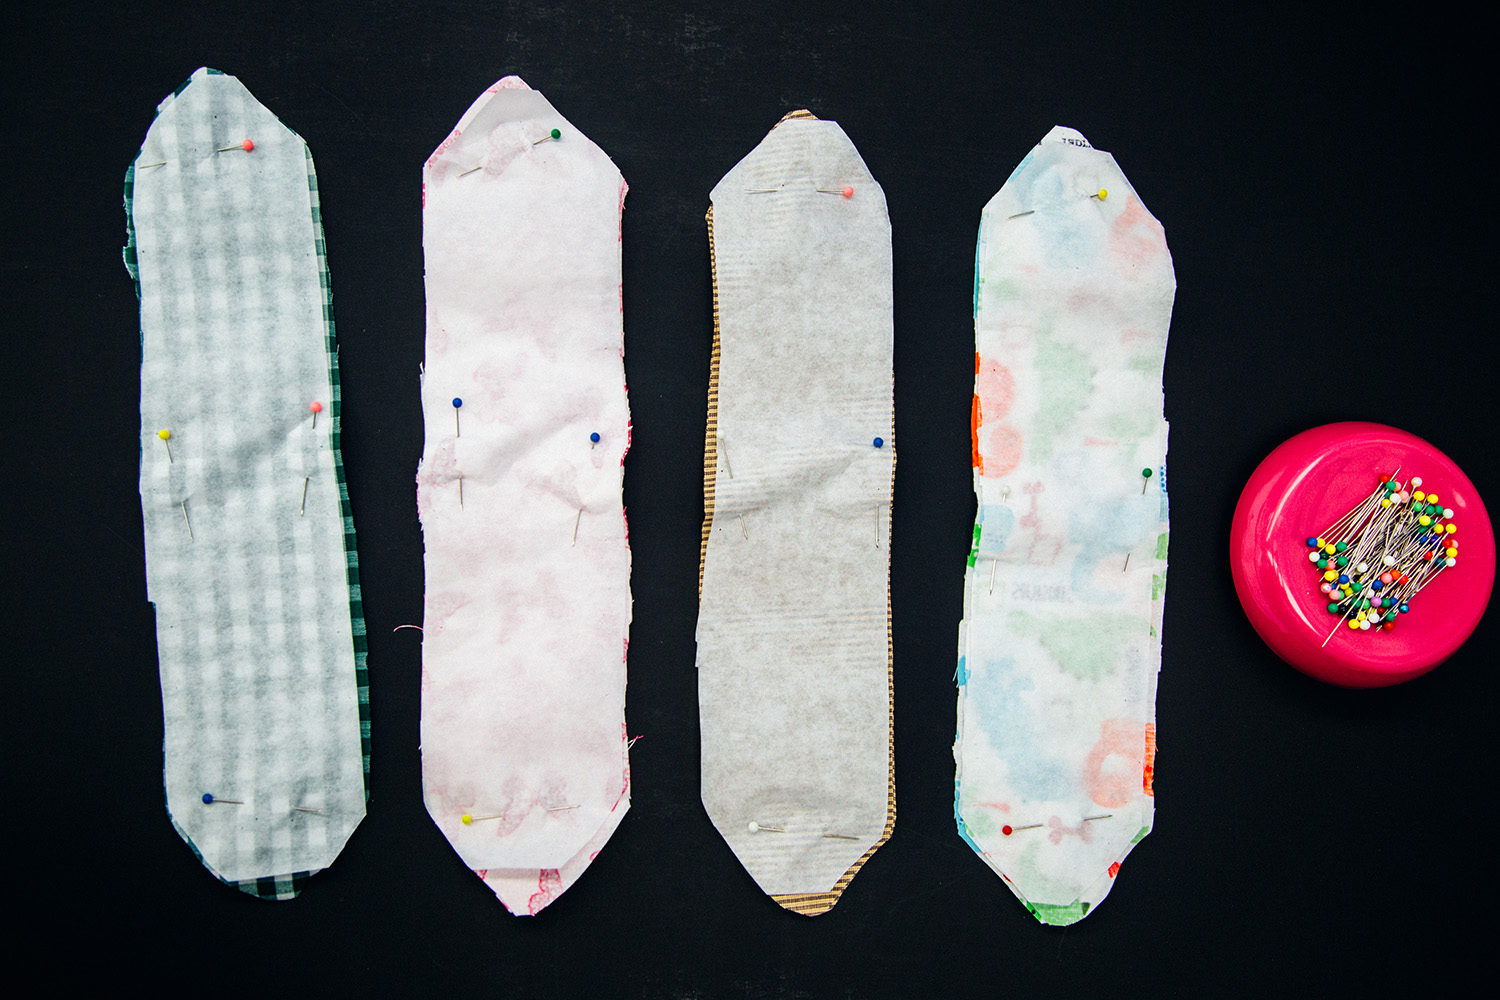
Cut around the pattern and then unpin all the layers. Place the two printed (wrong) sides of the fabric face to face and the wax paper on the outside. Repin all the layers to secure everything together.
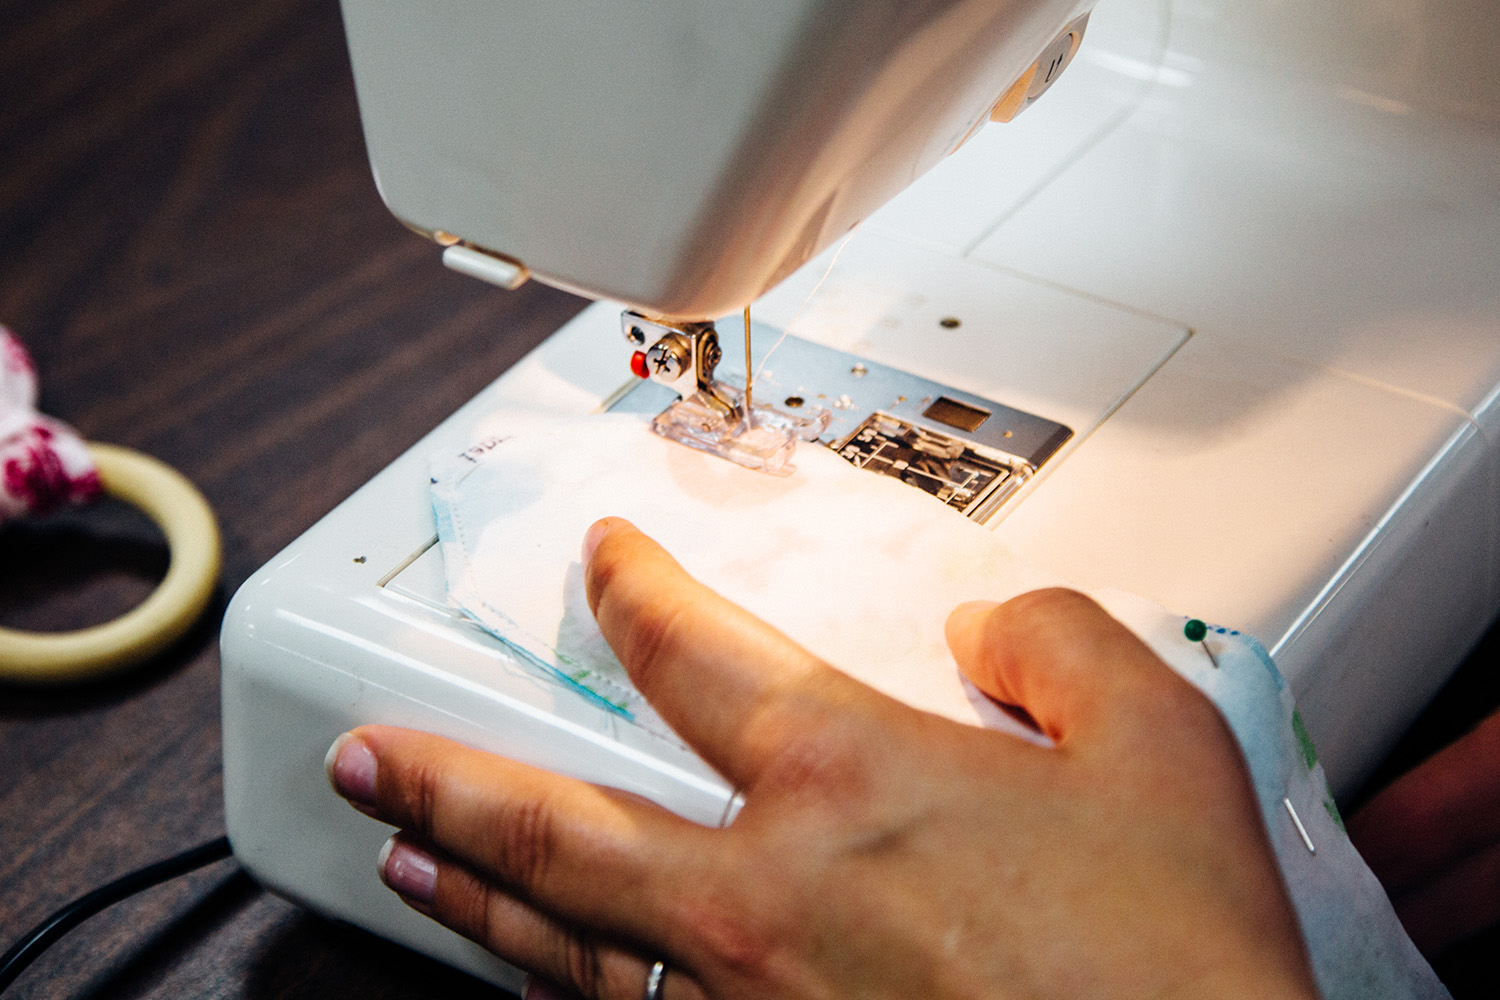
Sew around the perimeter of the fabric leaving a 1/2″ margin for a chopstick to enter and flip the fabric inside out. Once it’s flipped around, sew up the hole.
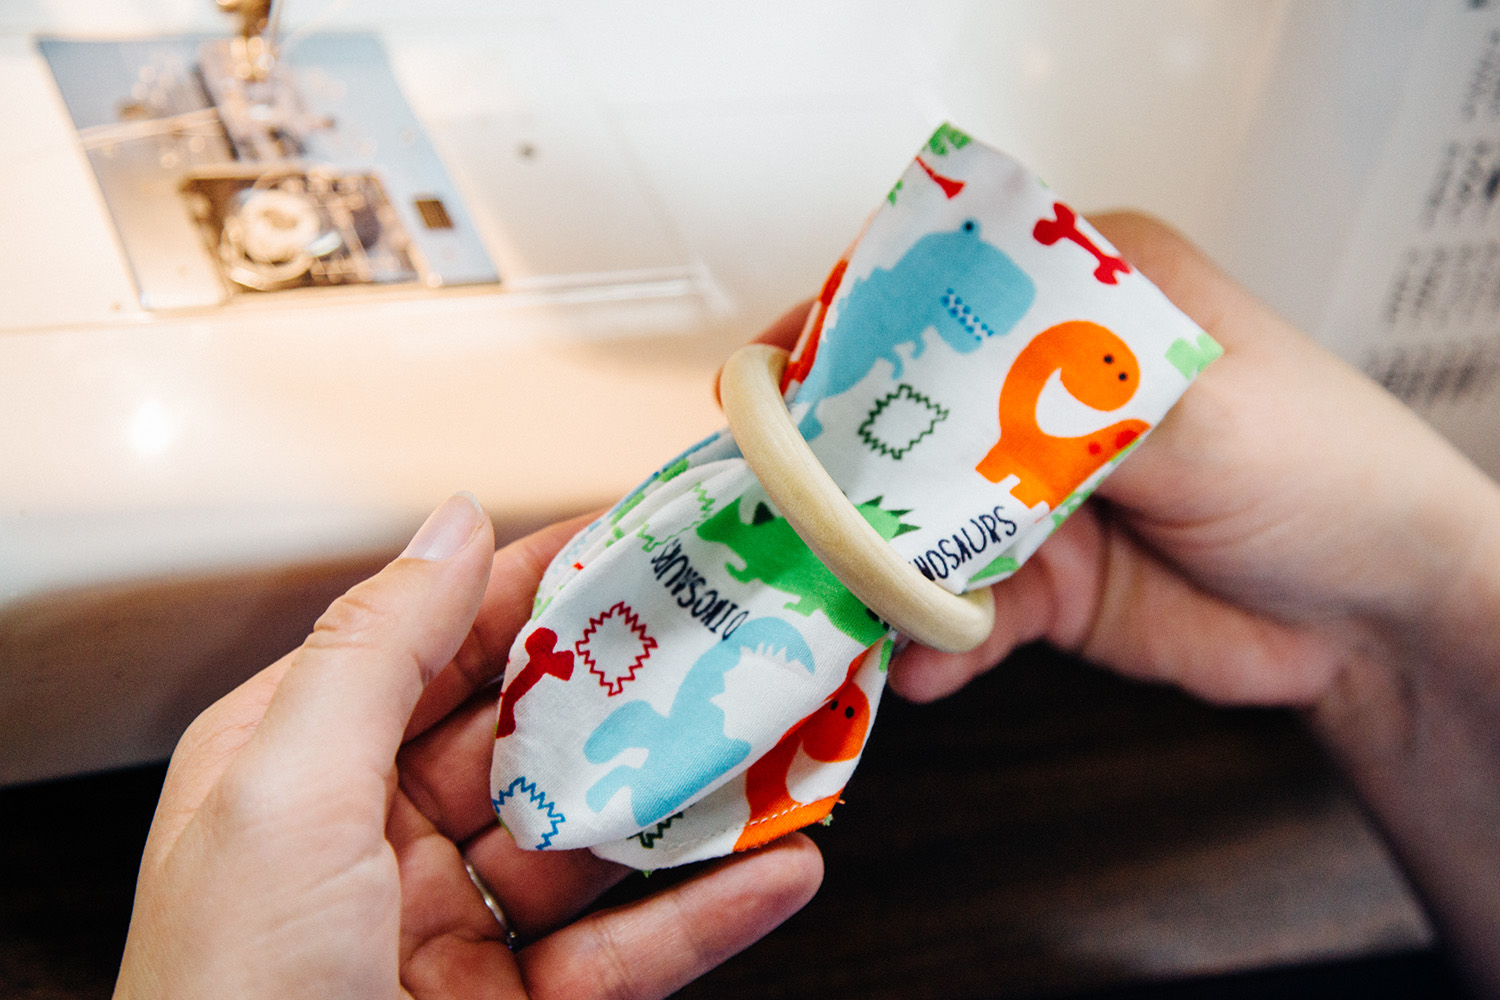
Once the sides are all sewn up, fold the strip of fabric in half and place it through the center of the wooden ring.
Fold the fabric in half again, allowing for a loop to be made at the top of the ring.
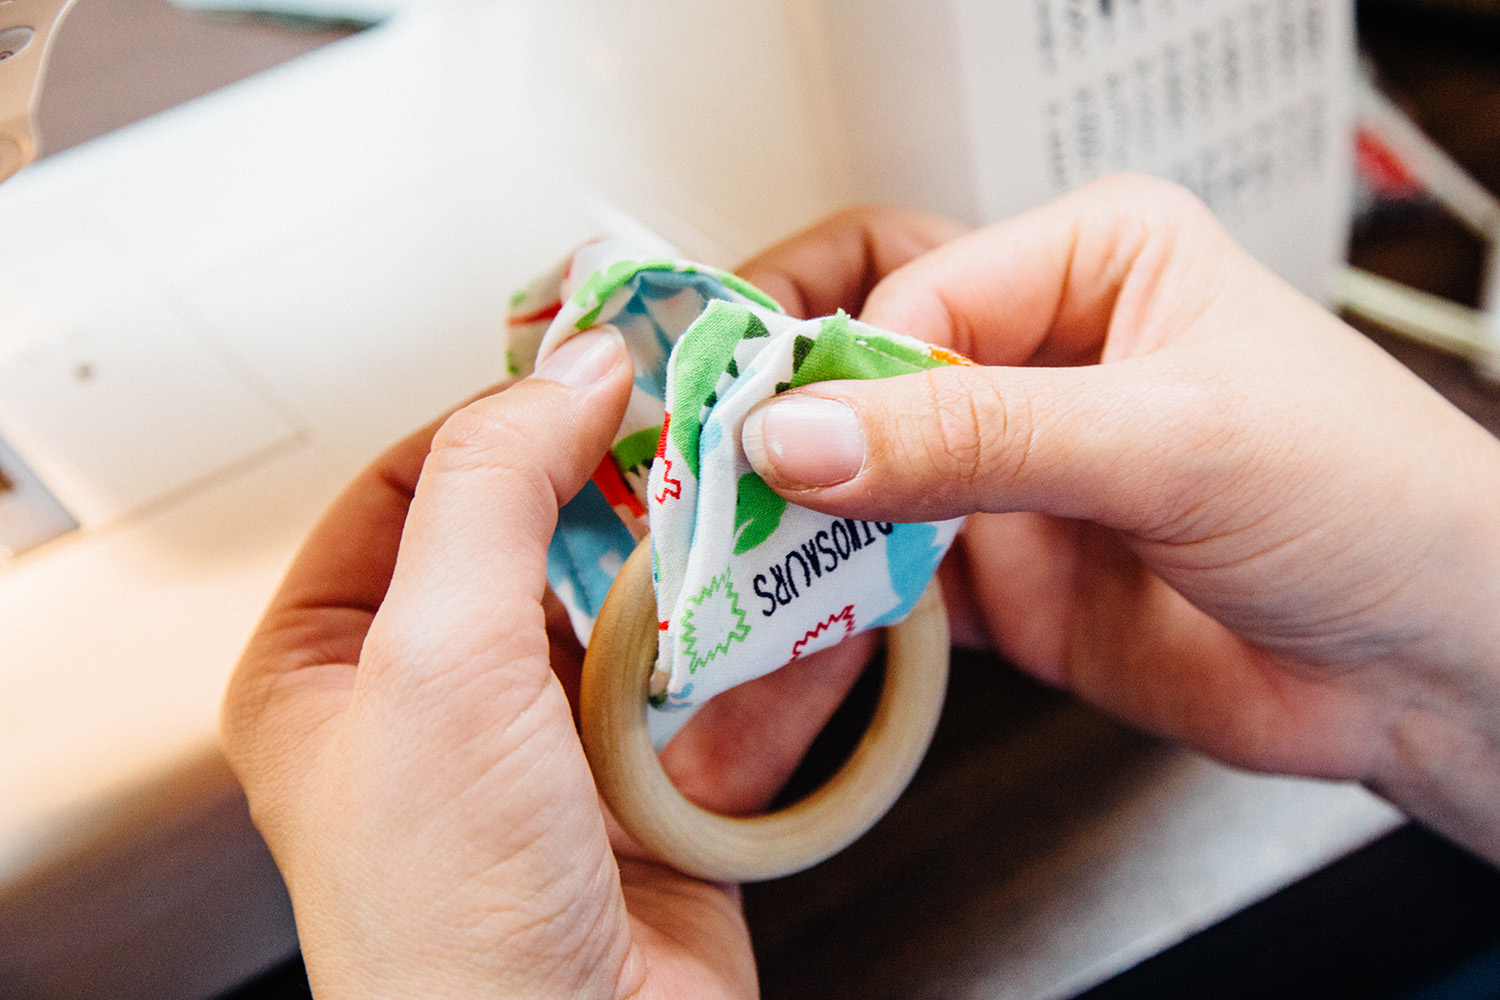
Pull the ends of the fabric through the loop.

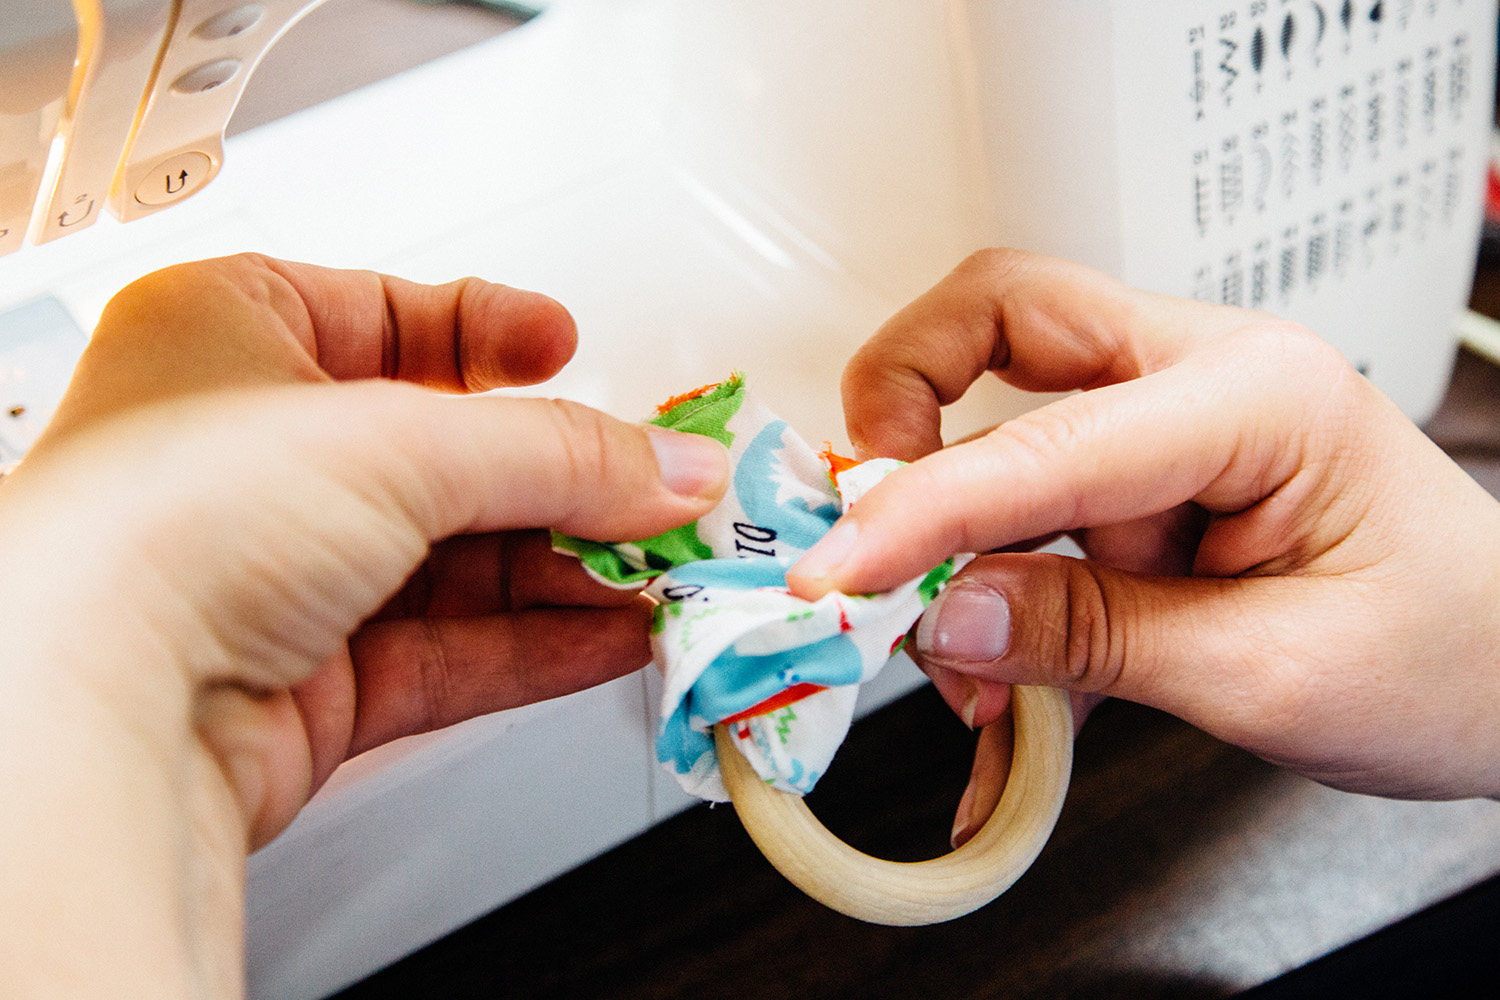
Give the fabric an extra tug to ensure that the knot is secure.
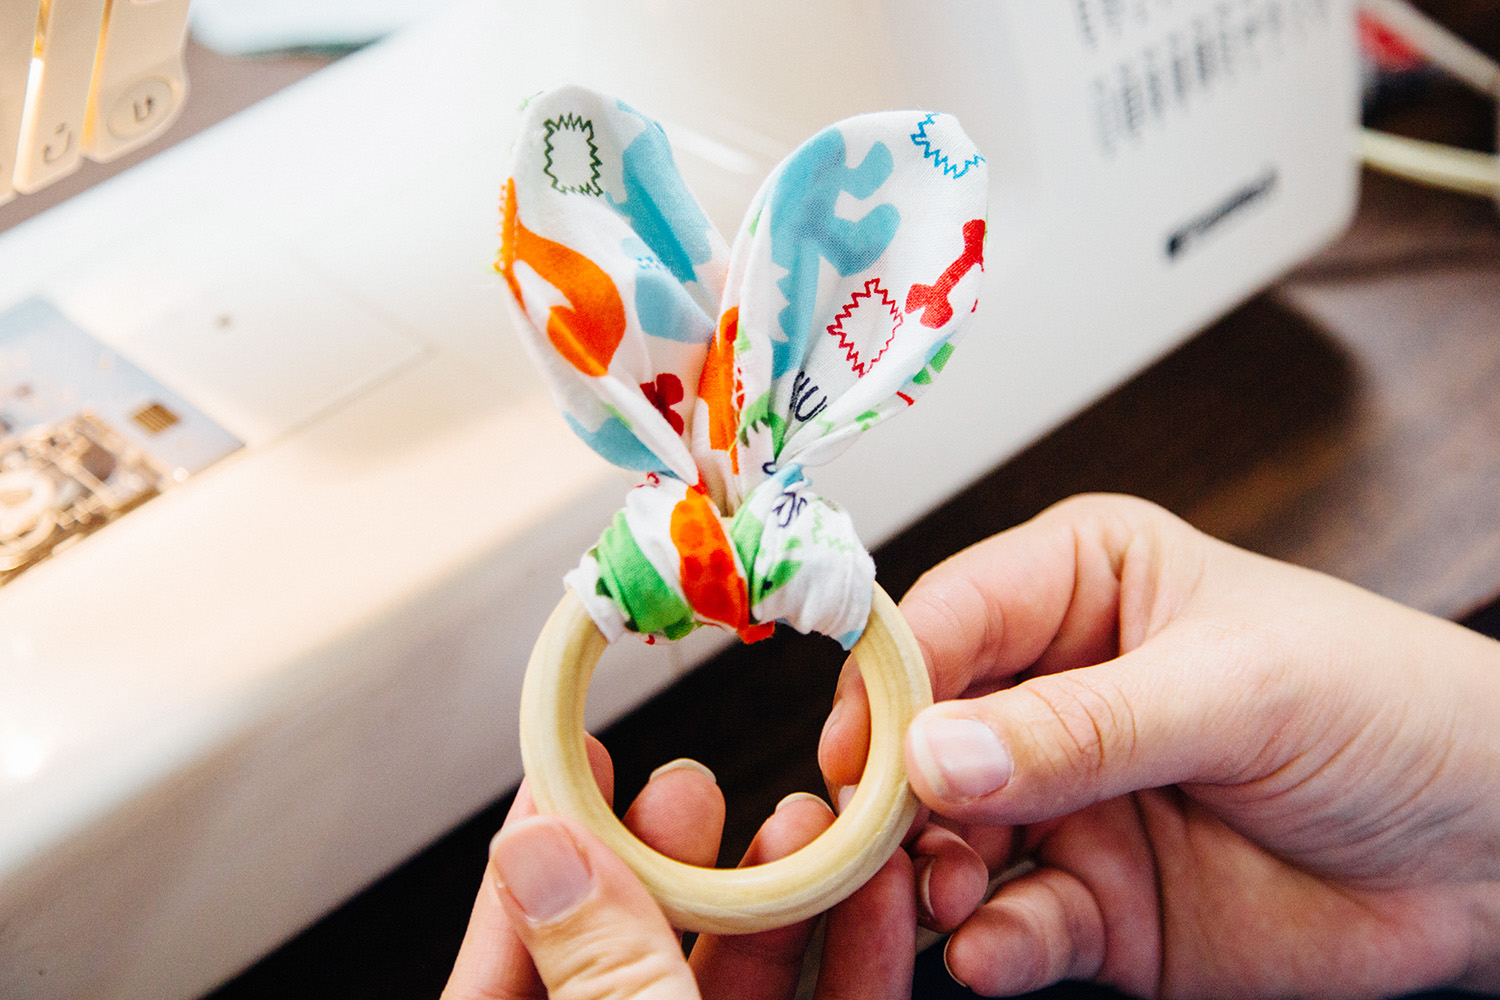
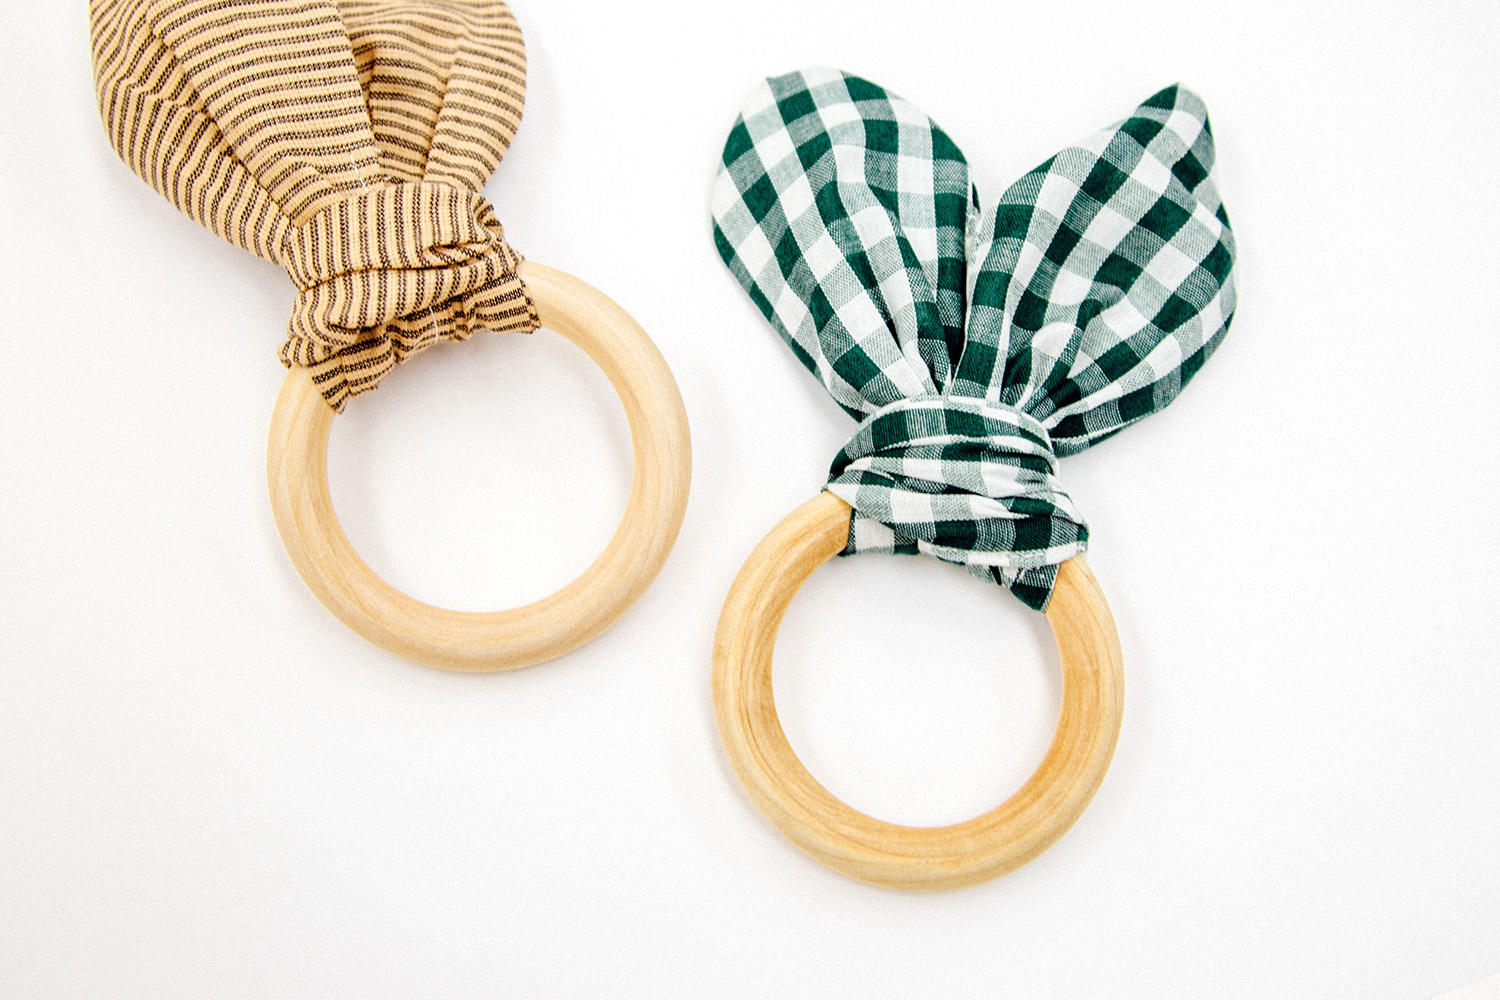
Fluff out the “ears” and pass along to the little ones in your life!


Happy crafting!