
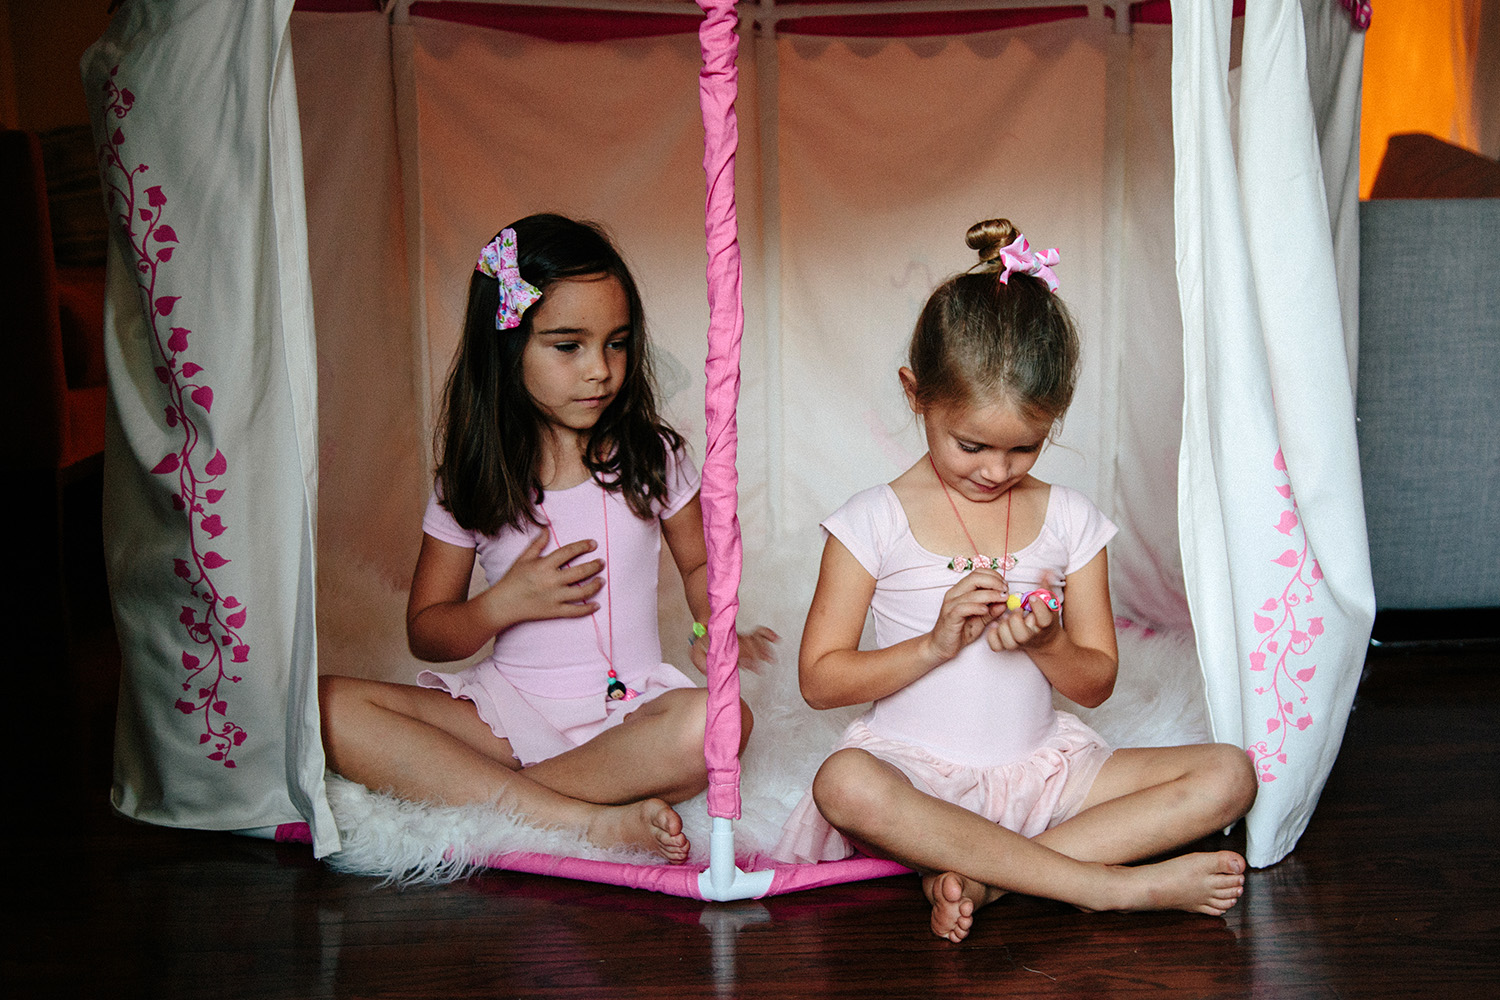
Calling all tiny dancers! Our Prima Ballerina Pavilion is the perfect place to sauté, jeté, and assemblé through play time. And what better accessory for the big recital than a ballerina-inspired necklace? Today we are sharing how easy it is to create a DIY wooden bead ballerina necklace that is sure to complement any tutu and pointe shoes pairing!
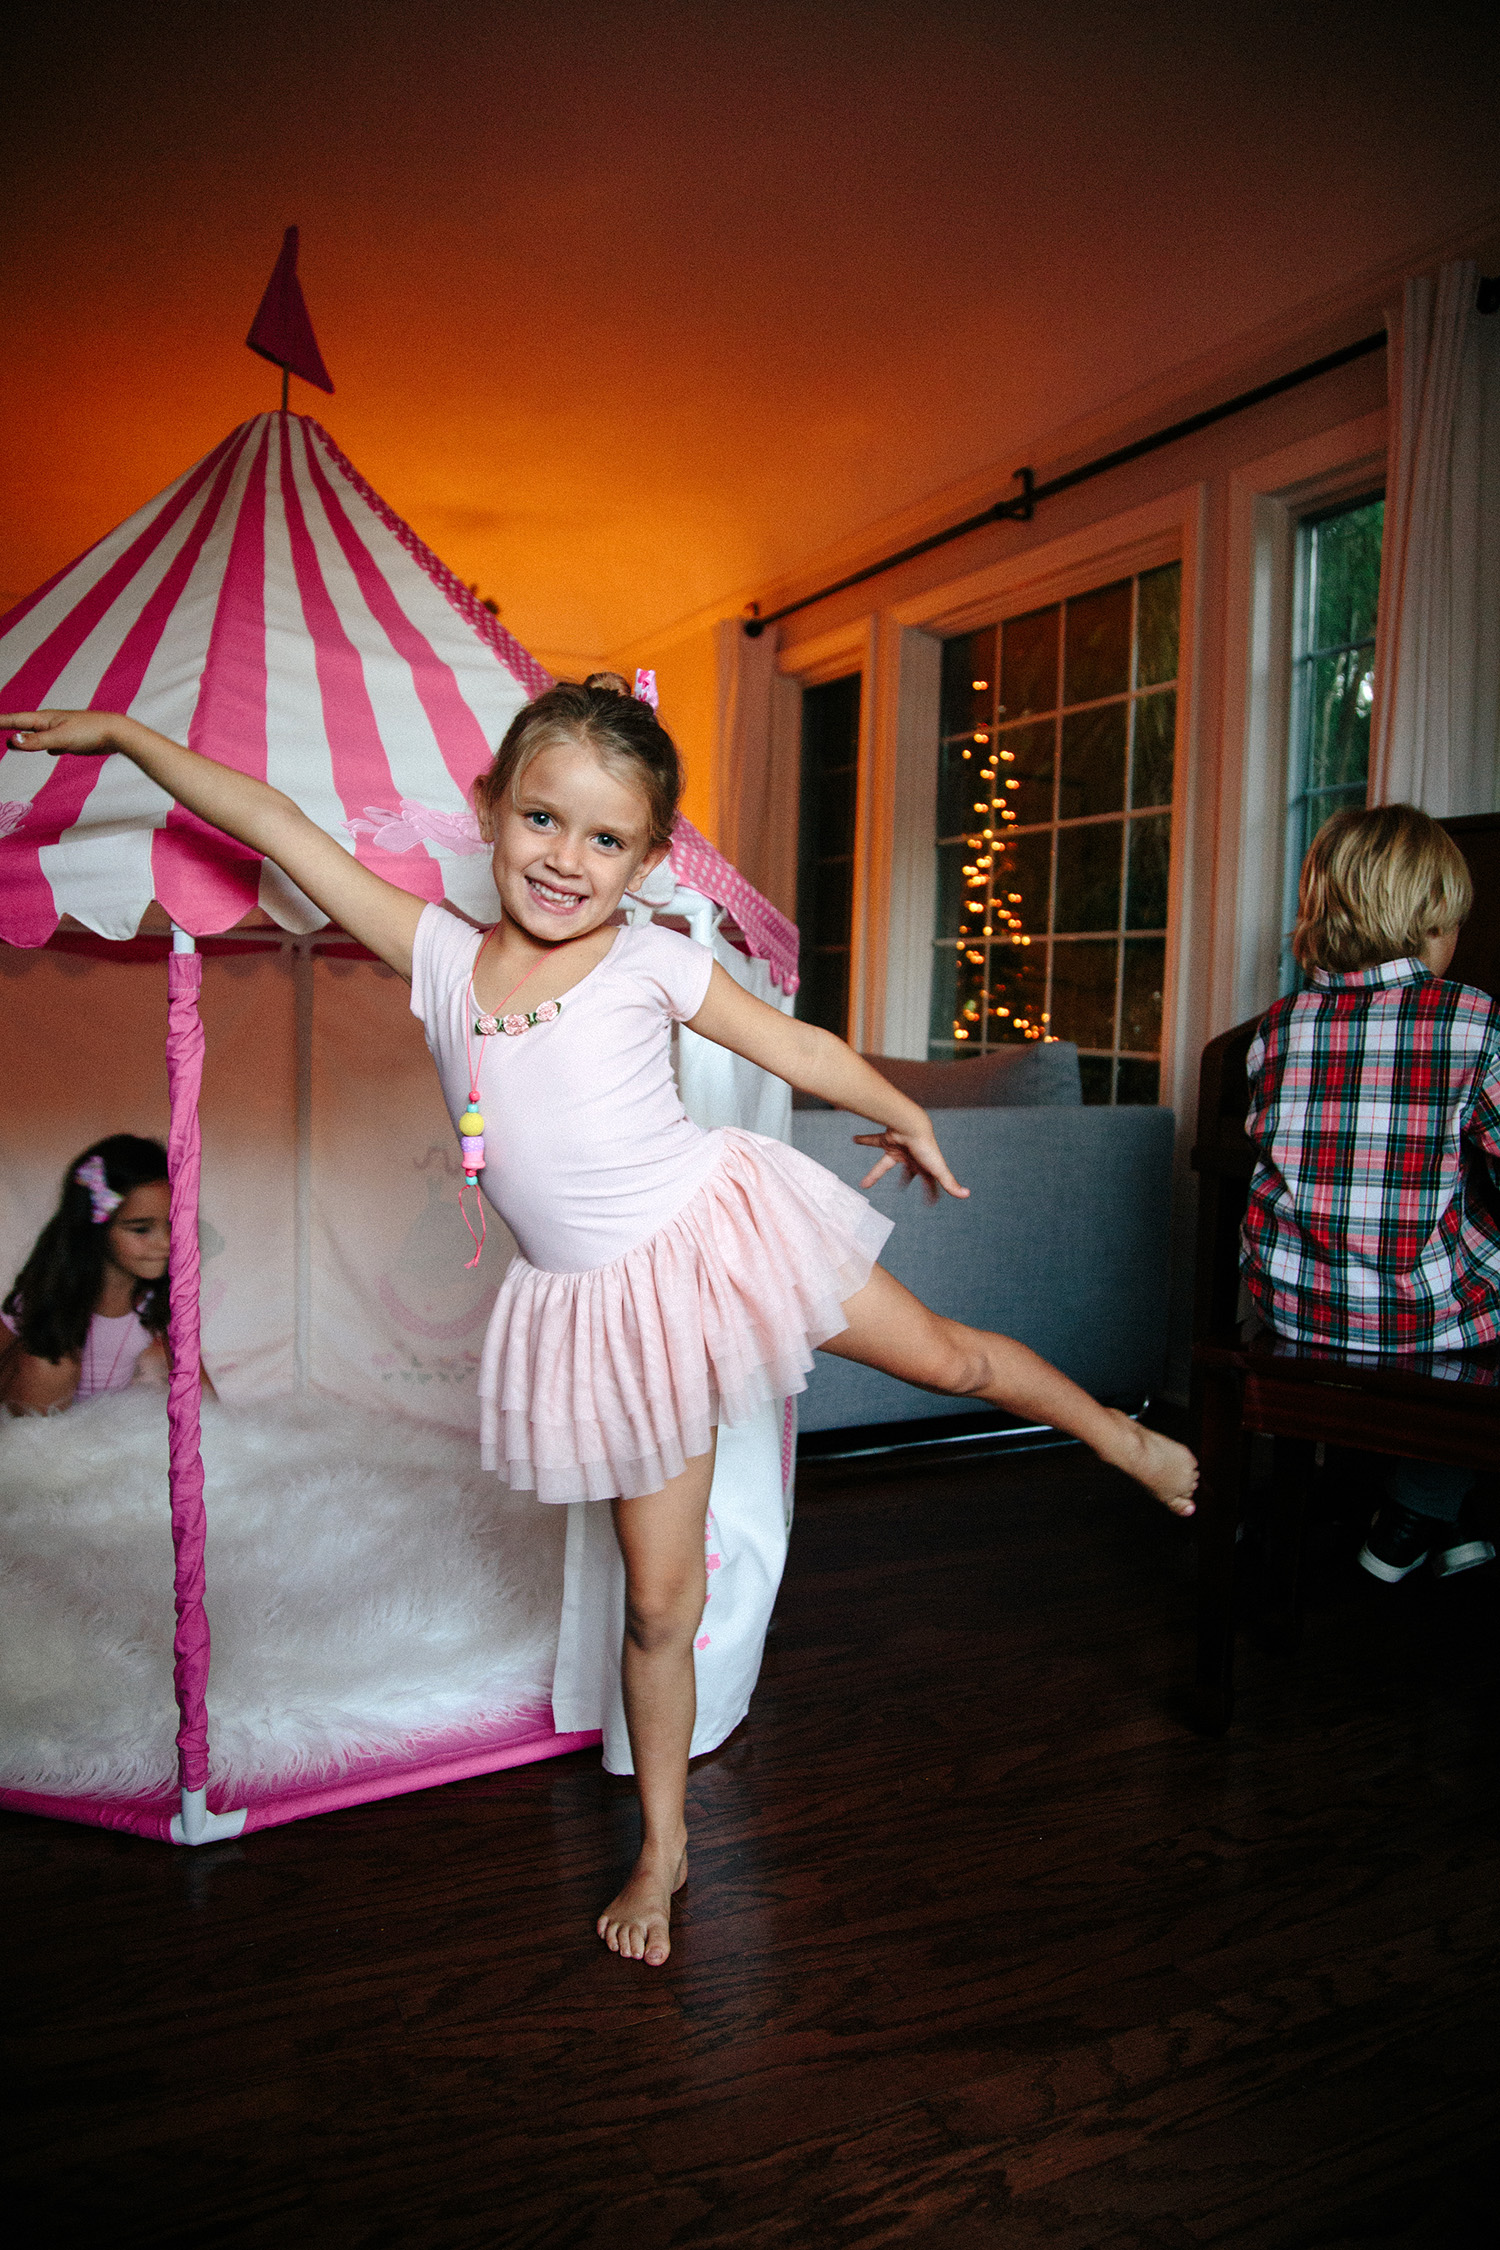
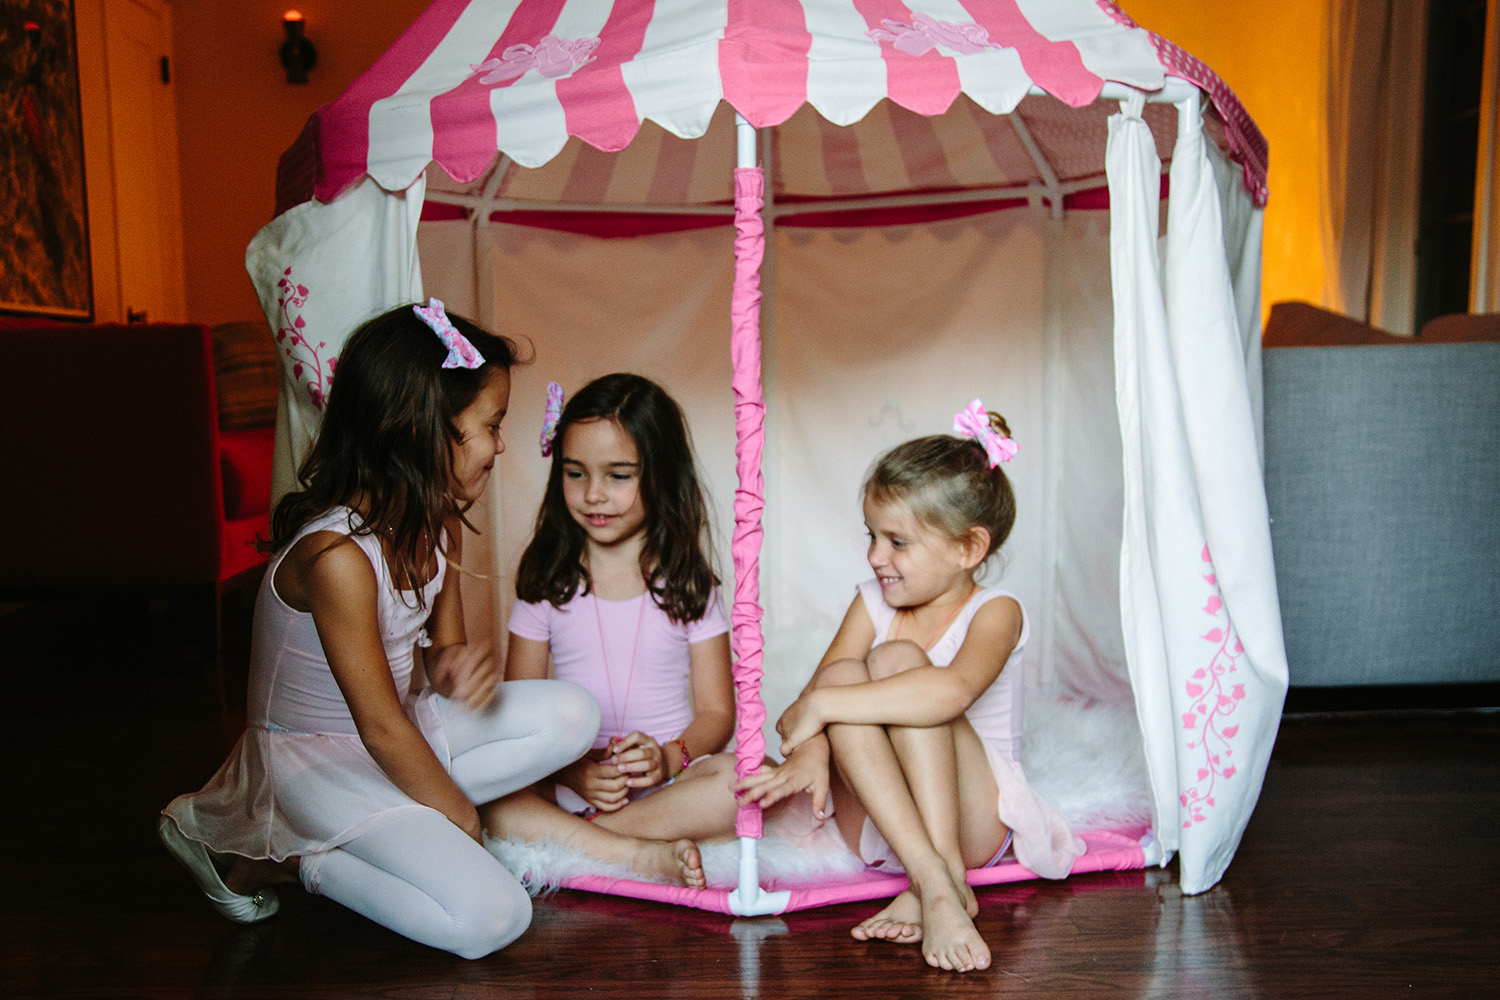
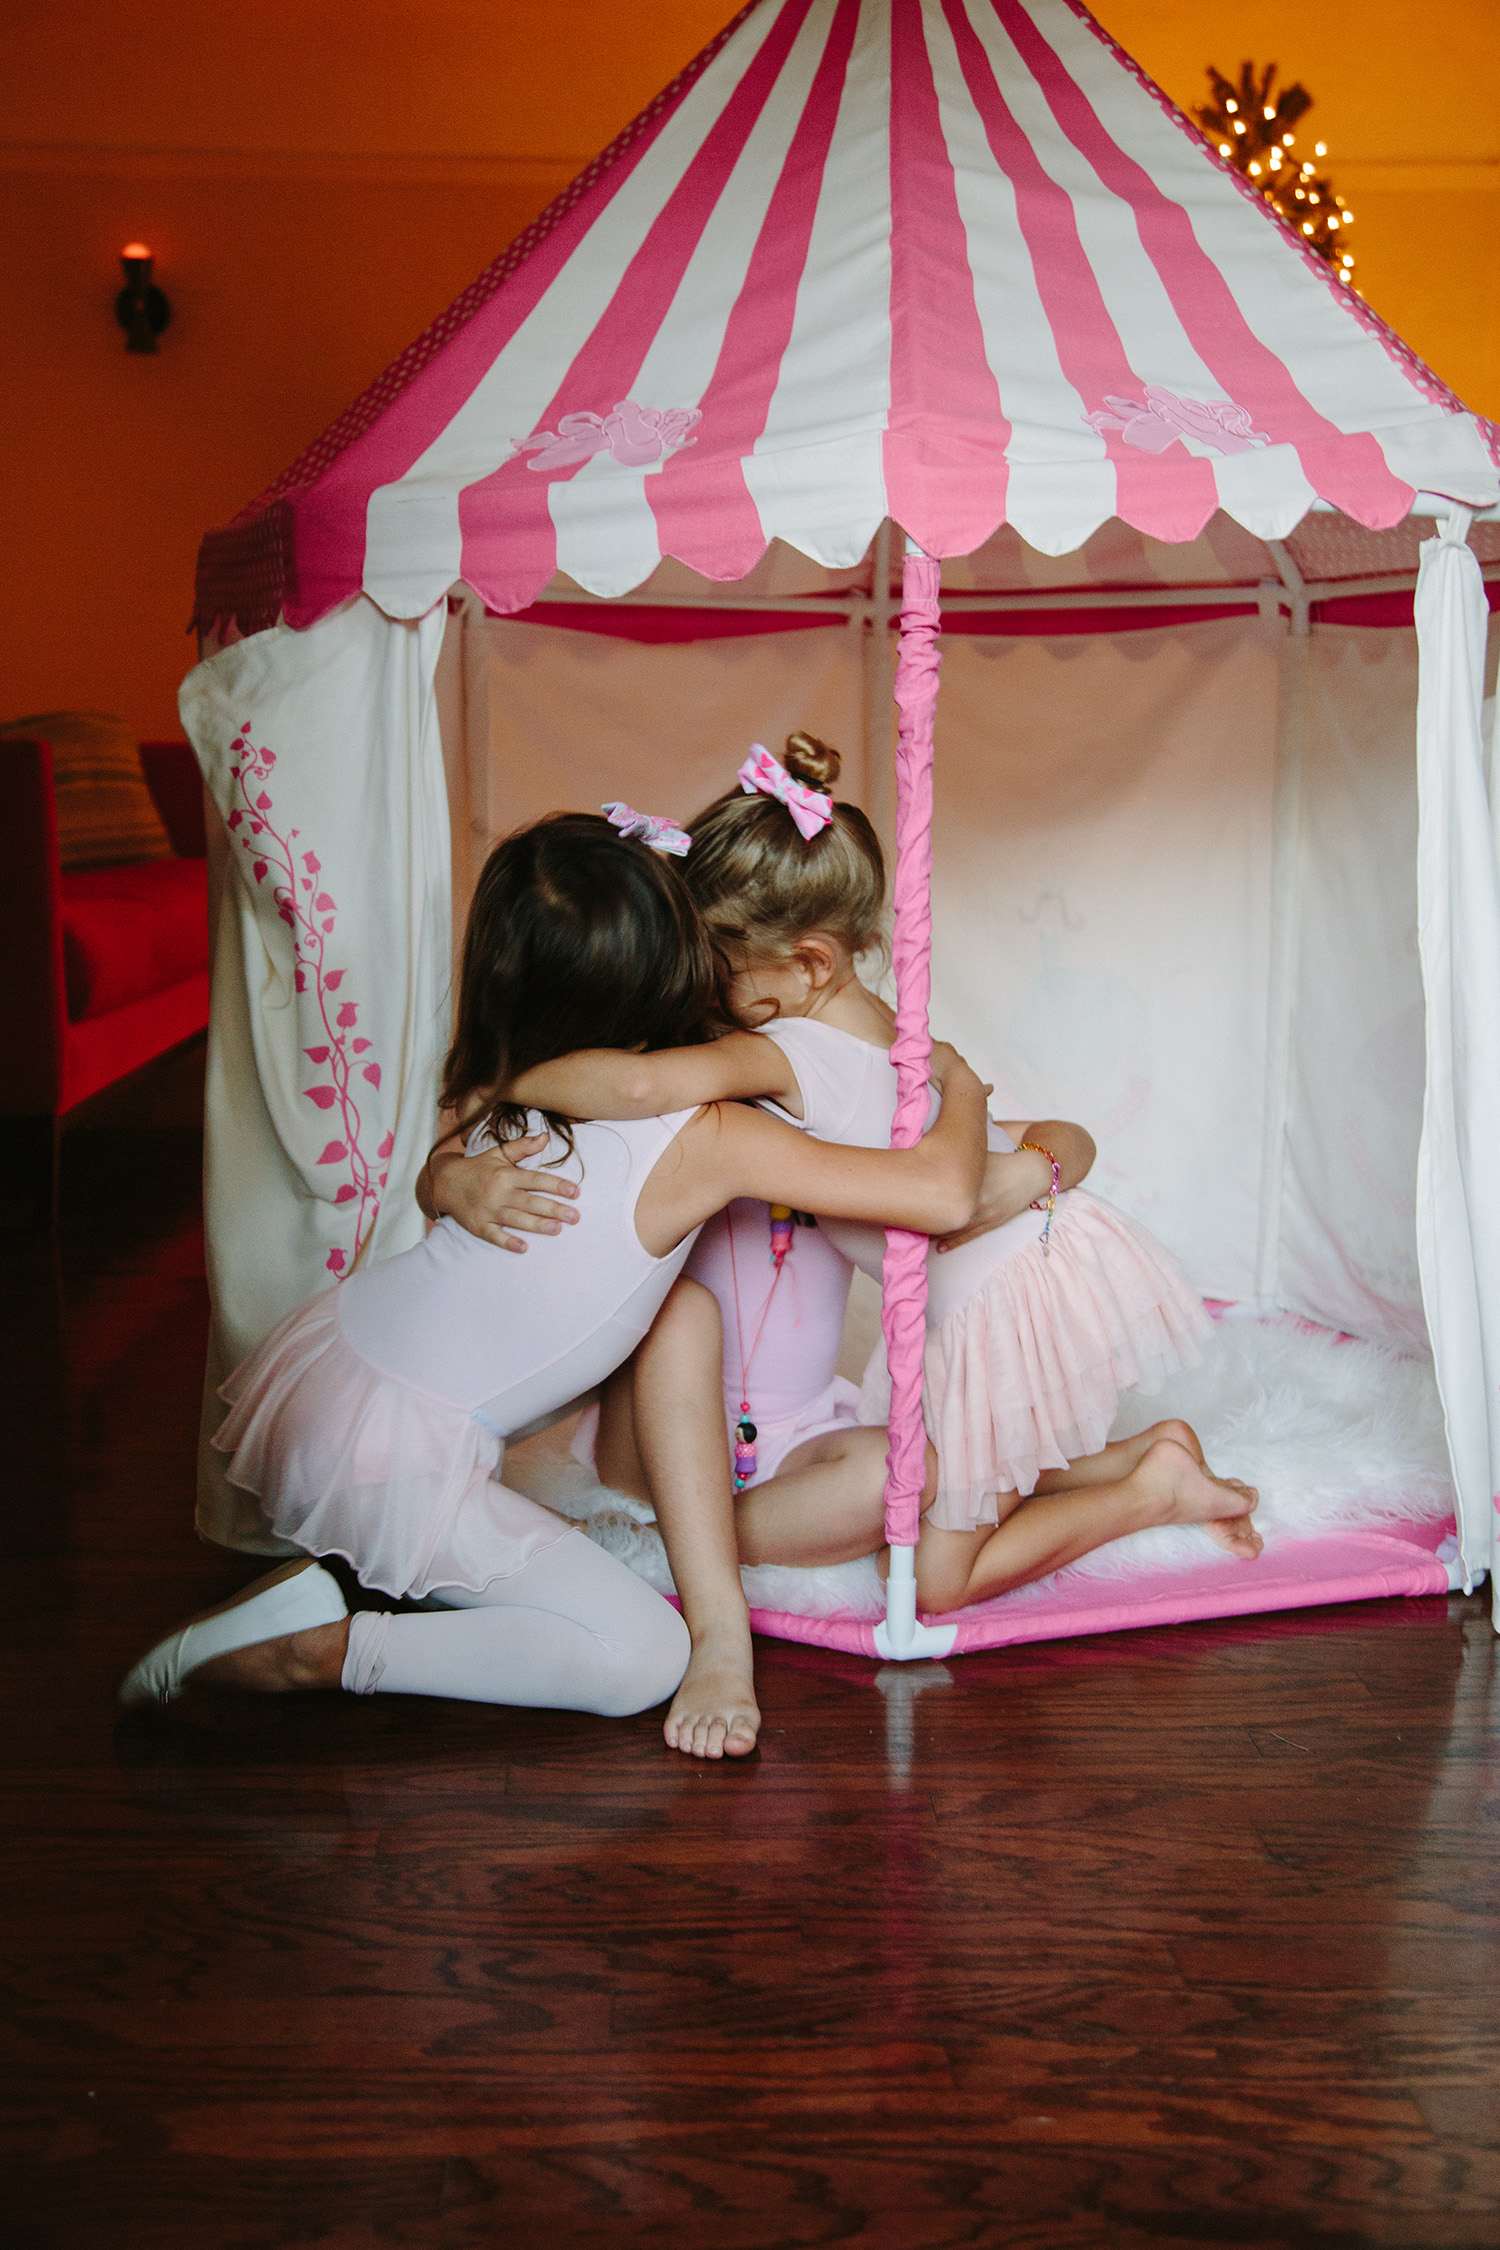
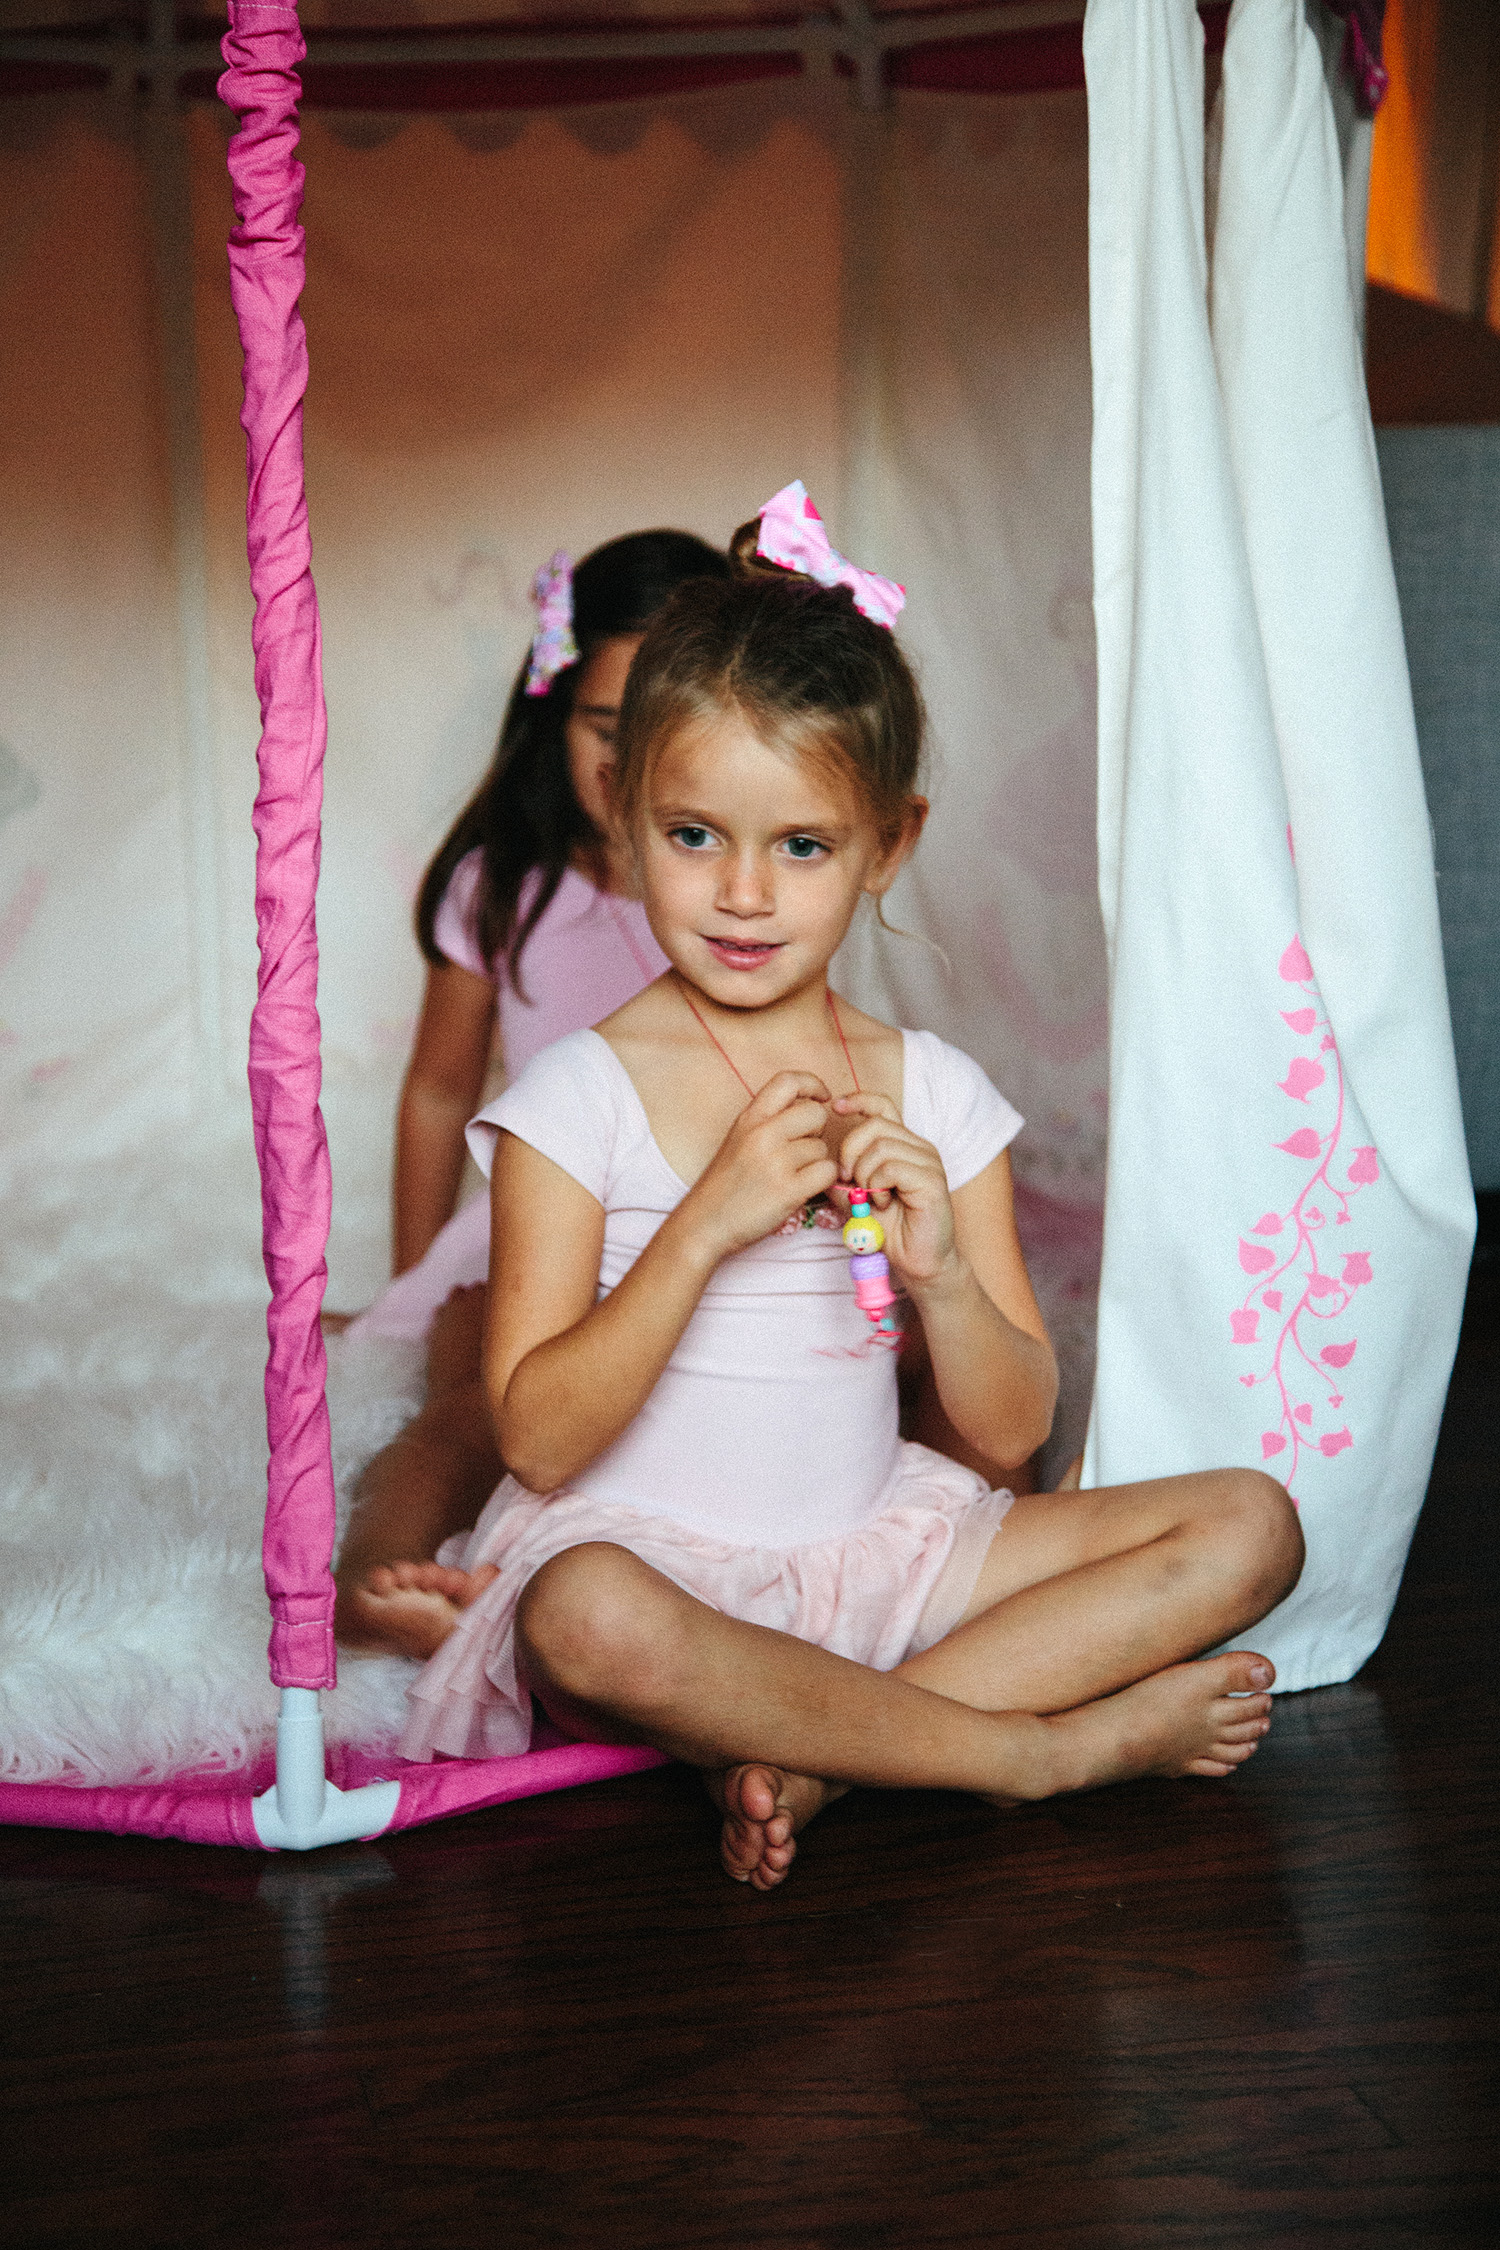
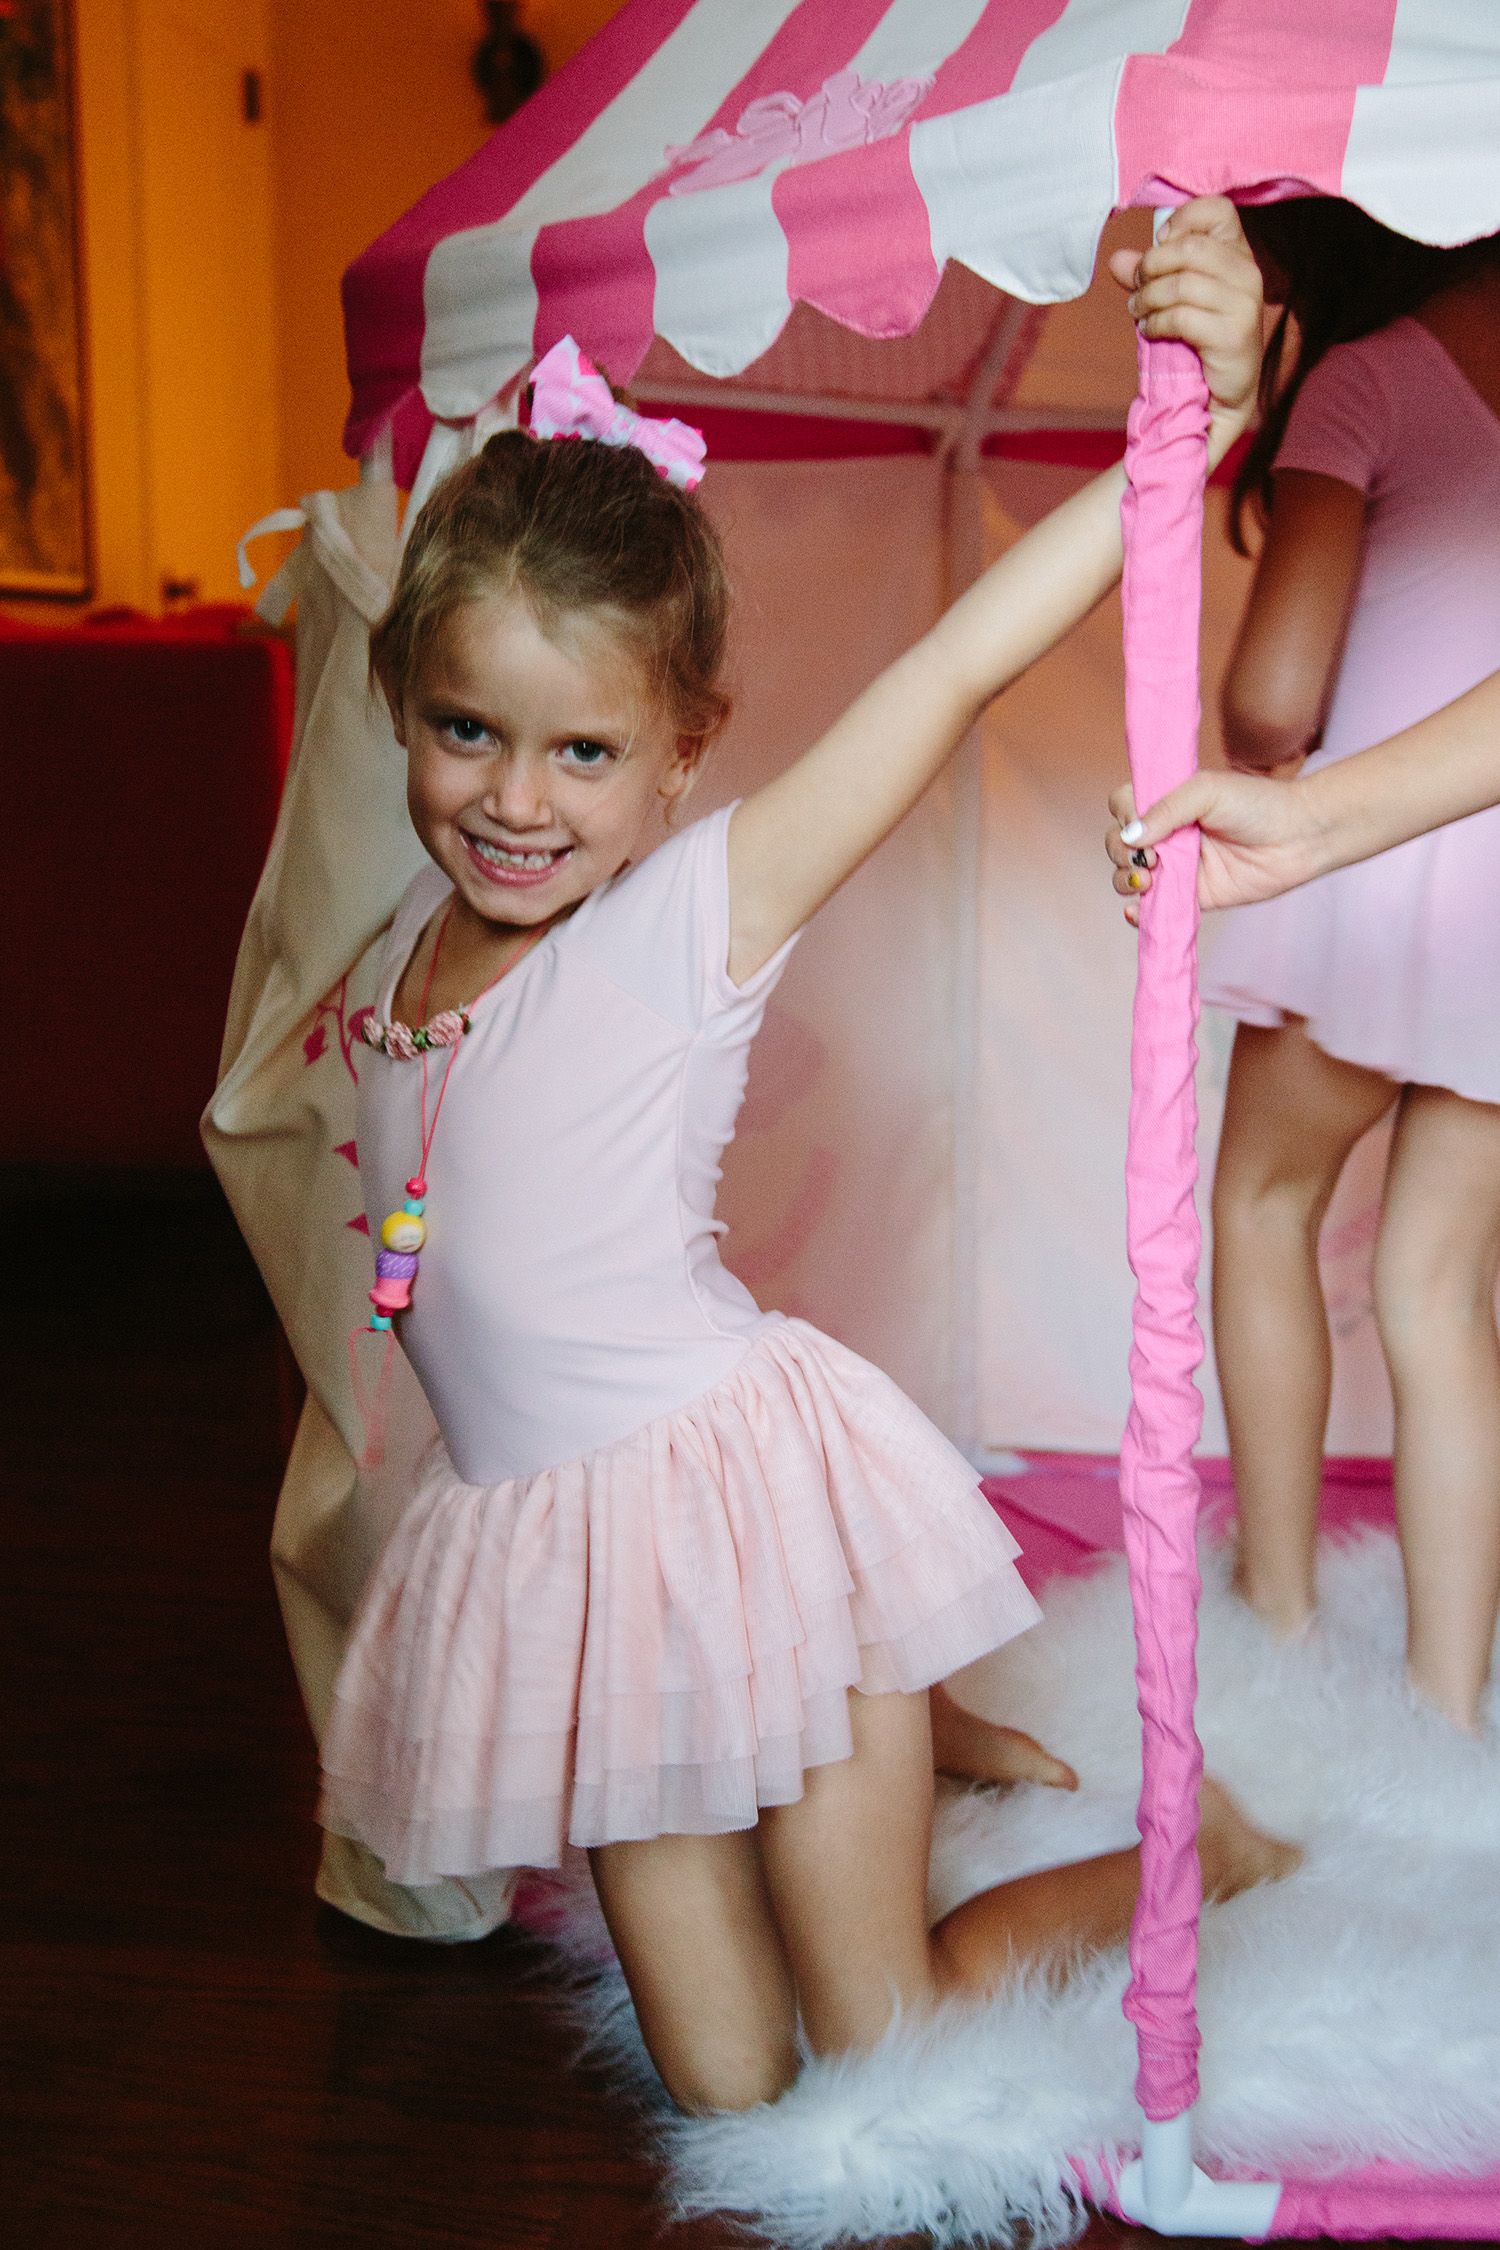
At 55″ x 63,” our Prima Ballerina Pavilion has plenty of space for several ballerinas-in-training to perfect their positions in style and comfort.
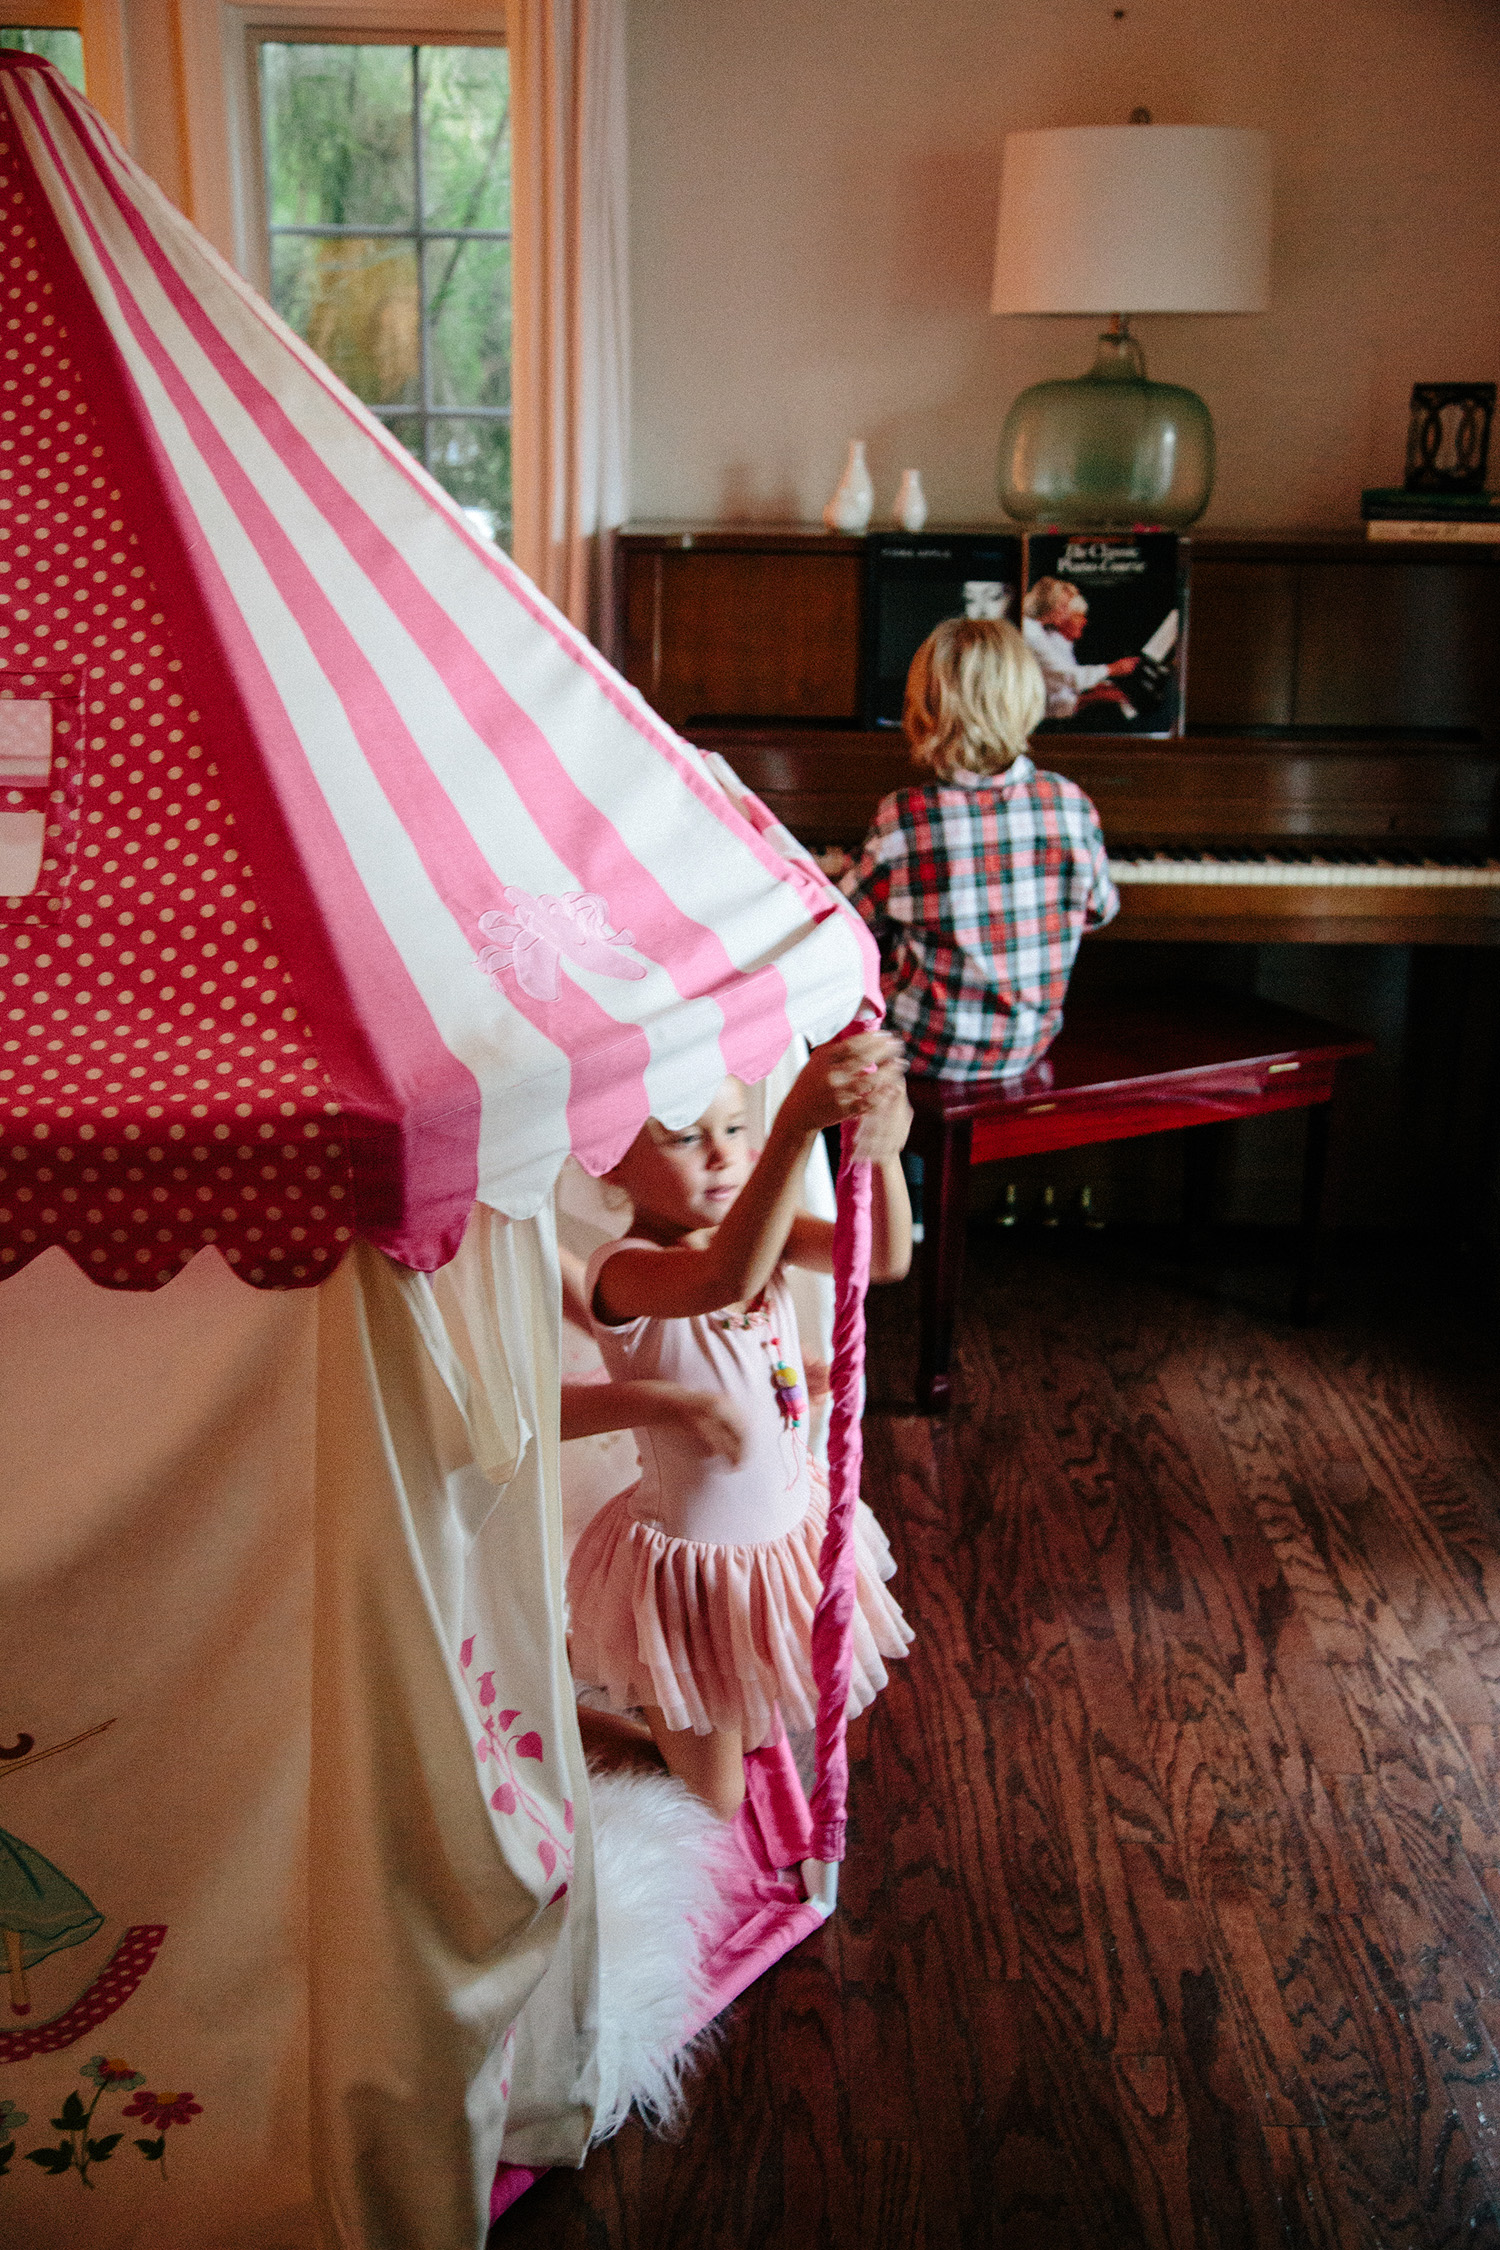
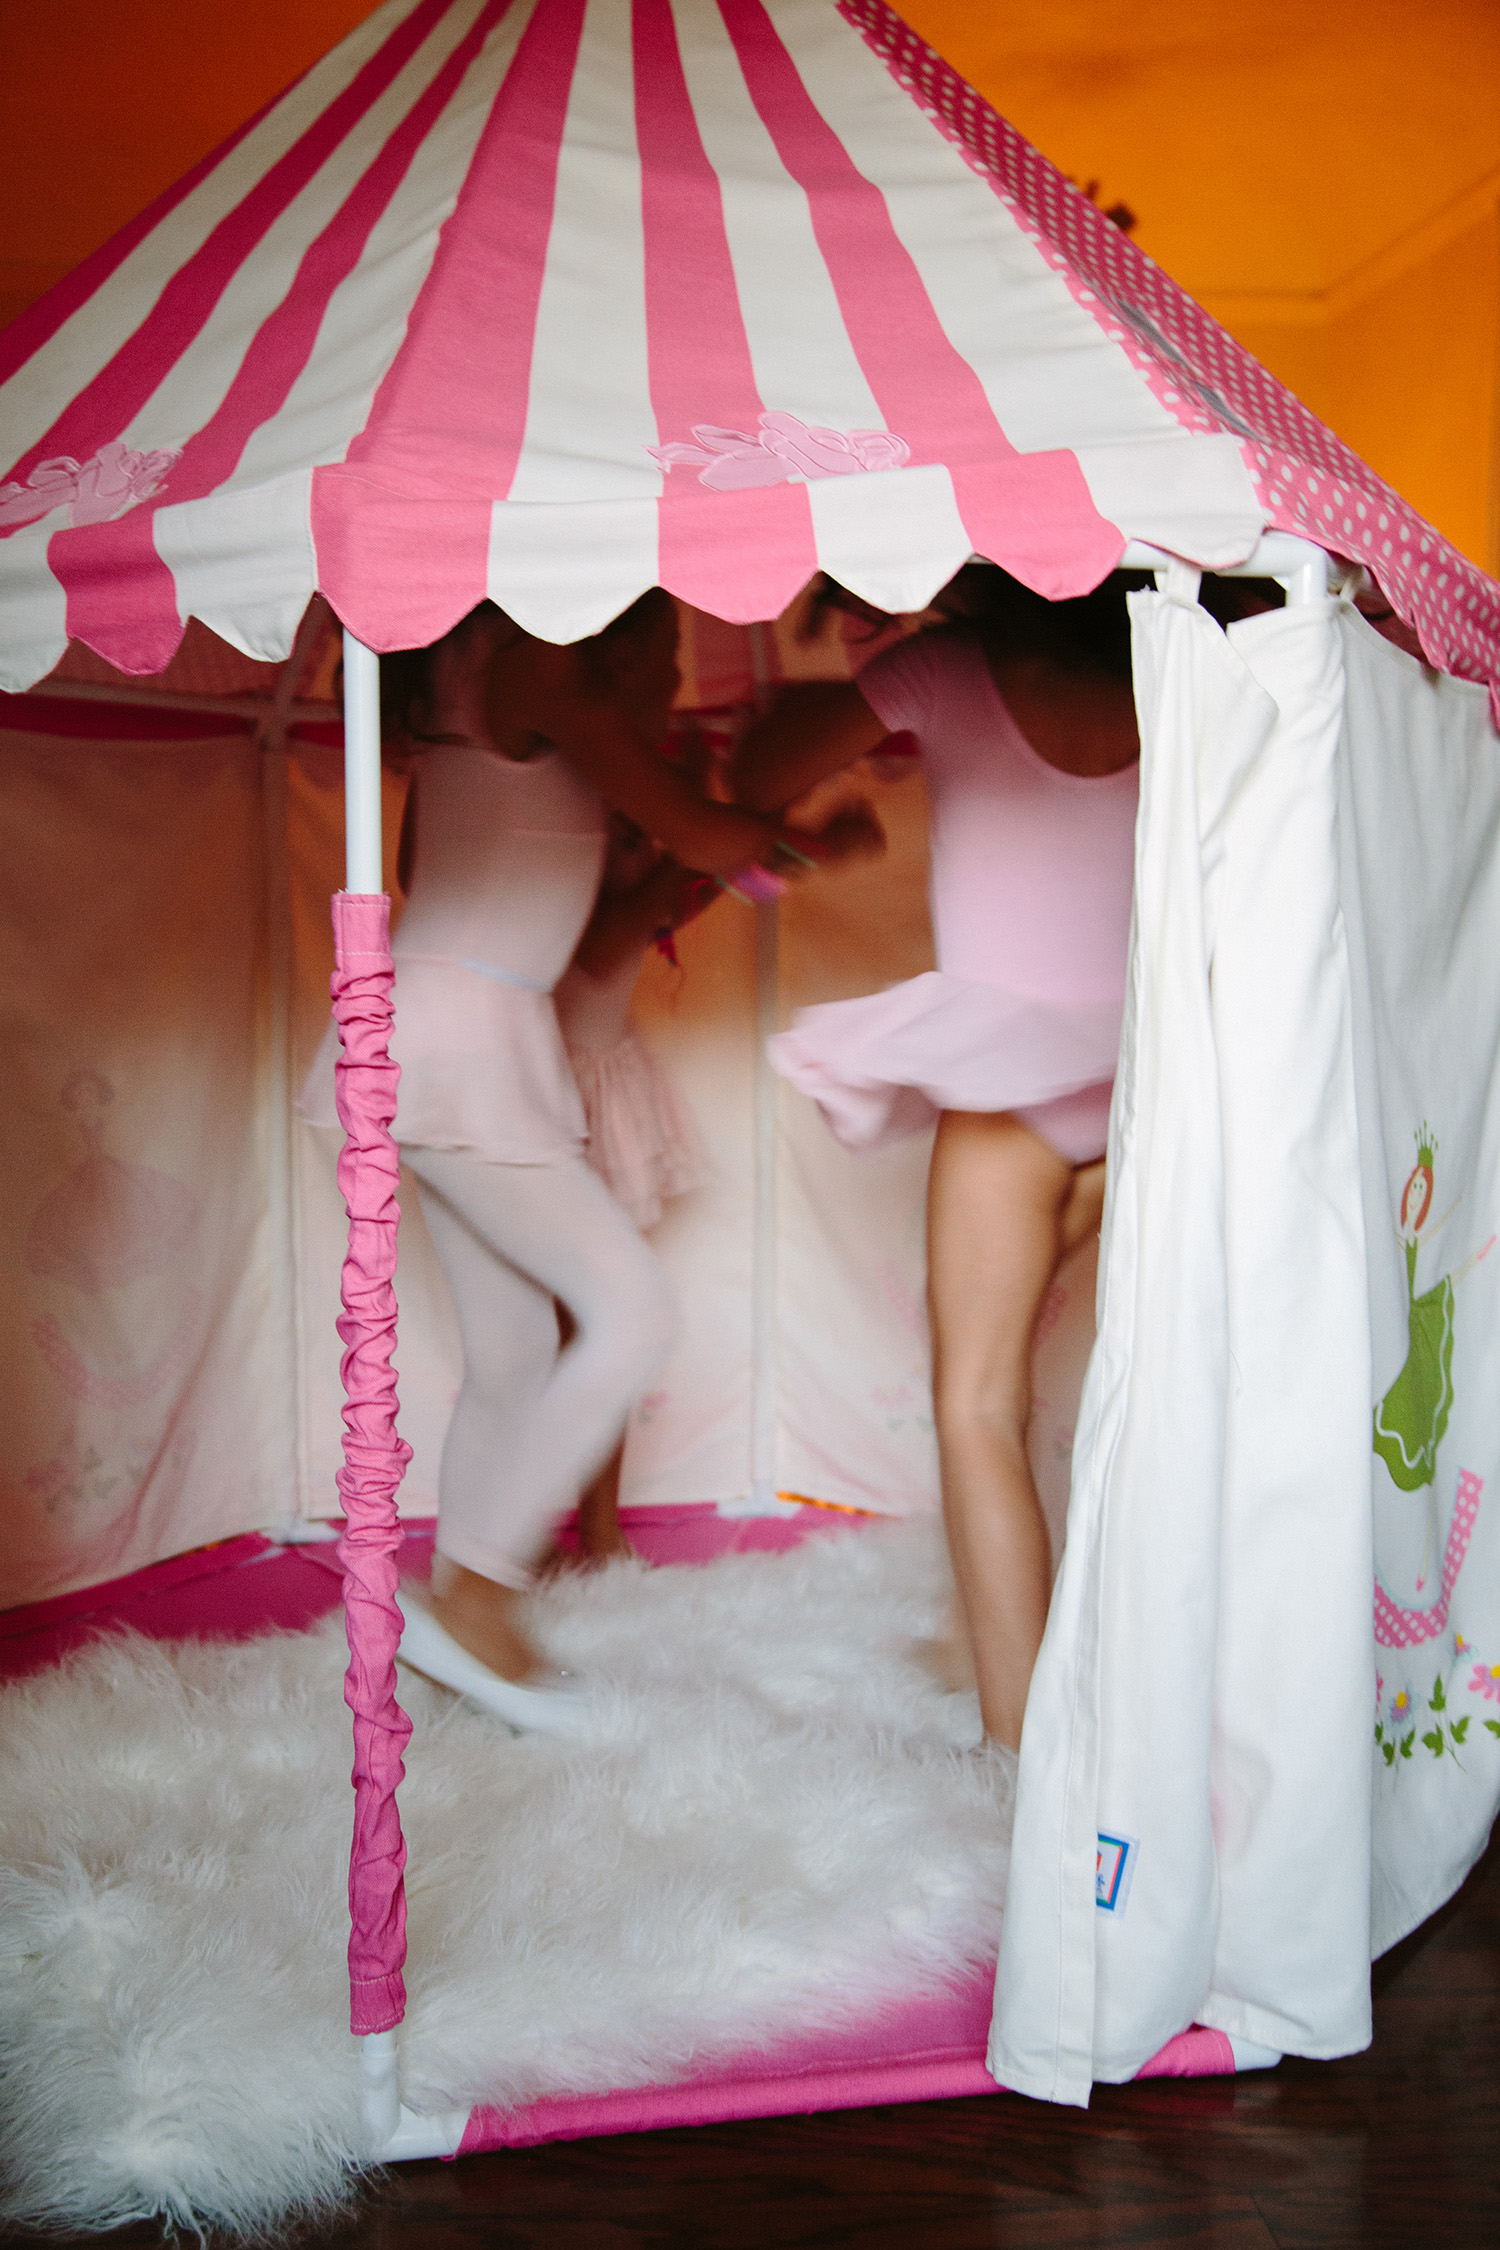

The pavilion is crafted of high quality cotton canvas, ballerina graphics and is topped with a cute pink flag.
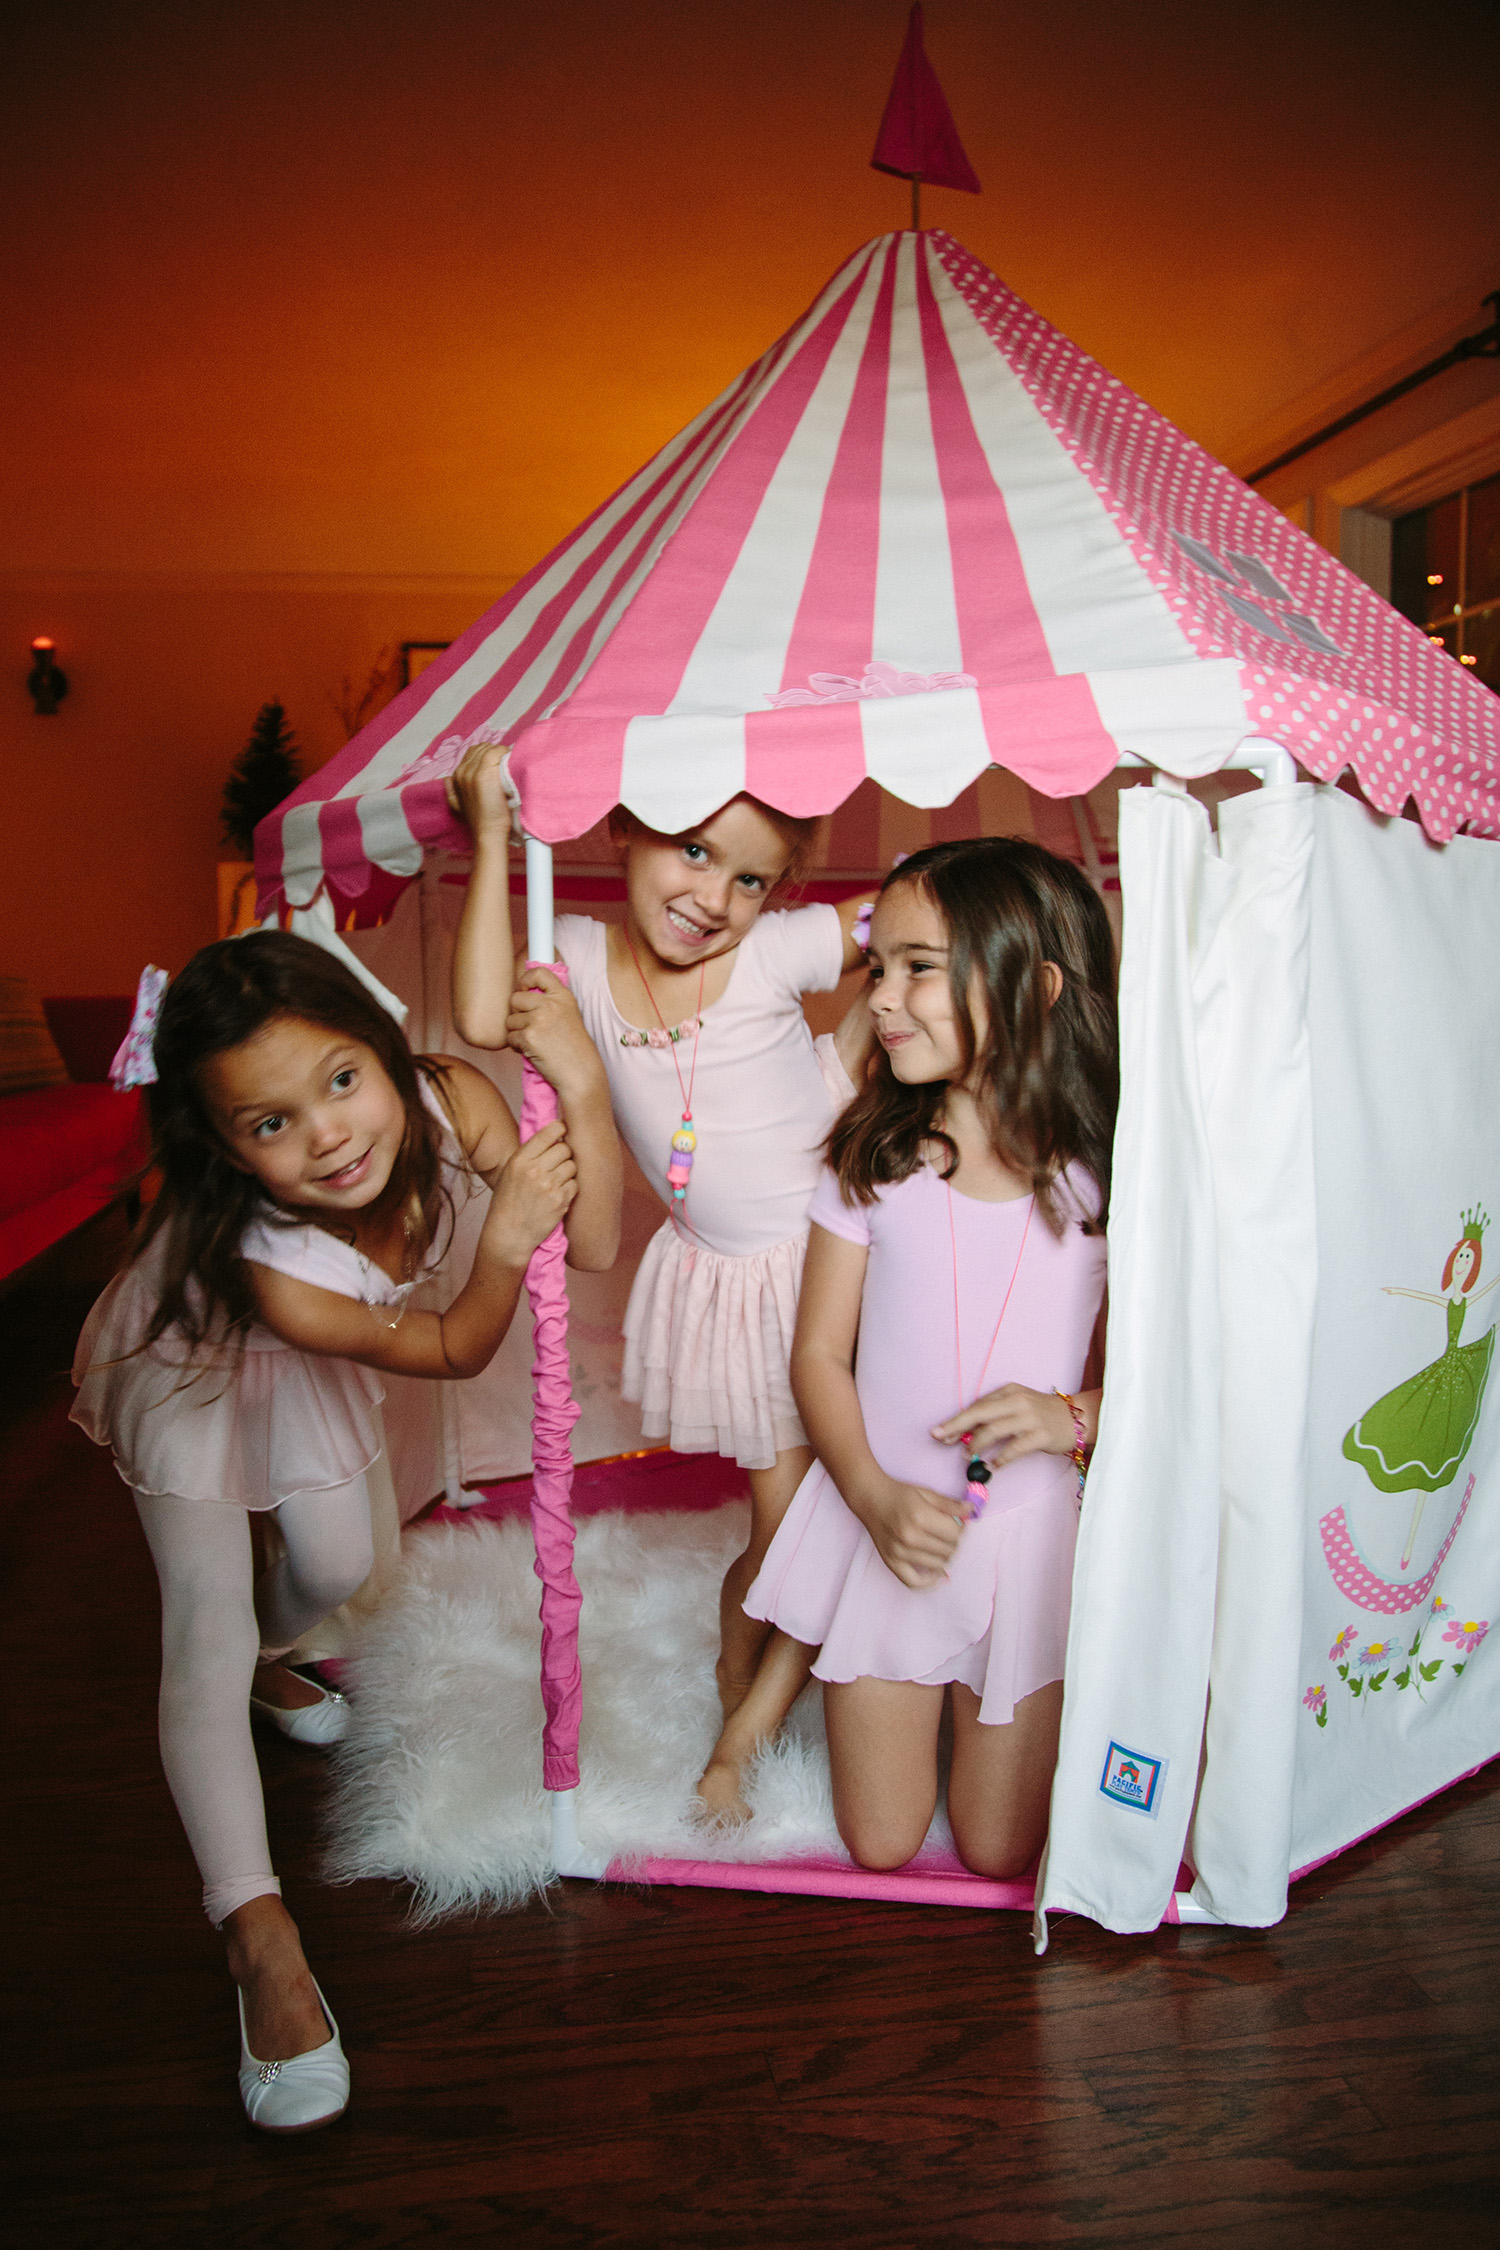
When the performance has ended, the Ballerina Pavilion can be stowed away in it’s carry bag until the next recital.
The luxe fabrics and classic color palette of this pavilion reminds us of the tiny ballerinas that live inside of jewelry boxes. Using that as our inspiration, we designed a simple wooden bead ballerina necklace that is sure to delight dancers of all ages! Here’s what you’ll need:
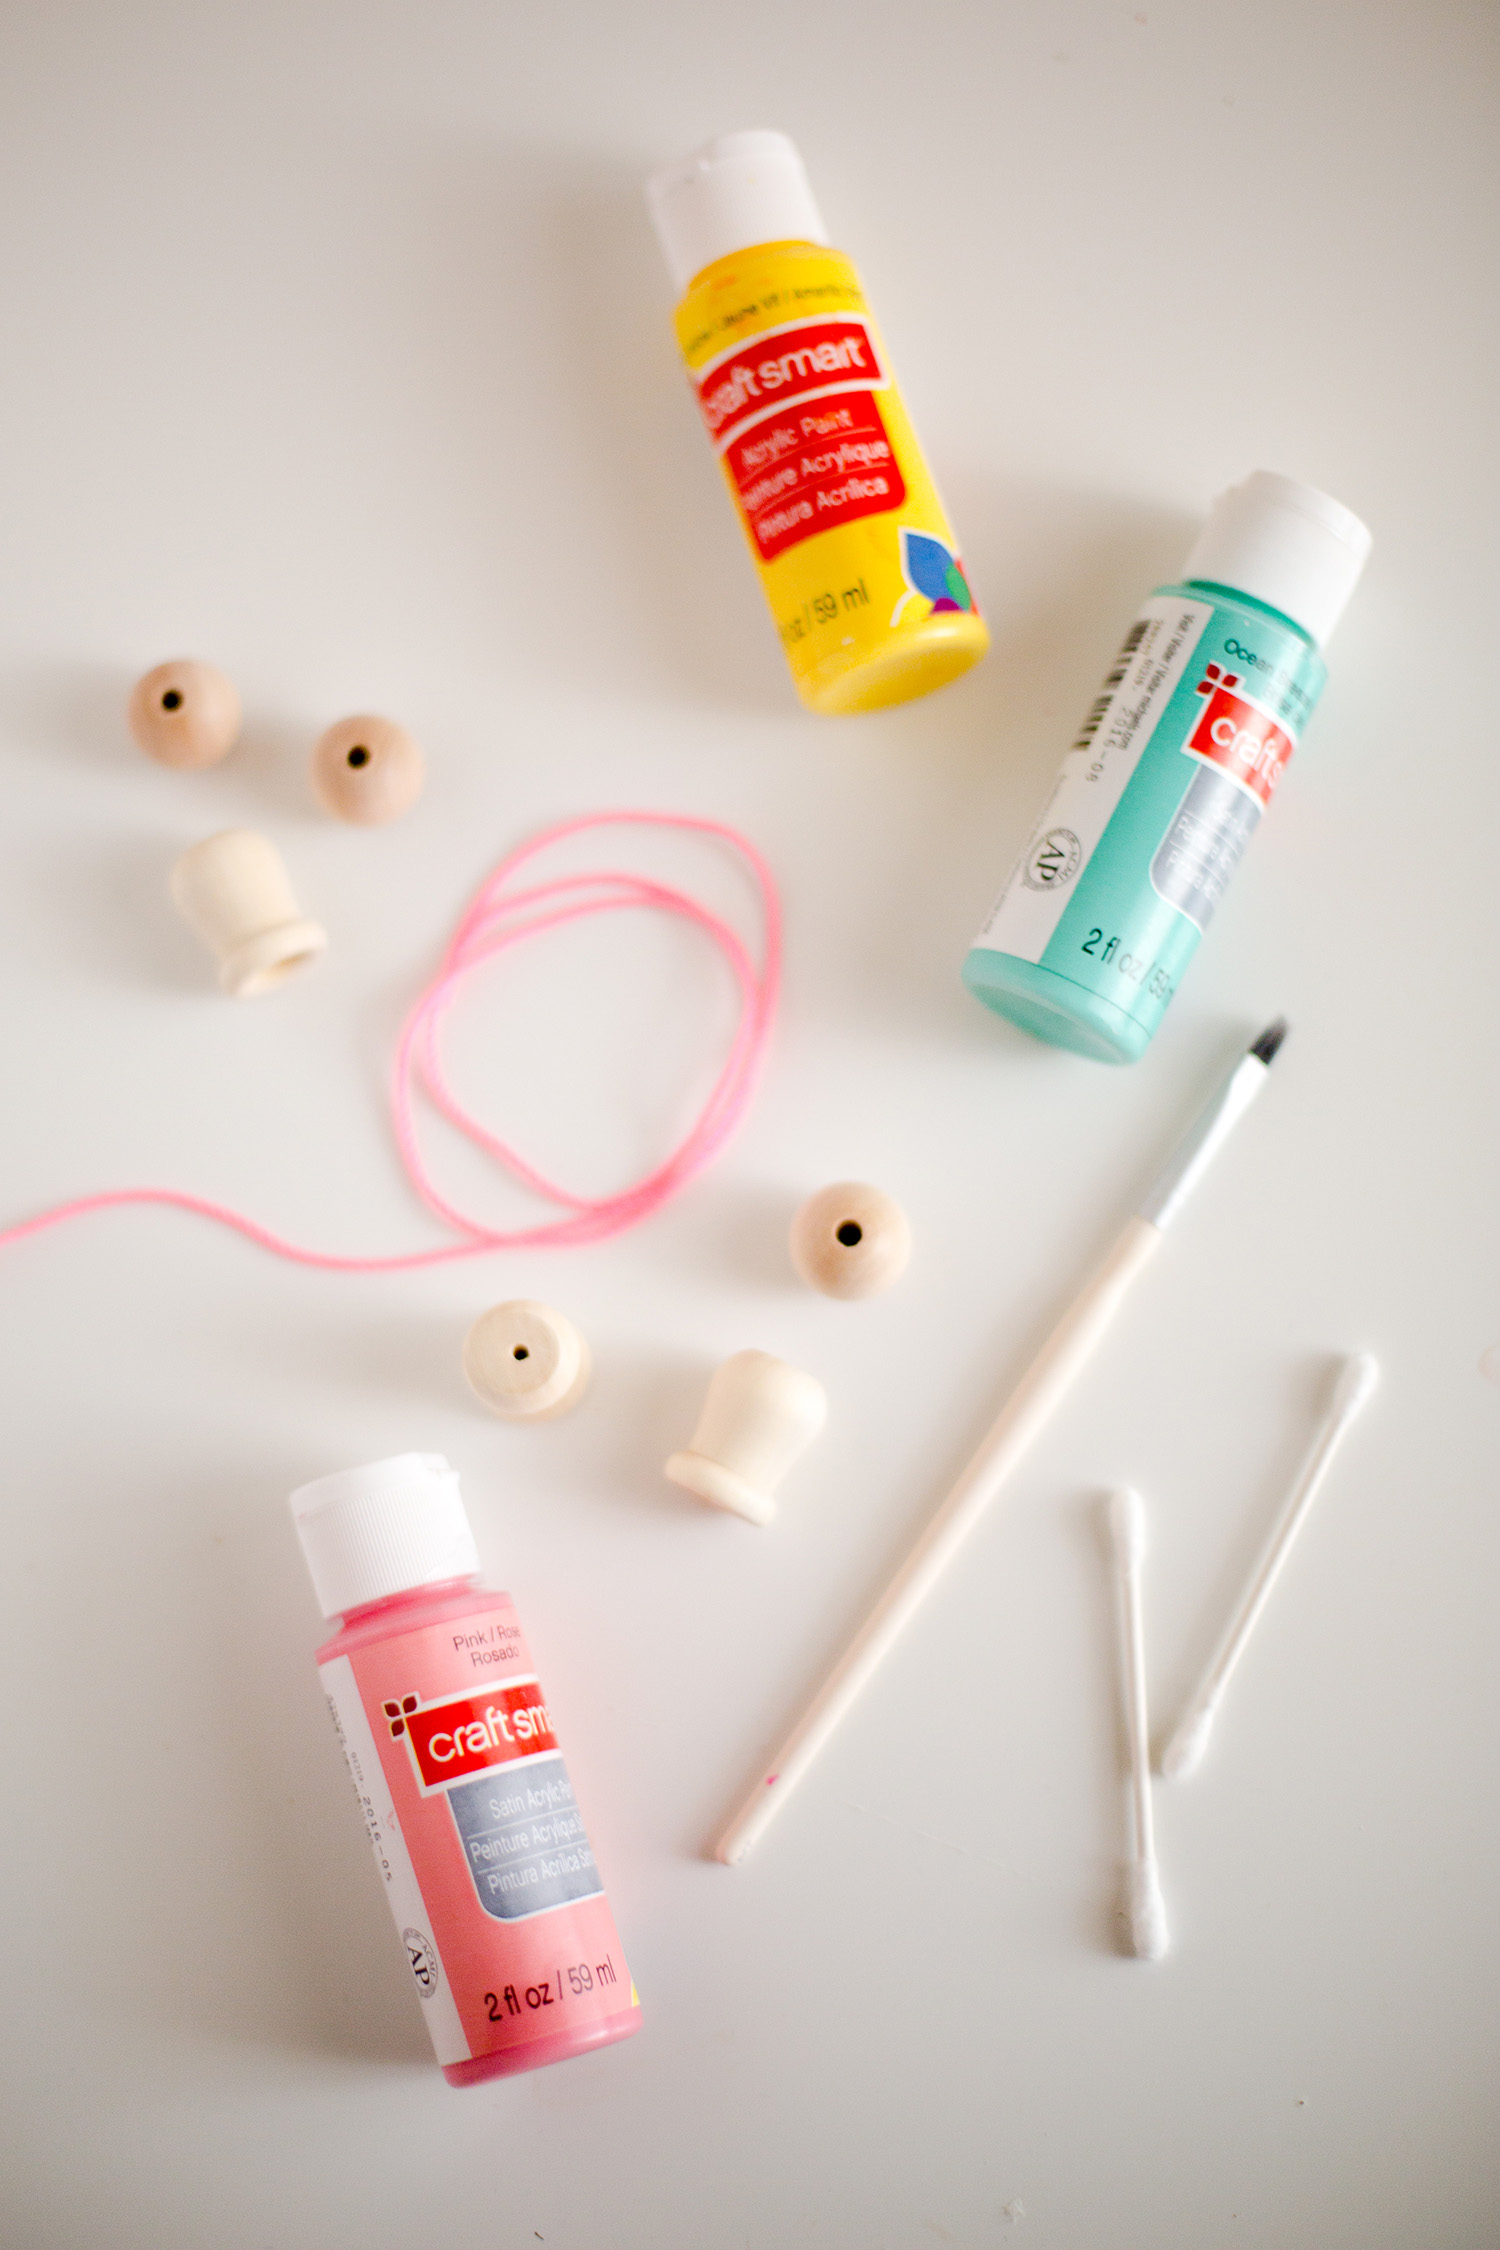
SUPPLIES
- Round wooden beads
- Candle cup beads
- Acrylic Paint
- Washi or masking tape
- Thin paintbrushes
- String
- Pony beads
- Q-Tips
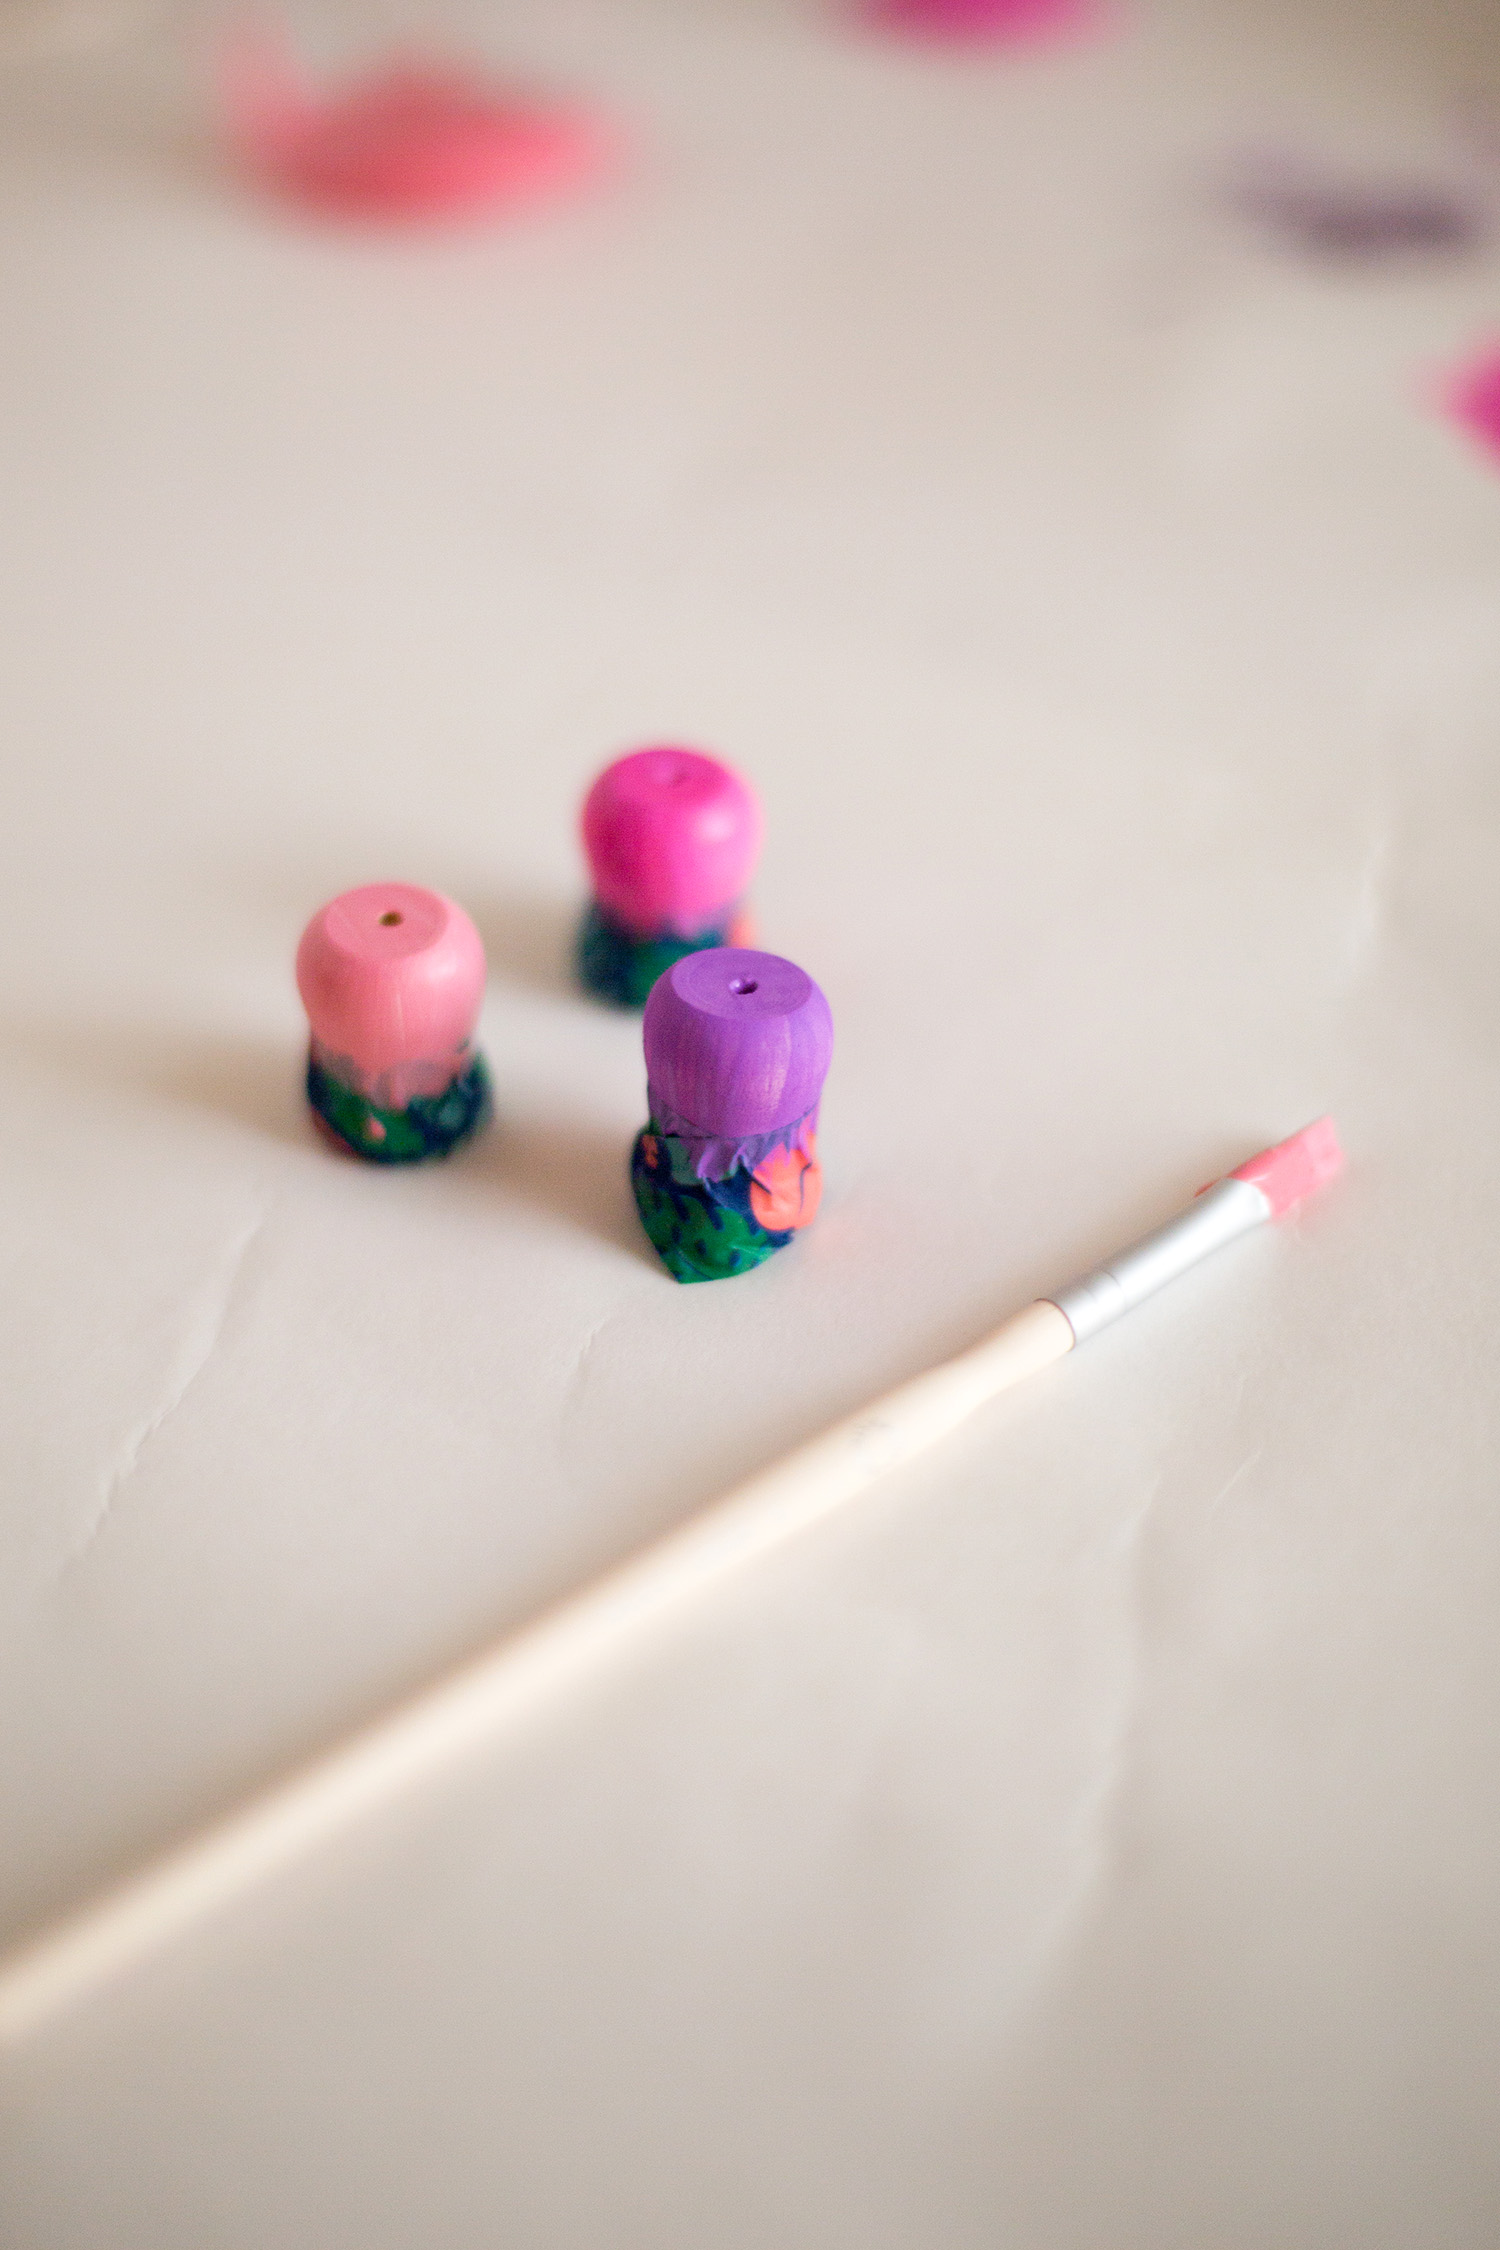
One round bead will make the head and one candle cup bead will make the body so the first step is to tape off half of the candle cup bead for painting. Wrap a strip of washi or masking tape around the center of the bead a few times (as evenly as possible) to make painting easier.
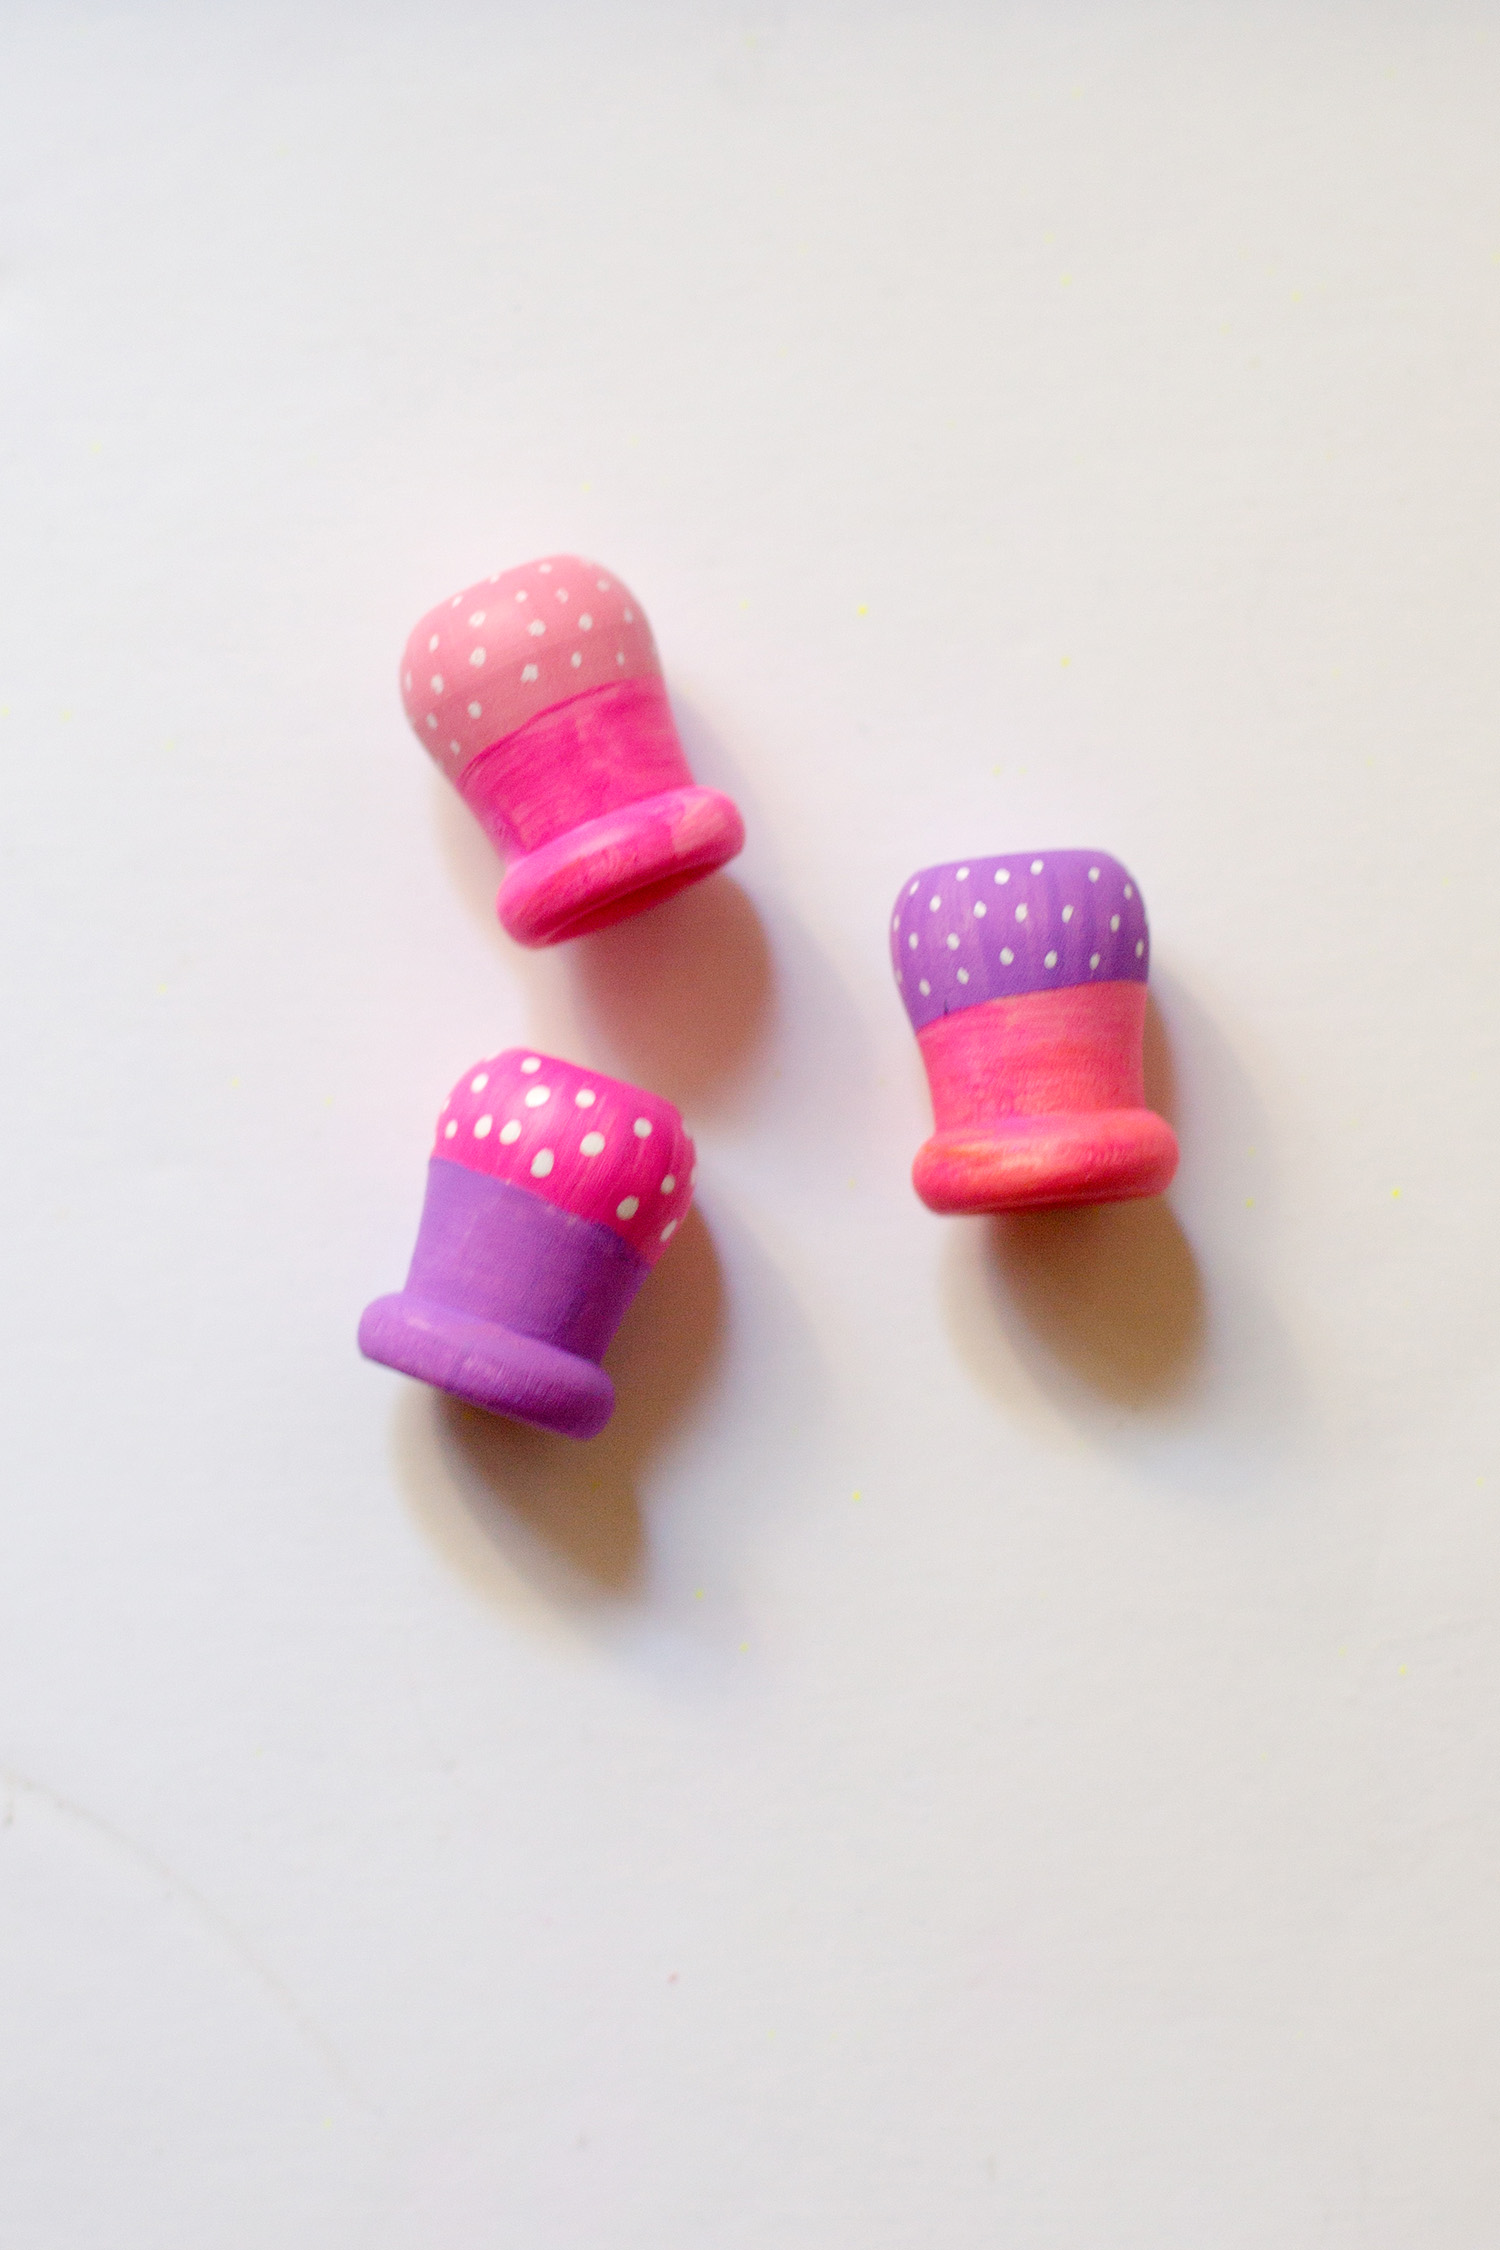
Once the bead is taped off, paint one side and let dry. Once that step is complete, remove the washi tape and reapply it over the first paint job so that you can now paint the other half. (The best part about acrylic paints is that the drying time is only a matter of a few short minutes!)
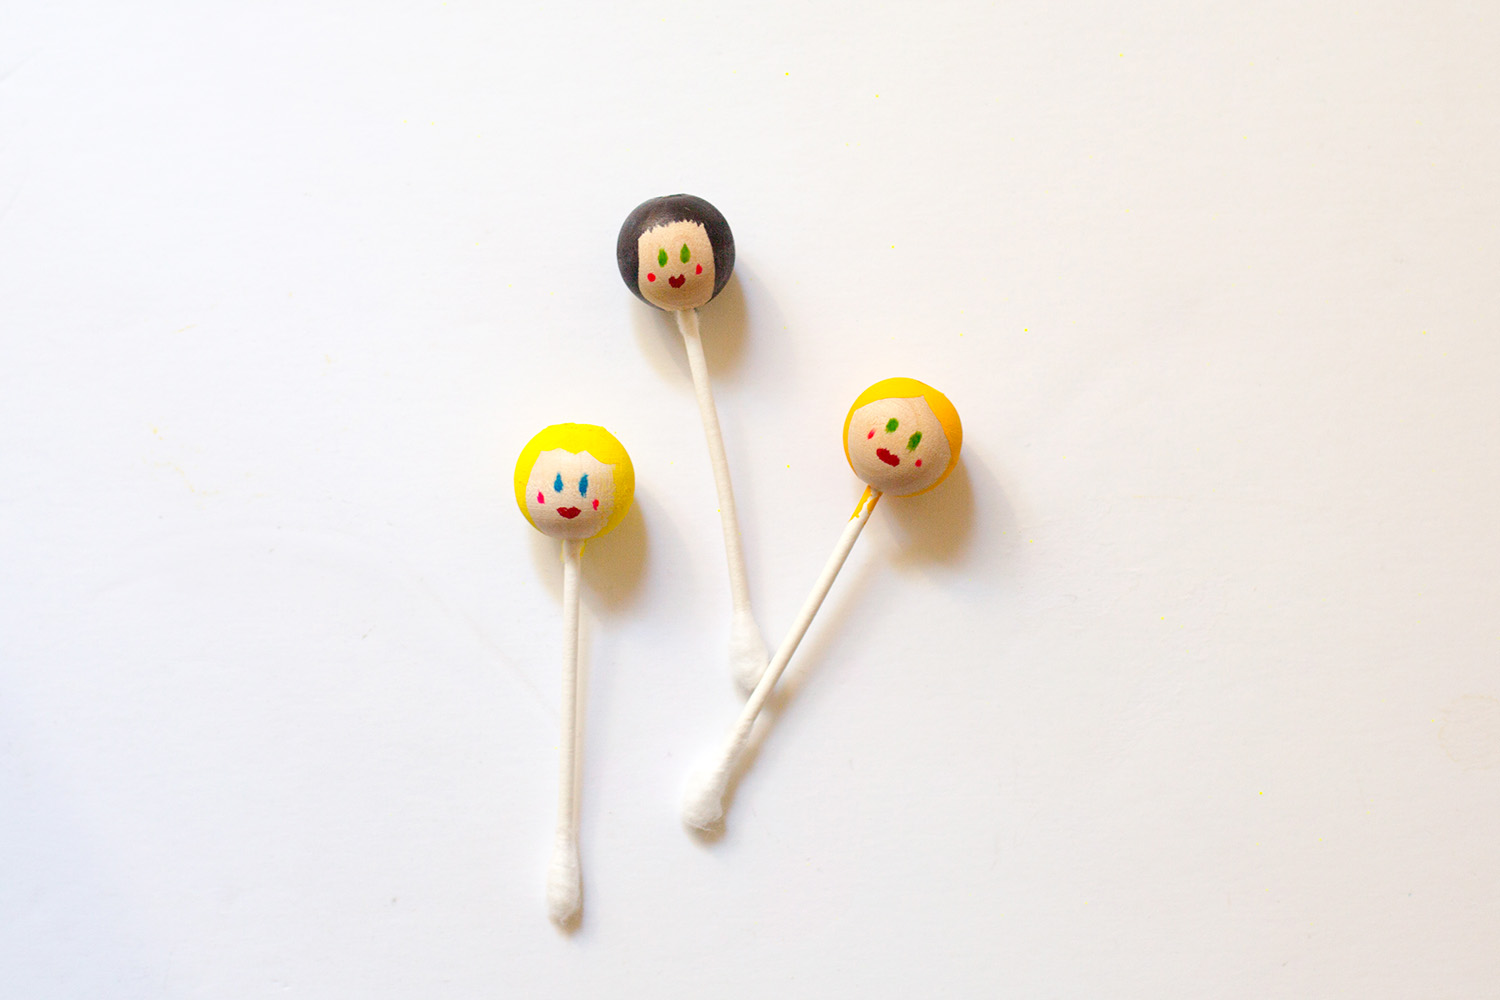
While the body portion is drying, begin to paint the head portion of the ballerina necklace. The easiest way to hold a small wooden bead in place while painting is to place a q-tip through the hole.


Once everything has dried, start assembling the necklace by folding a long string in half and threading the head and the body on first. Once those two beads are in place, add pony beads to the top and bottom of the ballerina for extra embellishment and make sure to knot the beads securely.
Take a bow, tiny dancer!