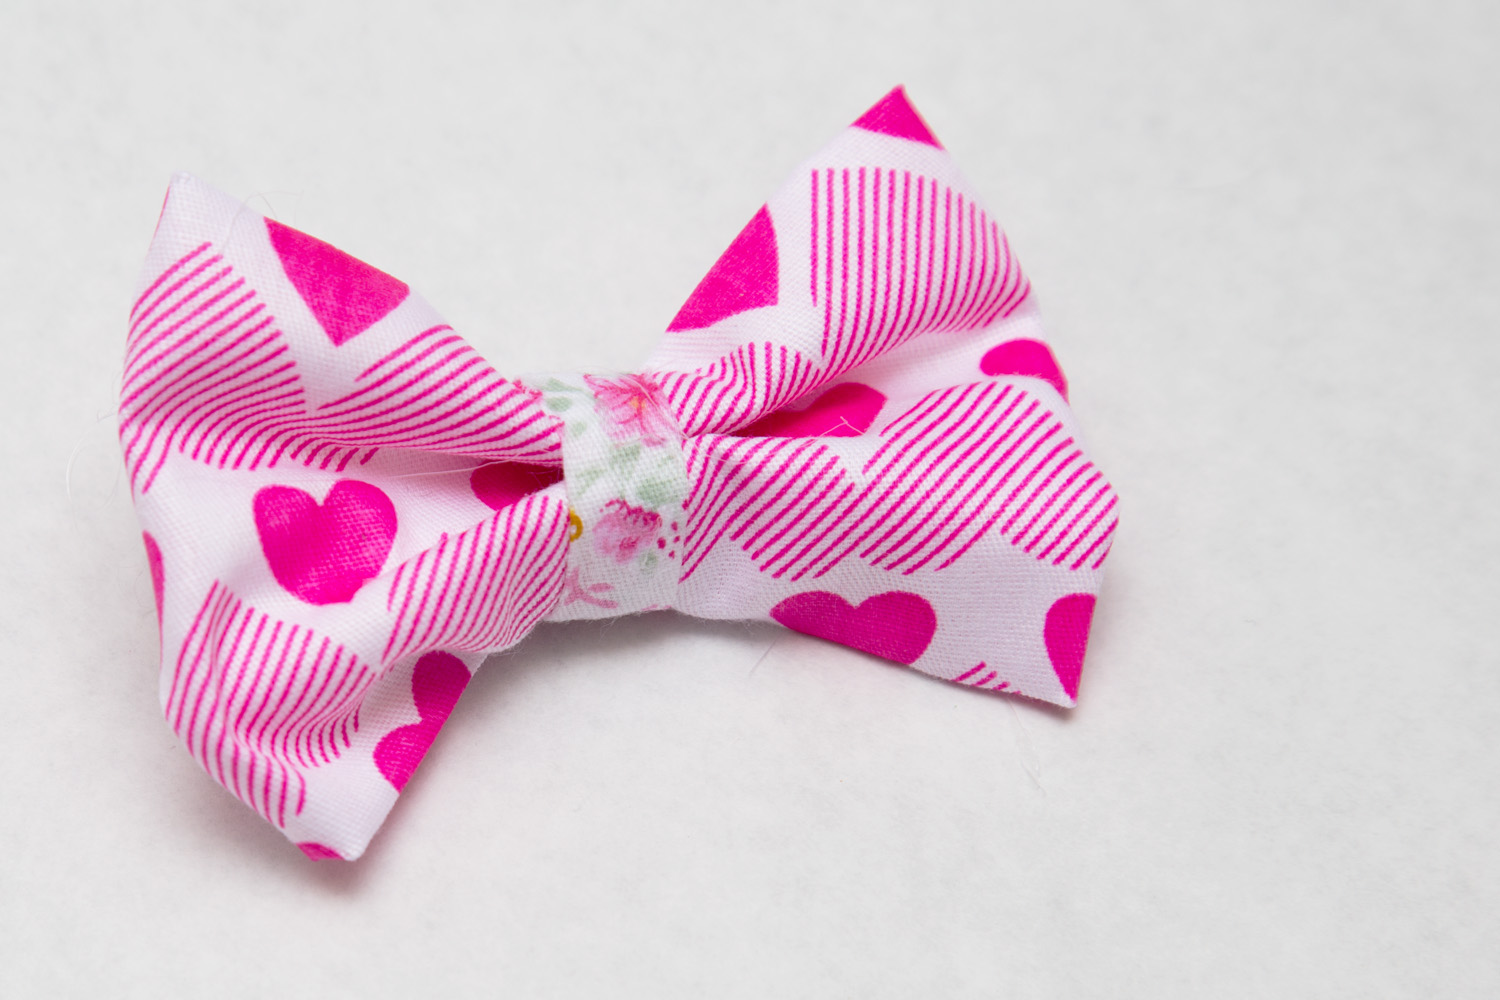
There’s nothing quite like the right hair accessory to really make a girl feel like royalty! Today we are sharing an easy DIY hair bow tutorial to complement our Princess Castle Pavilion!

The Princess Castle Pavilion is the perfect play space for young highnesses of all ages to rule over their court in comfort and style.

Like all of our pavilions, the Princess Castle is large enough to comfortably accommodate a handful of mini kings and queens at one time.

Featuring ultra-mesh windows and doors that can be tied back with hook and loop fasteners, this pavilion allows for ample light and fresh air to enter the castle freely.

Best of all, the waterproof floor and the high-quality peach skin fabric make this pavilion usable for both indoor and outdoor adventures!

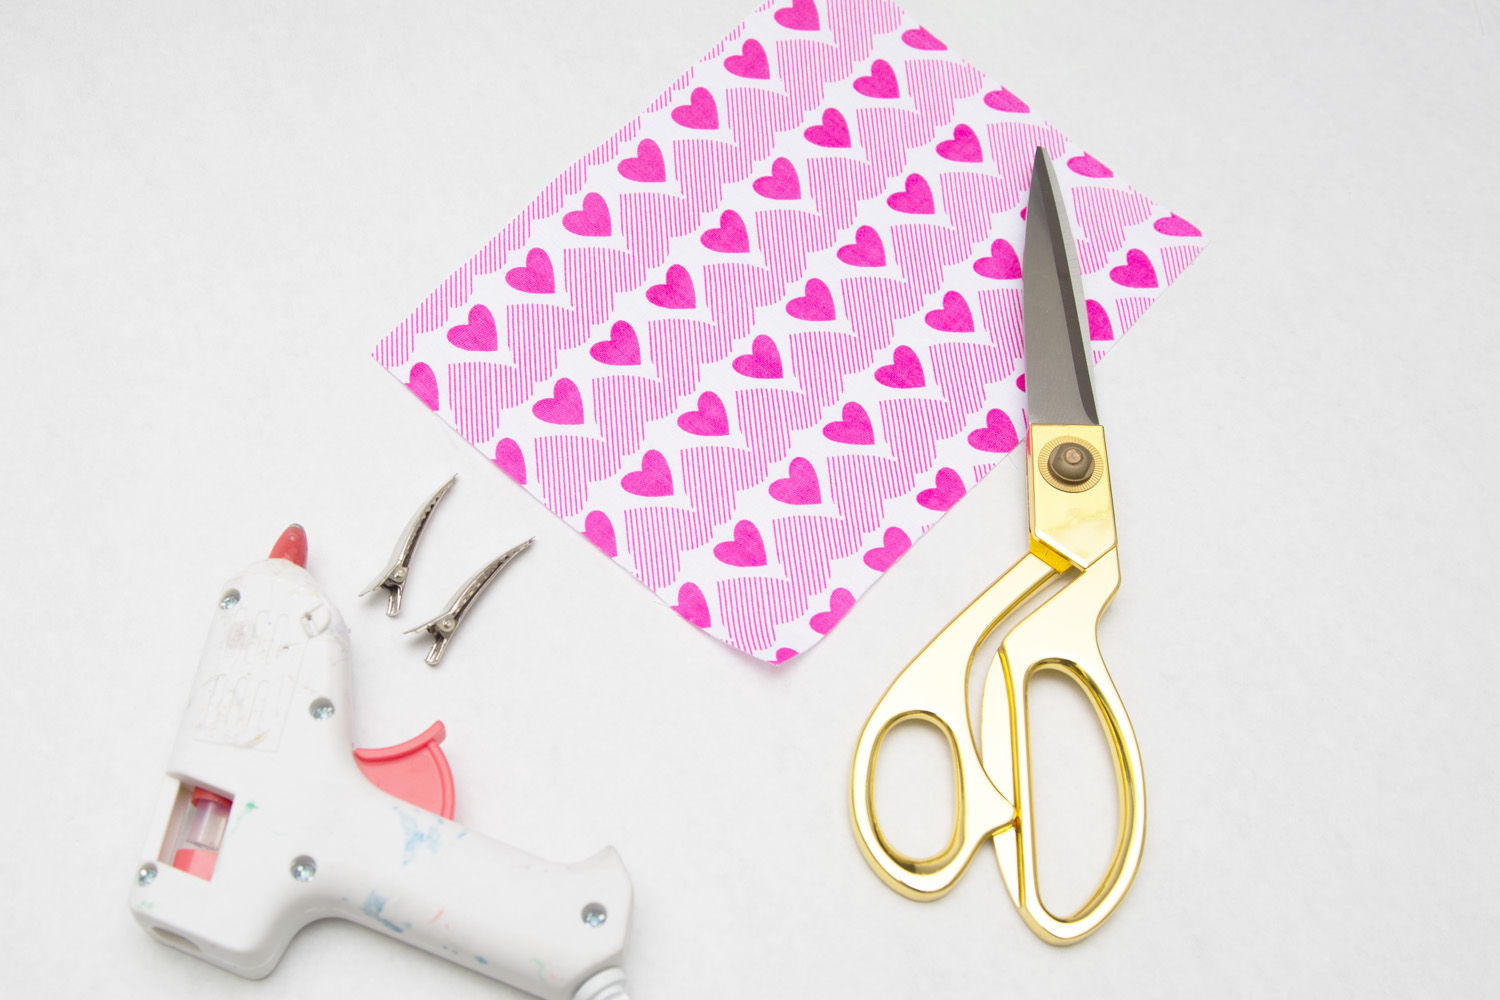
SUPPLIES:
- Fabric
- Hot glue gun
- Scissors
- Barrette clips
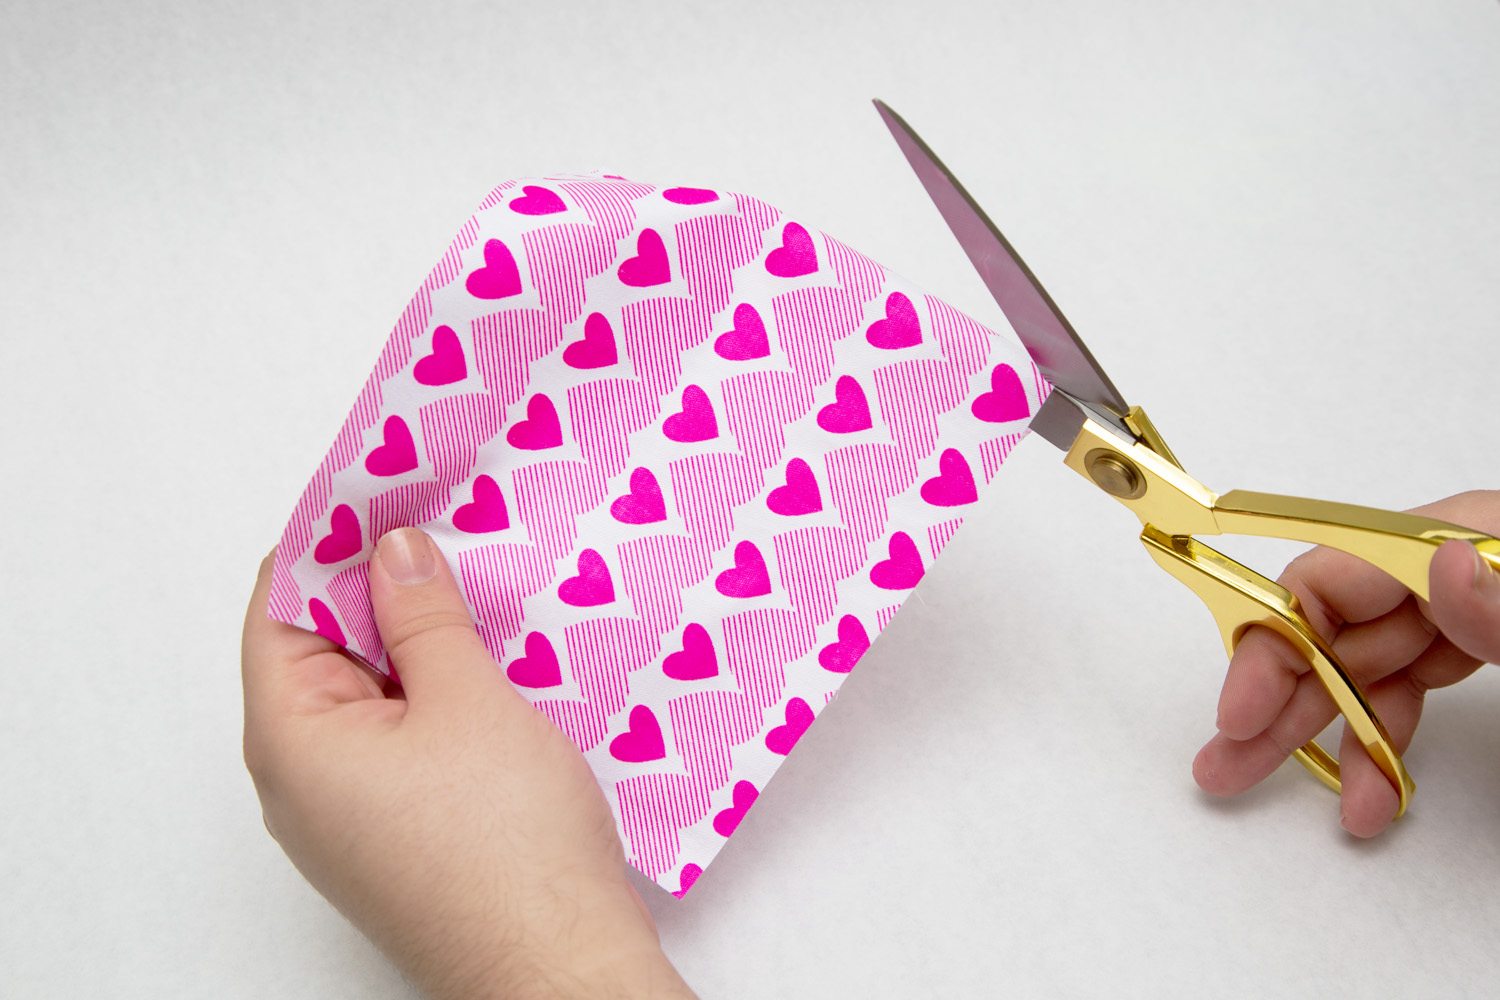
- Cut two pieces of fabric down to approximately 7″ x 5″ respectively.
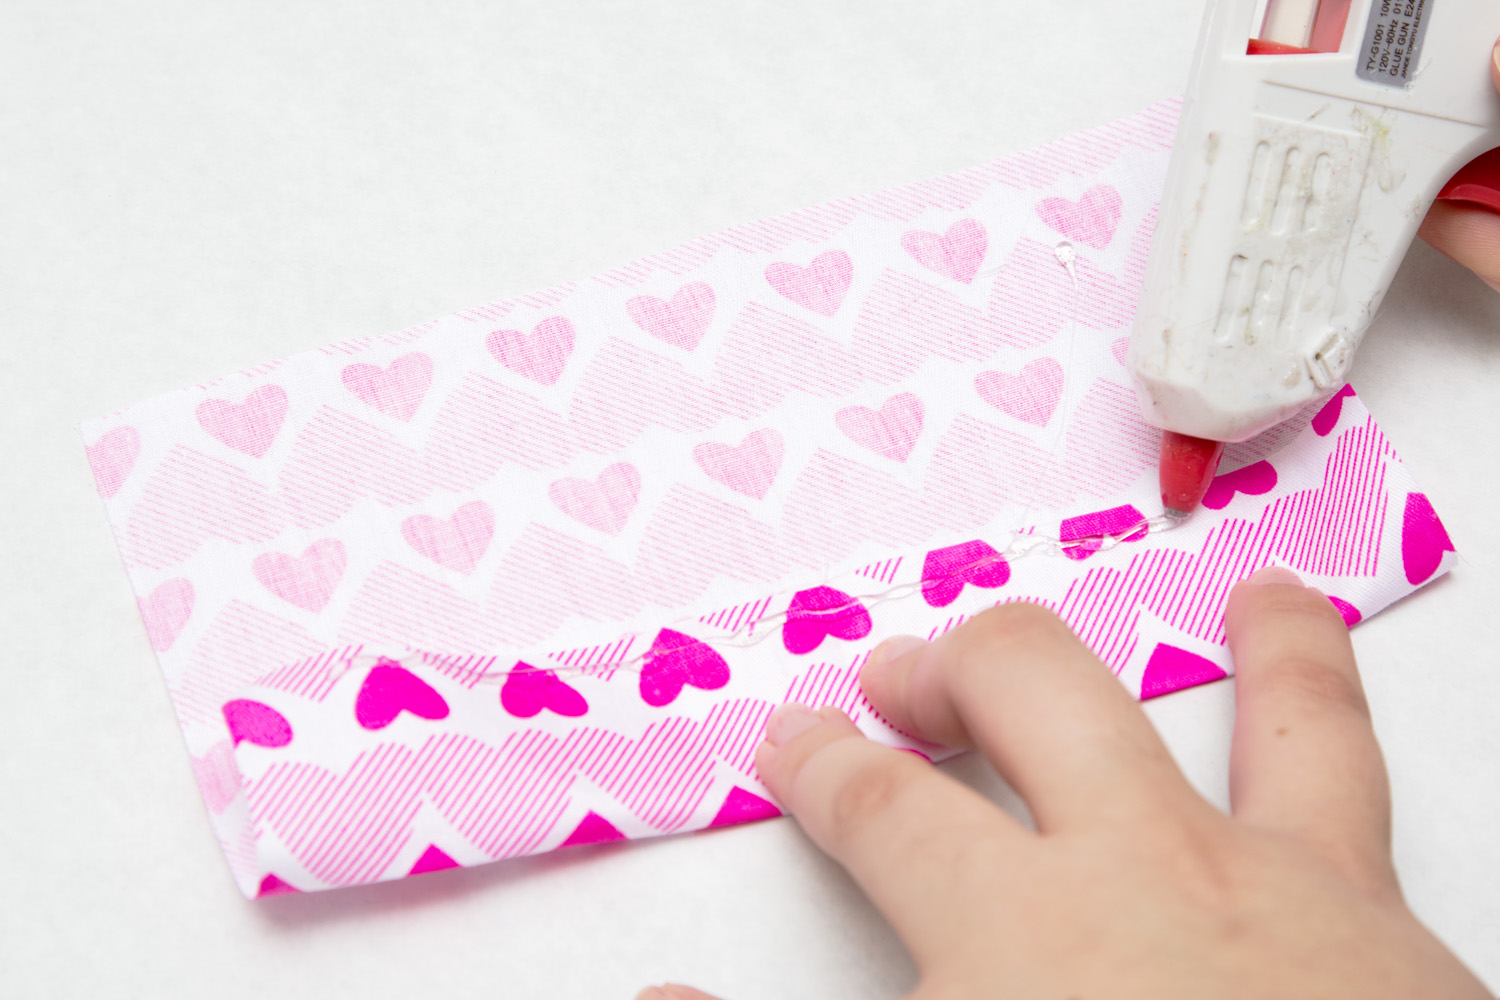
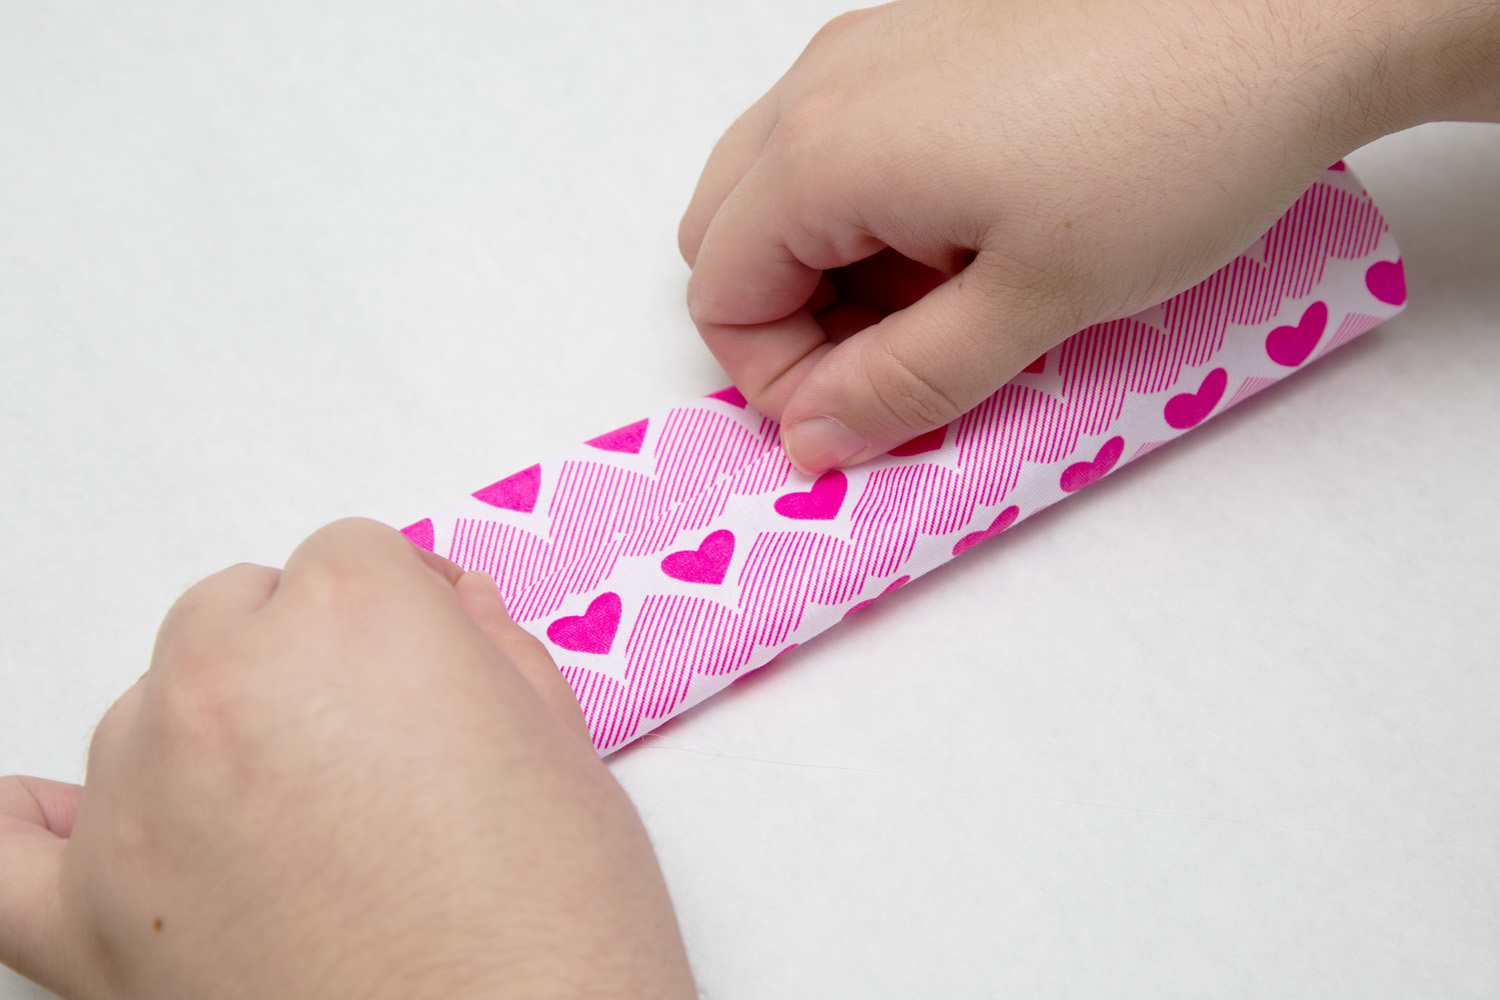
2. Turn the larger fabric piece over so it is right side down and then take the bottom and fold it up to the middle and adhere it in place with hot glue. Repeat this step with the top of the fabric. Now you have a long piece of fabric with the pattern all around.
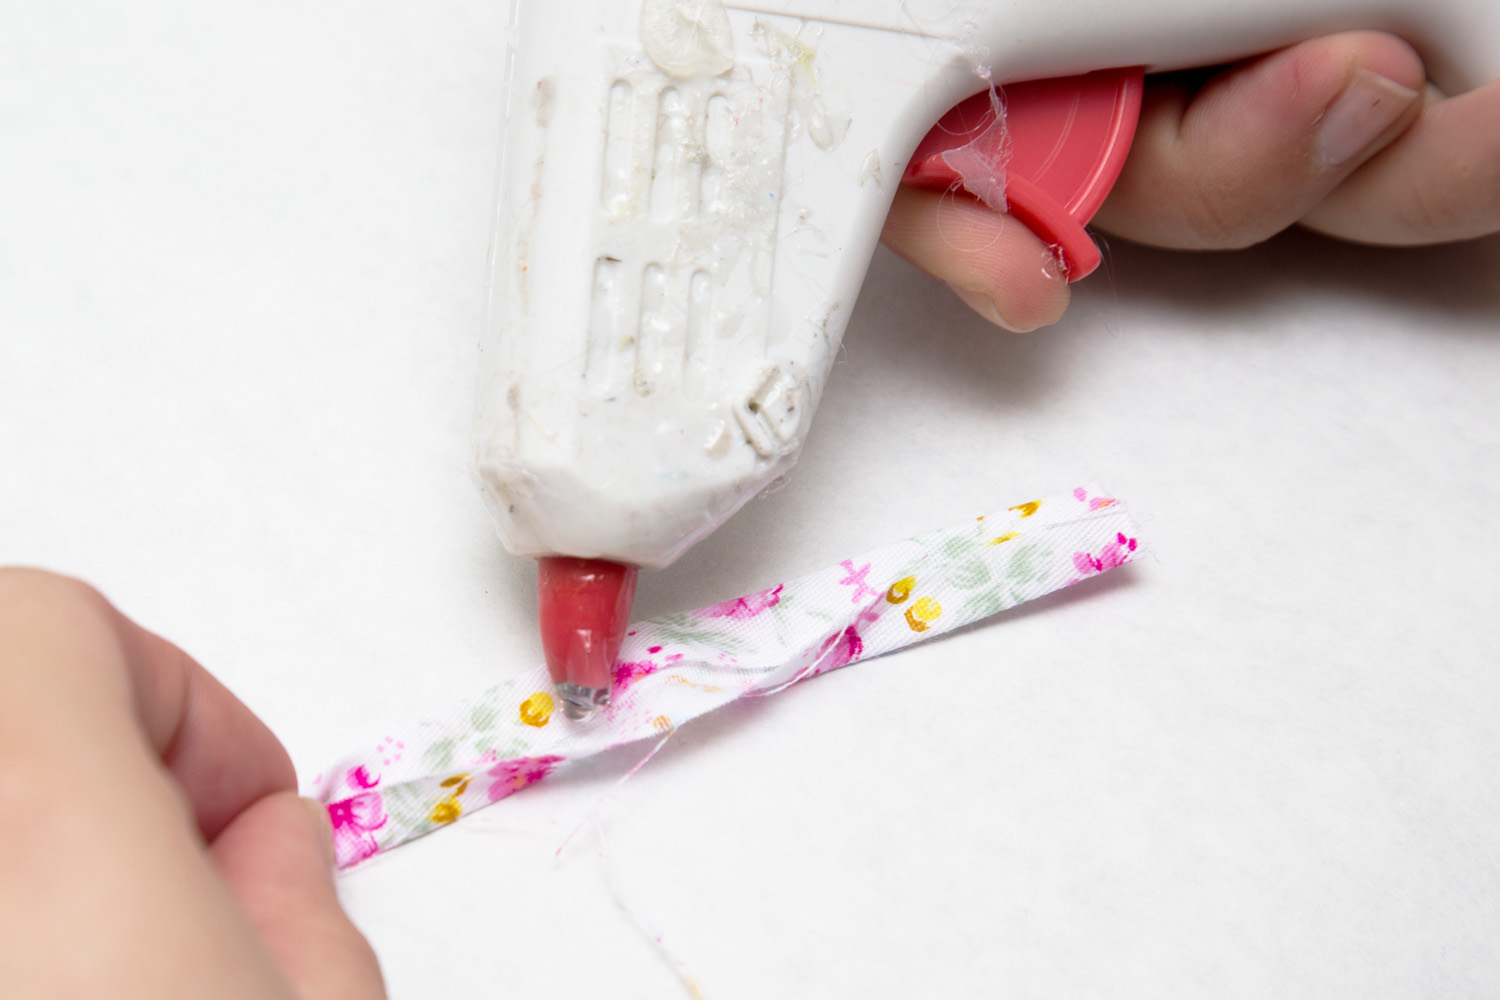
3. Take the smaller piece of fabric and repeat step 2.
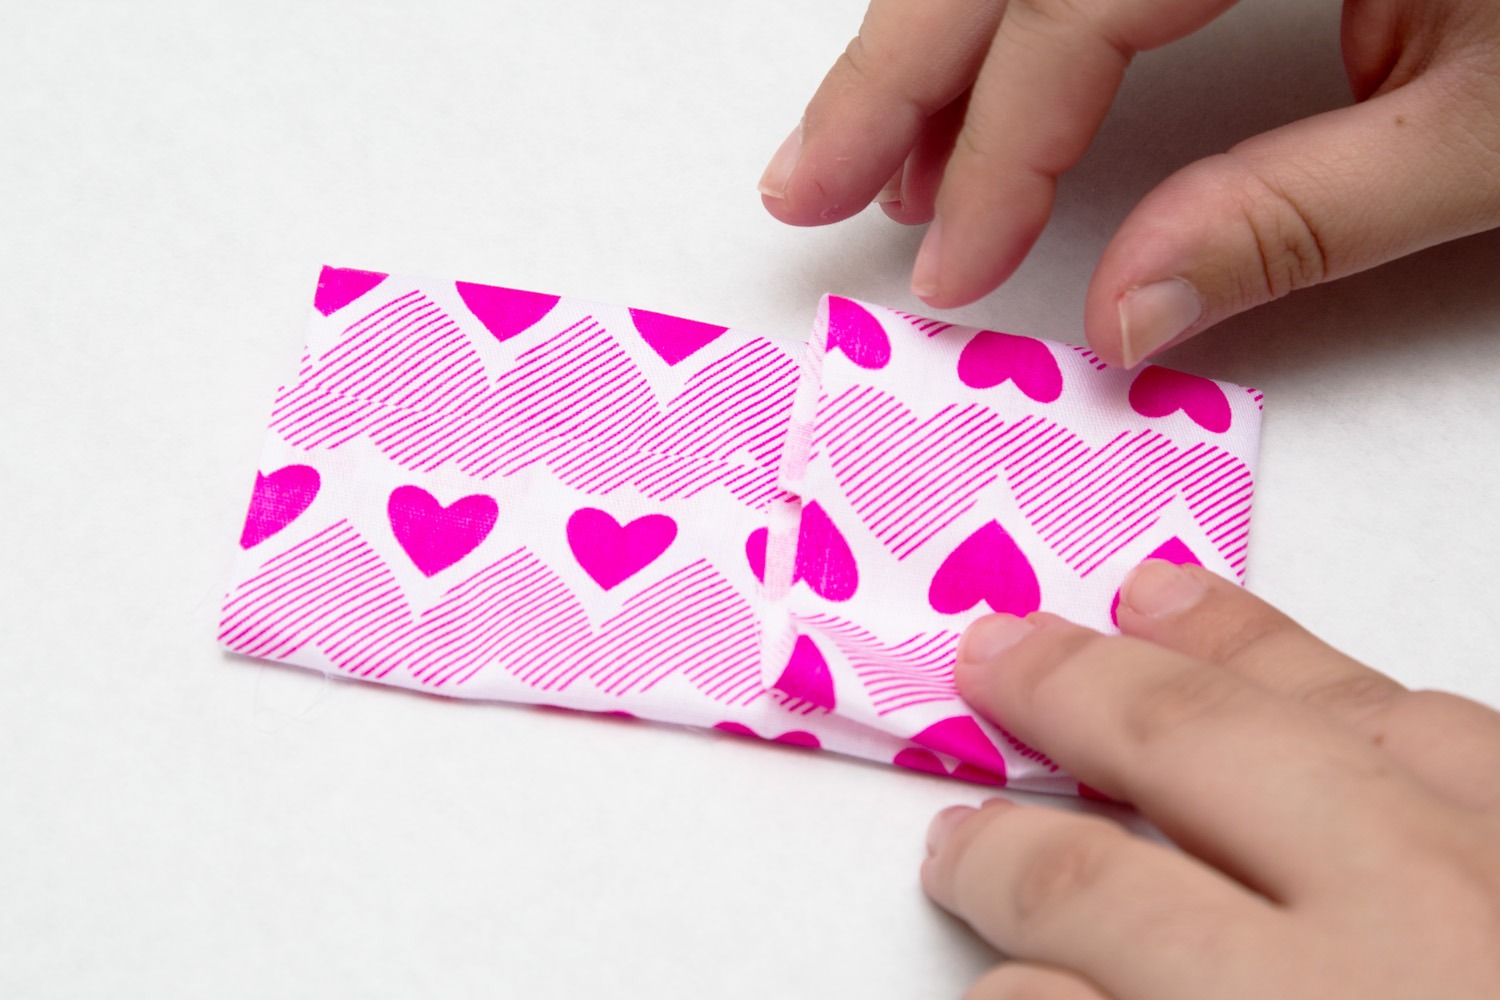
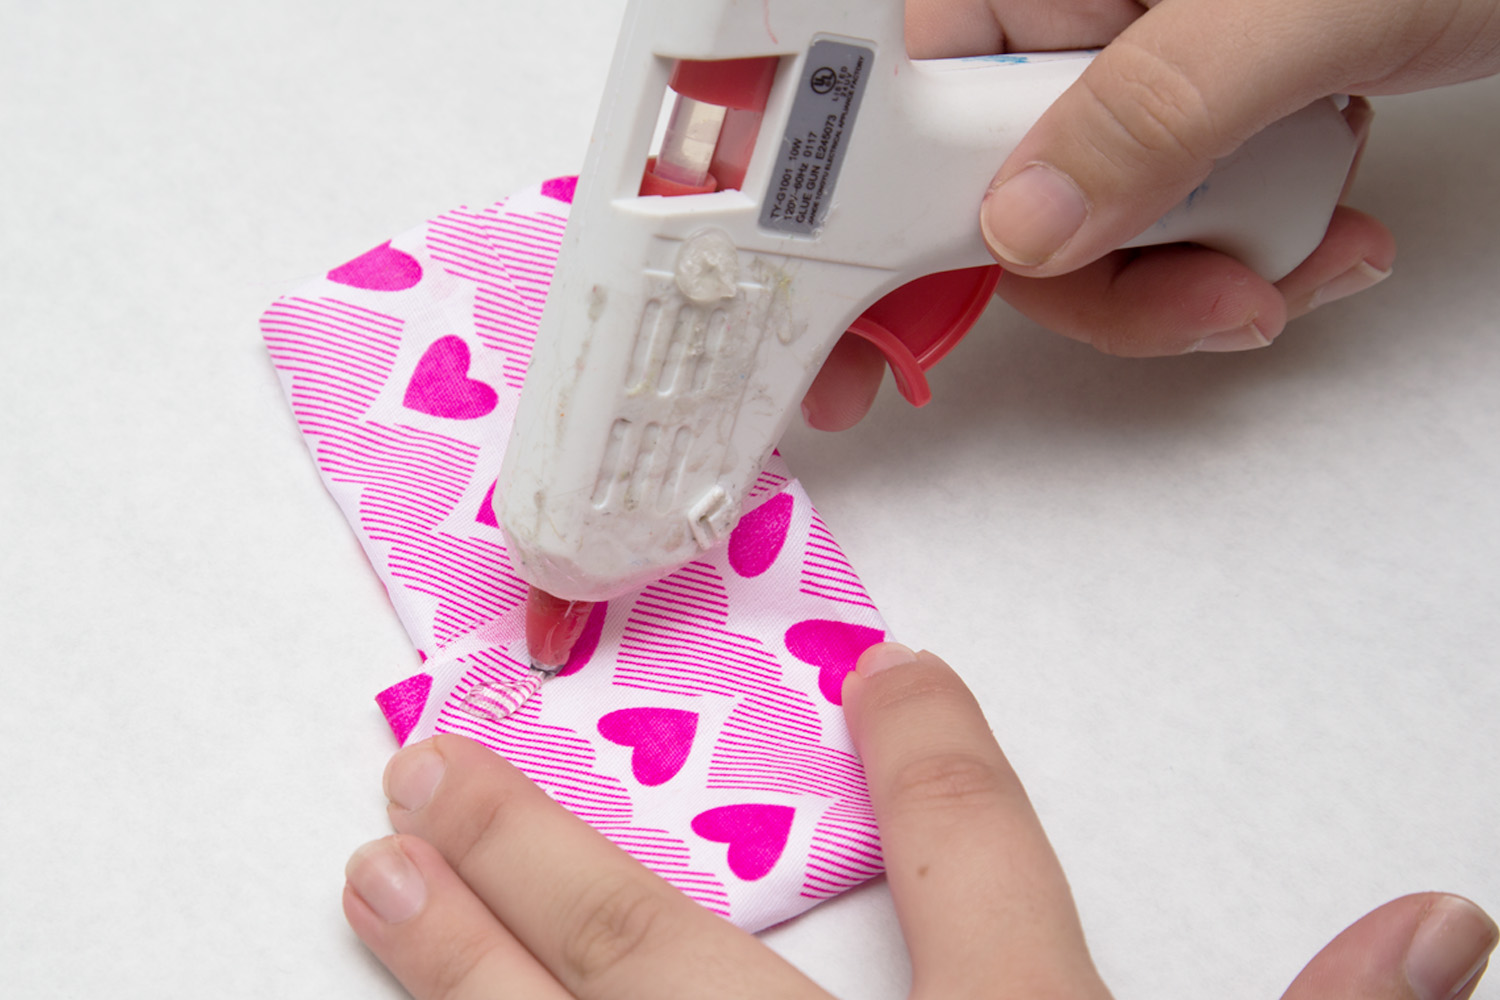
4. Take the two shorter edged sides, fold both to the center and secure with hot glue.
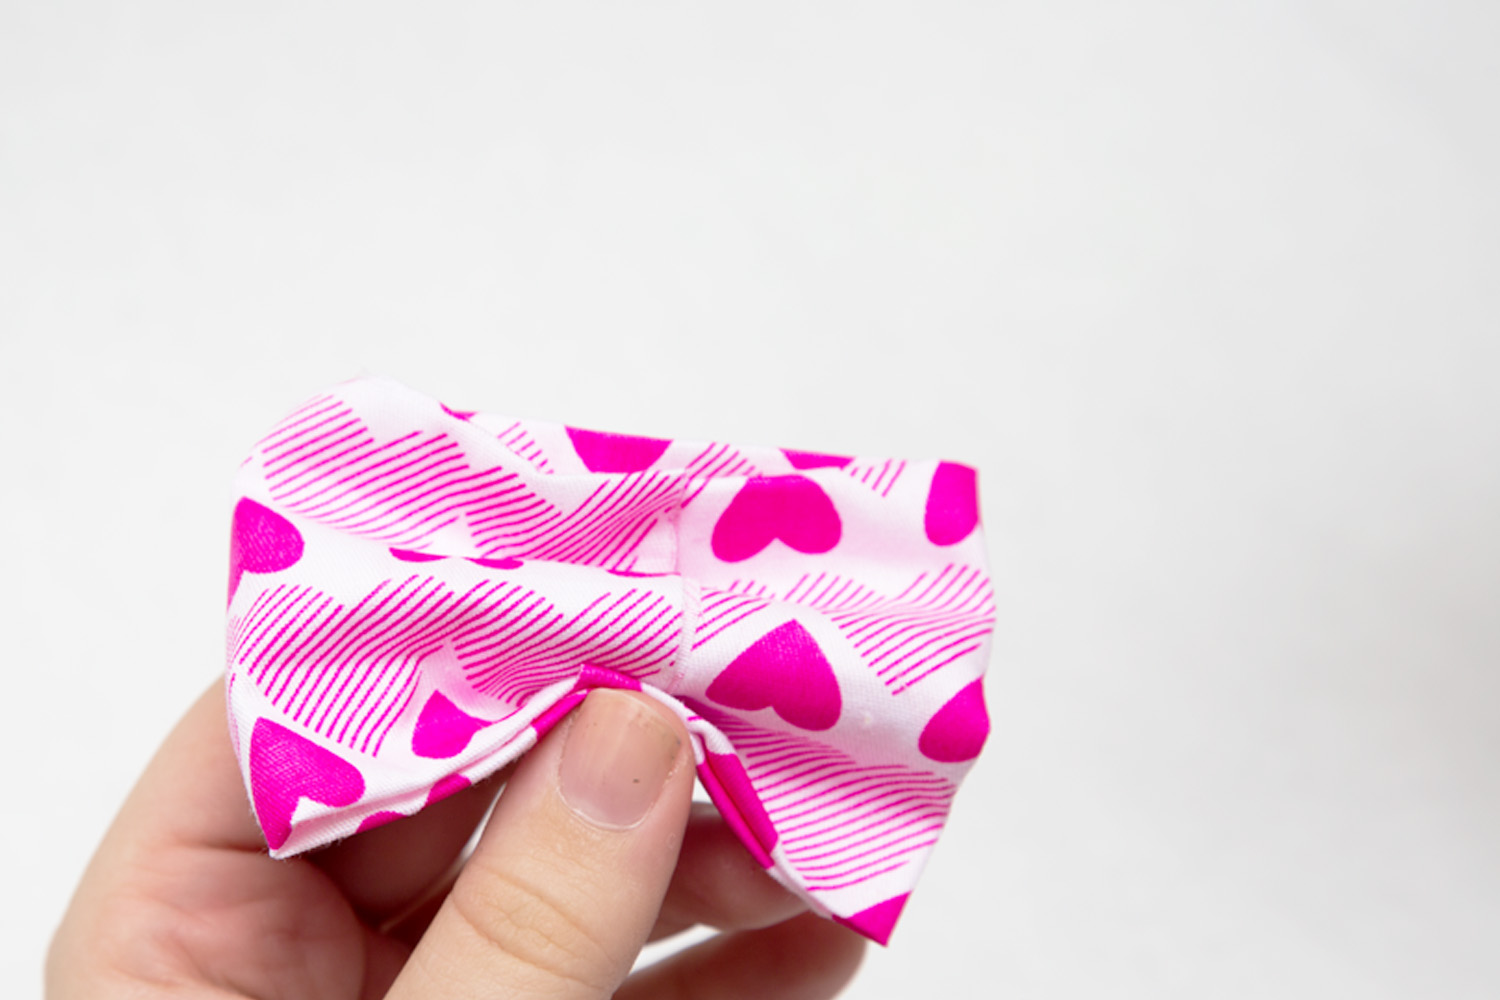
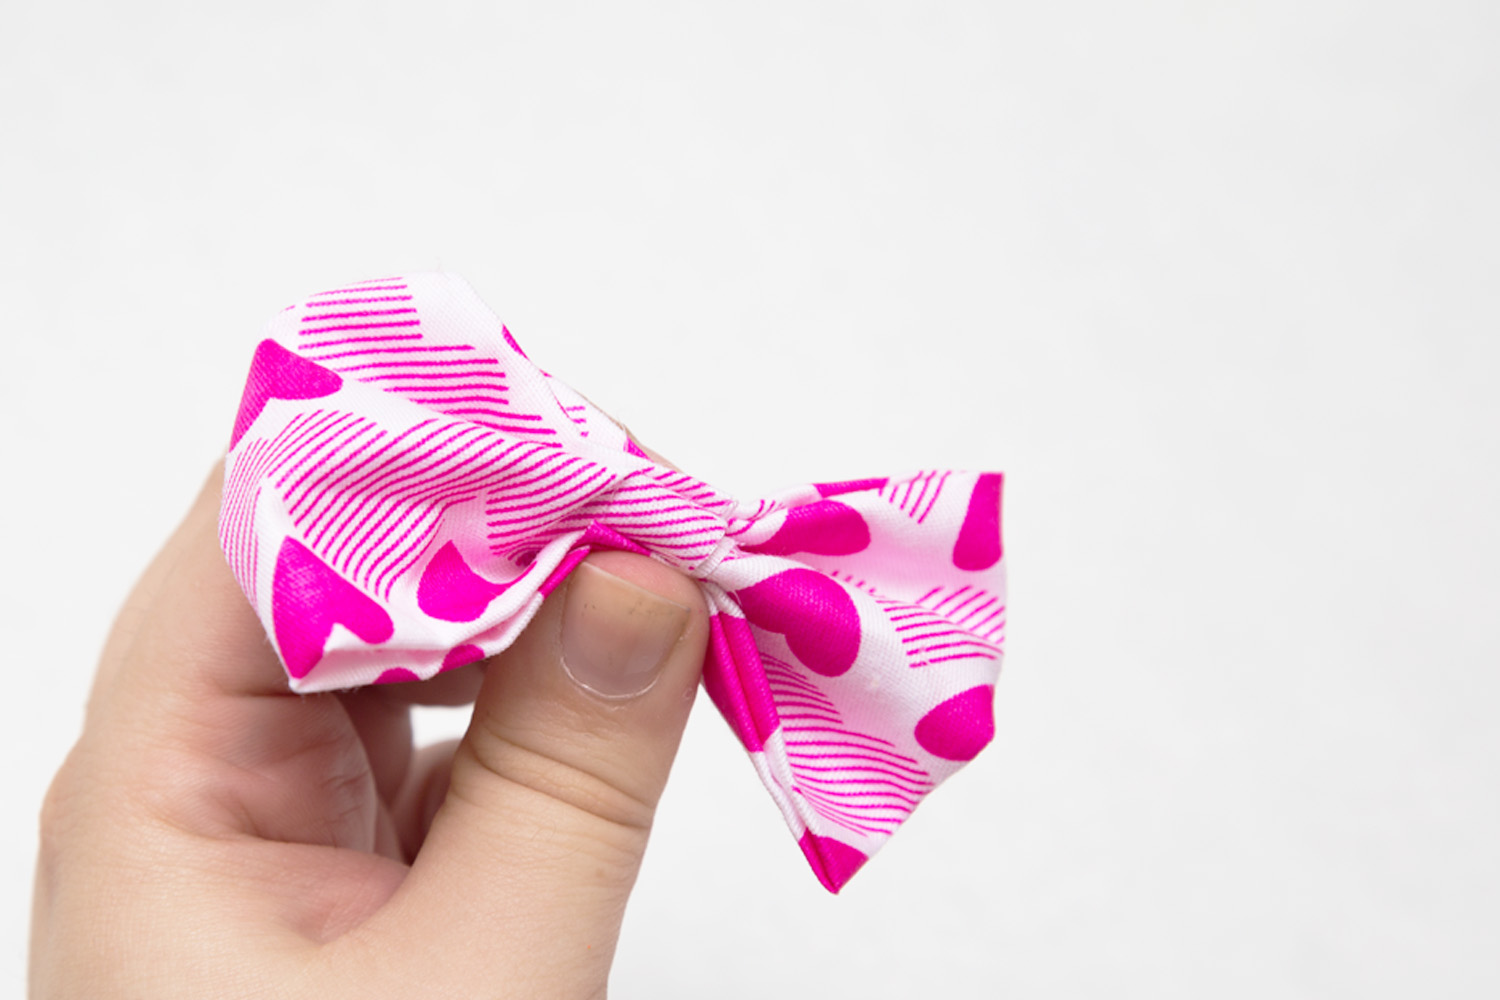
5. Accordion-fold the two pieces of fabric in tandem to form a bow shape and place hot glue in the center of the two folds to secure in place. *If you want to add a second piece for dimension, this is a good time to add it. It is the same shape as the first bow just thinner and you would slide it through the dip in the middle of the larger bow before you wrap the middle.
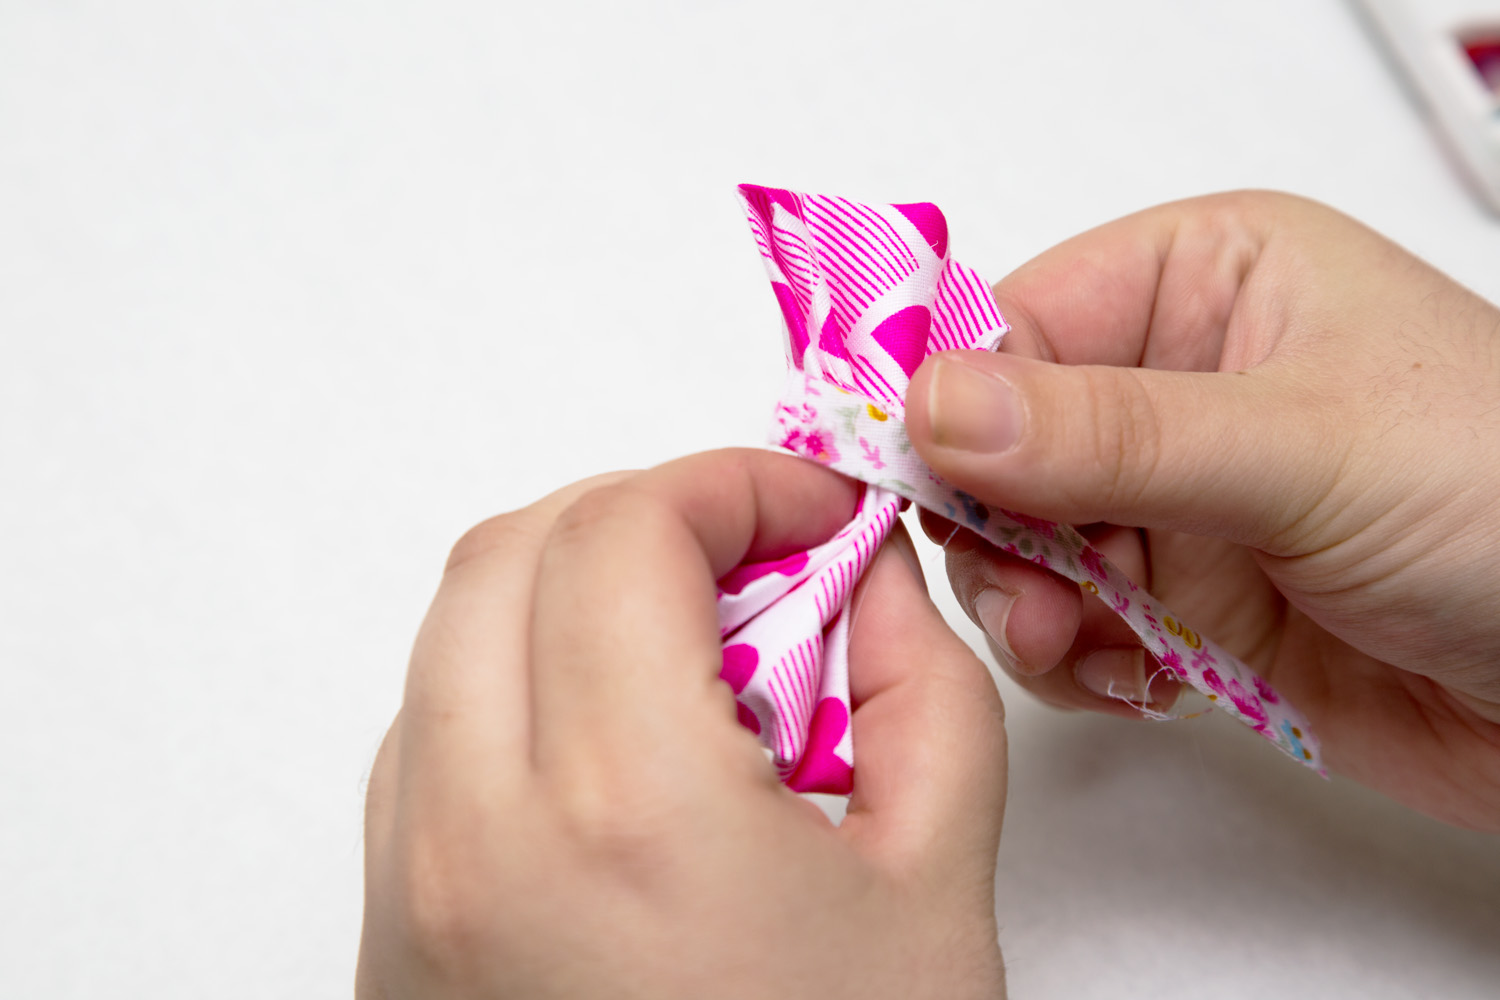
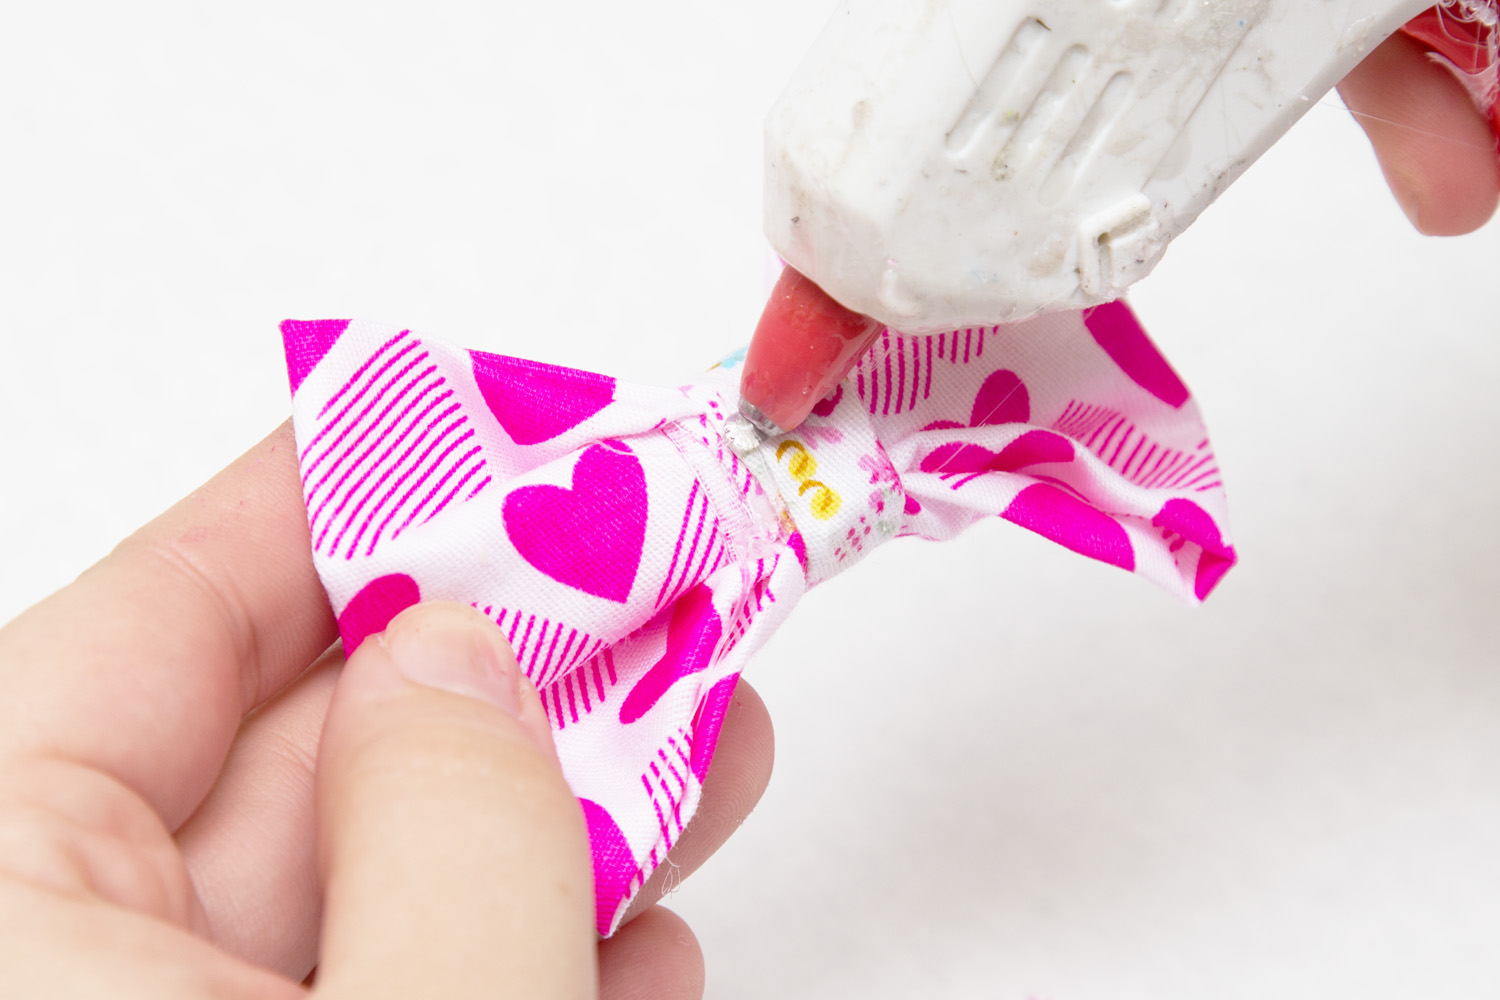
6. Lay the smaller piece of fabric in the center of the larger piece of fabric. Secure both short ends with hot glue.
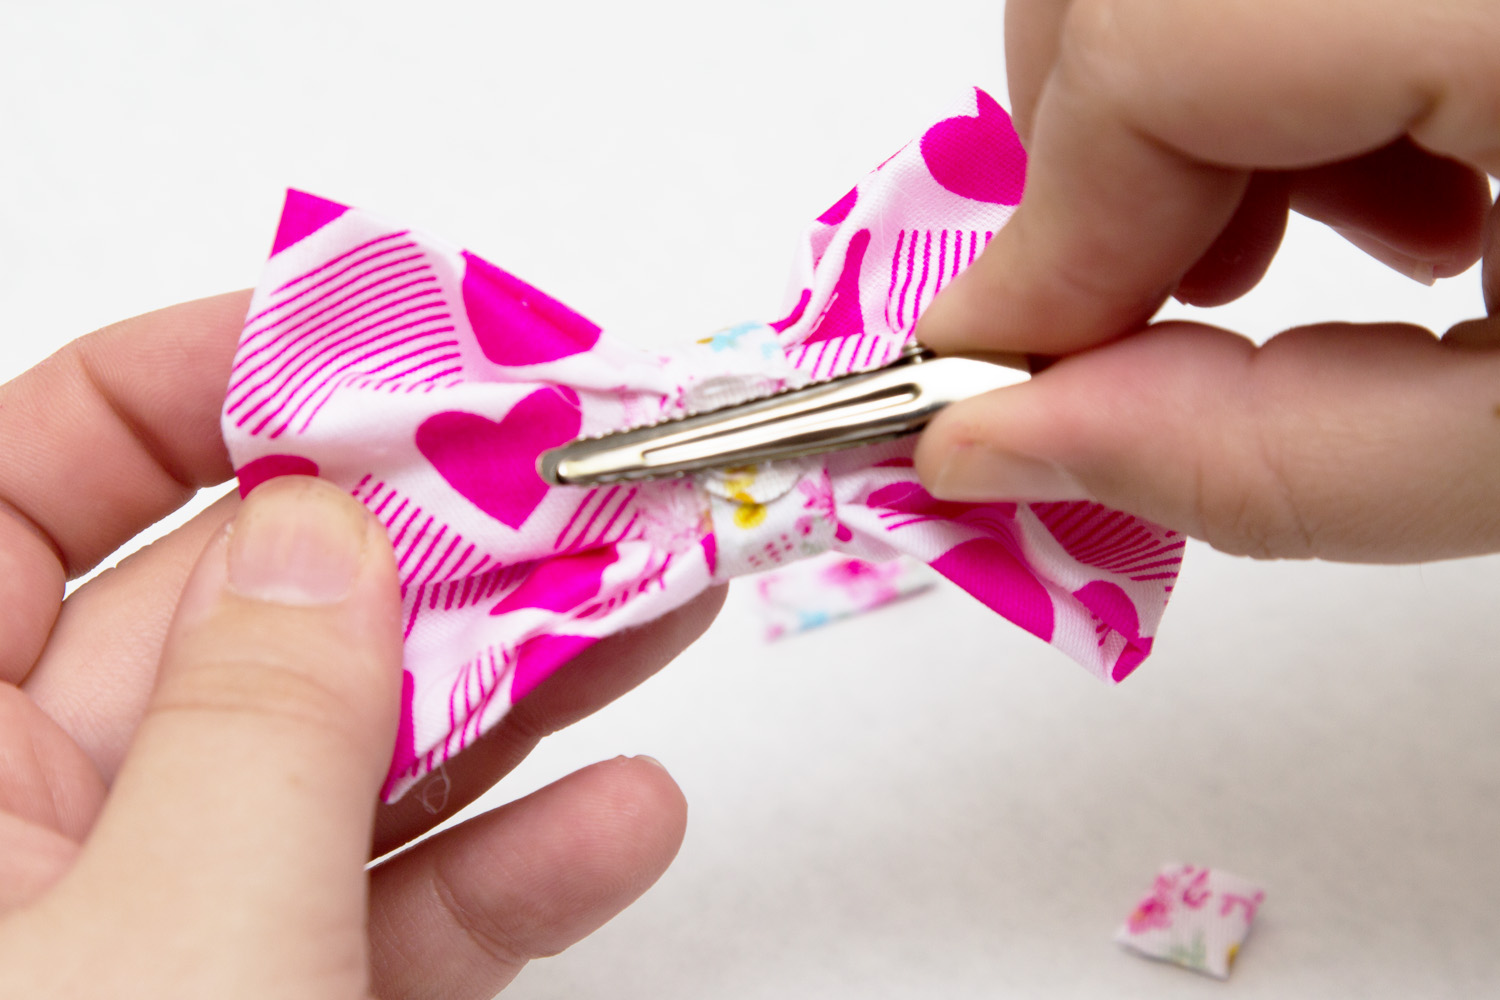
7. Lastly, secure the metal clip with hot glue to the bow.
 .
.

Once finished, add them to your princess’ hair and watch her rule the castle in style!


Princesses, you rule!

