
Even though the back-to-school buzz has already begun and the school supplies are already on the shelves, we are here embrace the last little bit of summer! One of the best age-old pastimes of summer is having a lemonade stand, and for some wonderful reason, kids absolutely love it. So, why not create your own with a little educational spin on it? And who knows – one day, your child might turn into a titan entrepreneur and thanking his or her roots in this very DIY lemonade stand!
Why a DIY Lemonade Stand is Important
While running a lemonade stand is fun before anything else, it is also important, as parents, to know how to use this as a learning opportunity. Being able to instill values of hard work and responsibility in our children at a young age is important, but that’s not all that having a DIY Lemonade Stand offers. Kids will learn business skills, responsibility, time and task management, teamwork, goal-setting and the basics of finance. According to LemonadeDay.org, 88% of participating adults said having a lemonade stand helped their youth correlate math with the real world!

Learning Business Savvy
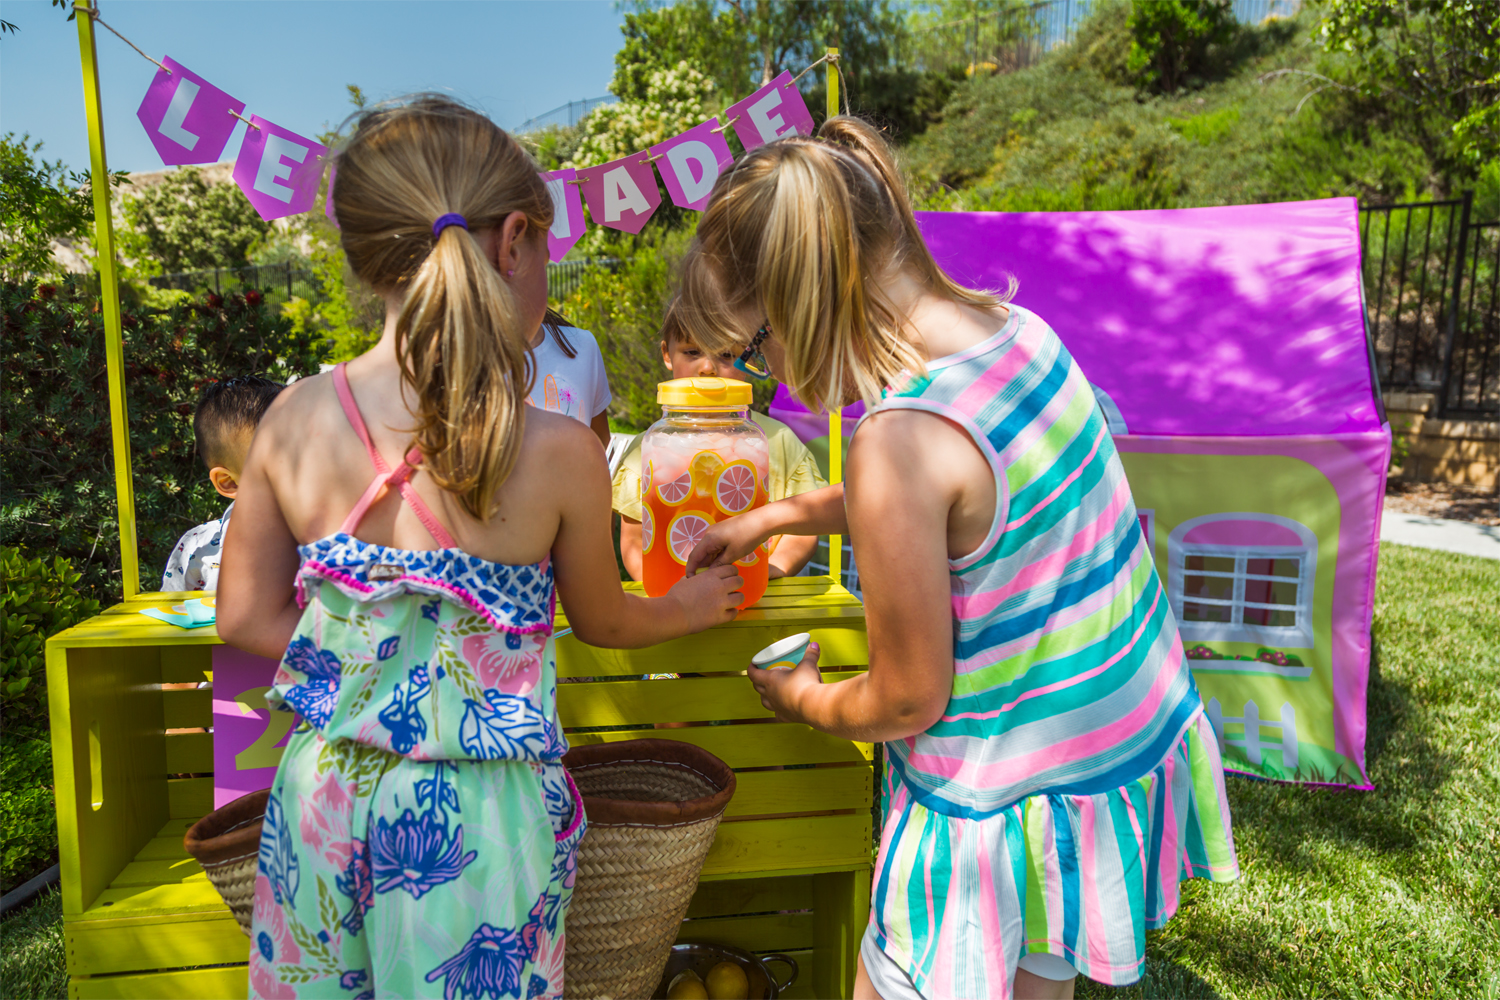
Having a DIY Lemonade Stand helps children learn to create a plan with a goal, work that plan and achieve their goals. Not only that, your children will learn marketing skills such as signage and branding, as well as social skills like customer service and friendliness.
Helping children learn the basics of running a business is super easy with a DIY Lemonade Stand. Go to the store with them to purchase the items, work the day selling the items, then teach them profits by subtracting the amount of the supplies from the total amount of money earned. They will learn to set higher goals, work harder and do more to ensure their profits are higher next time.
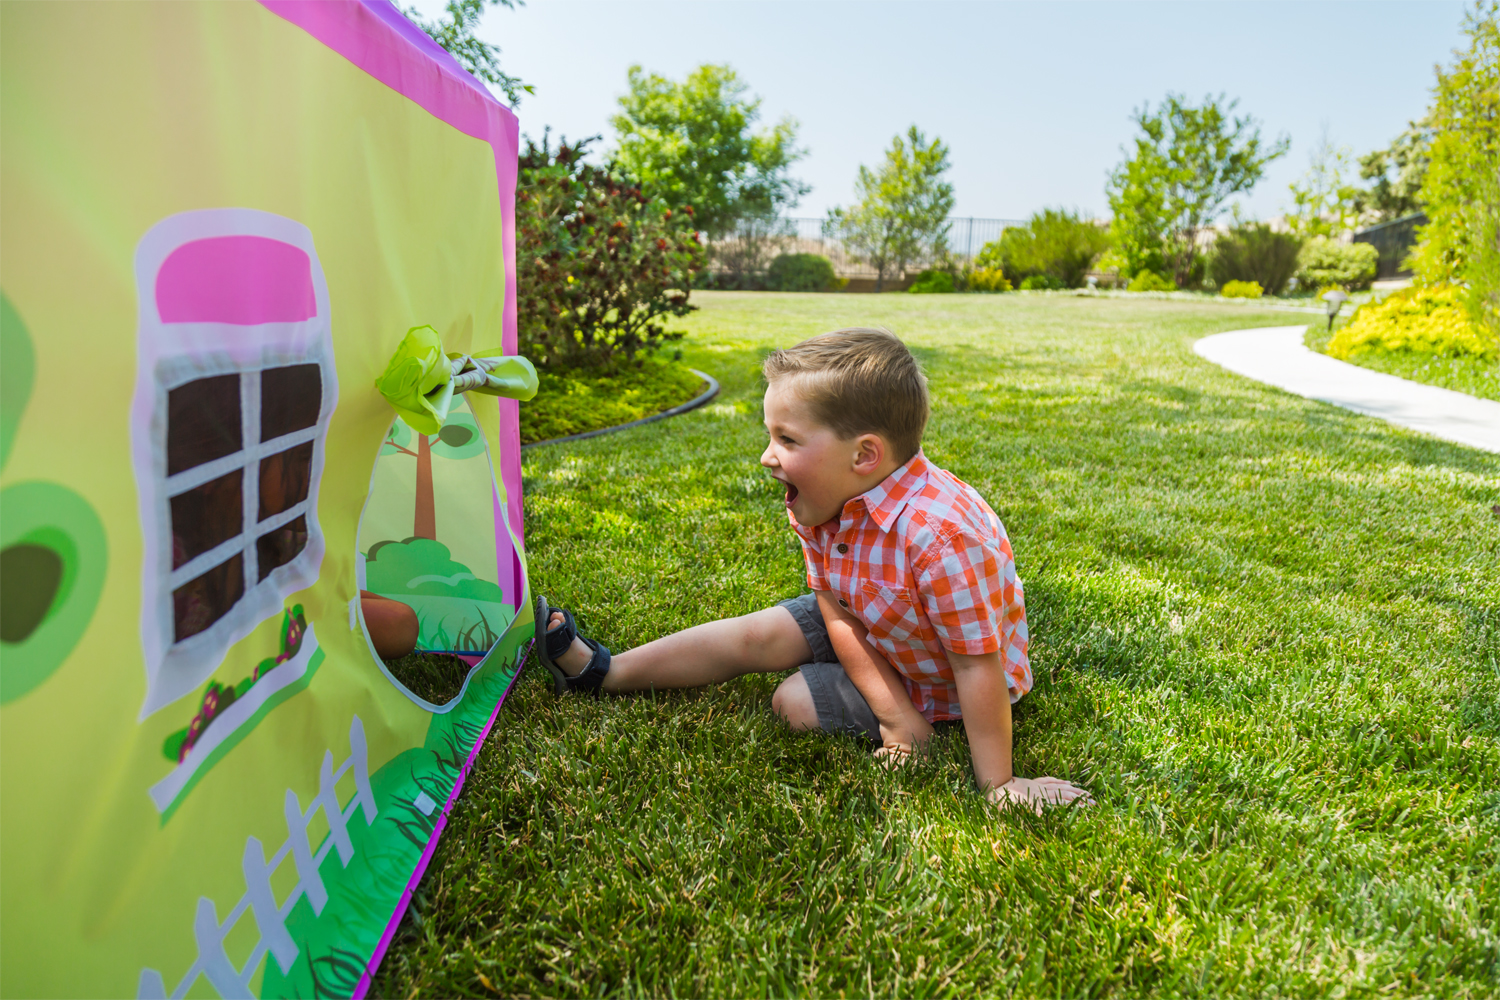
Lil’ Cottage House Tent
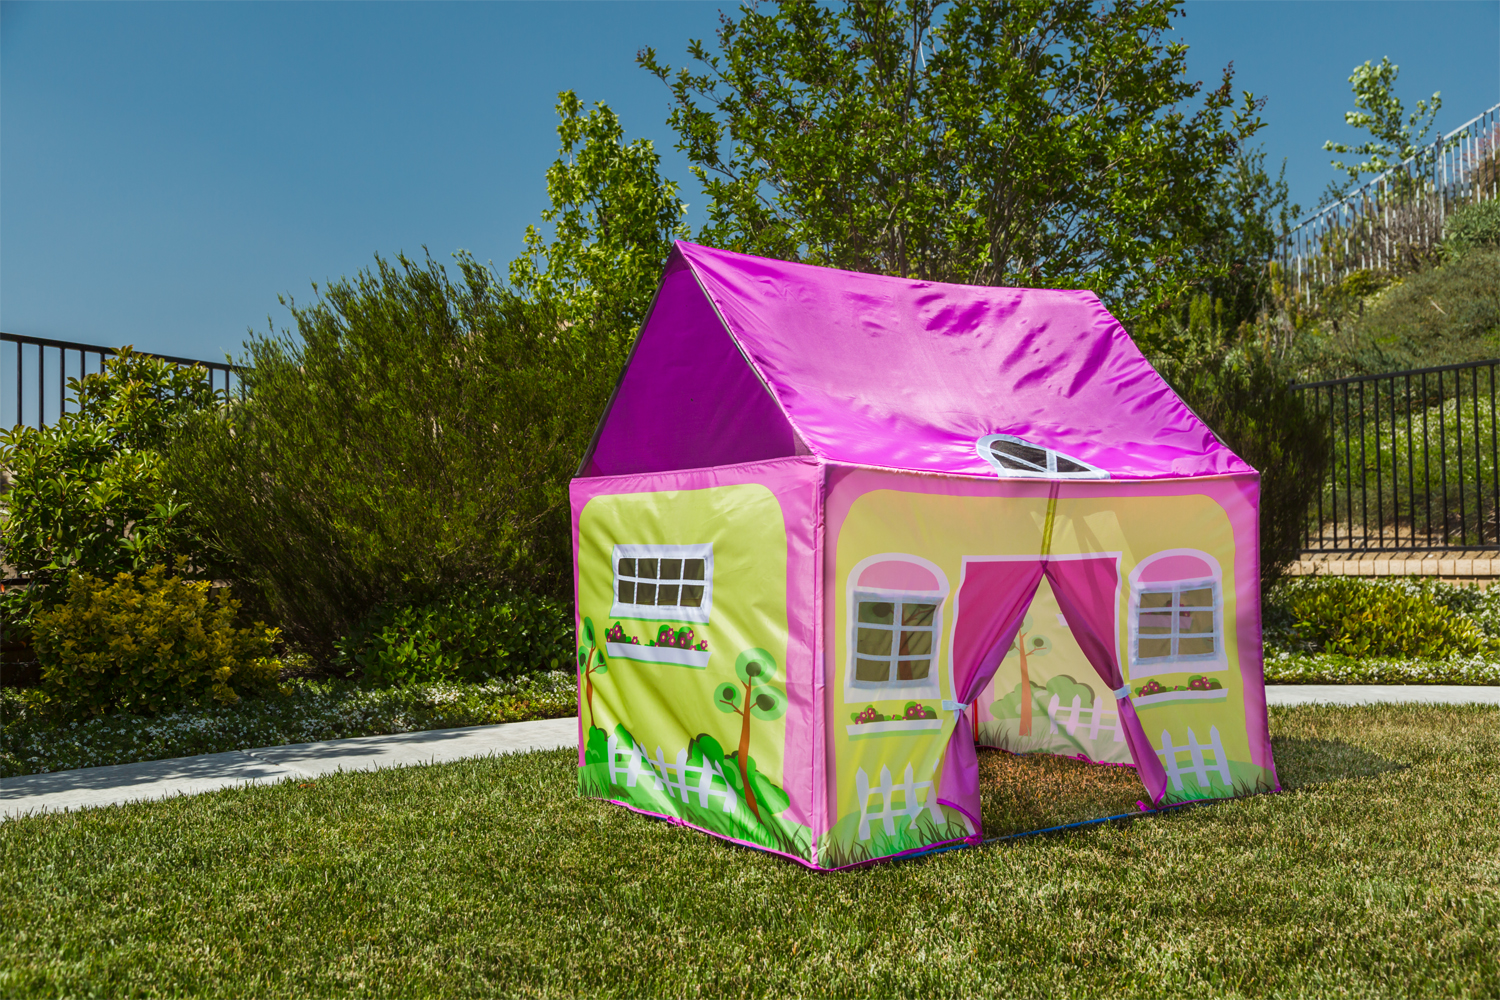
There’s no place quite like home after a long day of selling lemonade! If your little one is looking for a place to call their own, look no further than our Lil’ Cottage House Tent. Featuring an inviting design and a roomy 50″ x 40″ x 50″, this happy abode is sure to inspire endless hours of domestic bliss. The best part of all is that the easy-to-assemble color-coded poles and simple pull-over fabric ensure that this durable house is move-in ready upon arrival.
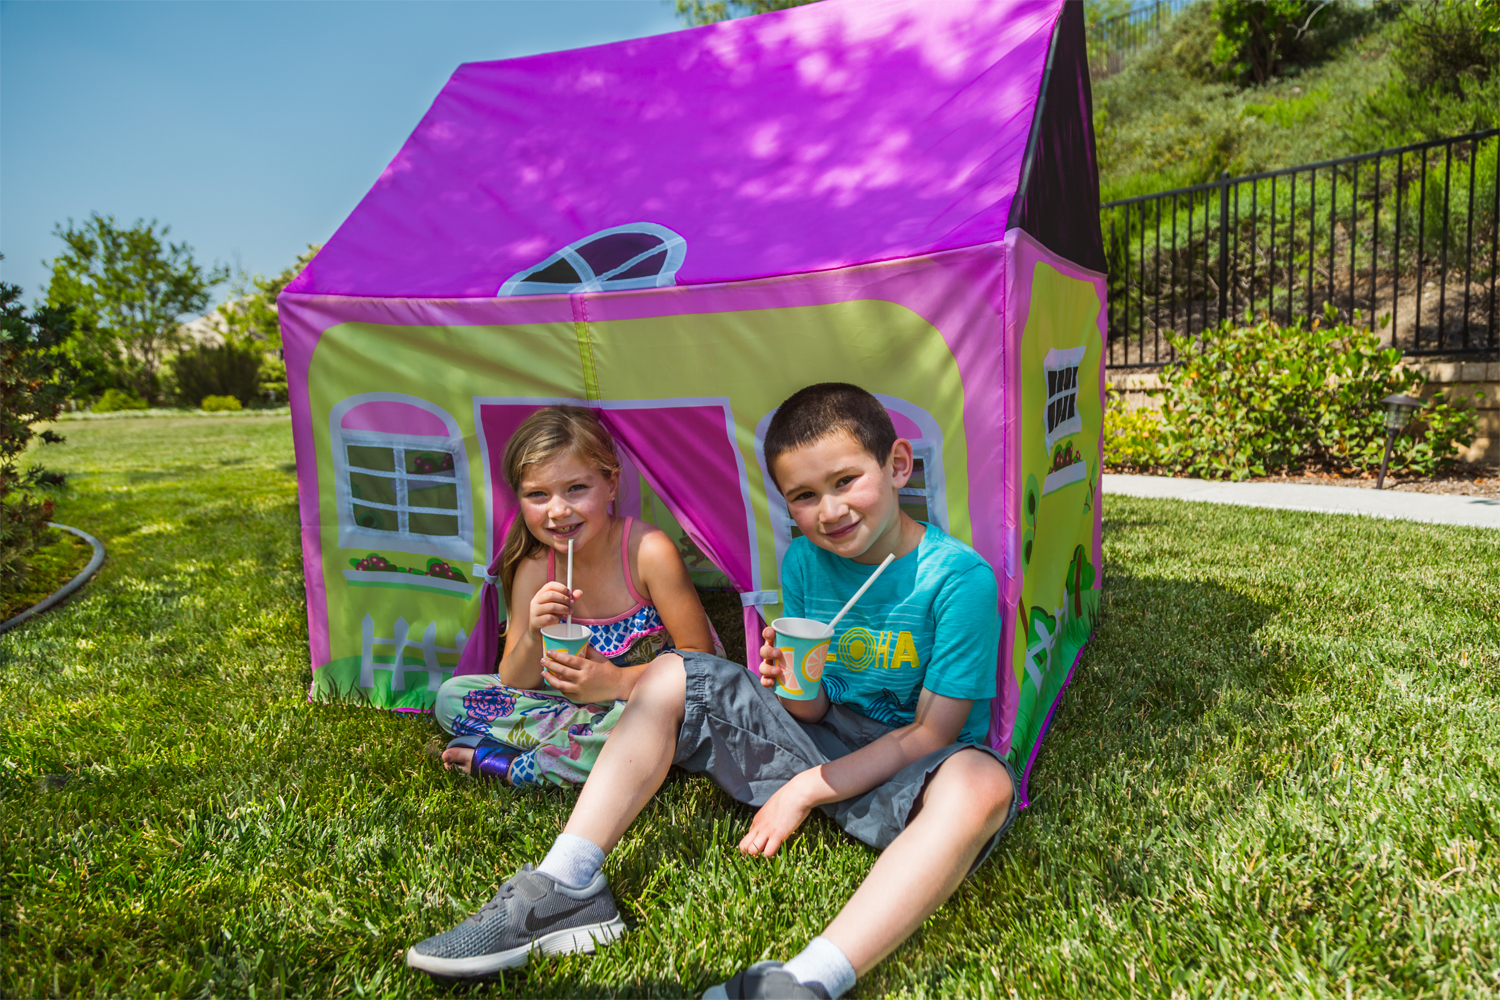
Should your child choose to “add on” to their space, they can always attach one of our stylish tunnels to the built-in tunnel port. Not only is our Lil’ Cottage House Tent airy and bright thanks to the “peek-through” mesh panels, but it’s also portable and versatile, making it the perfect home in any setting. Our casa es su casa!
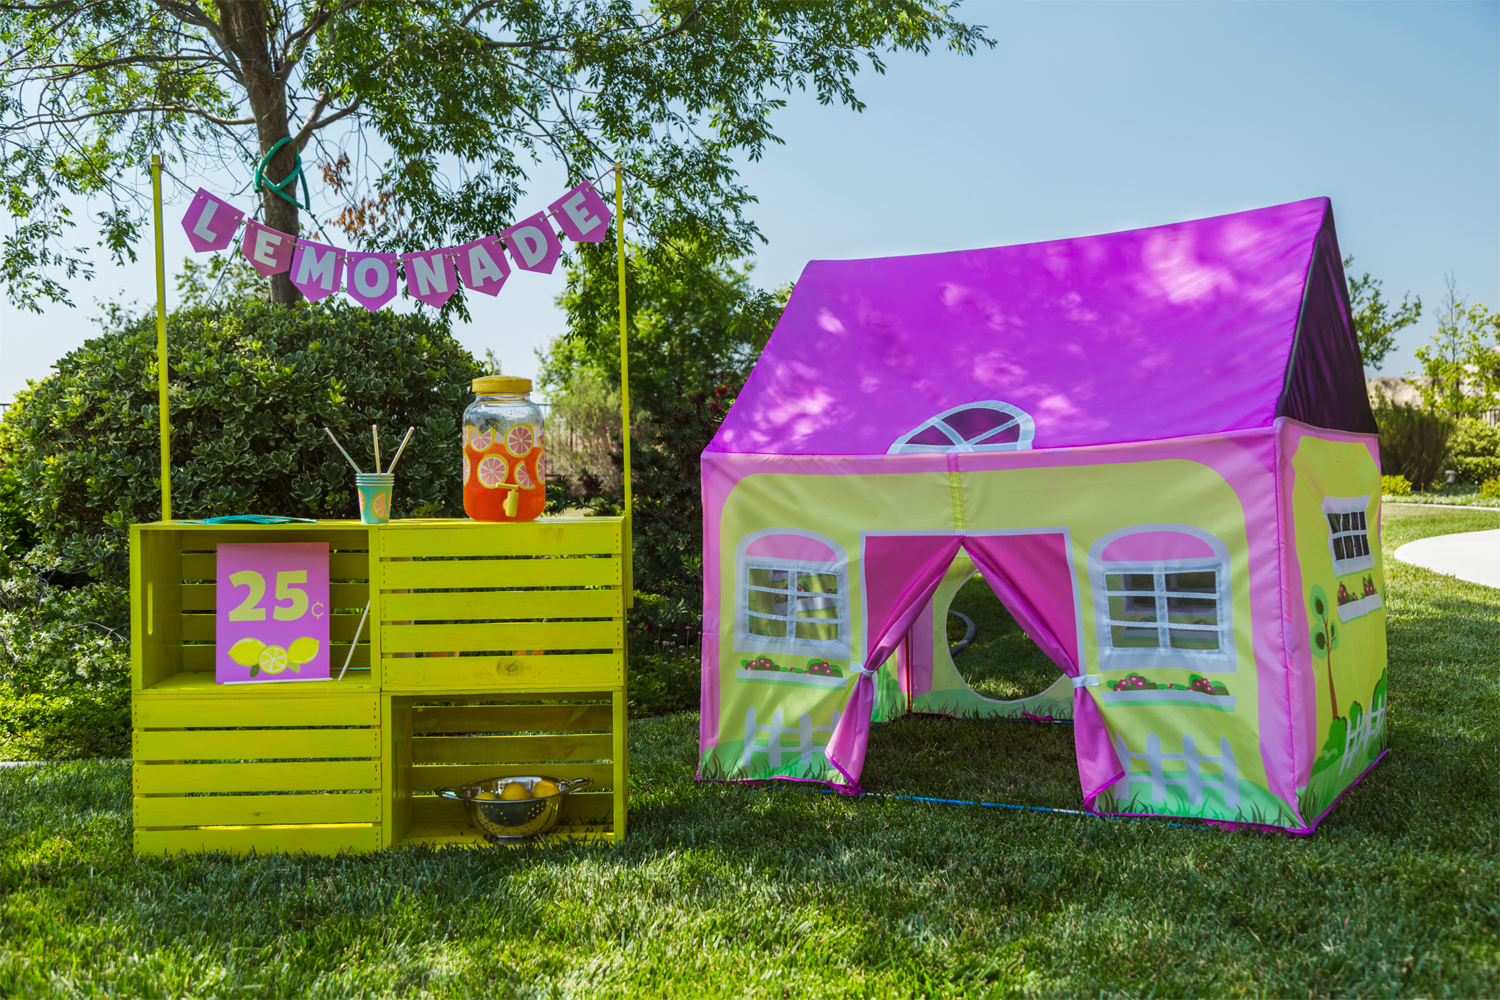
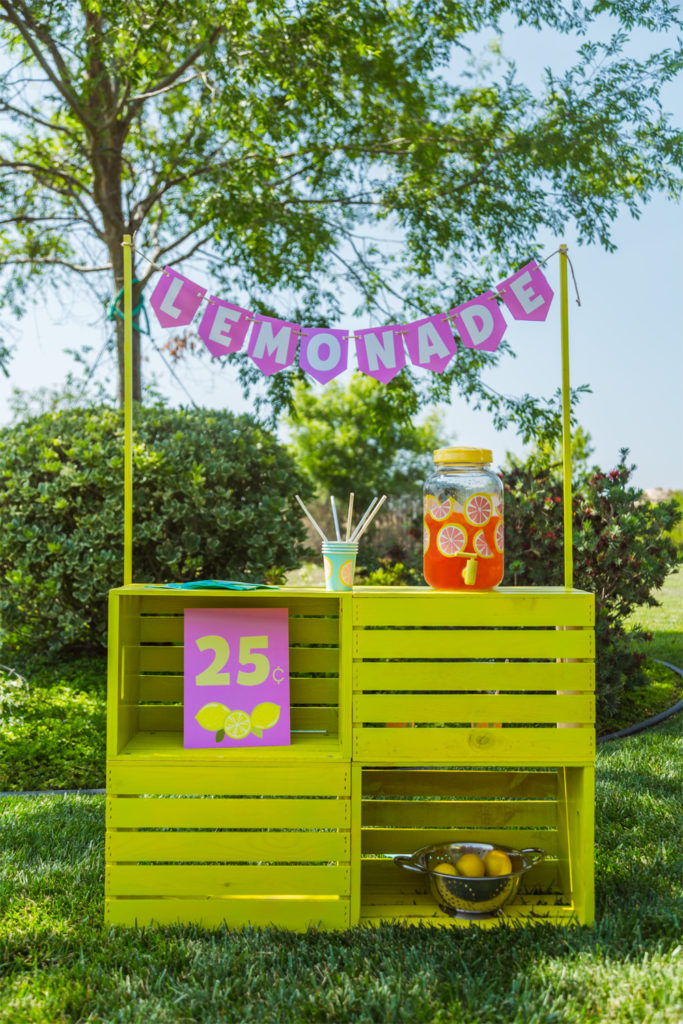
DIY Lemonade Stand
Now that your child has a plan, a goal and supplies ready – it is time to make the stand itself! This DIY Lemonade Stand is sure to stand out much better than just a folding table and chairs. Taking the extra time to create a great workstation and presentation can go a long way for customers, and can also teach your children the importance of having a “competitive edge” – even if it is just for a summer lemonade stand!
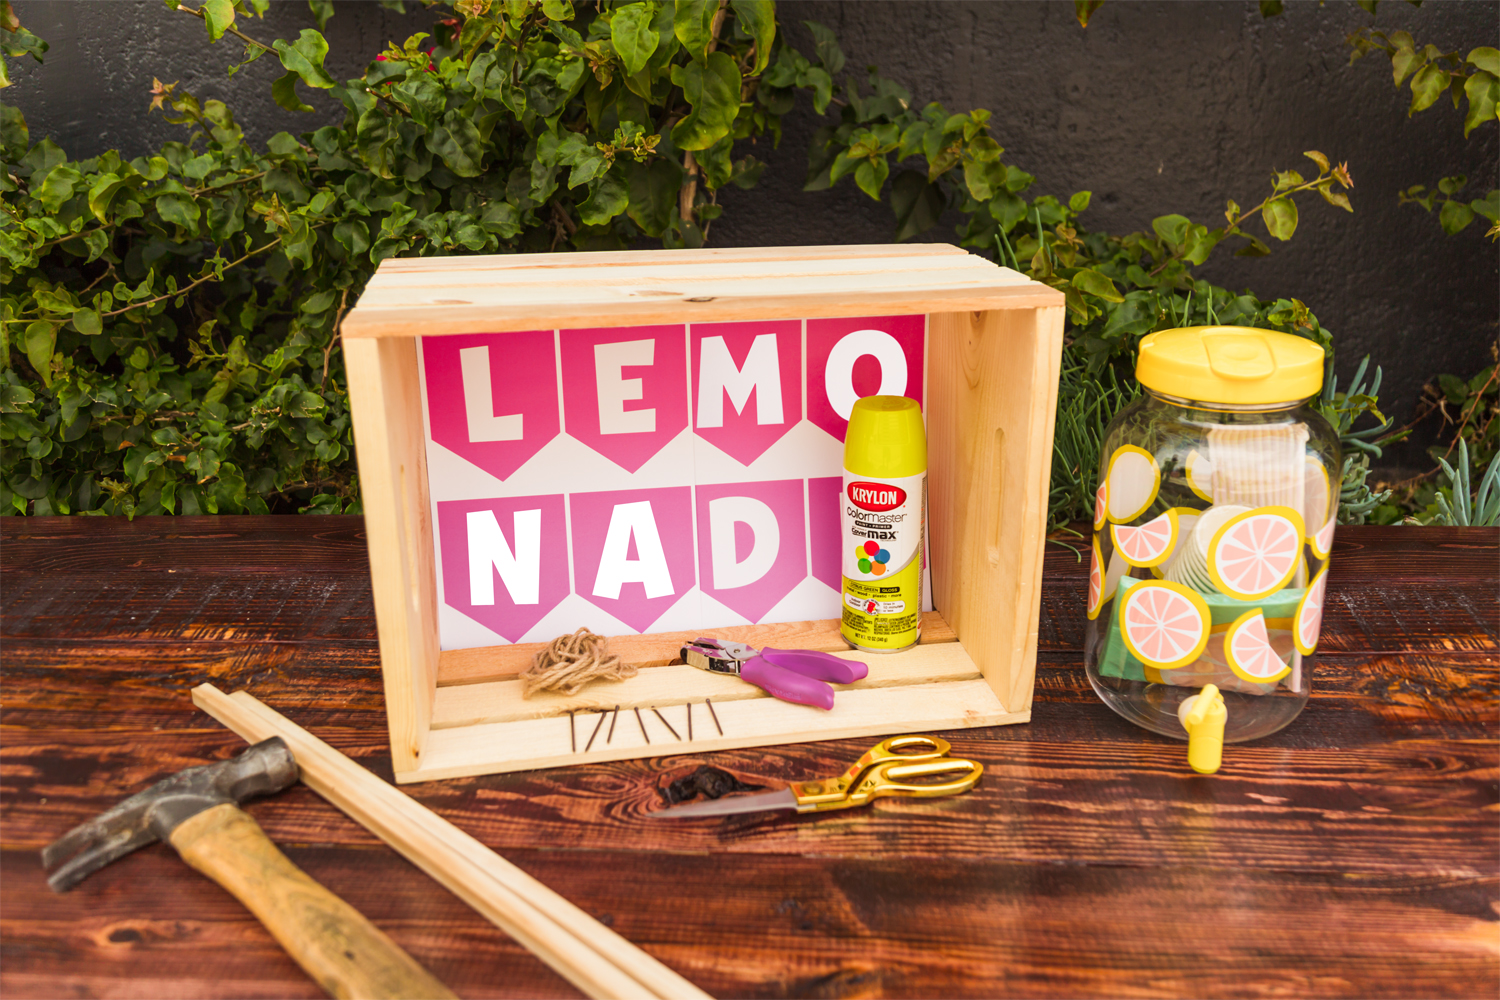
What You Need
- (4) Wooden crates – We got ours from Michael’s
- (2) 3ft. Wooden rods – We got ours from Michael’s
- (2) Cans water-based green spray paint (or whatever color you’d like!)
- 3 ft. of Twine
- Scissors
- Hole puncher
- Hammer
- Nails
- “Lemonade” letters cut out (from our printable!)
How You Make It
- Spray paint the crates and rods in your desired color. Allow at least one hour to dry.
- Using the hammer and nails, nail the bottom of one crate to the top of another, arranging them in a staggered position. Then, nail the other set of two.
- Nail the two sets of crates to each other from the side.
- Nail the rods to either side of the crates on the back.
- Cut out letters and punch a hole at the center top of the design.
- Run twine through the holes and arrange letters to spell “Lemonade.”
- Tie the two ends of the twine to the tops of the rods to hang the sign.
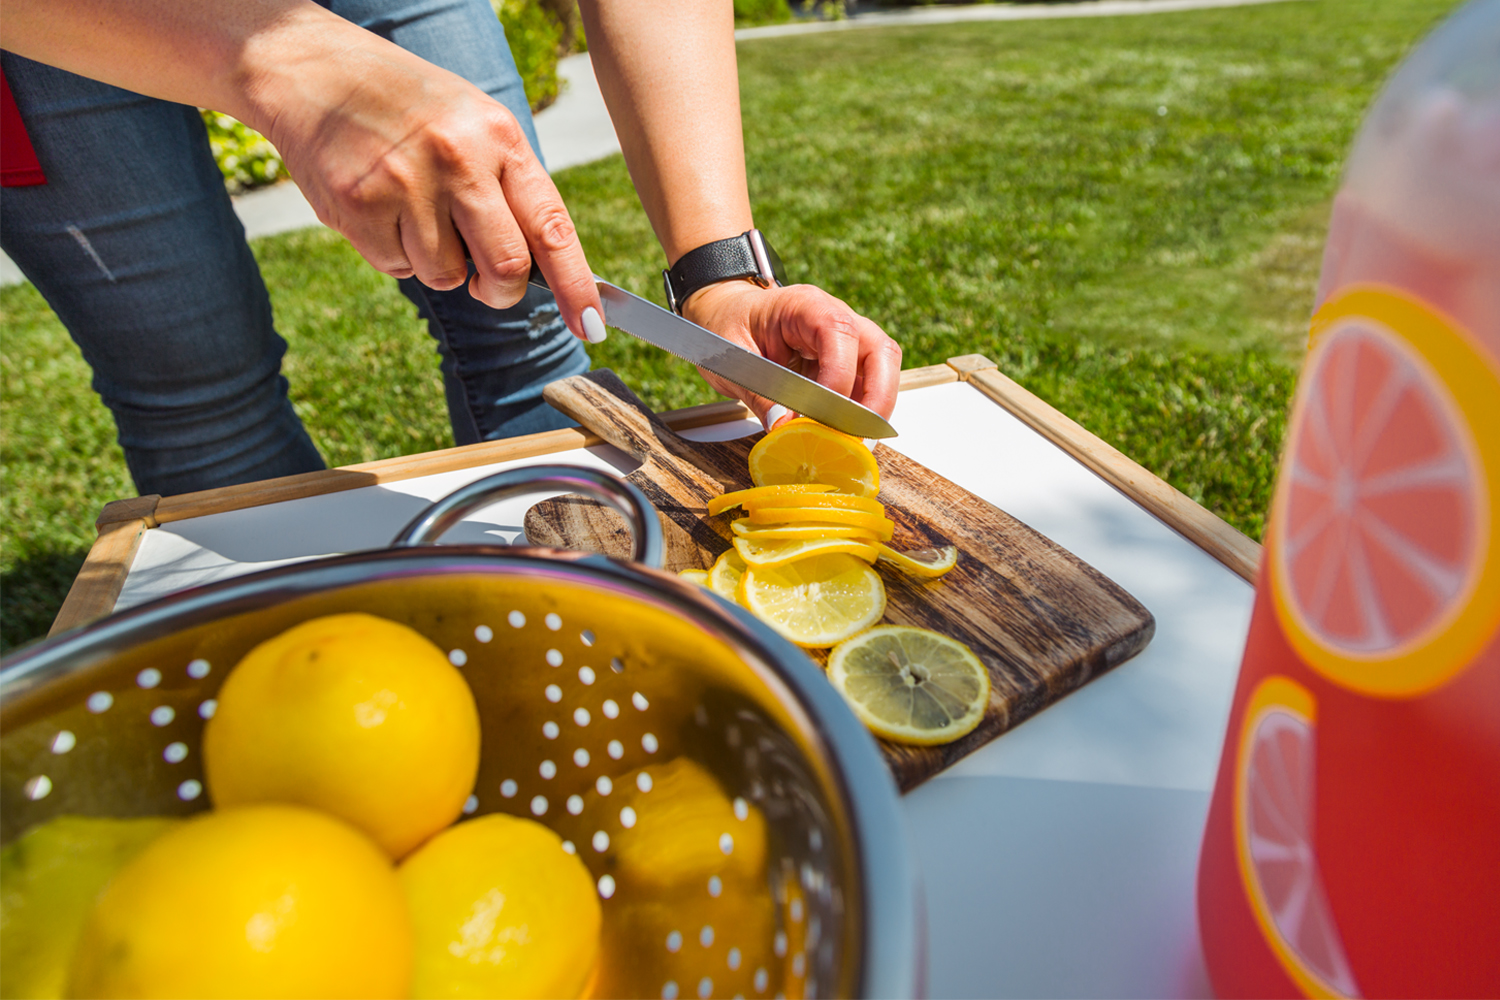
- Make some lemonade and sell, sell, sell!
Tips for Your DIY Lemonade Stand
Now that you’ve got your lemonade stand and supplies ready, it’s time to get the business up and running. If you’re looking for more tips on running a lemonade stand, we’ve rounded up some of the best we could find!

- Advertise around the neighborhood. Put up signs in your neighborhood, similar to garage sale signs, pointing the way to the lemonade stand. That way, people will know to look out for it, rather than happening upon it and not having enough time or preparation to pull over and support.
- Sell more than just lemonade. It’s always great to have an add-on sale! Bake some cookies or brownies to sell with your lemonade, or if you have extra lemons, sell those too so you can boost your sales.
- Keep a cooler nearby. Have a cooler with extra ice so people can get it on-the-fly without having to constantly run in and out of the house. Also, keep some extra lemonade in there, too – you never know when you might have a sudden rush!
- Put out a garbage bin. Make sure you’ve got a trash can nearby, even if it’s small, so that your customers are able to throw away their cups.
- Have a tip jar out. Chances are, people will be more than happy to tip you. Keep out a nice, big tip jar and have some money inside of it already to attract people to put some in.

Let Us Know!
How are you enjoying the last few weeks of summer? Are you going to run this DIY Lemonade Stand? Let us know all about it in the comments, or reach out to us on social media!
Also for more fun with this Lil’ Cottage House Tent check out this post from a little while back and learn how to make a DIY Mailbox to post outside of your House Tent. Good luck!