
Who doesn’t love ladybugs? These adorable, friendly insects are adored by everyone, especially children. While we love them so much for their colorful, lovable appearance (which, by the way, is so that they look unappetizing to predators!), farmers love them for their endless appetite. What better way to learn about them than with our DIY?
According to National Geographic, ladybugs voraciously consume plant-eating insects, such as aphids, and in doing so they help to protect crops. Ladybugs lay hundreds of eggs in the colonies of aphids and other plant-eating pests. When they hatch, the ladybug larvae immediately begin to feed.
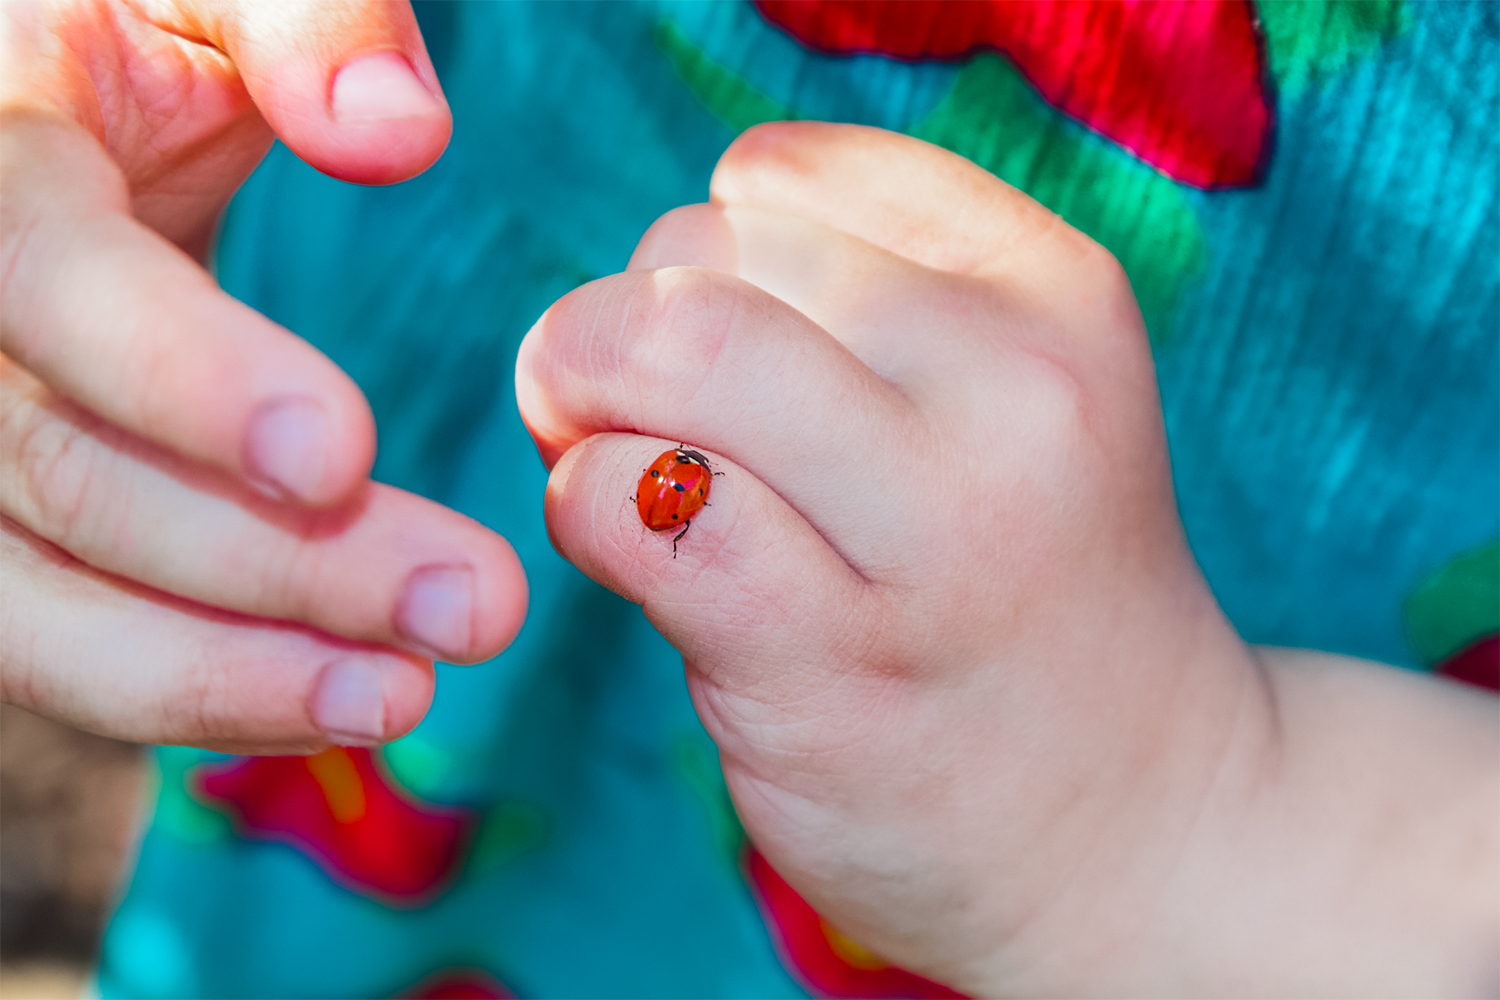
You’re probably starting to notice lots of ladybugs lurking around now that it is summer. While it might seem tempting to catch them, make sure you leave them alone. They are eating lots of other insects from around your home, leaving you much less bug-free than you would be without them. So, give them a “thank you” next time you see one!
Since ladybugs are so approachable and adorable to children, they are a great introduction to the wonderful world of bugs and insects. Teaching them at a young age to appreciate bugs and insects will help them be less afraid of them as they grow older. If you’re looking for a teachable moment now that you’ve got lots of ladybugs around, read on for our DIY Ladybug and games to play!
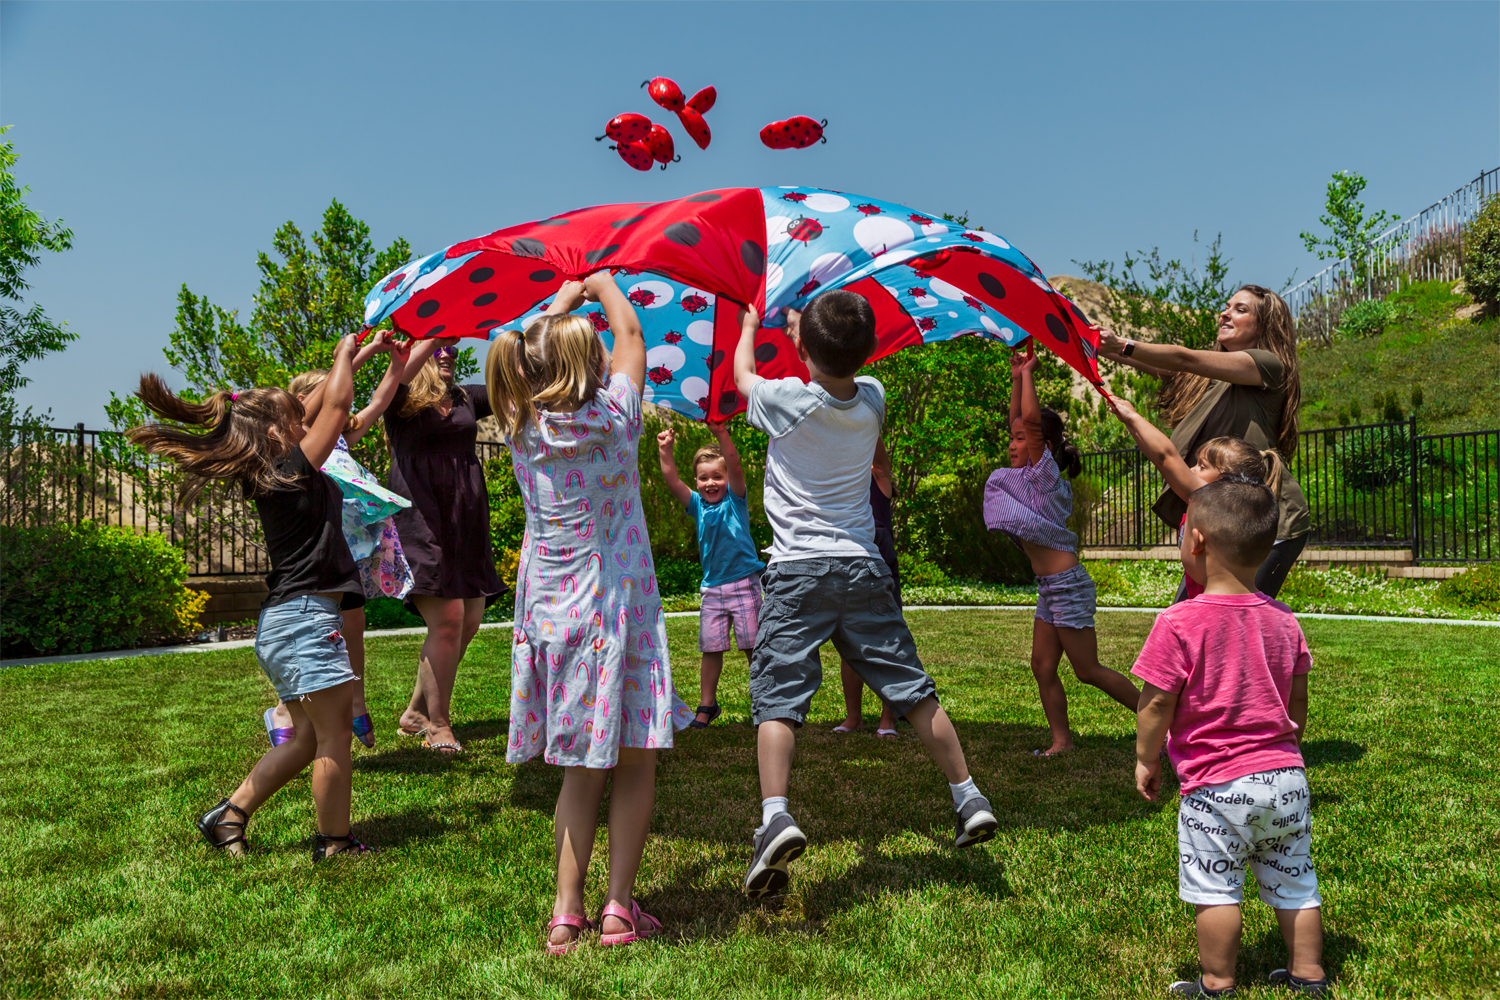
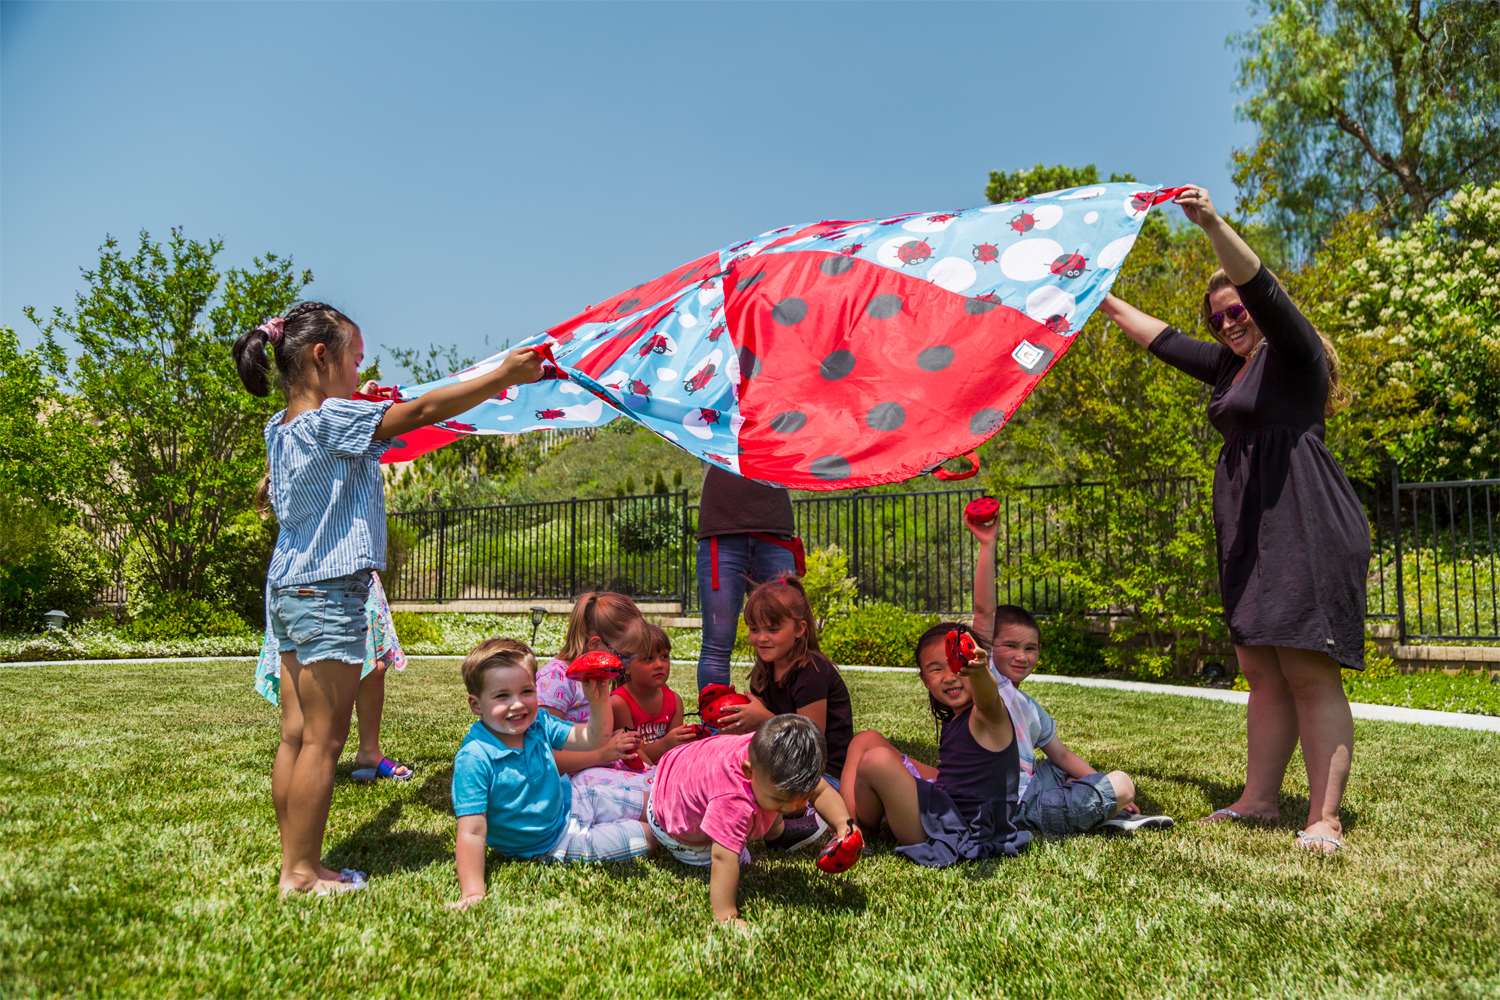
Ladybug 8FT Parachute
We’ve combined two of children’s favorite things – ladybugs and parachutes! This colorful parachute is the perfect party activity, whether you’re indoors or outdoors this summer (hey – it gets REALLY hot out there!).
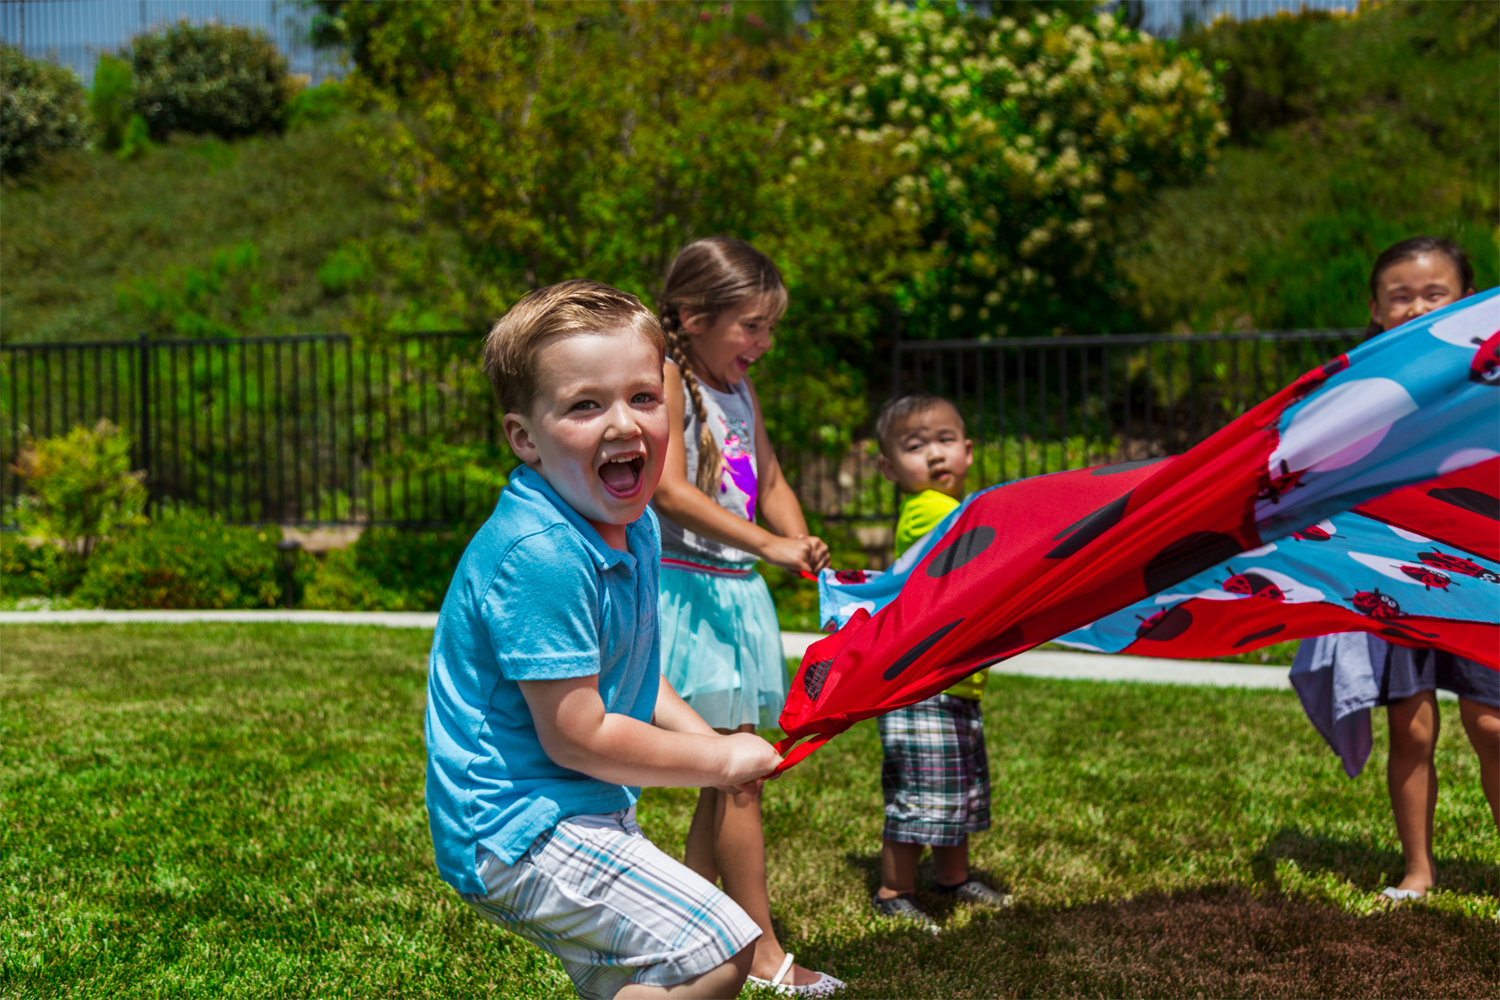
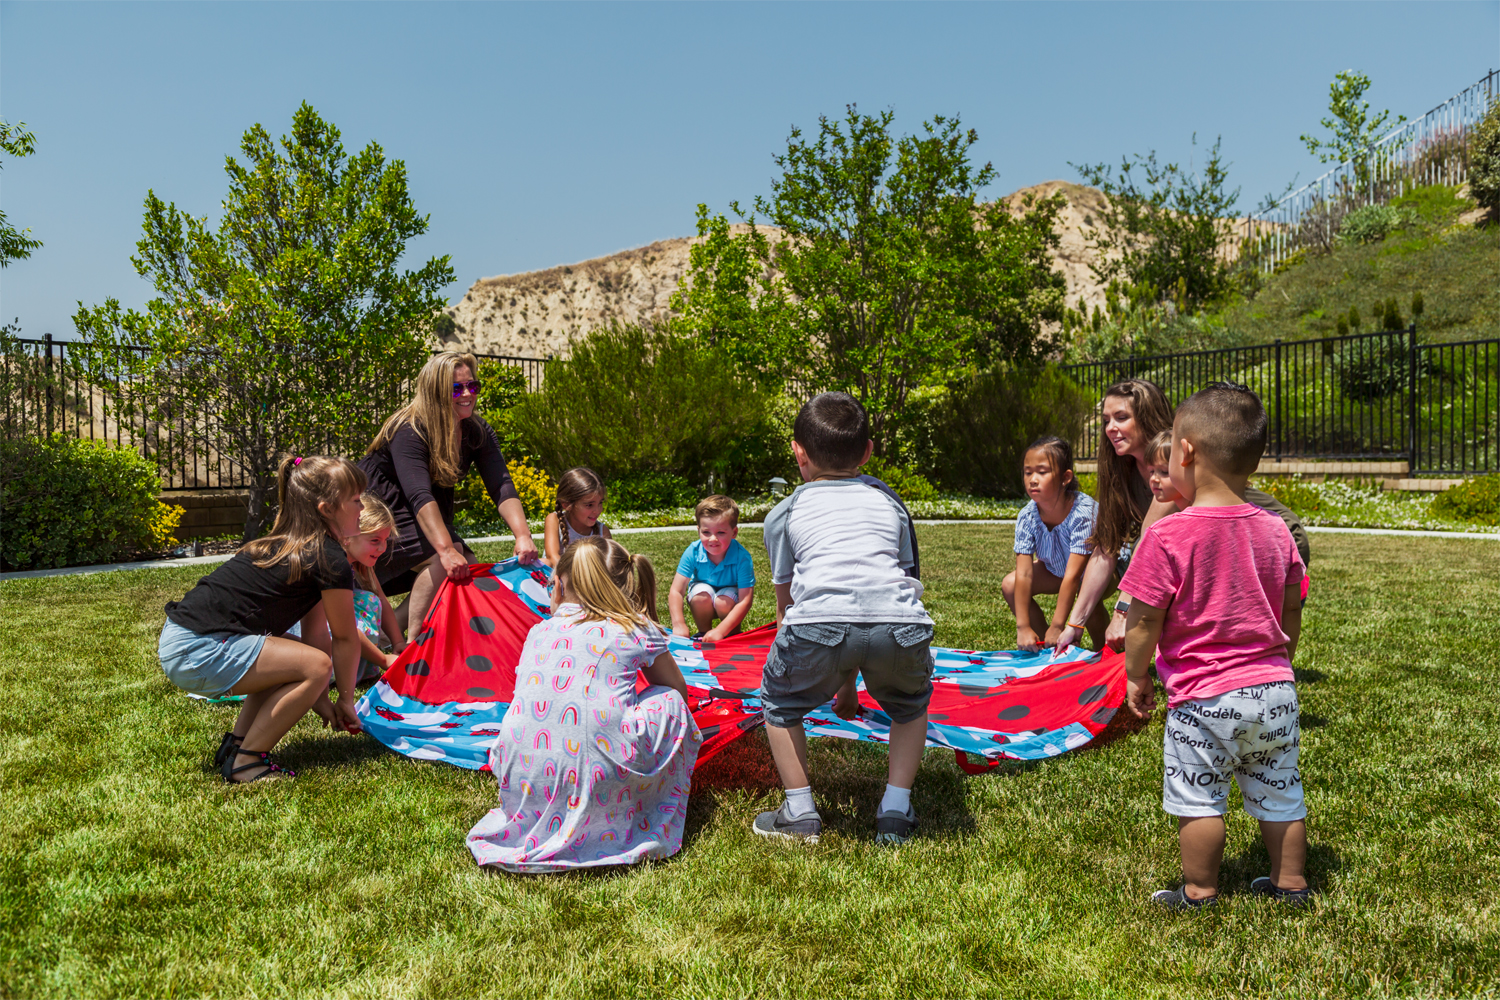
The parachute is 8ft in diameter and has 8 handles, allowing the opportunity for kids to break the ice and have easy social interaction with each other. Gather the gang for hours of fun and games whether you’re hanging out at home, the park, or at a summer poolside BBQ. It even comes with its own carry sack for storage and is excellent for cooperative play. It’s a summer must-have!
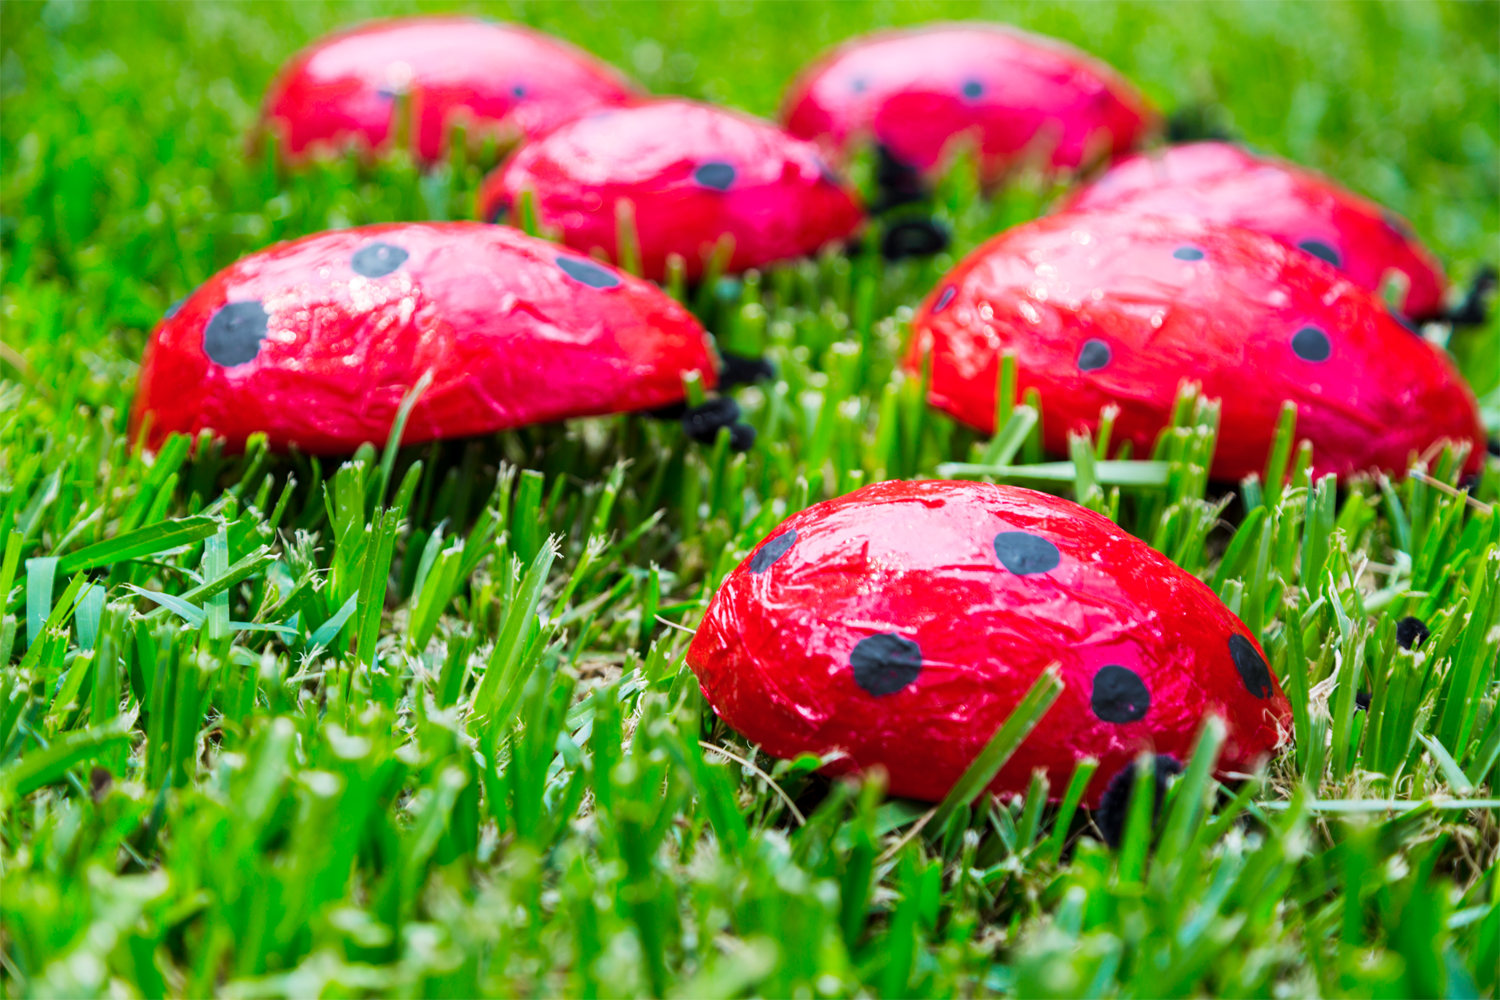
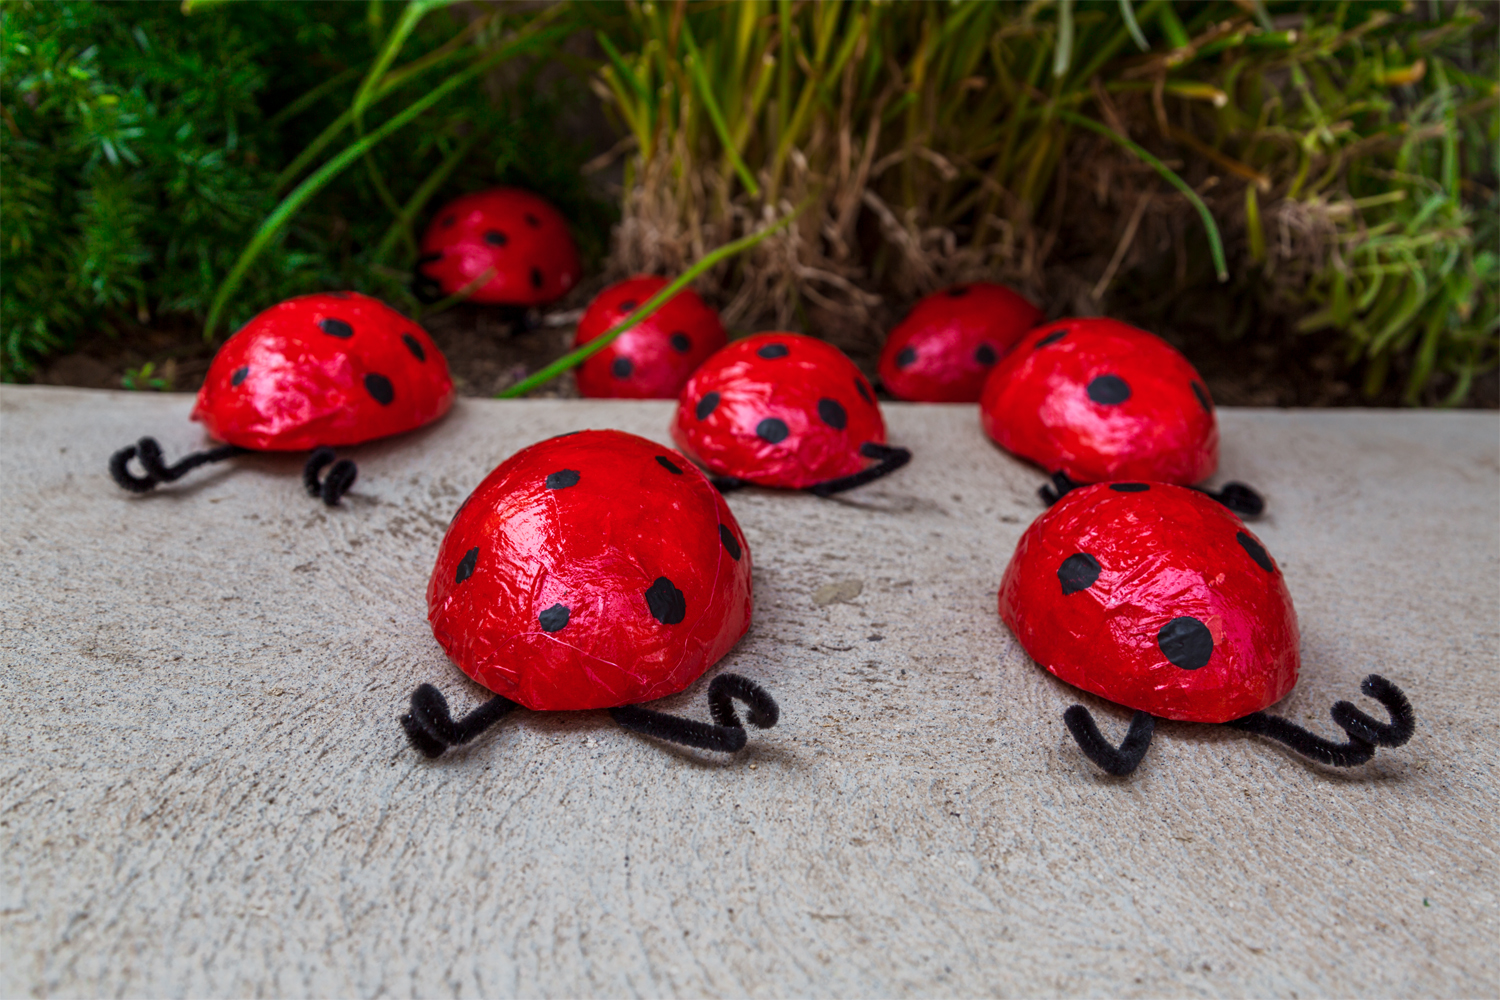
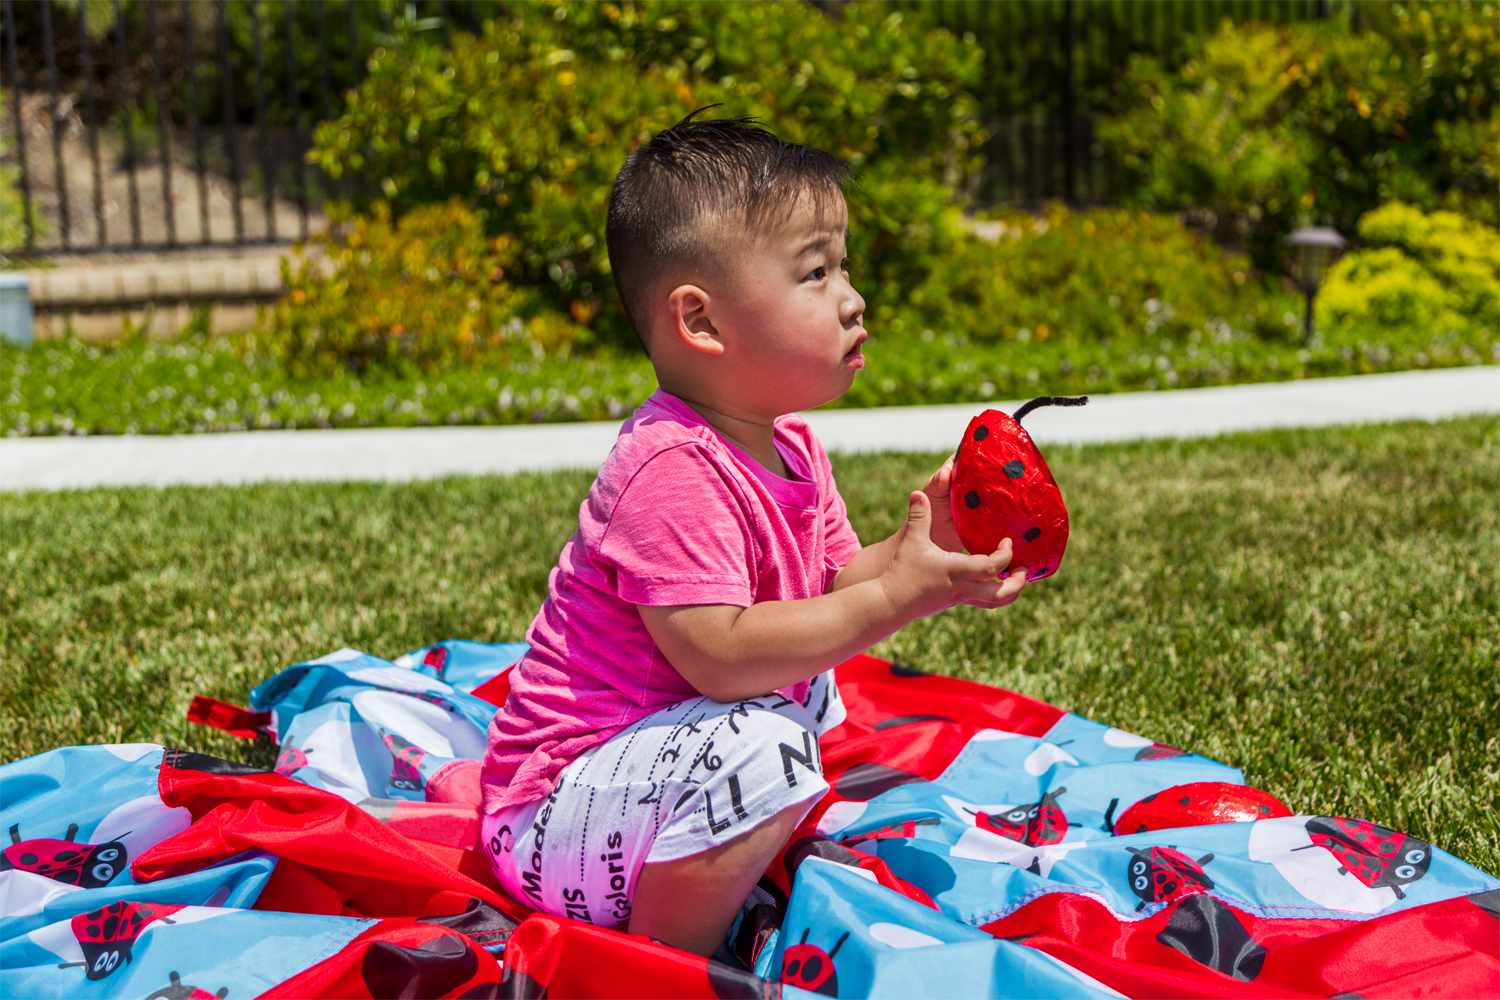
DIY Ladybugs
What You Need
- Styrofoam egg shape – cut in half, one egg makes two ladybugs
- Red tissue paper
- Pipe cleaners
- Modge Podge
- Black paint
- 2 Paintbrushes (1 for paint and another for applying the modge podge)
- Glue gun/glue sticks (To add the pipe cleaner antenna to the ladybug)
How You Make Them

- Take a styrofoam egg shape cut in half
- Paint modge podge on the egg and apply tissue to the modge podge
- Keep repeating step 2 until the egg is completely covered.
- TIP: If you feel like you might need a second coat, wait until it dries before applying
- Once you have your tissue applied to the egg shape and it is all dried, add all the character! Go ahead and paint little dots all over the body
- Wrap the pipe cleaners around a pencil to get that curly shape and glue gun it underneath the ladybug
- Enjoy!
How to Use Your DIY Ladybug
Now that you’ve got your DIY Ladybug, it’s time to play! Whether you are looking to teach your little one all about ladybugs or just let them have fun playing with them, we’ve got just the games for you. This is the perfect opportunity to keep their knowledge sharp during the summer, and it just might even get them ahead of the curve if they’re going to start learning about bugs come the new school year.
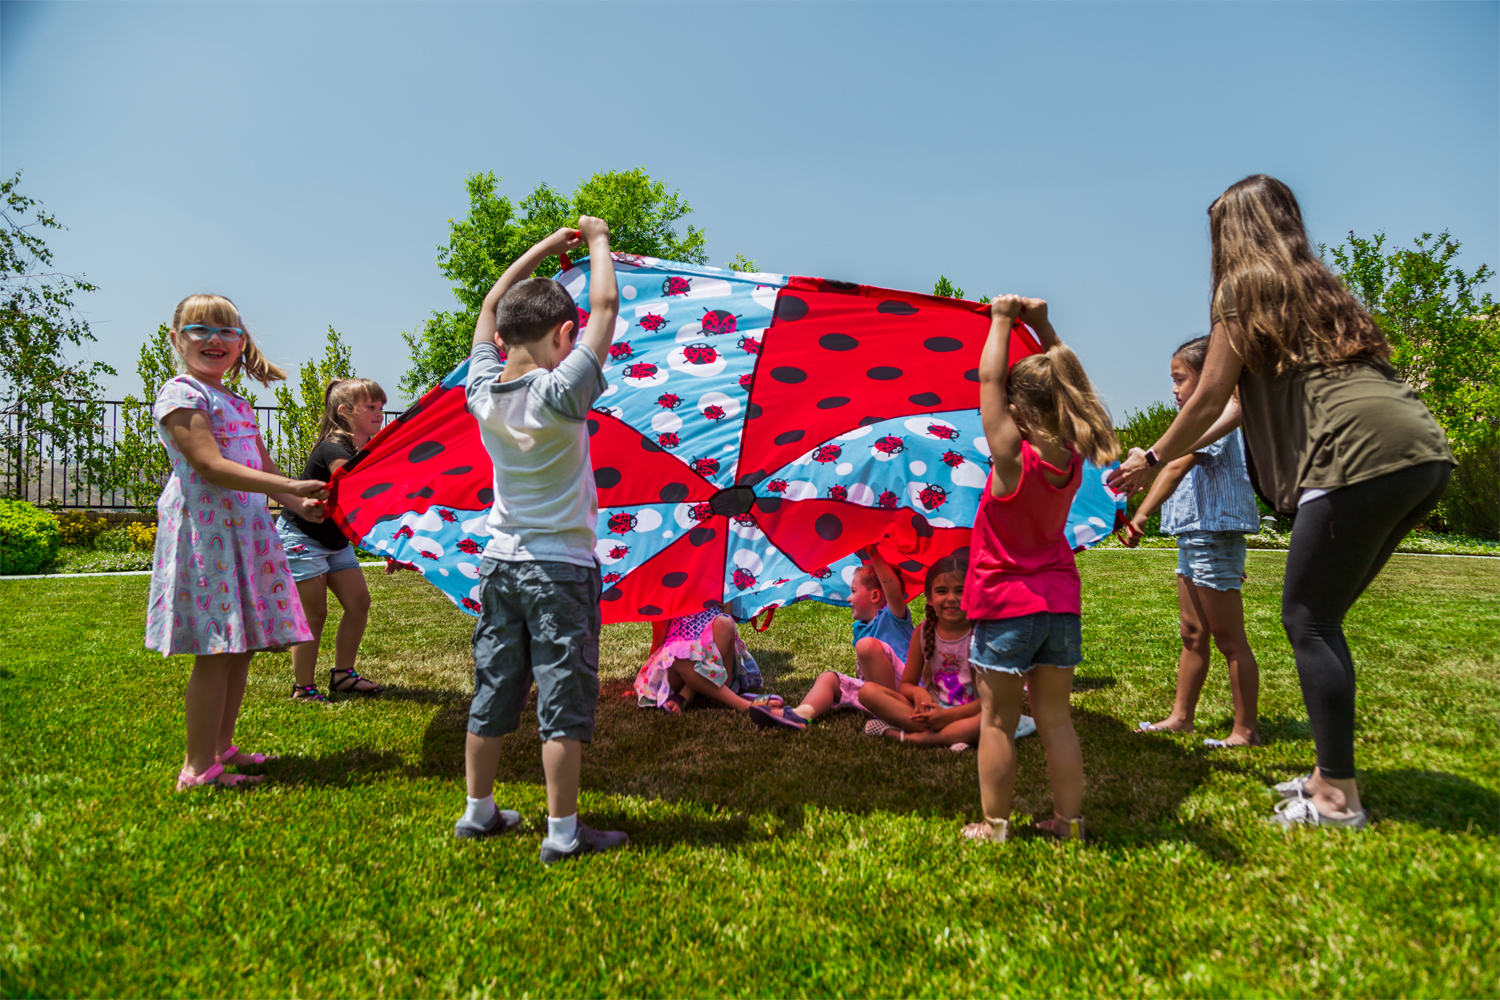
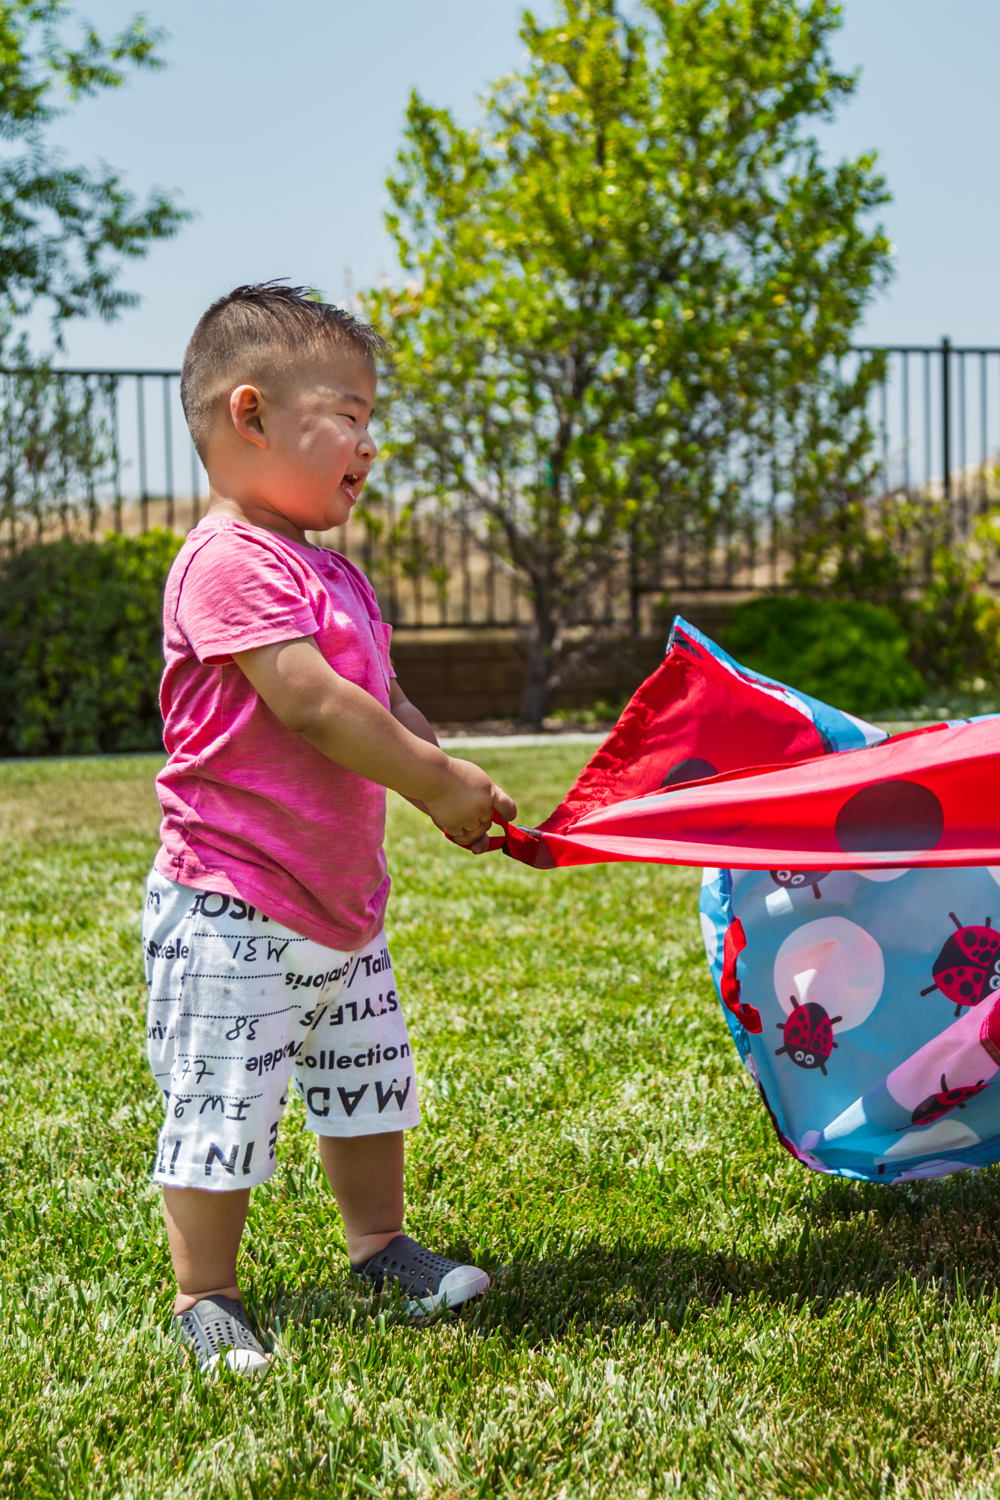
Catch the Ladybugs
While it is best to leave ladybugs alone when you see them in nature, that doesn’t mean that you can’t go capturing all the DIY Ladybugs that your heart desires! Grab your Ladybug 8ft Parachute and put all the DIY Ladybugs underneath. Lift up the parachute, and have the kids go under and grab as many as they can before the parachute comes down on them.
Ladybug Anatomy
This will help your little one get more comfortable with ladybugs, as well as insects in general. Use your DIY Ladybug to teach them the simple parts (via Ladybug Lifecycle), then have them go catch a real live one to test their knowledge. Don’t forget to put her back where you found her when you’re done!
- Head: The ladybug’s head is round and thin and includes the ladybug’s mouth, eyes, and antennae.
- Antenna: The antenna is what helps a ladybug smell, taste, and feel its way around. Ladybugs don’t see as well as they can smell and this is how they find the tiny bugs that they eat.
- Eyes: A ladybug has two eyes but it doesn’t see very well. Ladybugs can only see the difference between dark and light, as if everything was a black and white photo, but they cannot see colors at all.
- Pronotum: The pronotum is the part right behind the ladybug’s flat head that sort of makes the head look round. The pronotum actually protects the ladybug’s head and helps to hide it. Sometimes the pronotum will have spots on it, too.
- Thorax and Abdomen: The thorax and the abdomen, is the body section that the legs and wings are attached to, and the part that holds the ladybugs digestive system, the reproductive organs, and the stinky, poisonous gel.
- Elytra: This is where their wings hide! Ladybugs have a shell, or hard case, that protects their wings and also protects them from predators. The Elytra is also the part that shows the ladybug’s colors and patterns to predators to warn them off. The Elytra is exactly the same on the right side as it is on the left, they are a mirror image, or symmetrical, to one another.
Looking for more Ladybug related crafts? Check out these adorable DIY Ladybug Wings that we made a while back on our blog!
Let Us Know!
Have your yards been taken over by ladybugs? Does your little one love them, or are they scared of insects? Did you make the DIY Ladybug? Let us know on social media, or leave a comment below.