
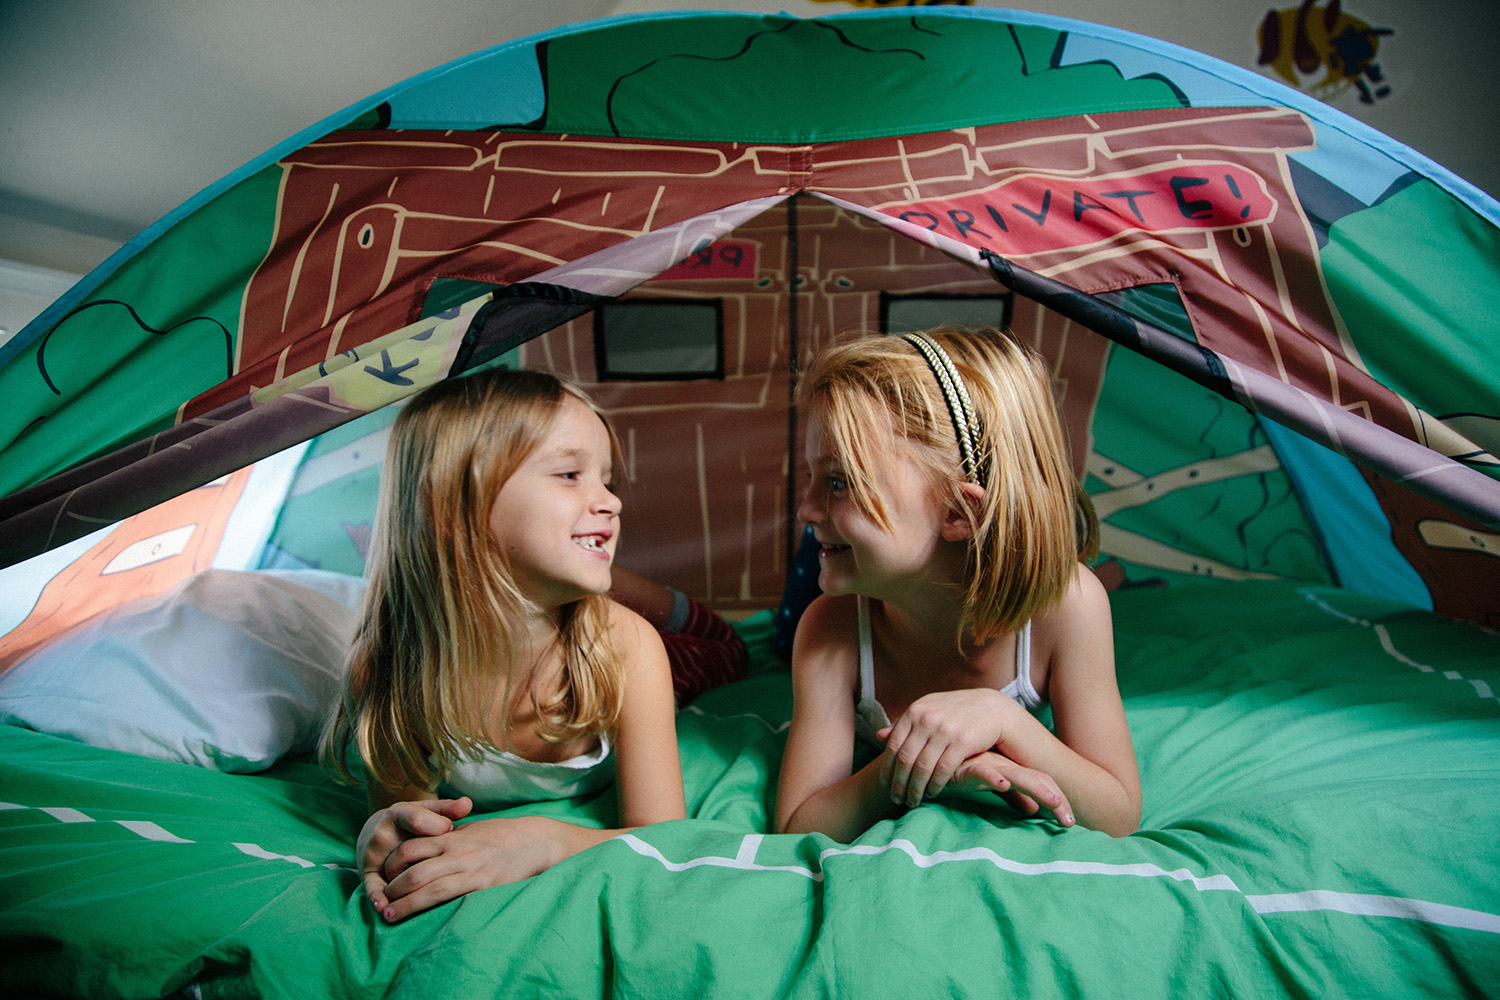
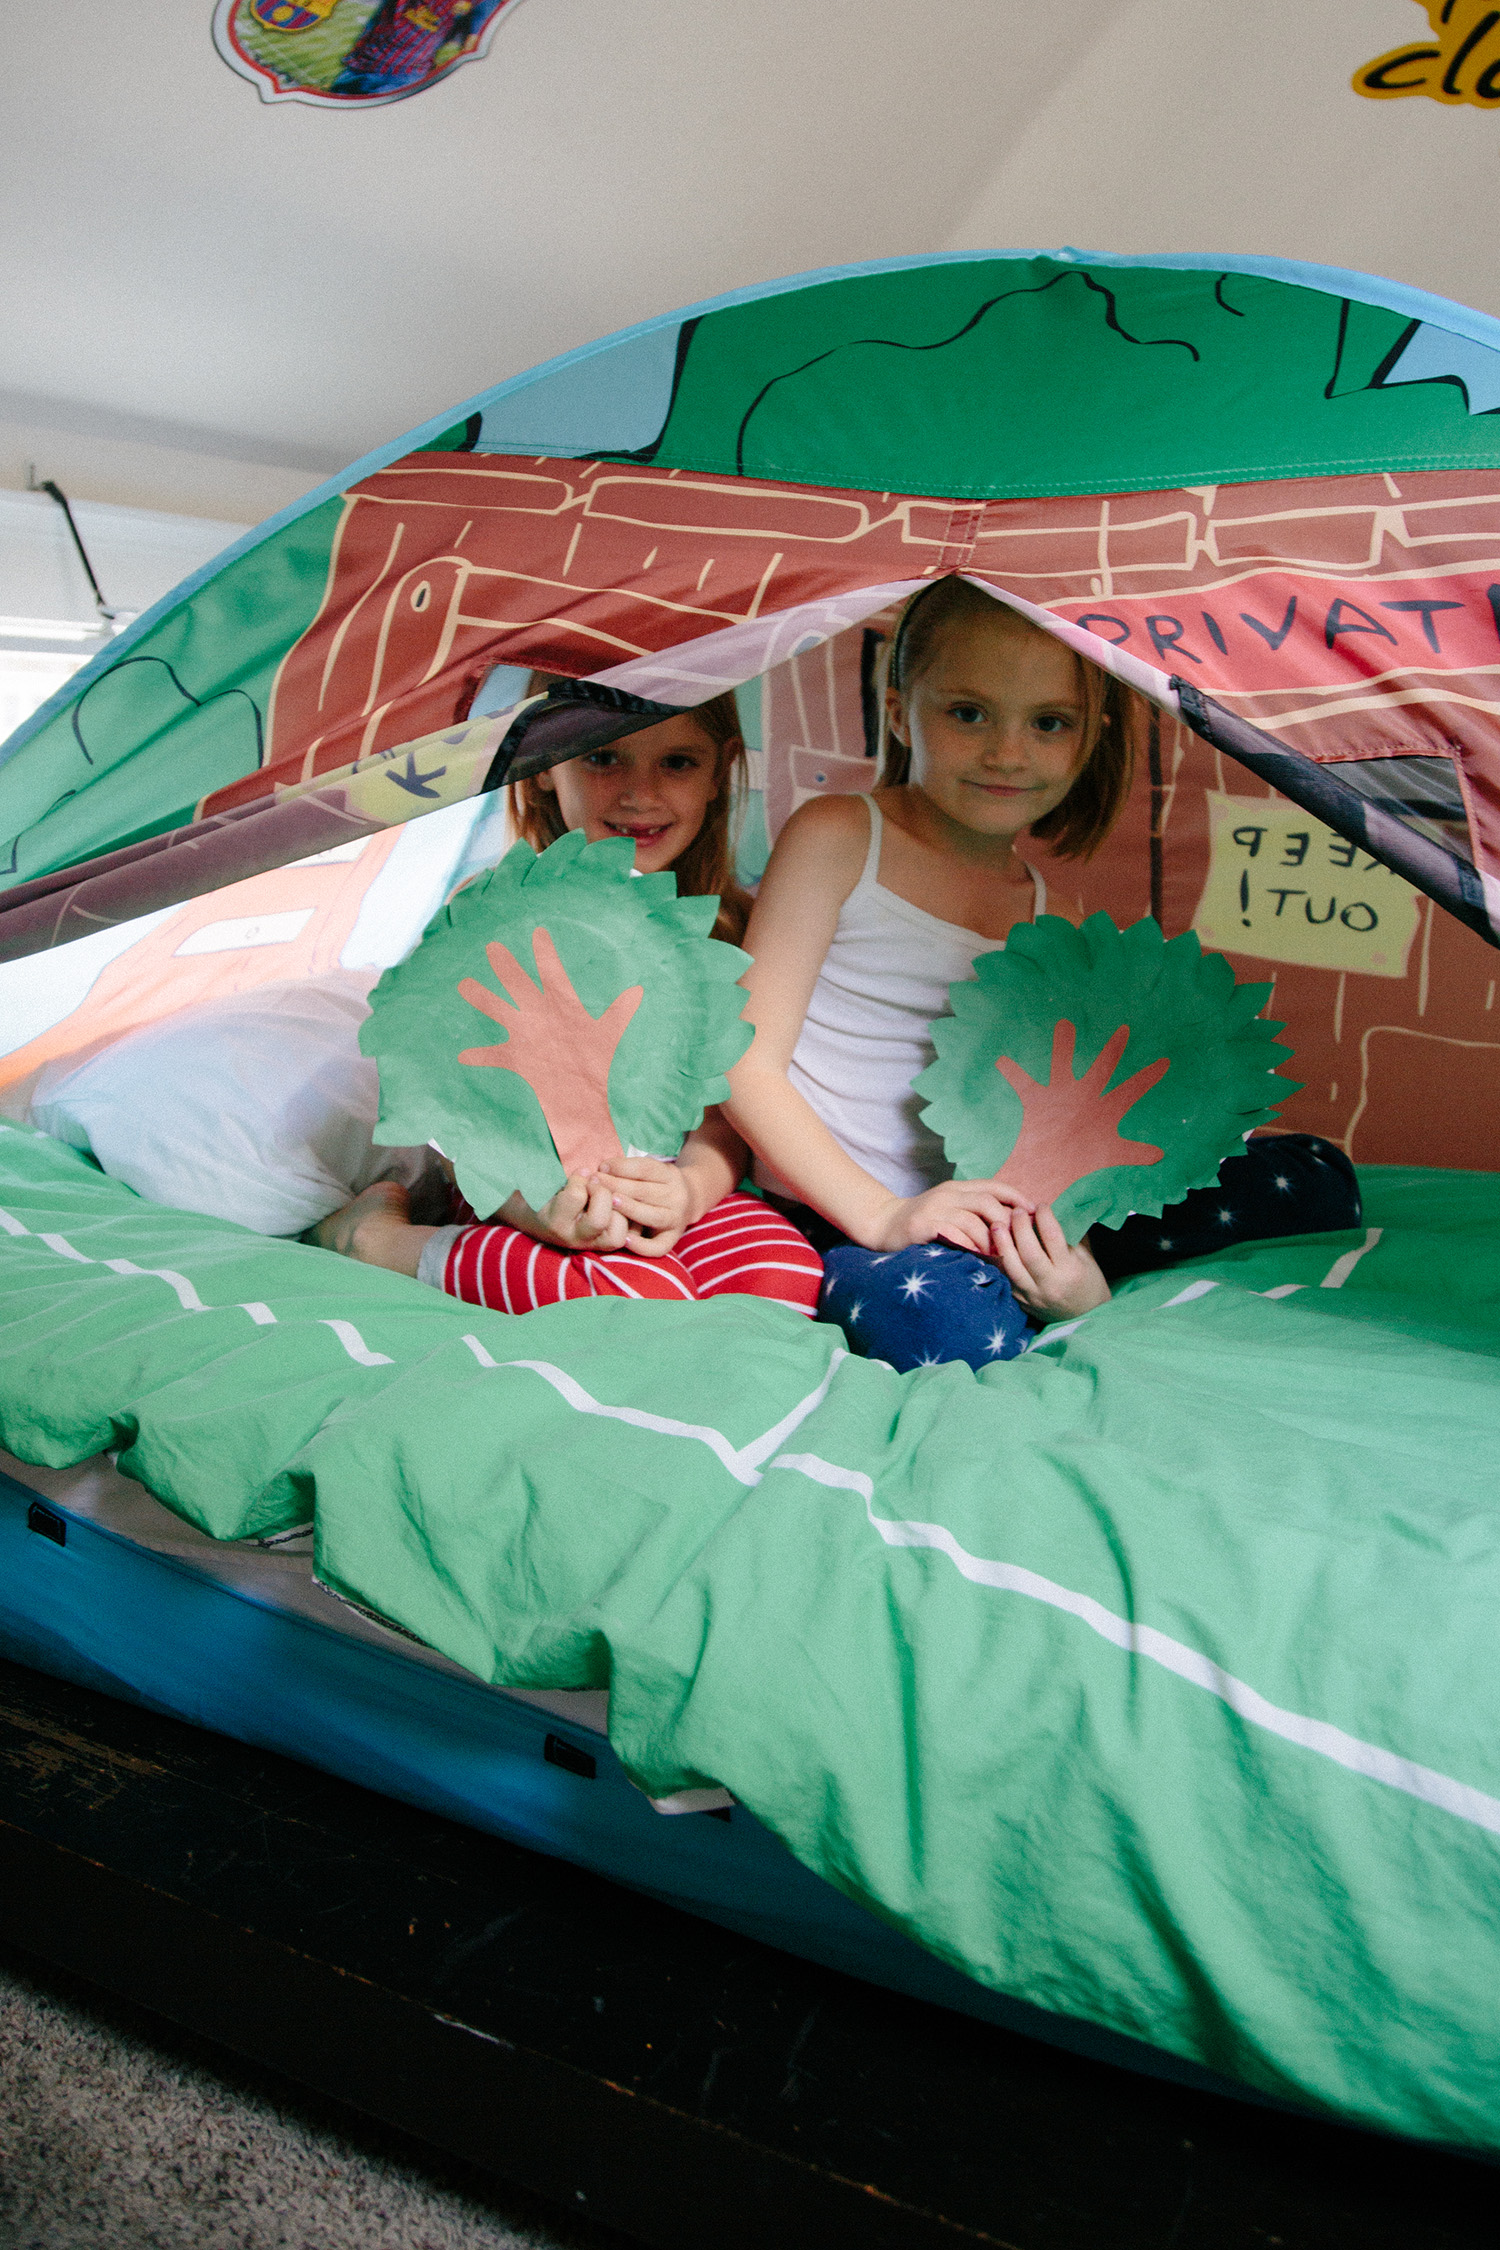
There’s nothing quite like a treehouse to make your little one feel like they are nestled below a forest canopy! Today we are taking inspiration from our Tree House Bed Tent and creating a paper plate tree that is equal parts craft and memento!

Our Tree House Bed Tent is a surefire classic for any child’s bedroom as it is the perfect place for both play and rest!
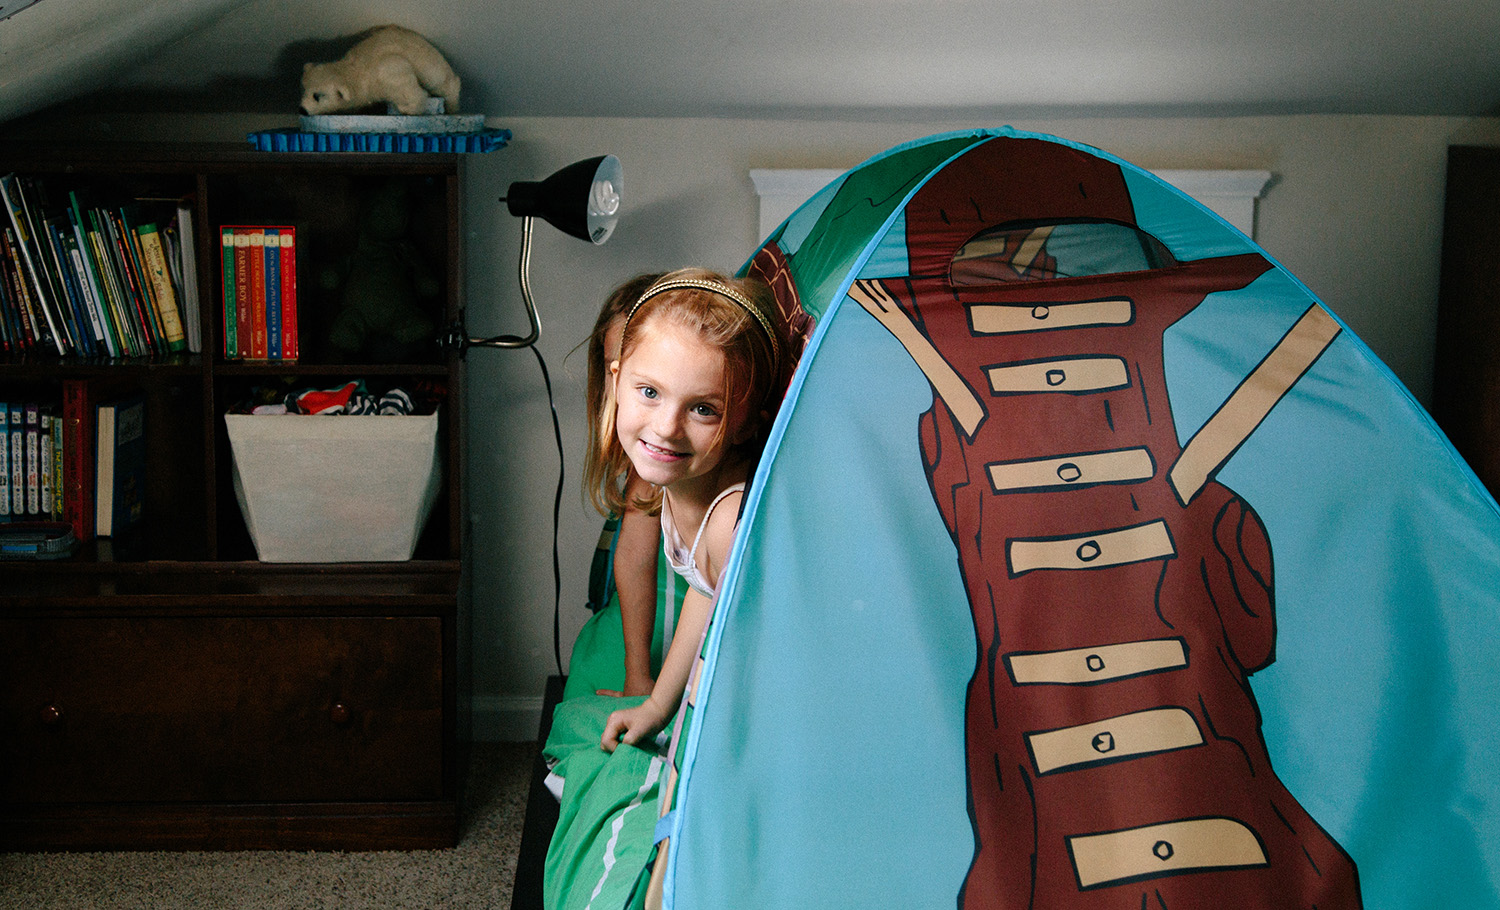
Like all of our bed tents, the Tree House fits over any standard twin size mattress and quickly takes shape with easy-to-assemble, color coded Super Poles. This tent also comes in a full size too!

The “doors” to the Tree House can be tied back using hook and loop fasteners, making for easy entry and exit as well as plentiful light and air flow while amongst the tree tops.
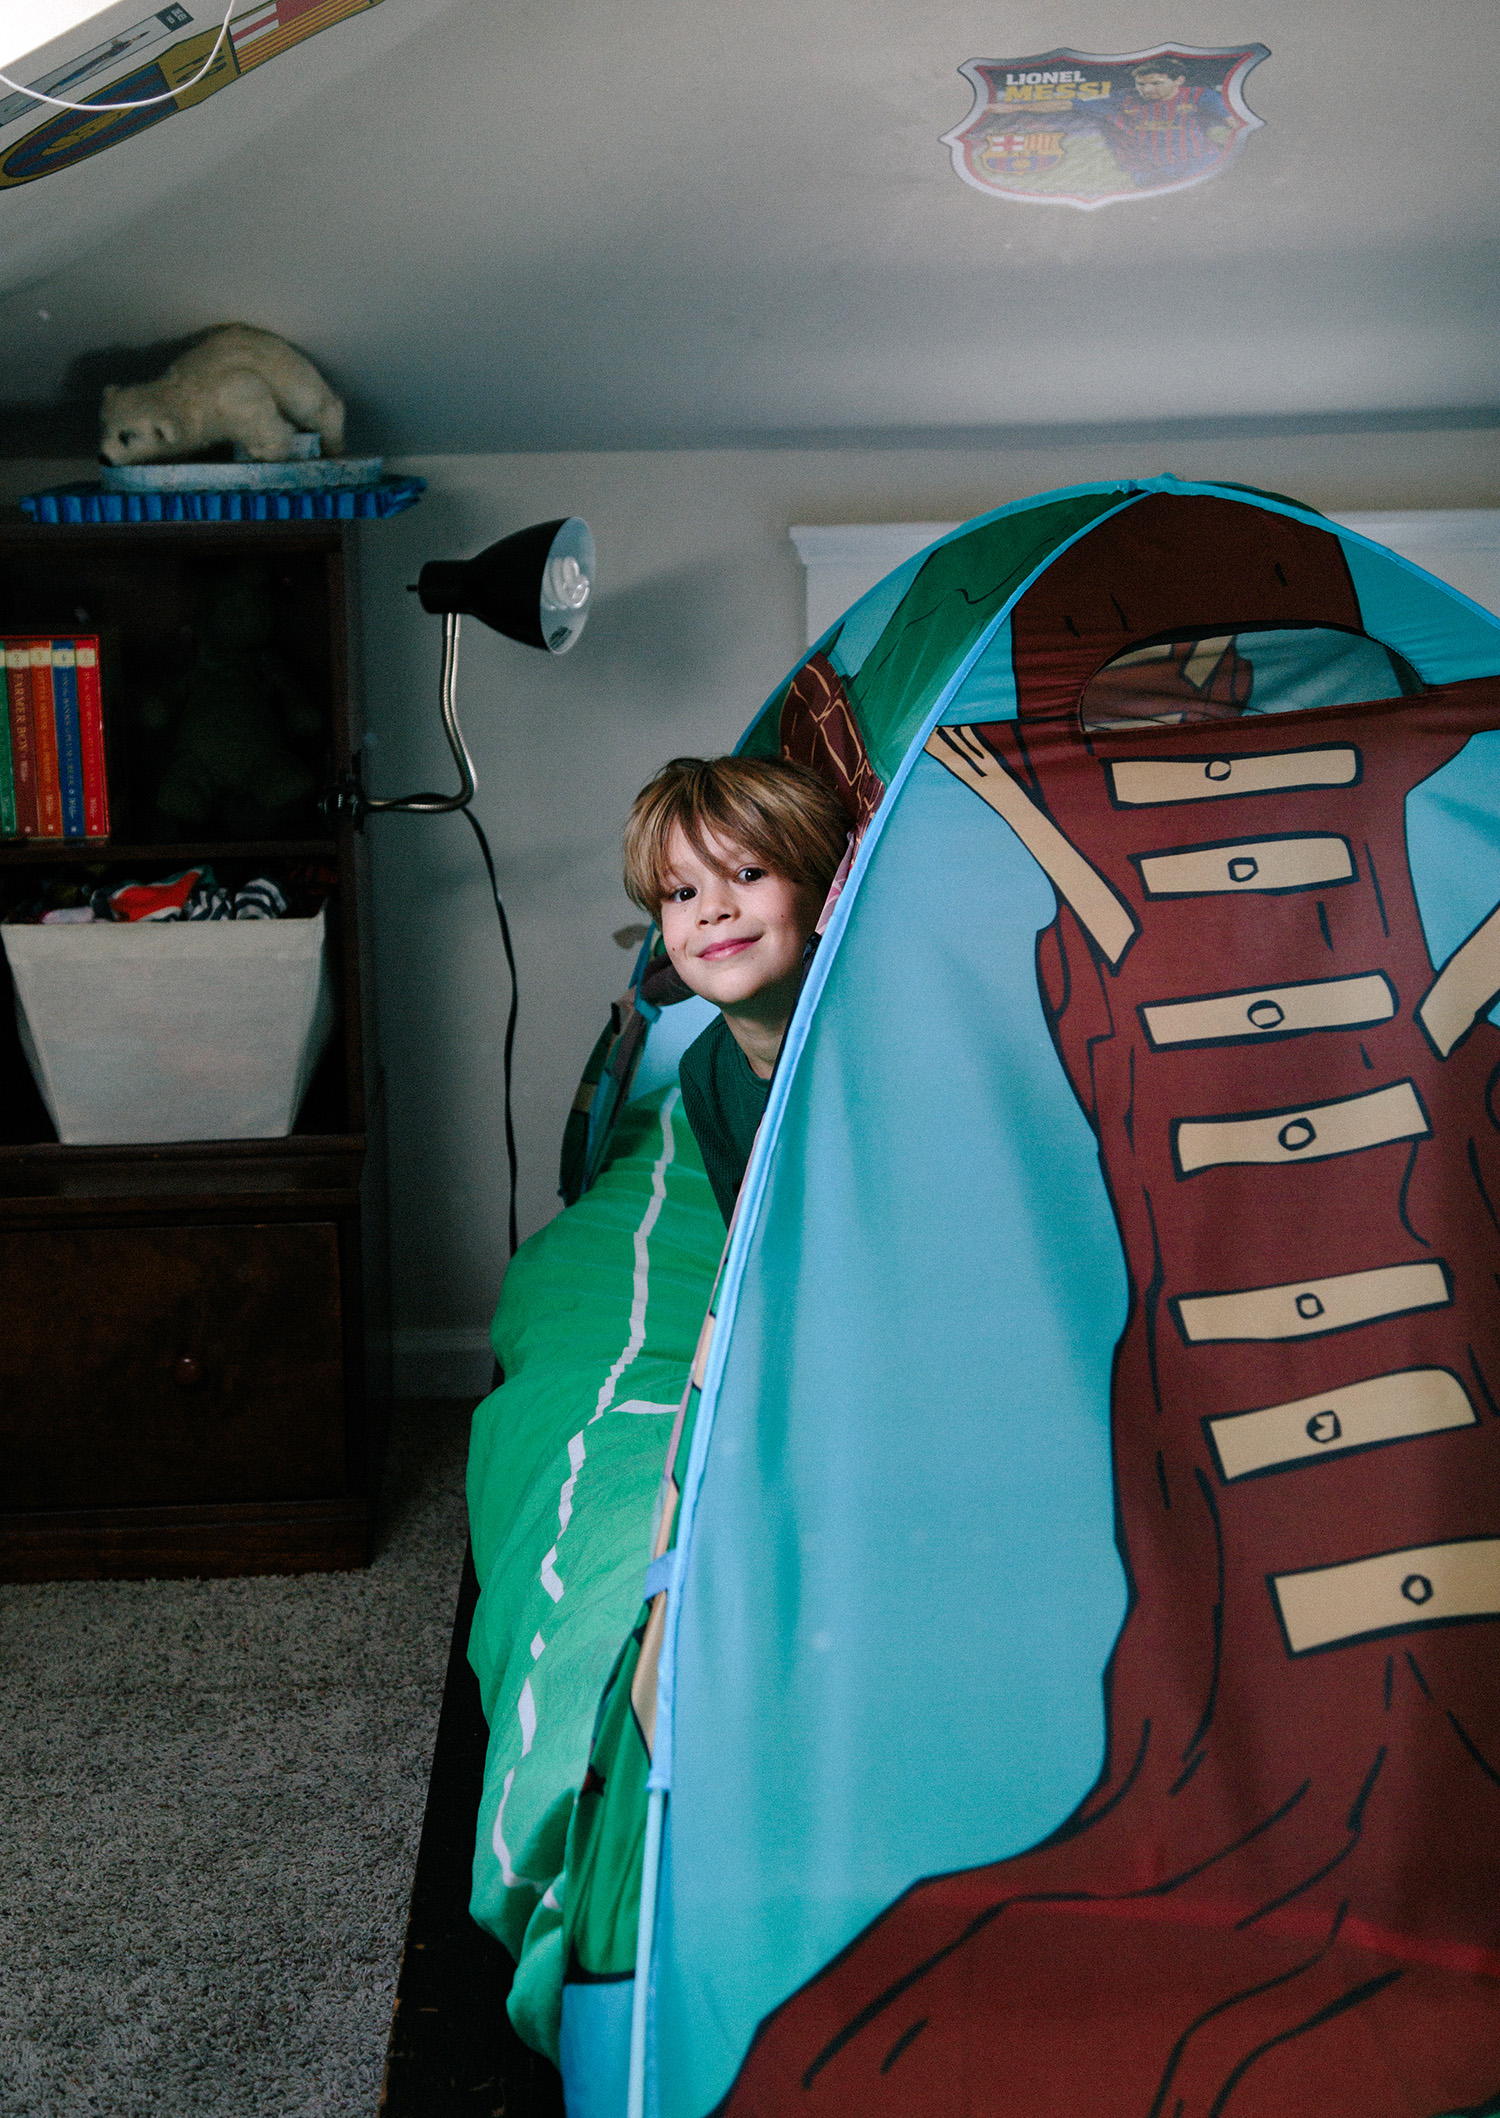
The playful patterns printed on all four sides of the tent are sure to inspire imaginative adventures and daring dreams.

If you’re looking for an outdoor-inspired activity that will keep your children busy while indoors this winter, look no further than our DIY paper plate trees! Here’s what you’ll need:
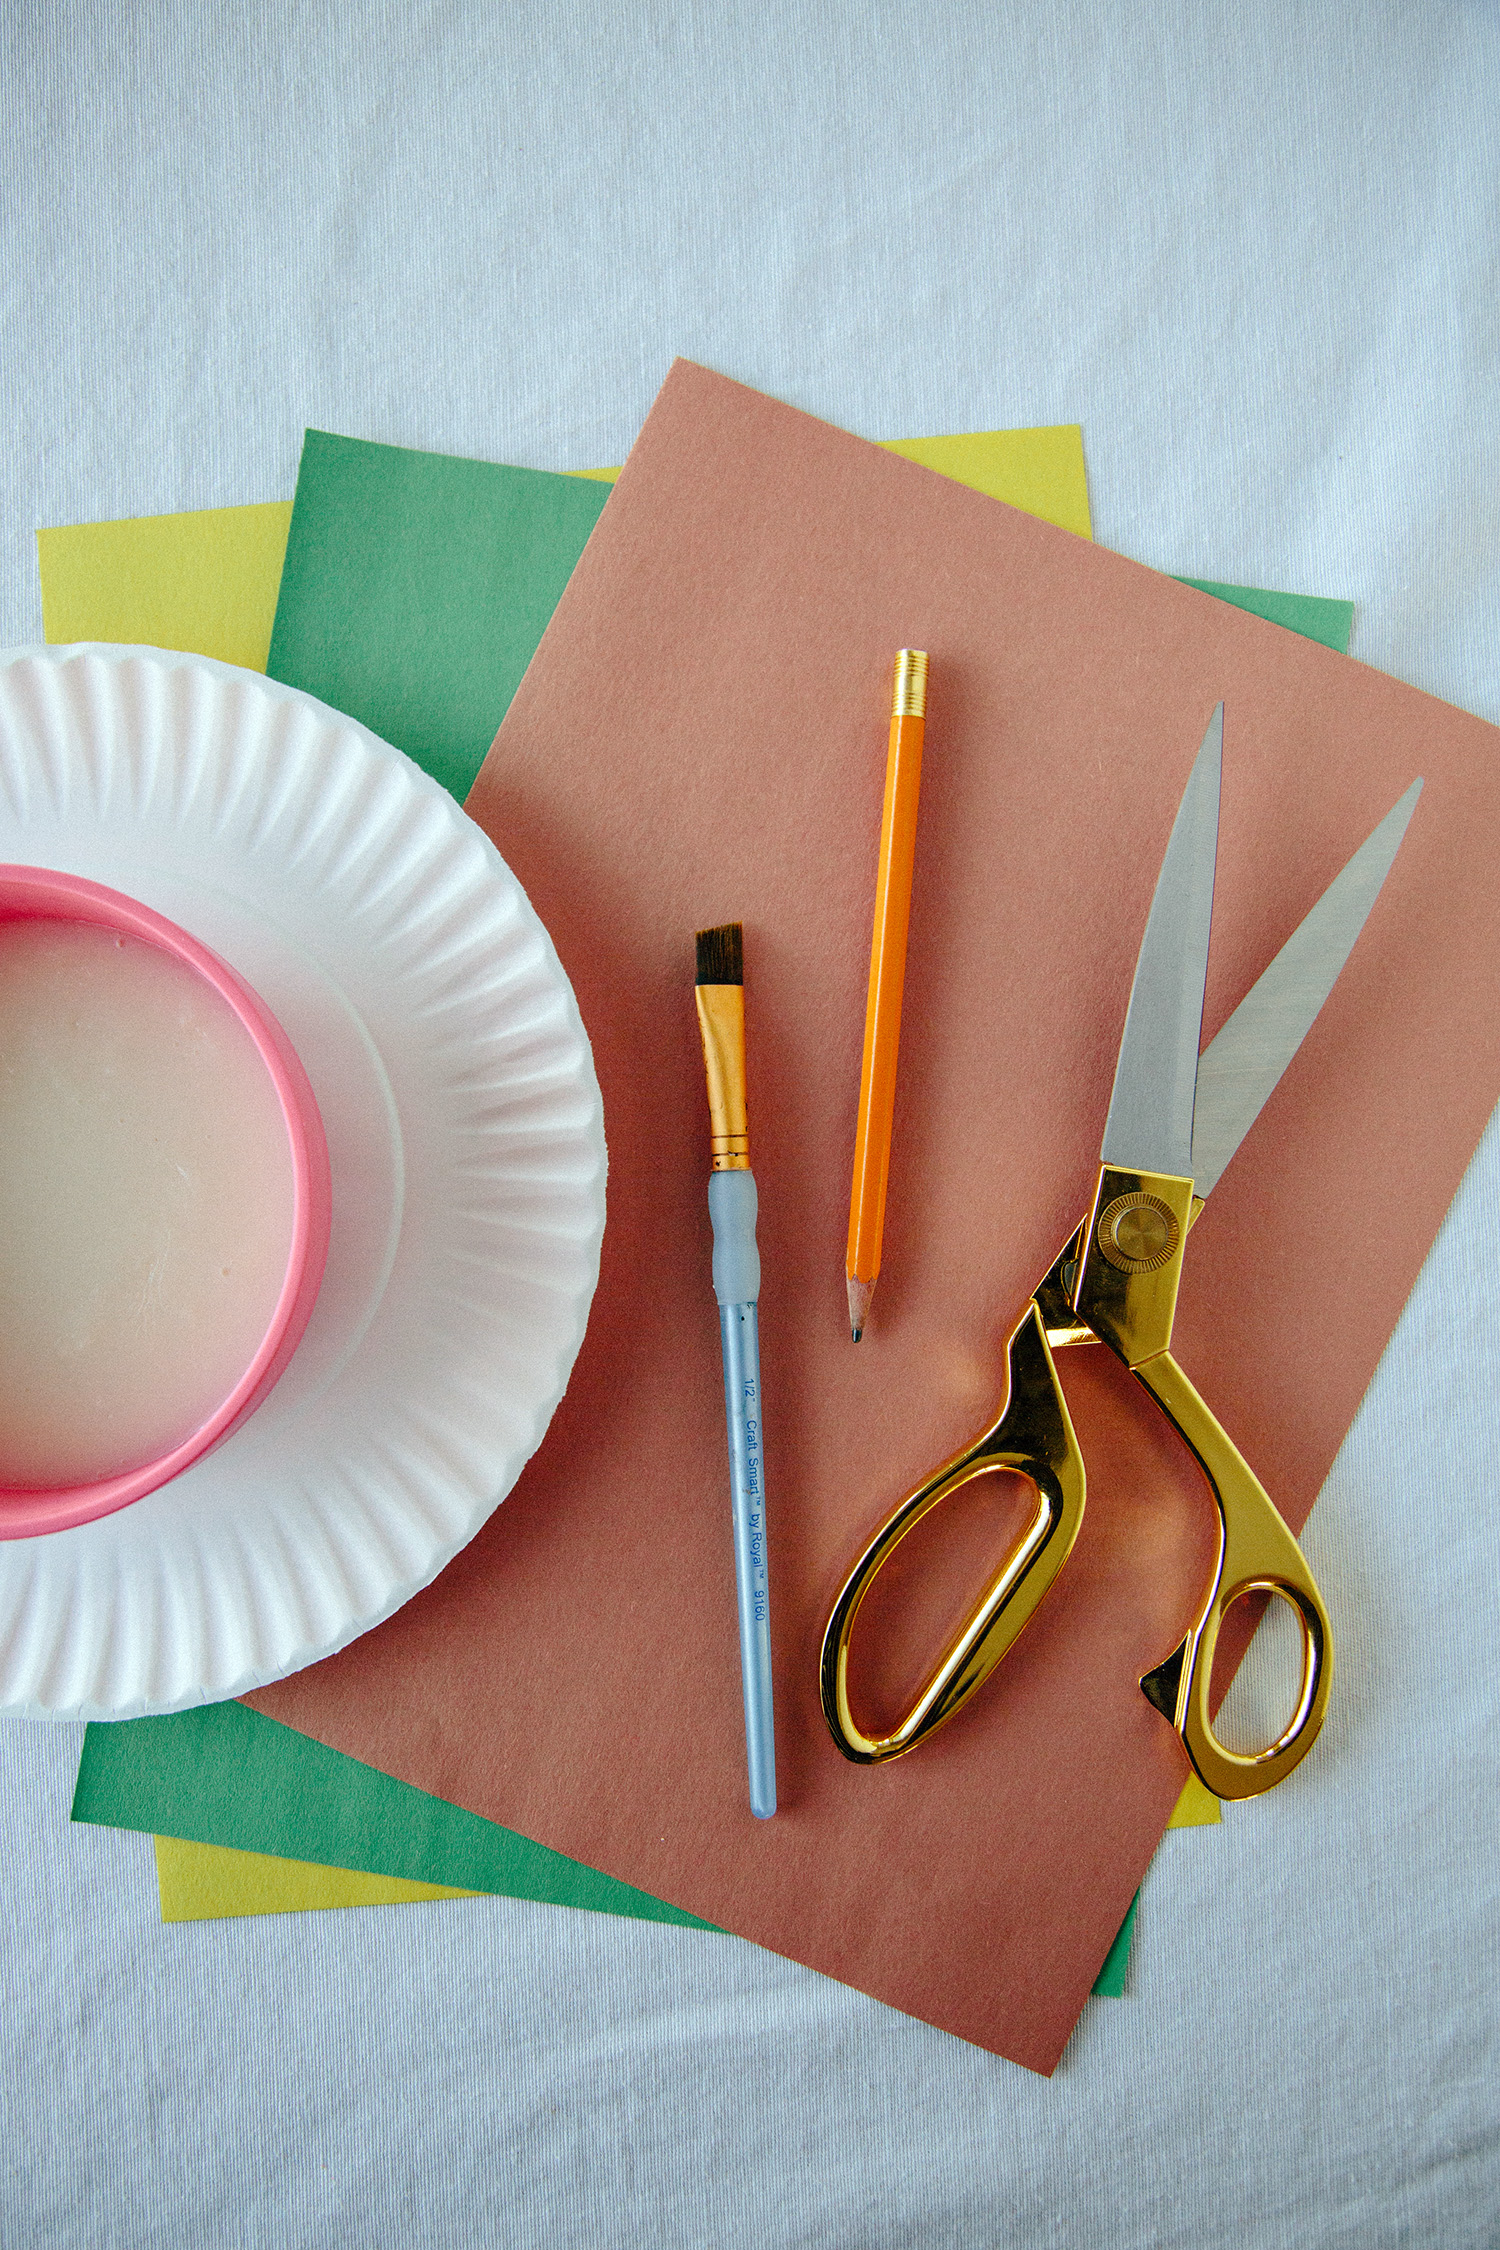
SUPPLIES:
- Construction paper (brown for the tree trunk and green / yellow for the leaves)
- Paper plate
- Pencil
- Scissors
- Papier mache paste (1 part flour to five parts water)
- Paintbrush
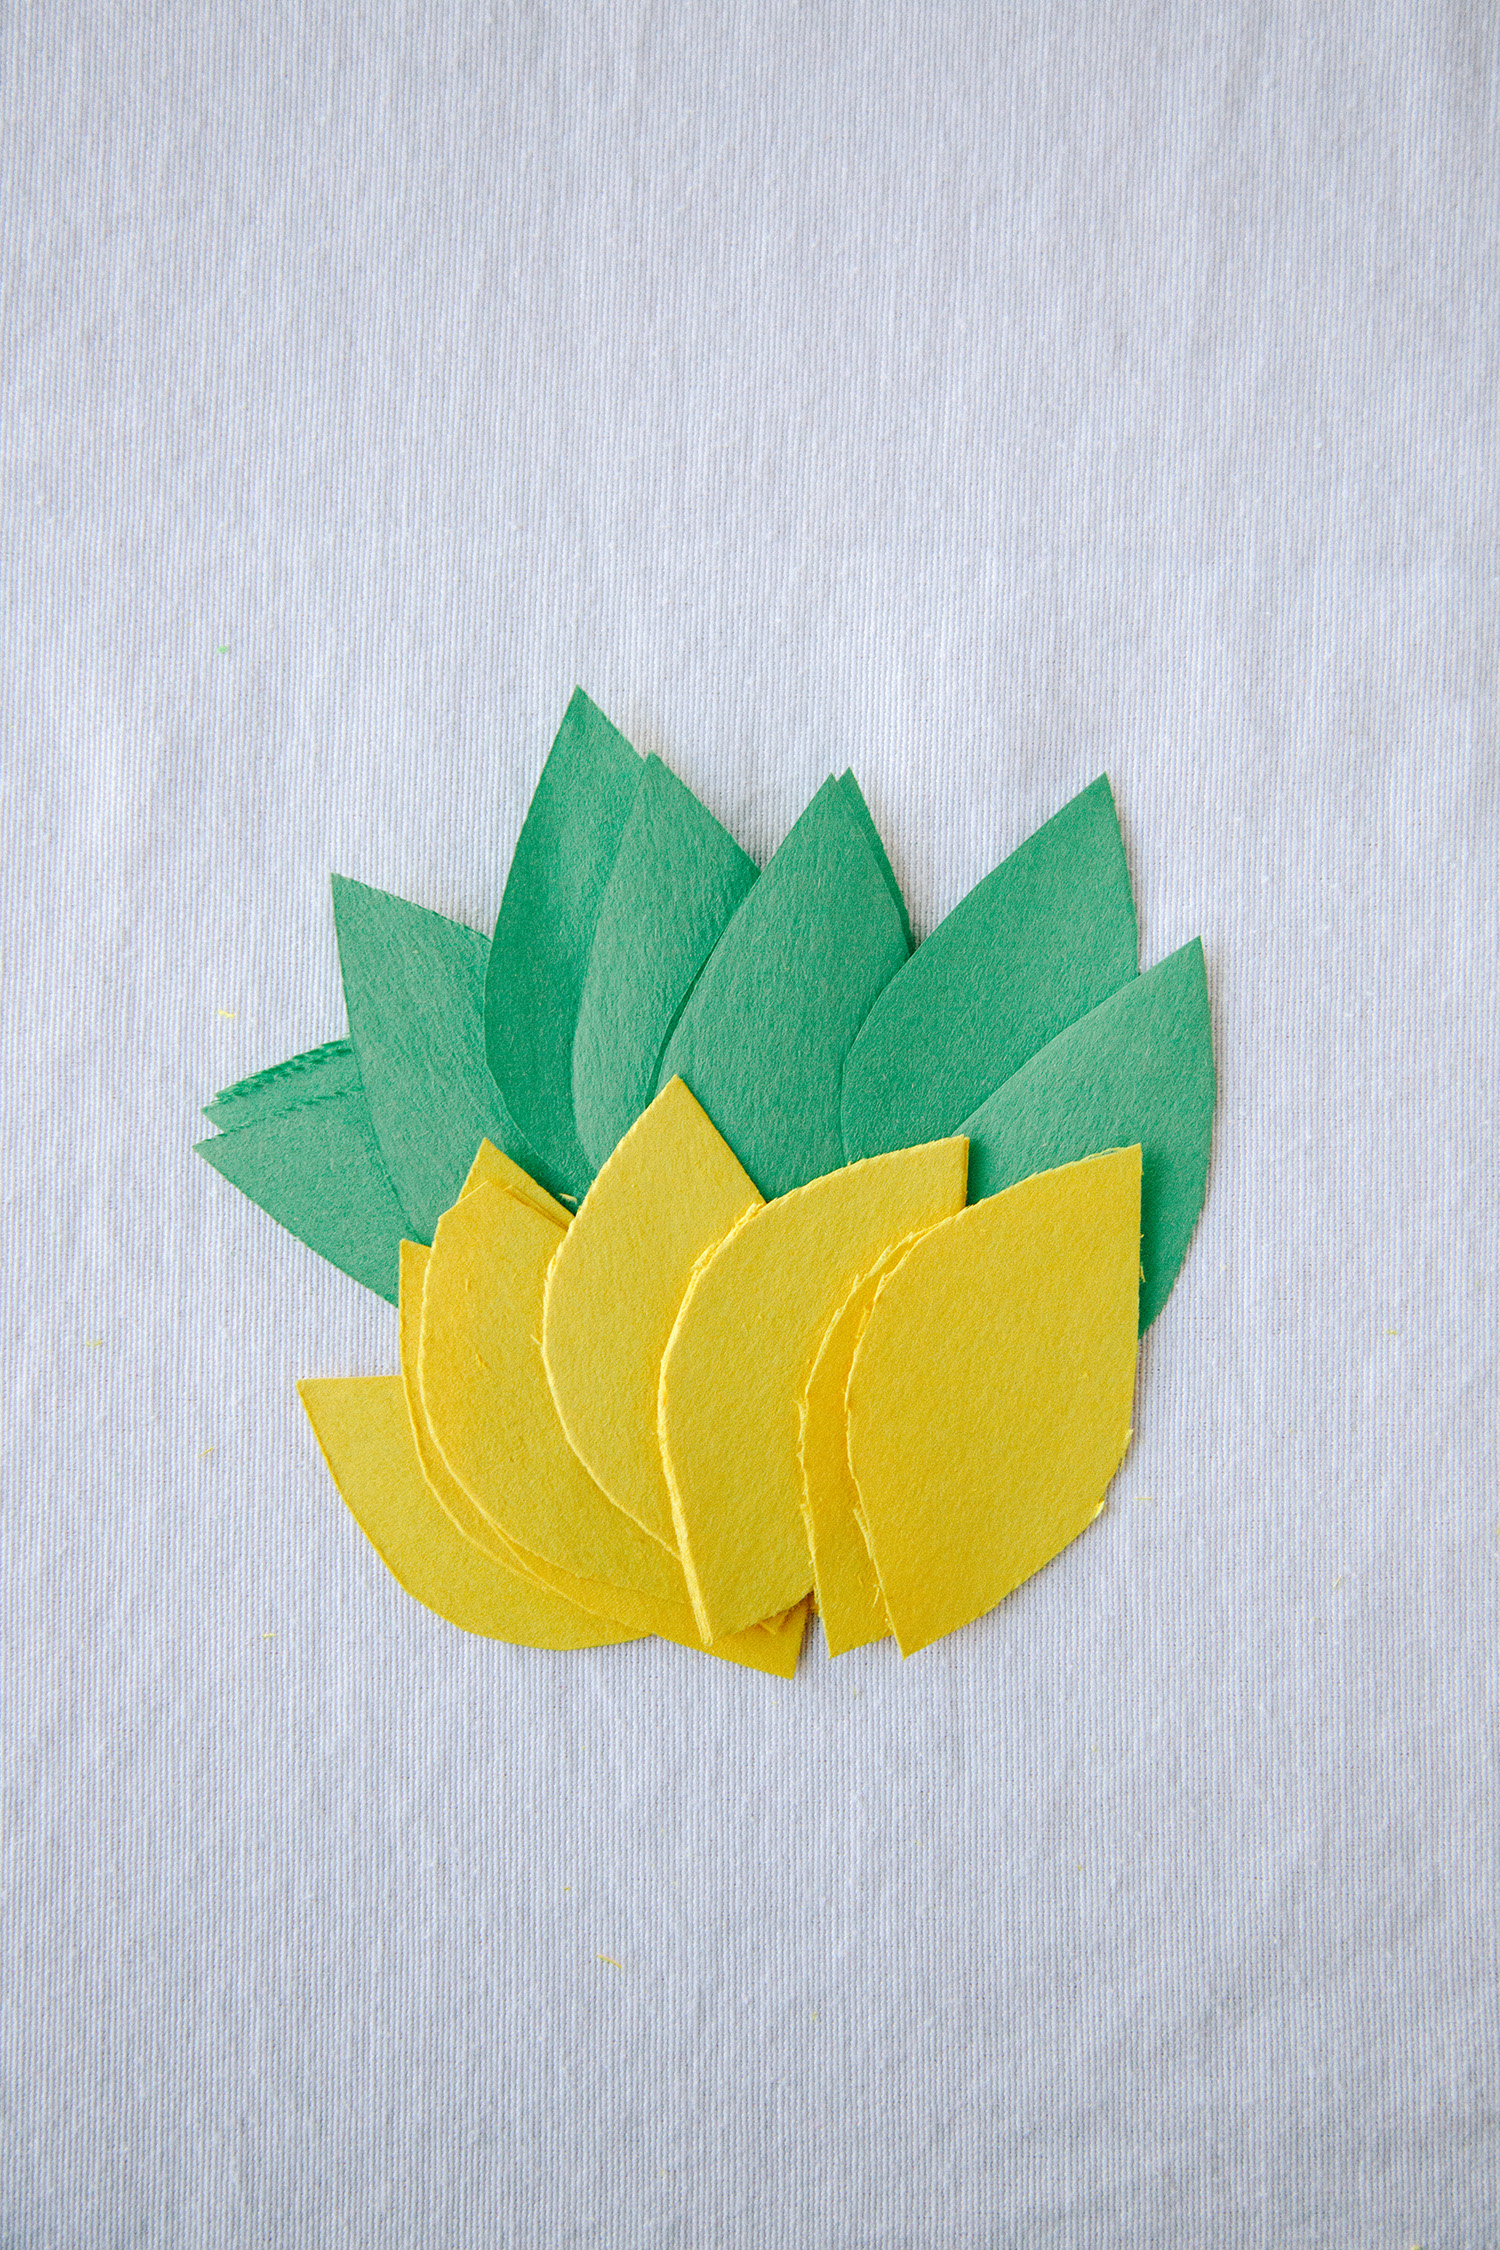
Begin by cutting out several leaf shapes from construction paper.
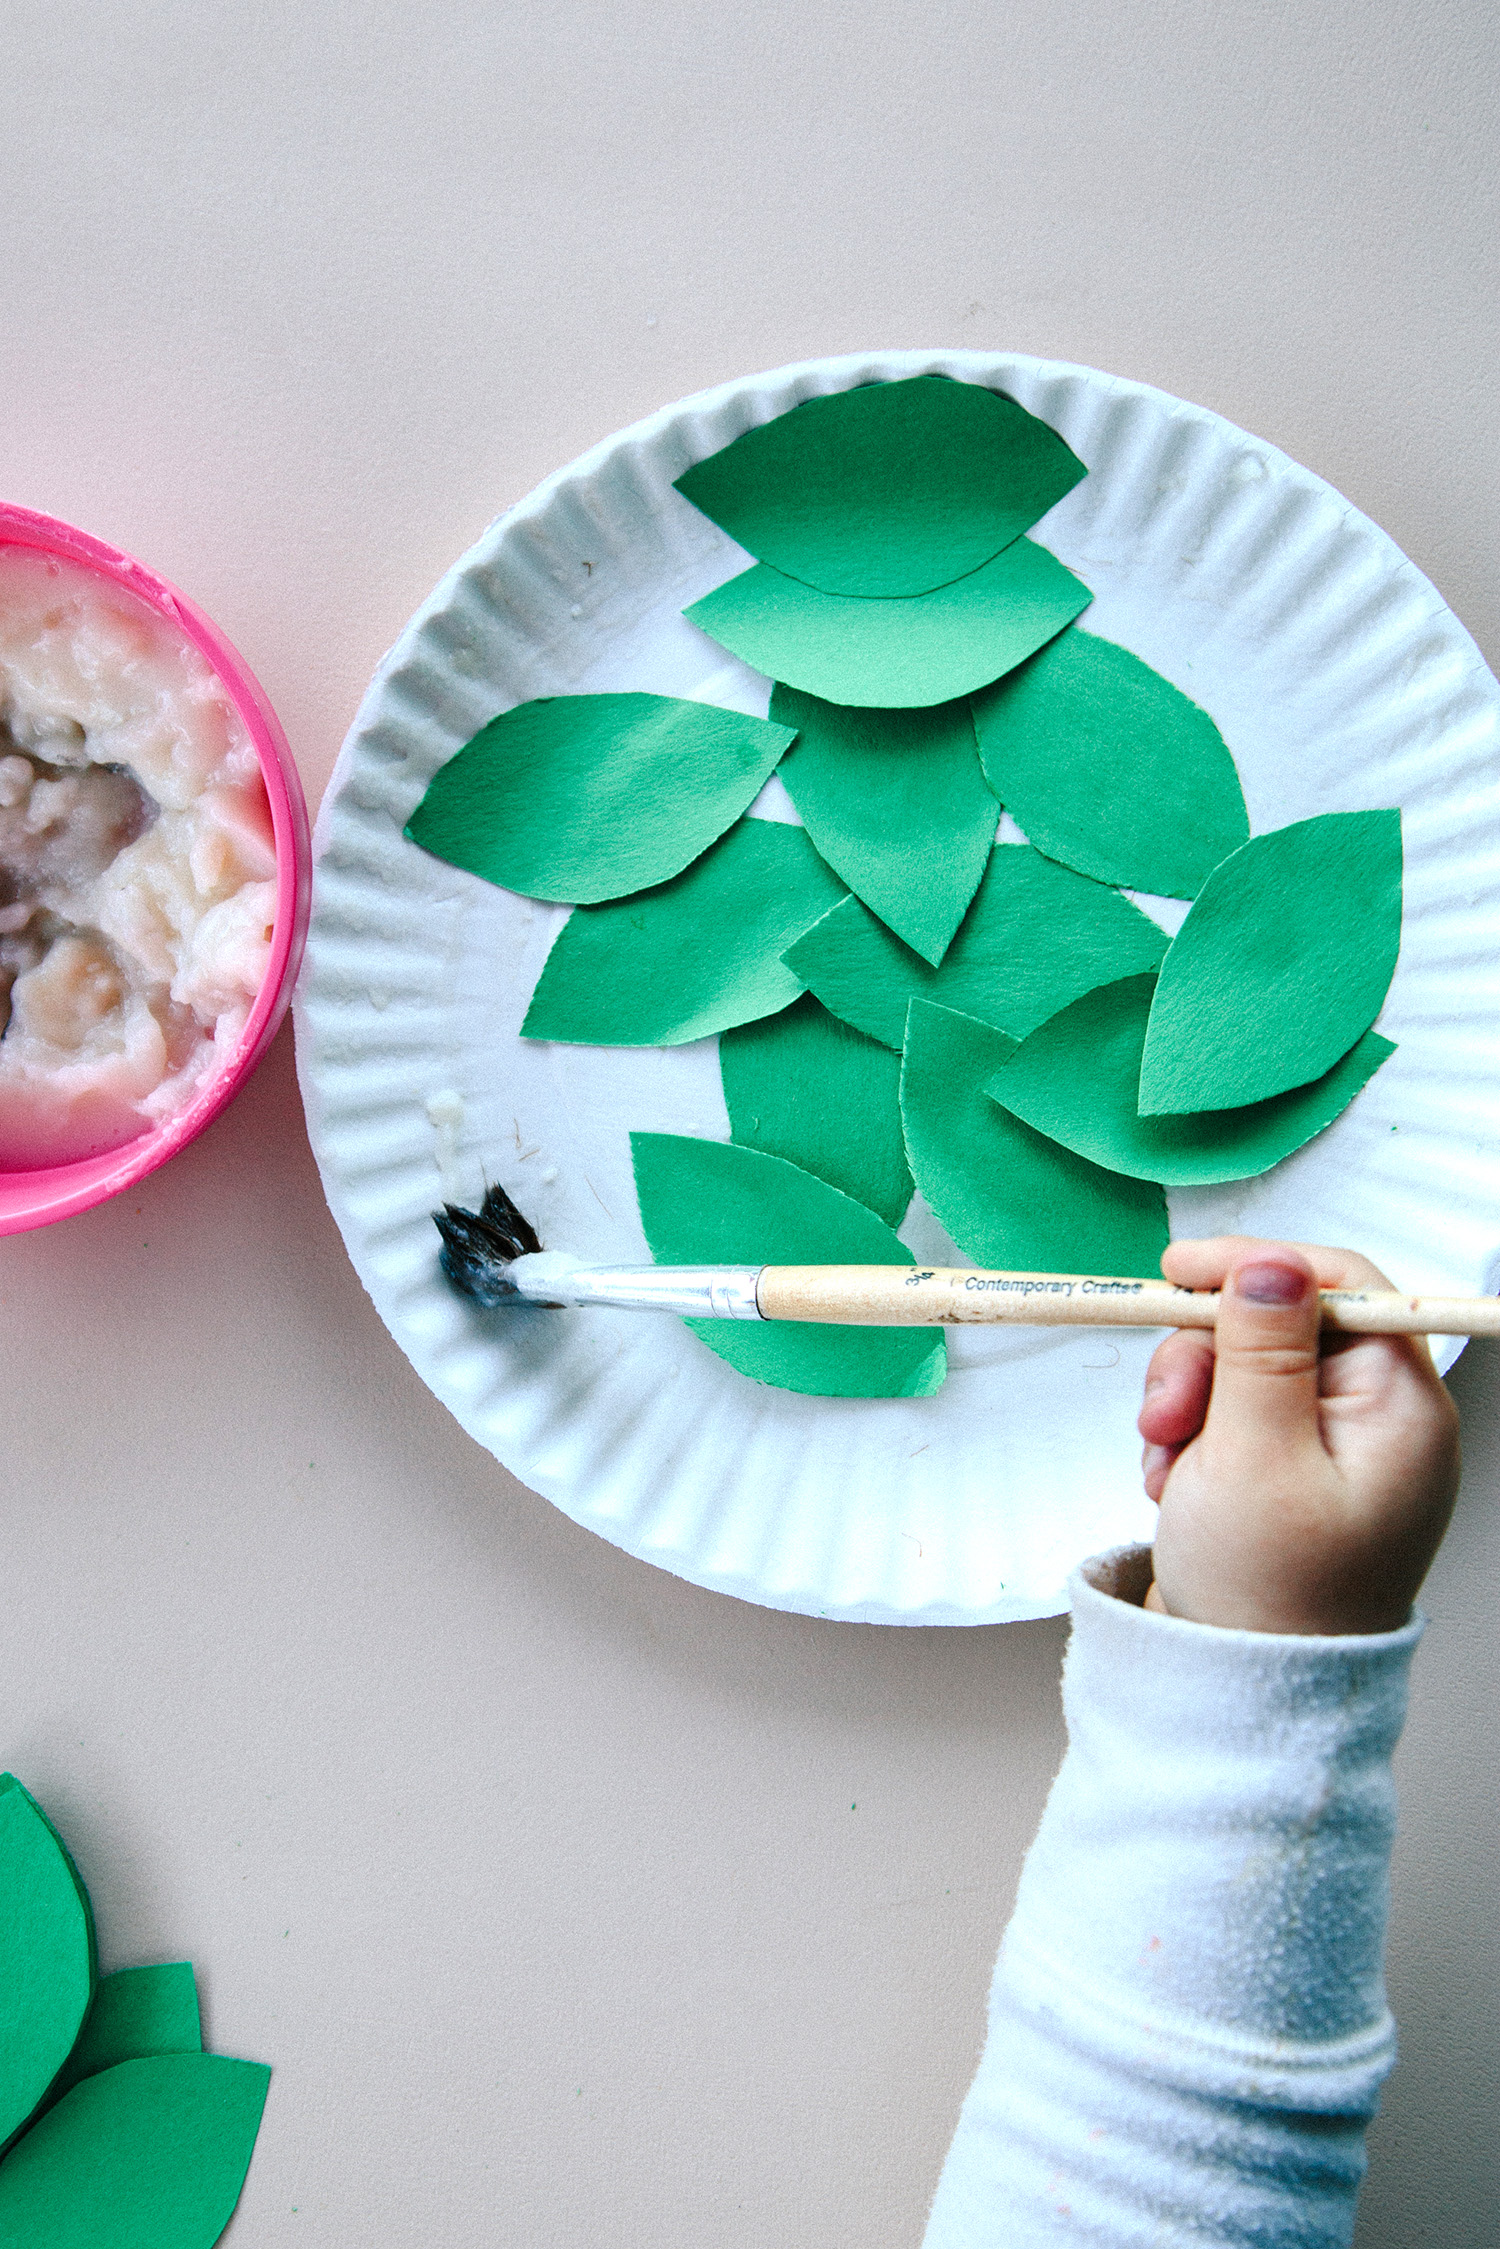
Once the leaves are cut out, have your child adhere them to the paper plate using homemade papier mache paste (1 part flour to five parts water boiled for three minutes and allowed ample time to cool). Cover the entire plate with leaves and let dry.
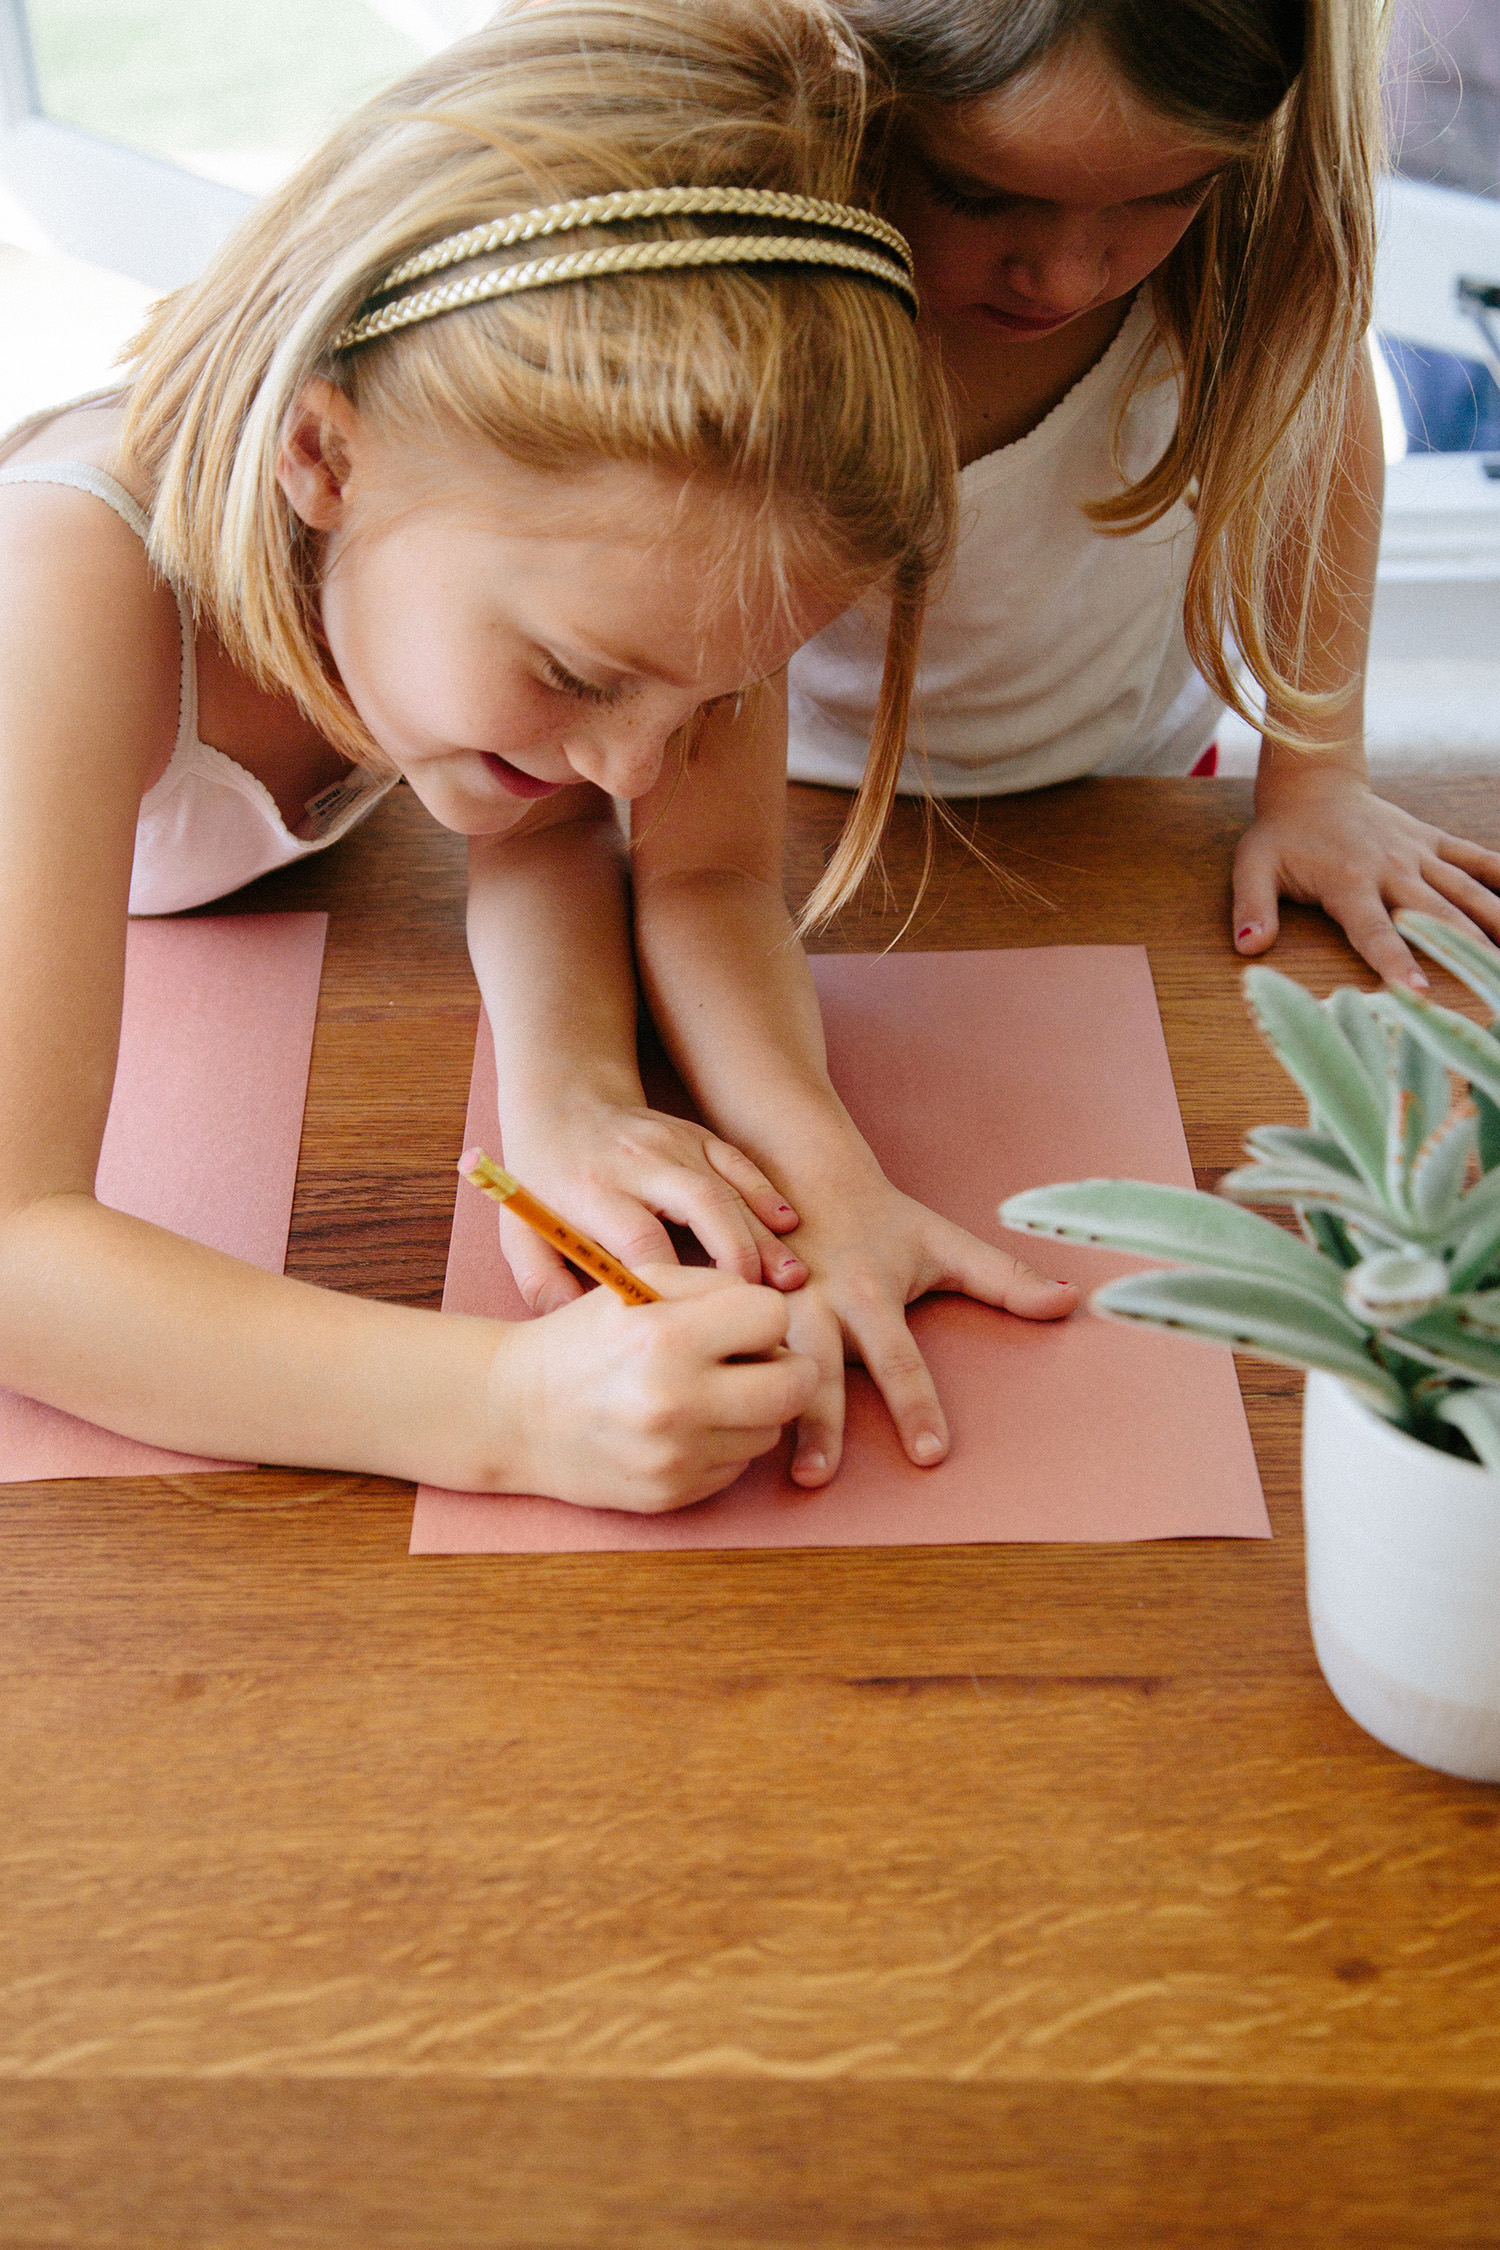
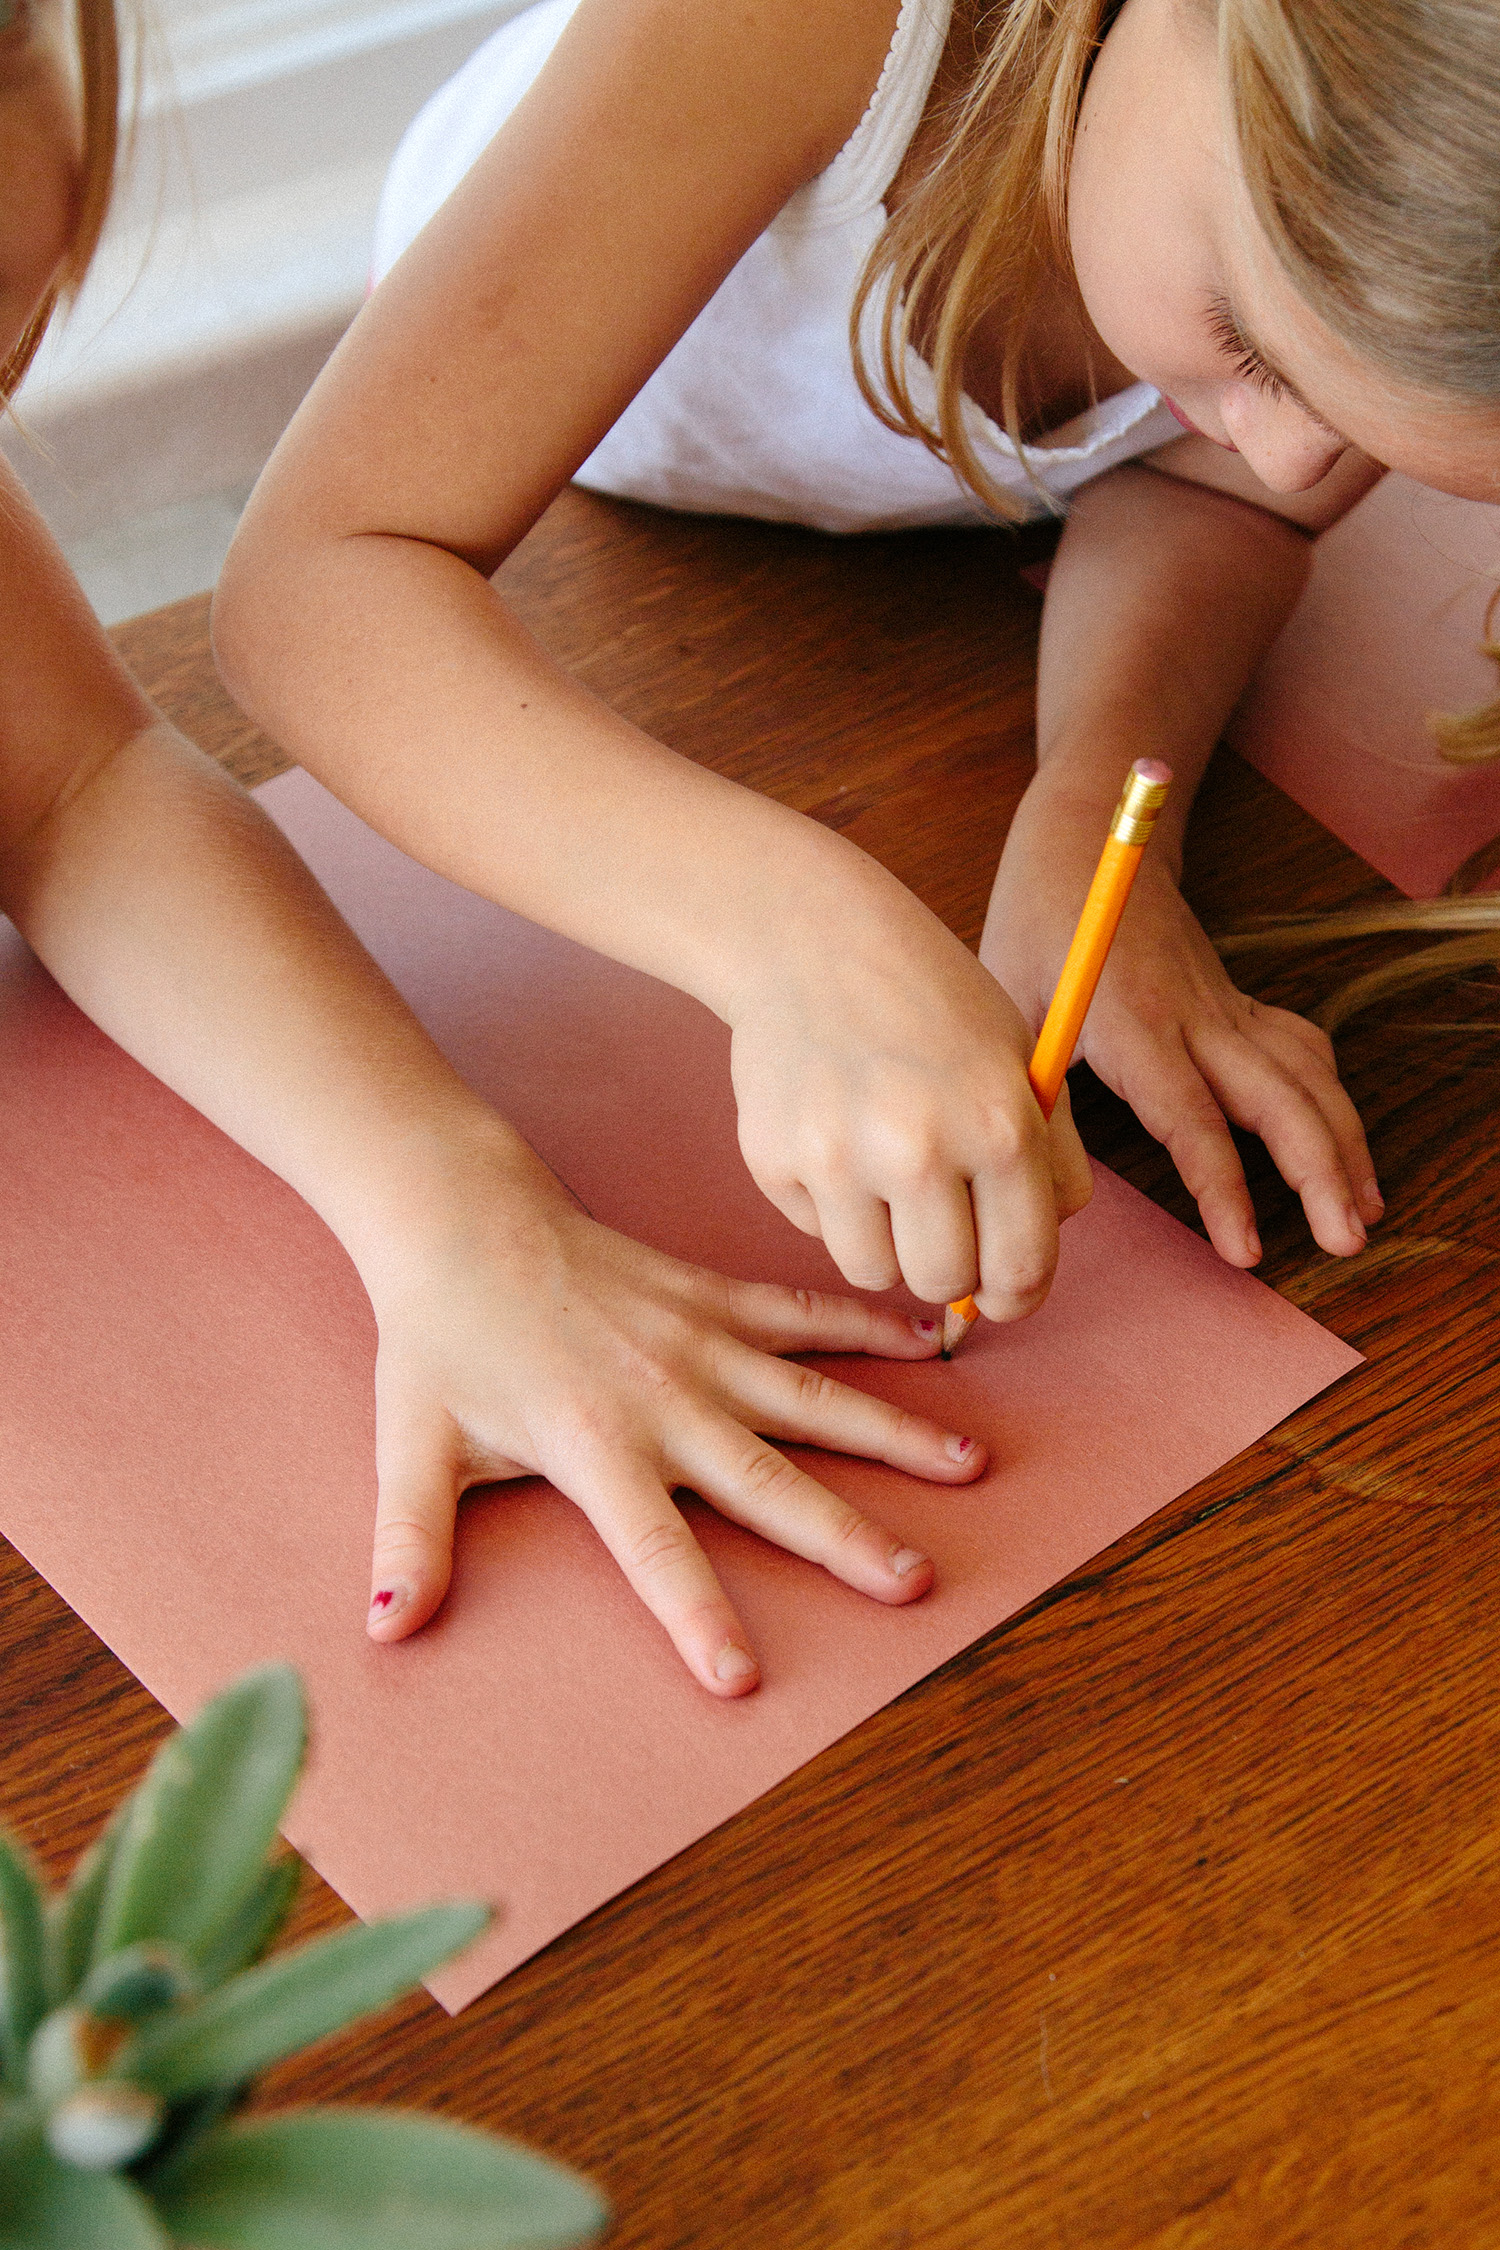
Next, trace around your child’s hand and forearm on the brown construction paper to create the tree trunk.
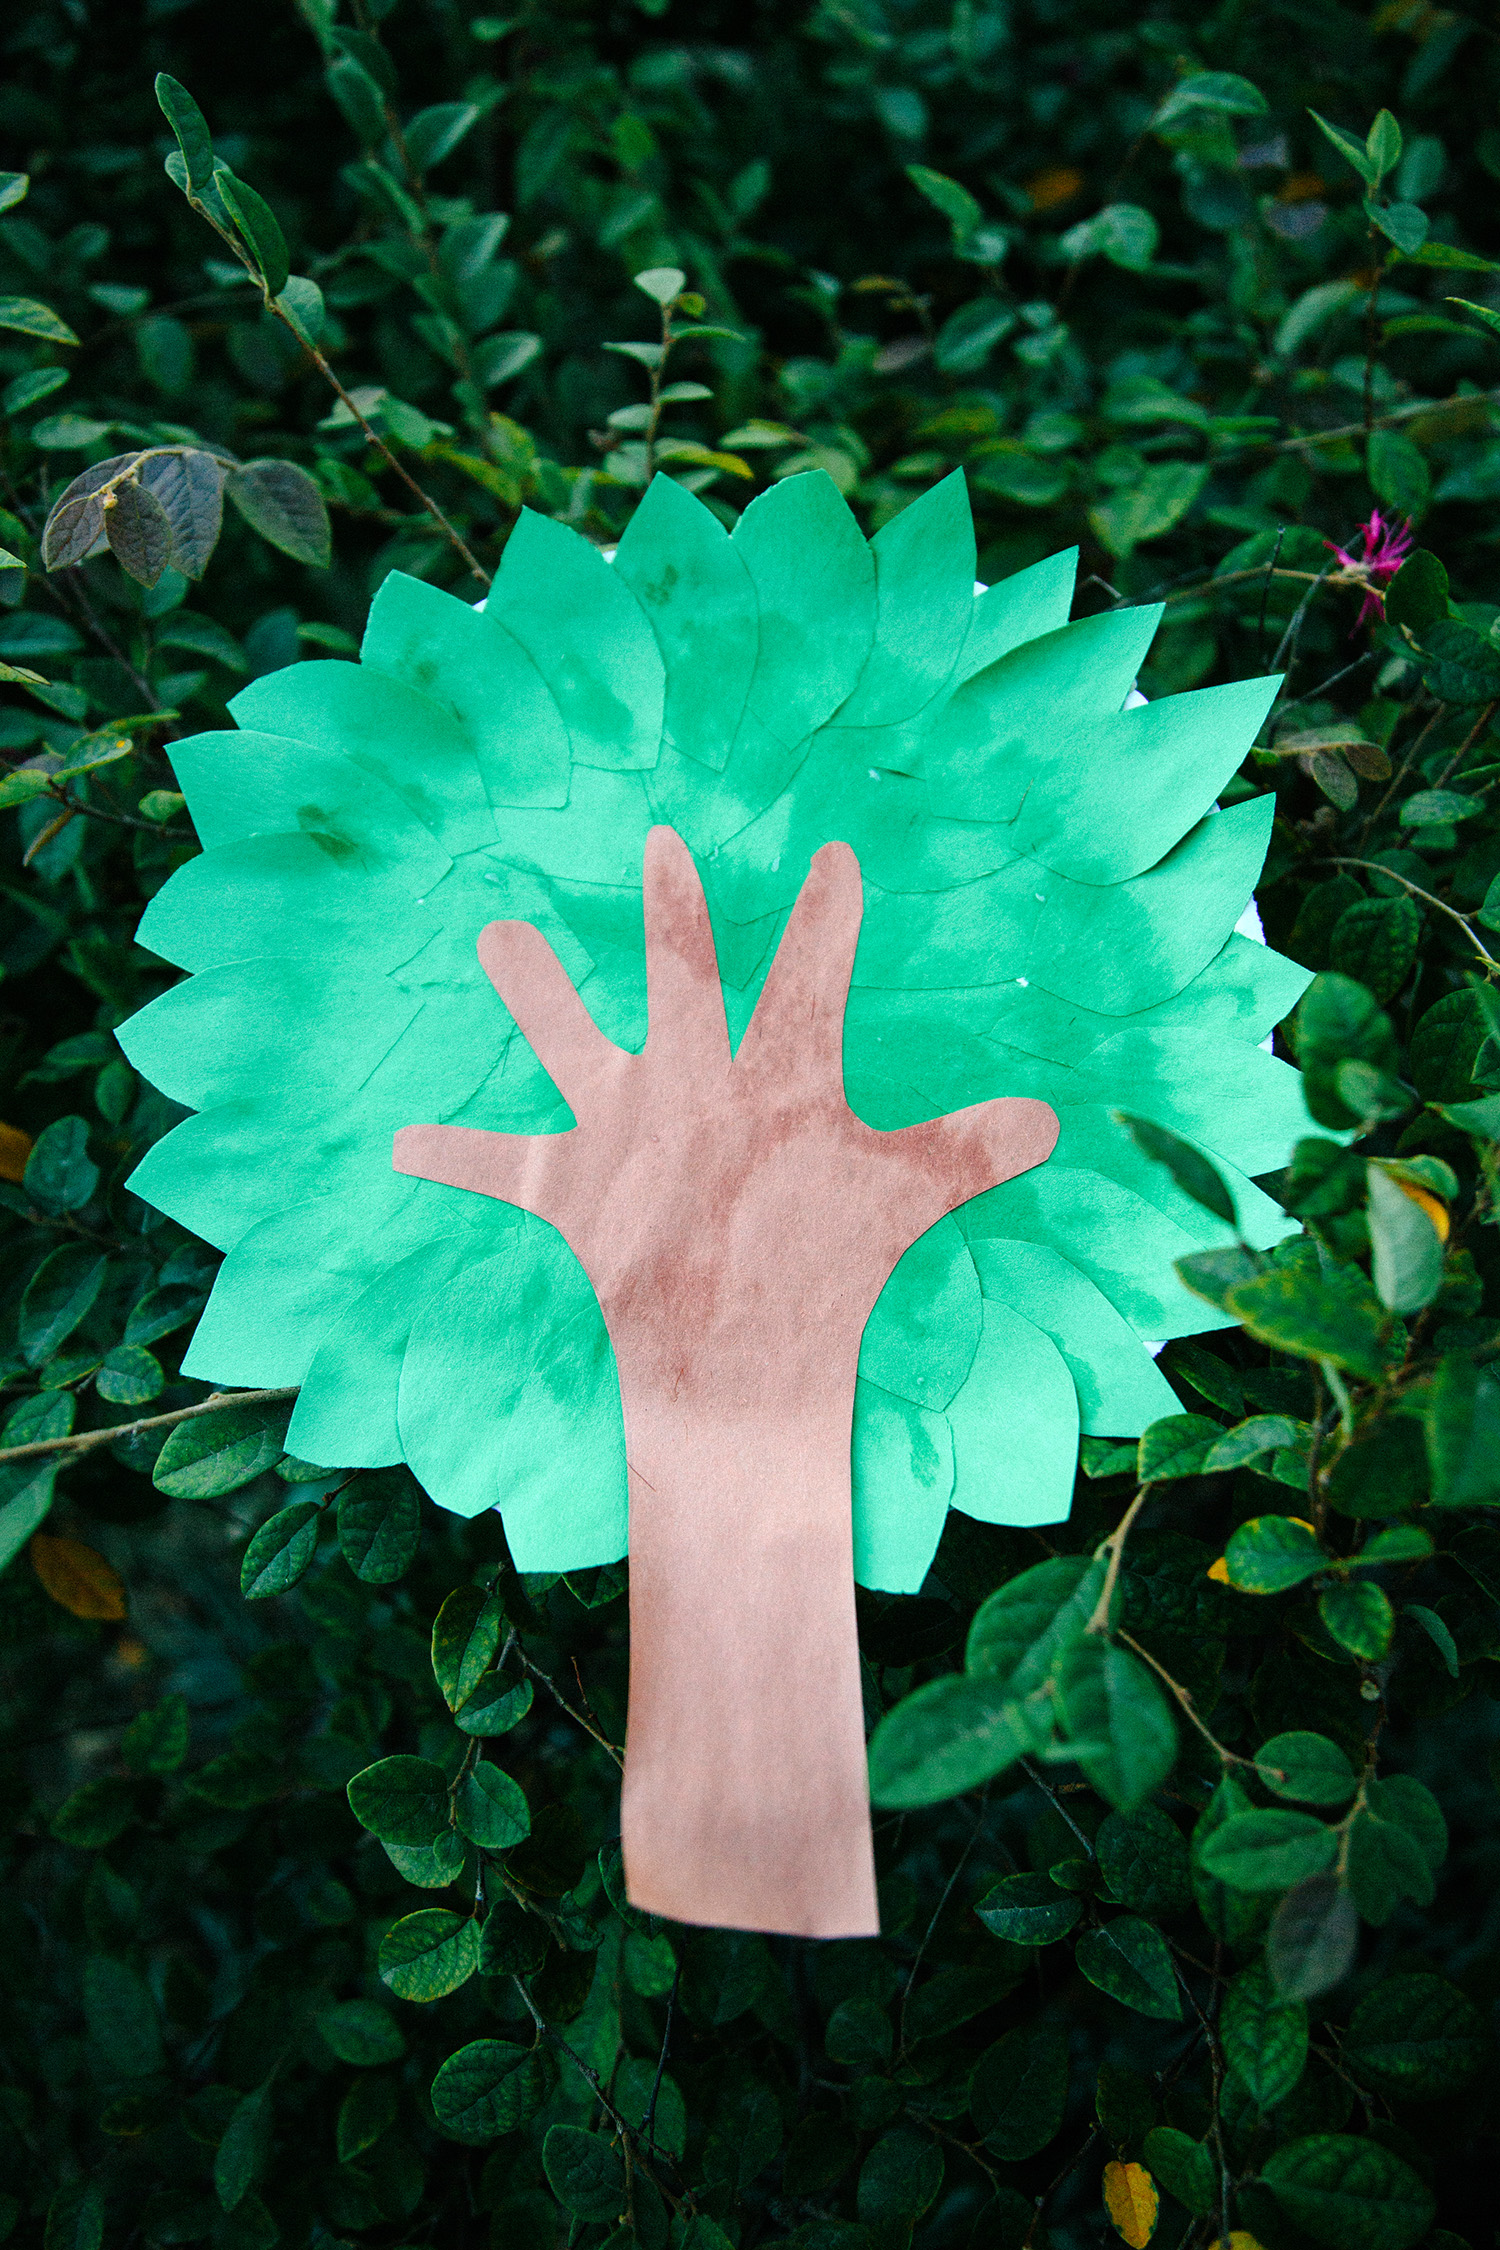
FInally, cut around the “tree trunk” tracing and adhere it to the center of the paper plate.
Now you have the perfect rainy day project that can be hung inside the Tree House Bed Tent AND can be saved forever as proof of how tiny your child’s hand once was!
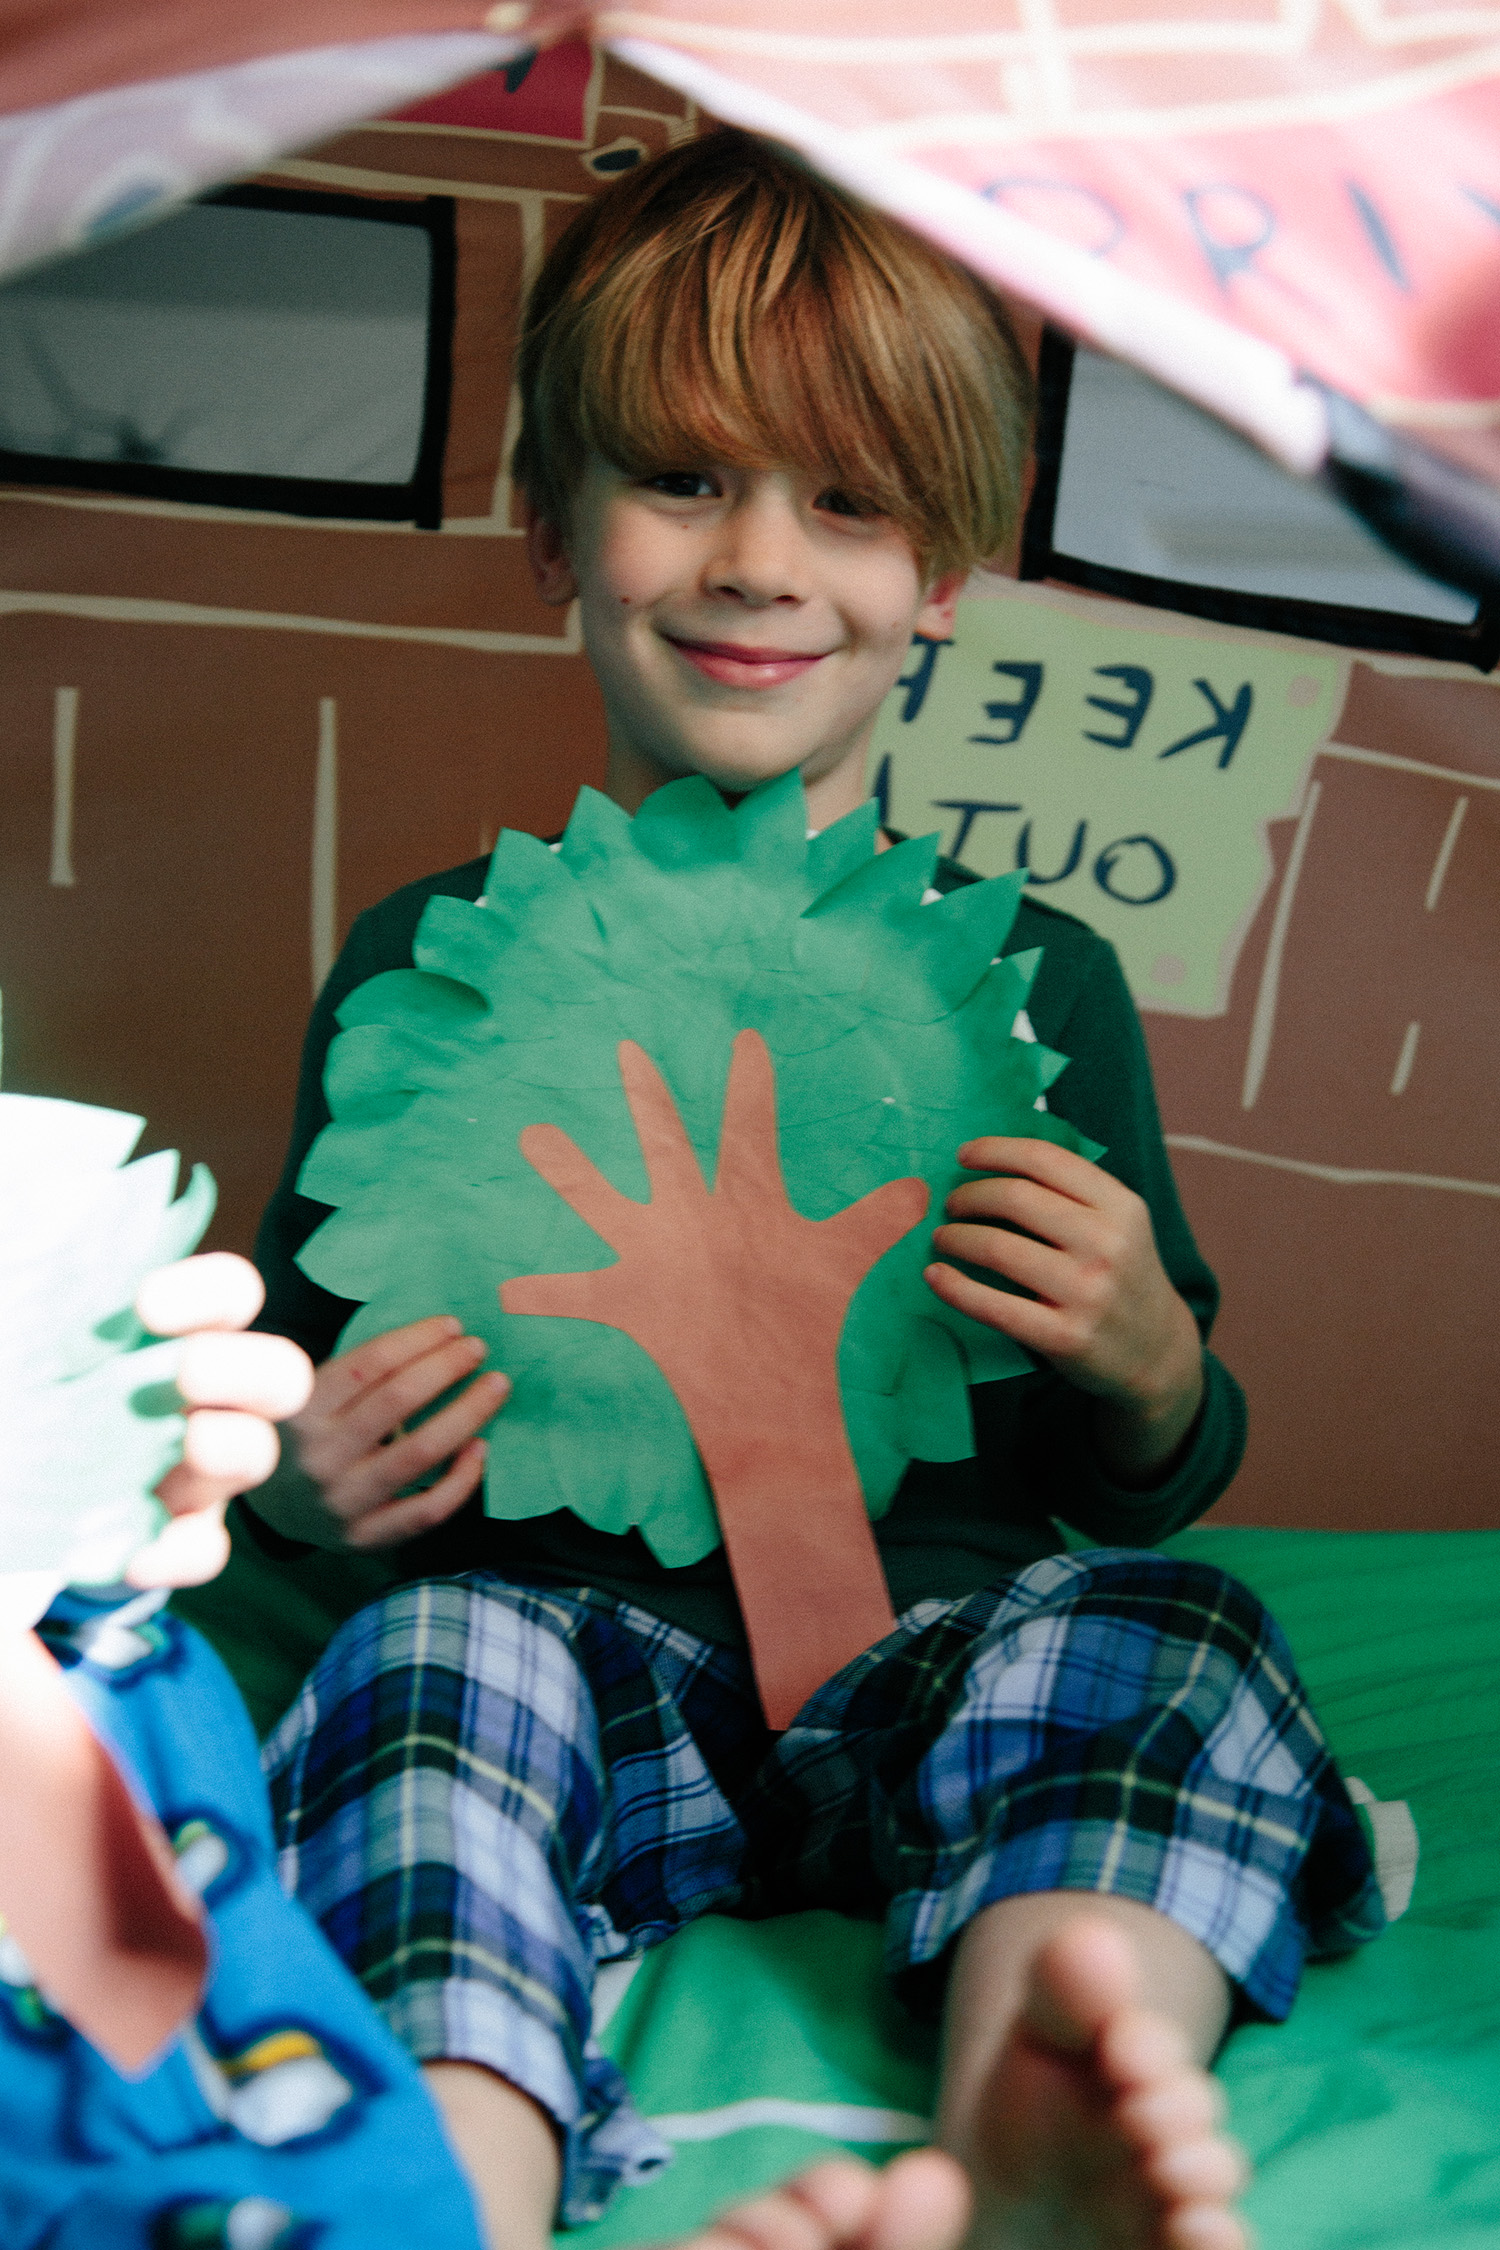
Three cheers for trees!