
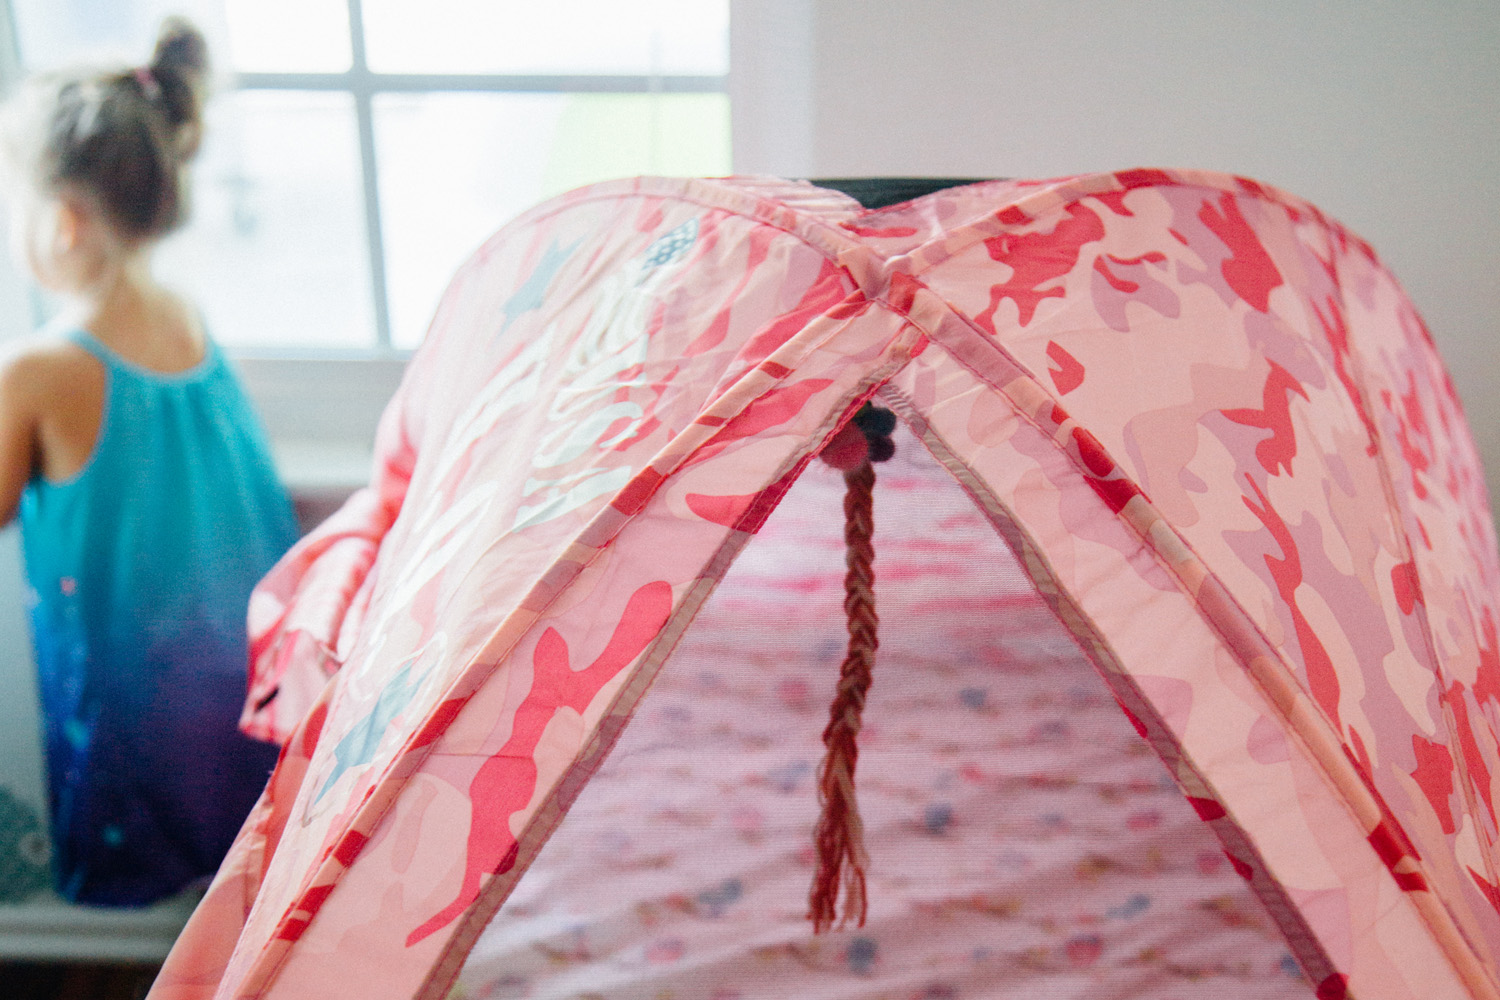
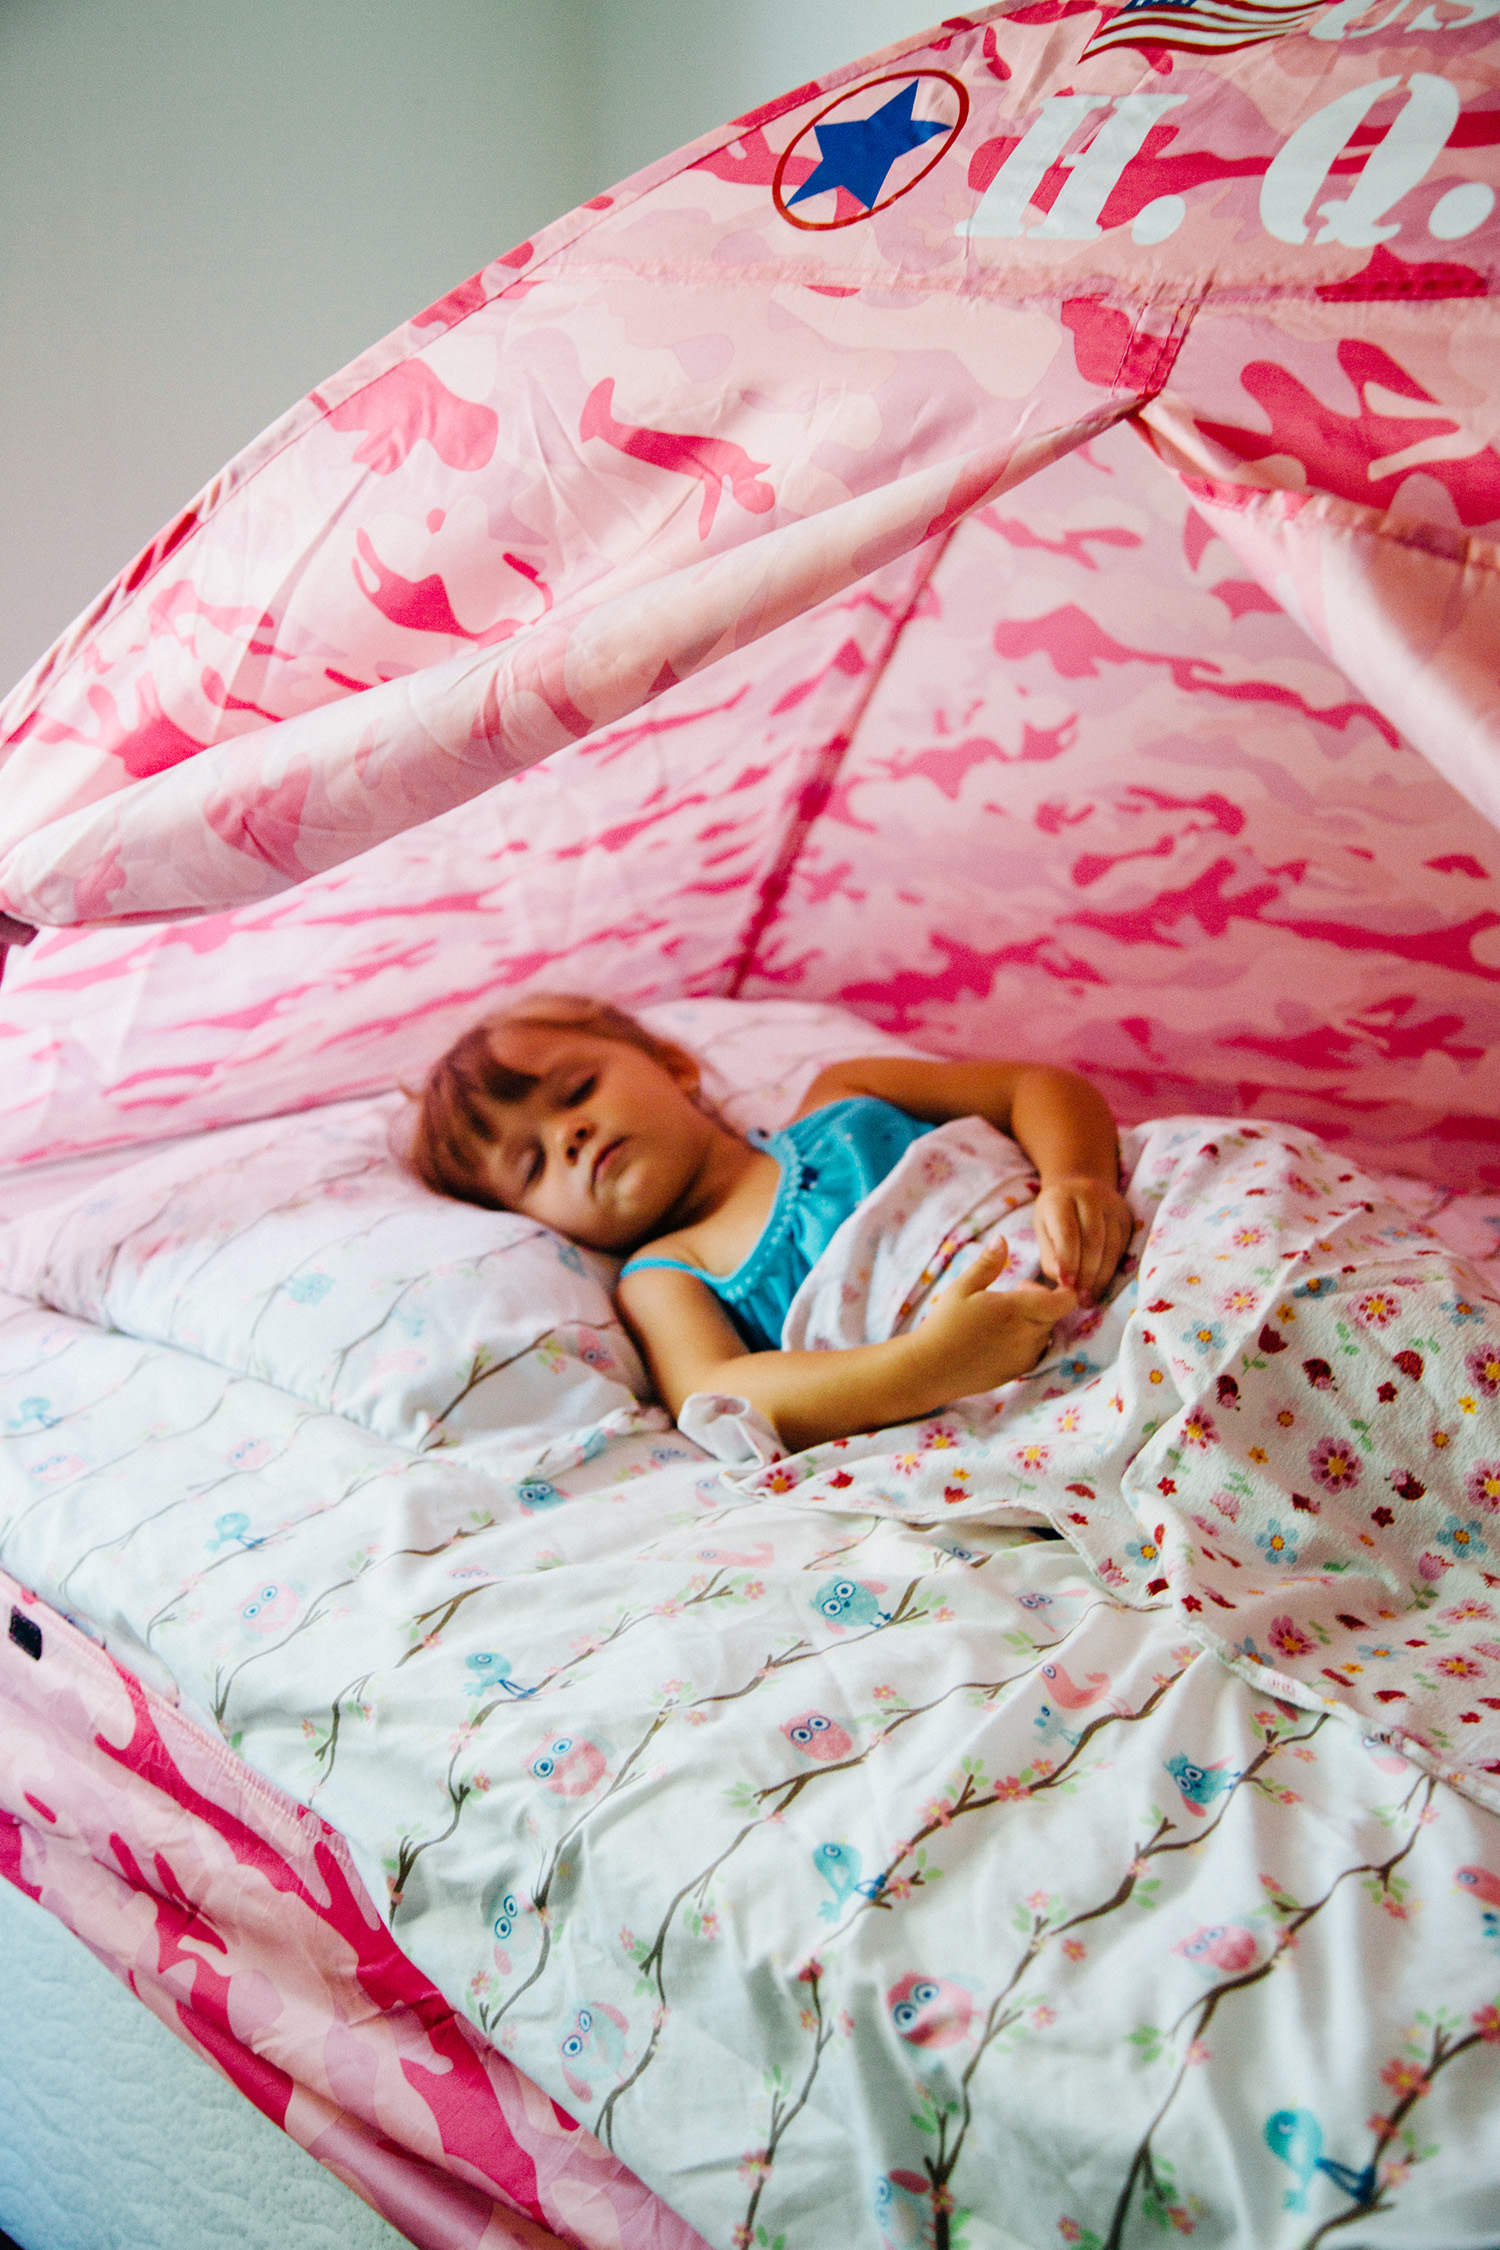
Now you see me, now you don’t! Our Pink Camo Bed Tent is not only a great place for little ones to hide out for quiet time (or endless rounds of hide-and-seek!), but it’s also the perfect location for storing hair bows and ties in an inconspicuous yet super convenient spot. Today we are sharing a quick and easy tutorial for creating a hair bow hanger that can be hung in one of our camo bed tents in a snap!
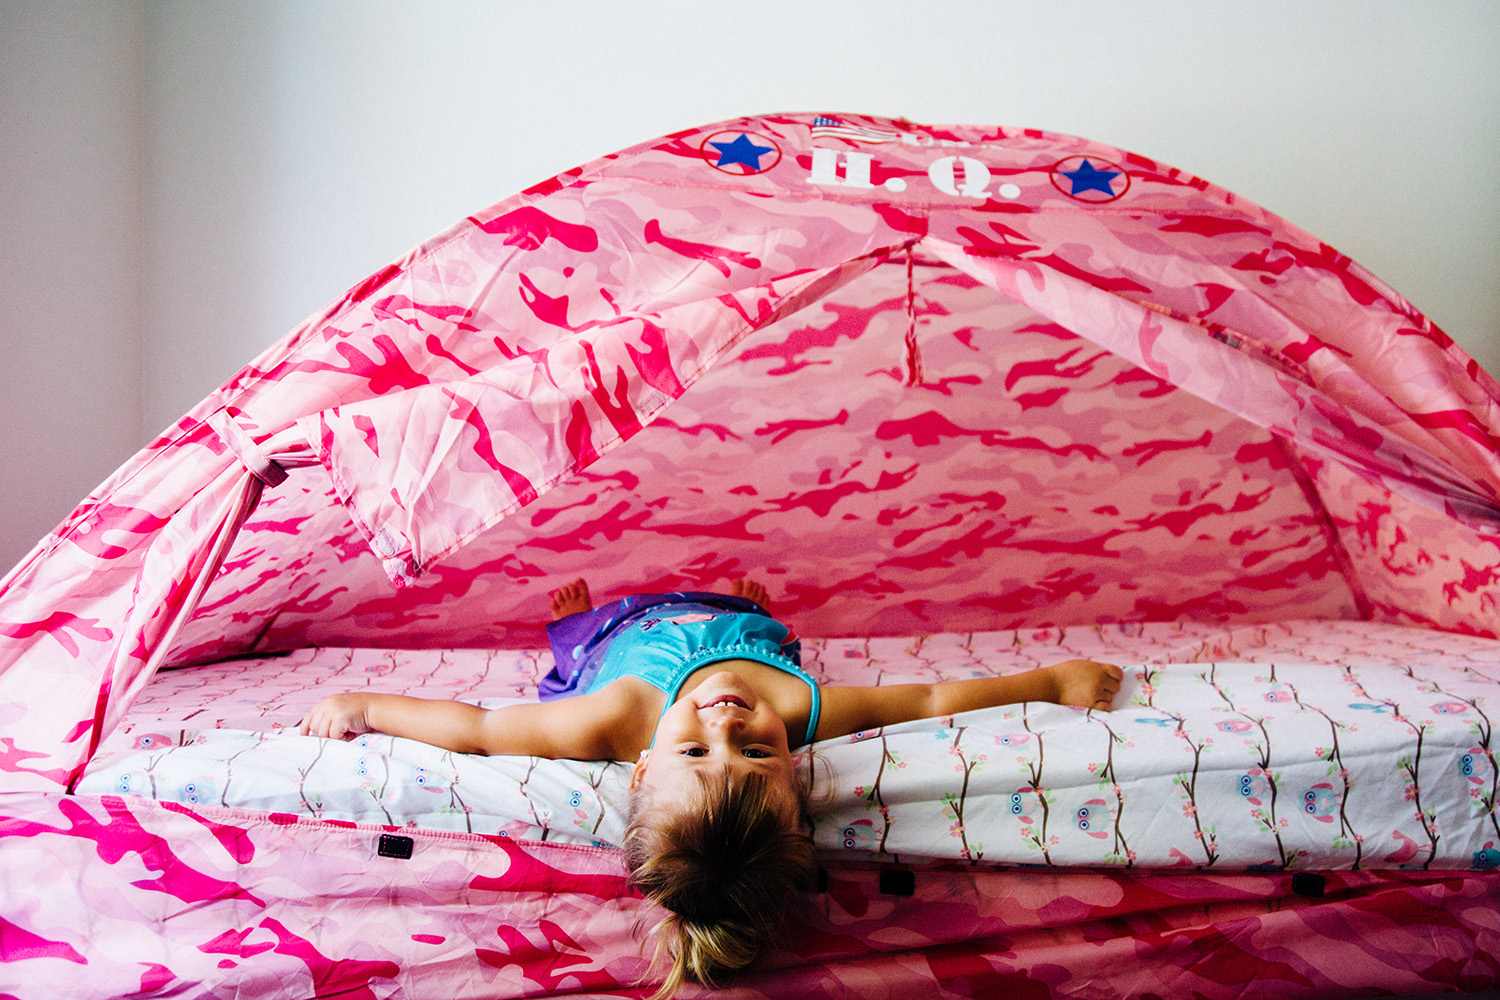
At 77 in X 54 in X 42 in, our pink camo bed tent fits a full size mattress and instantly adds camouflage fun to any space!
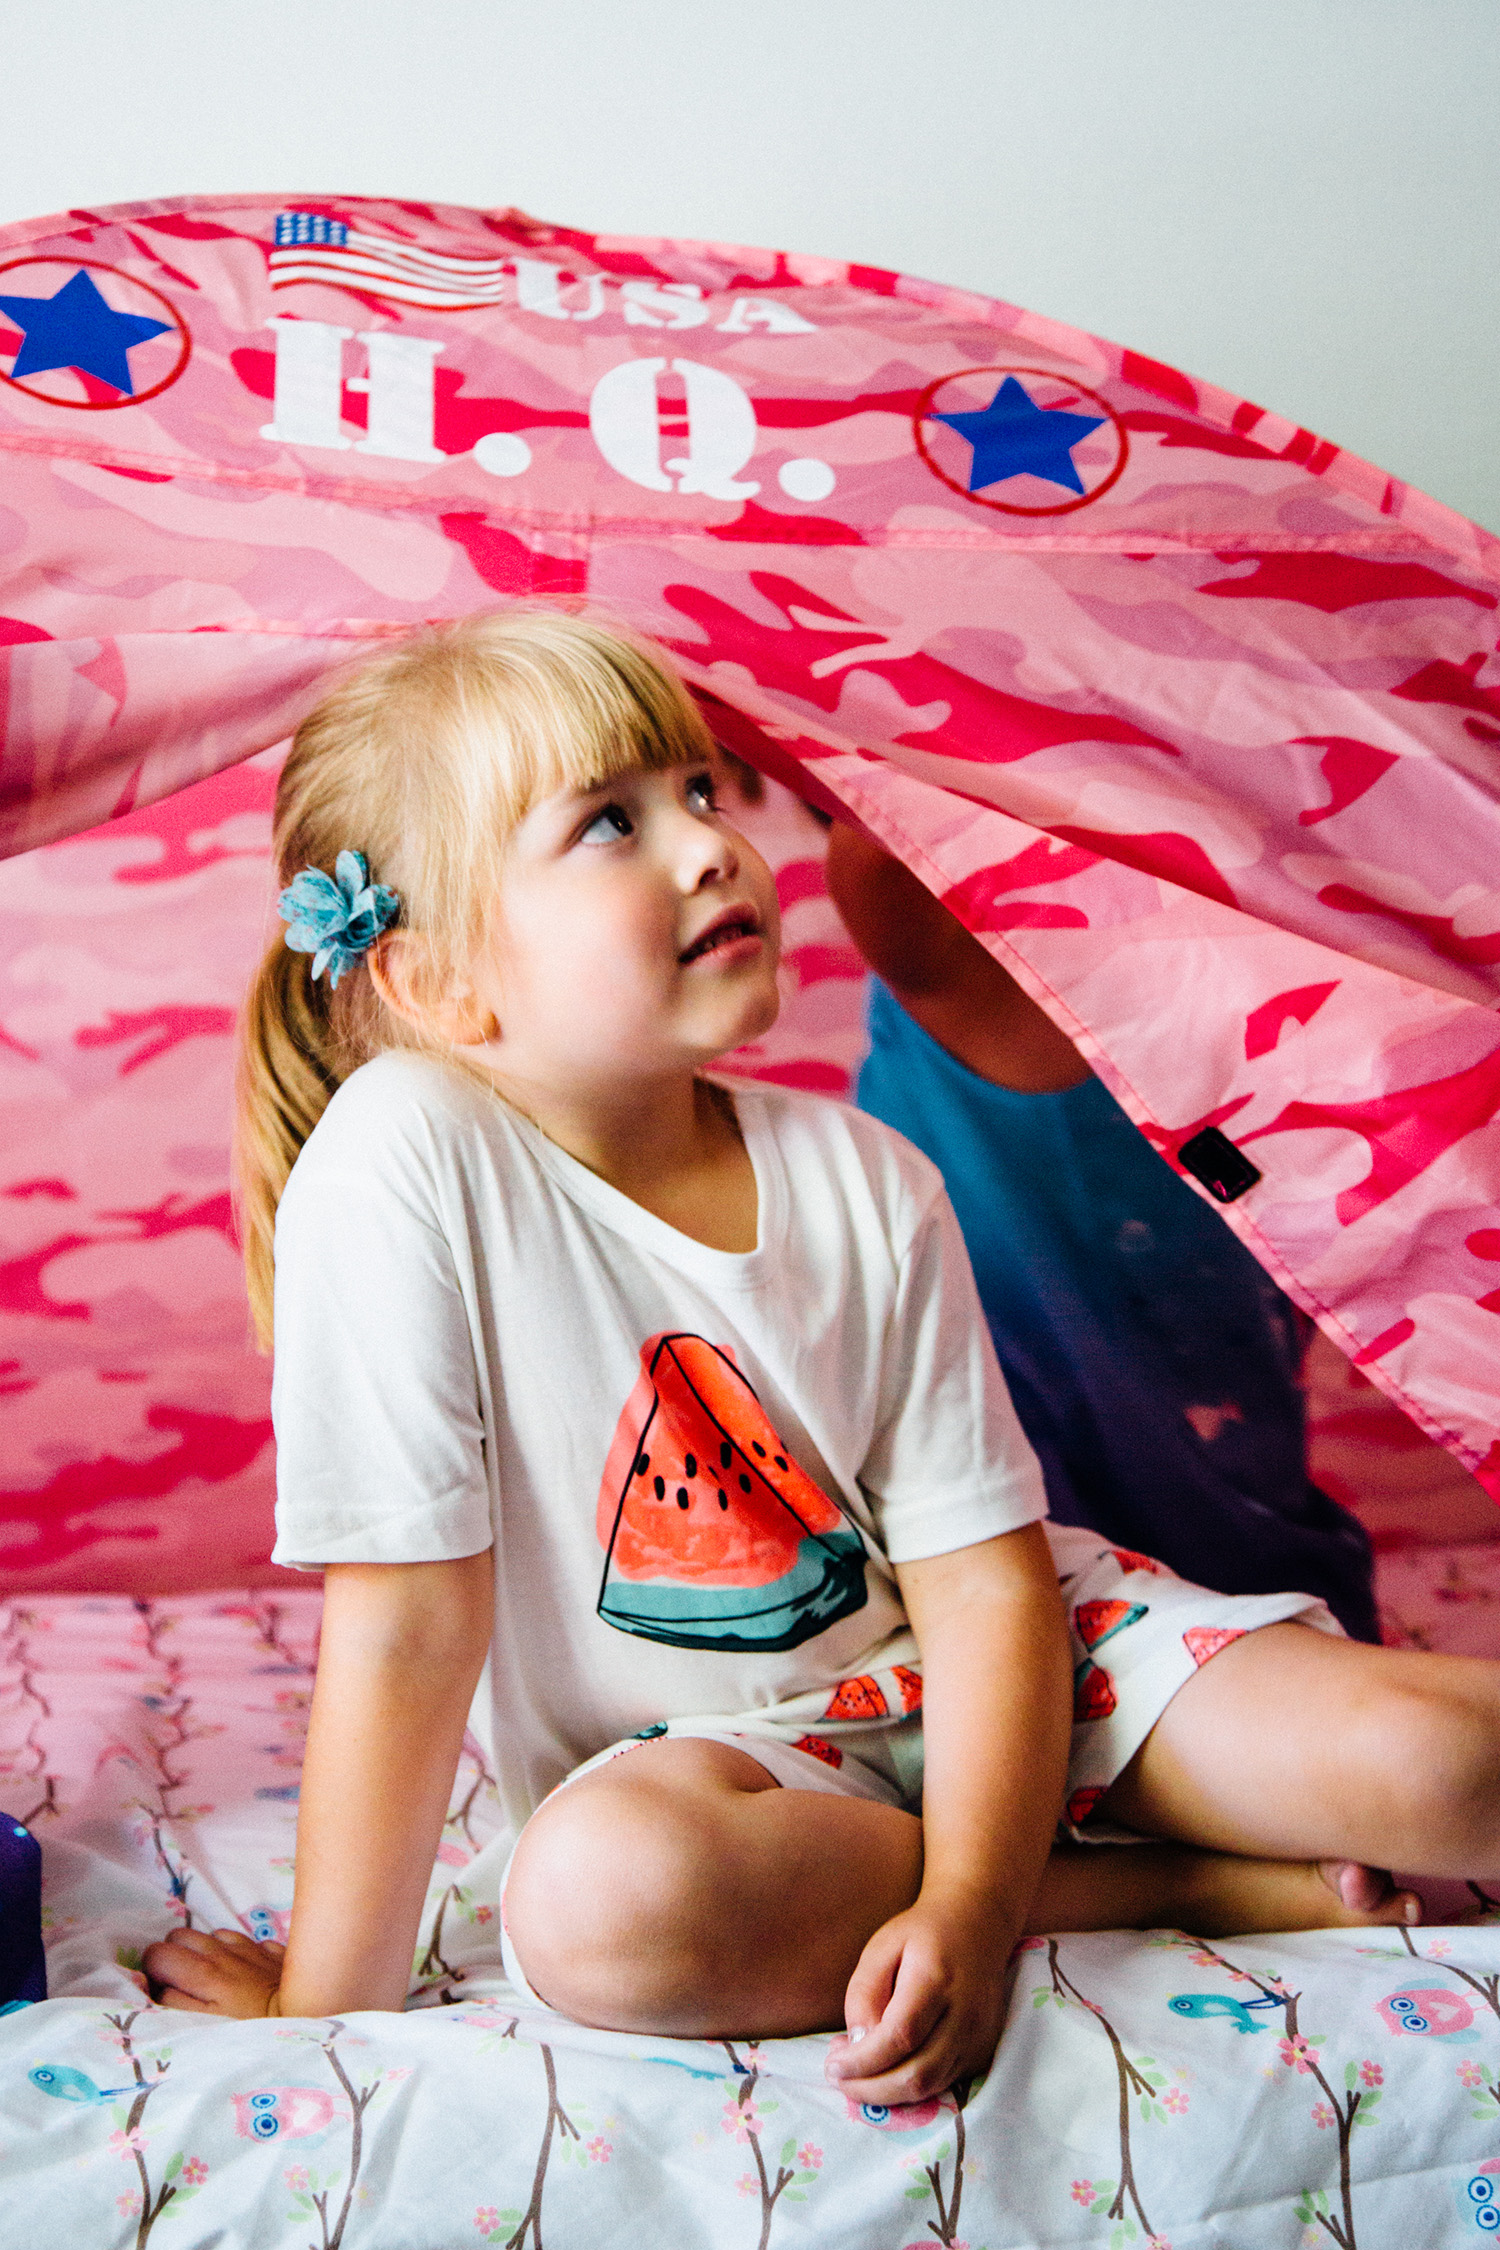
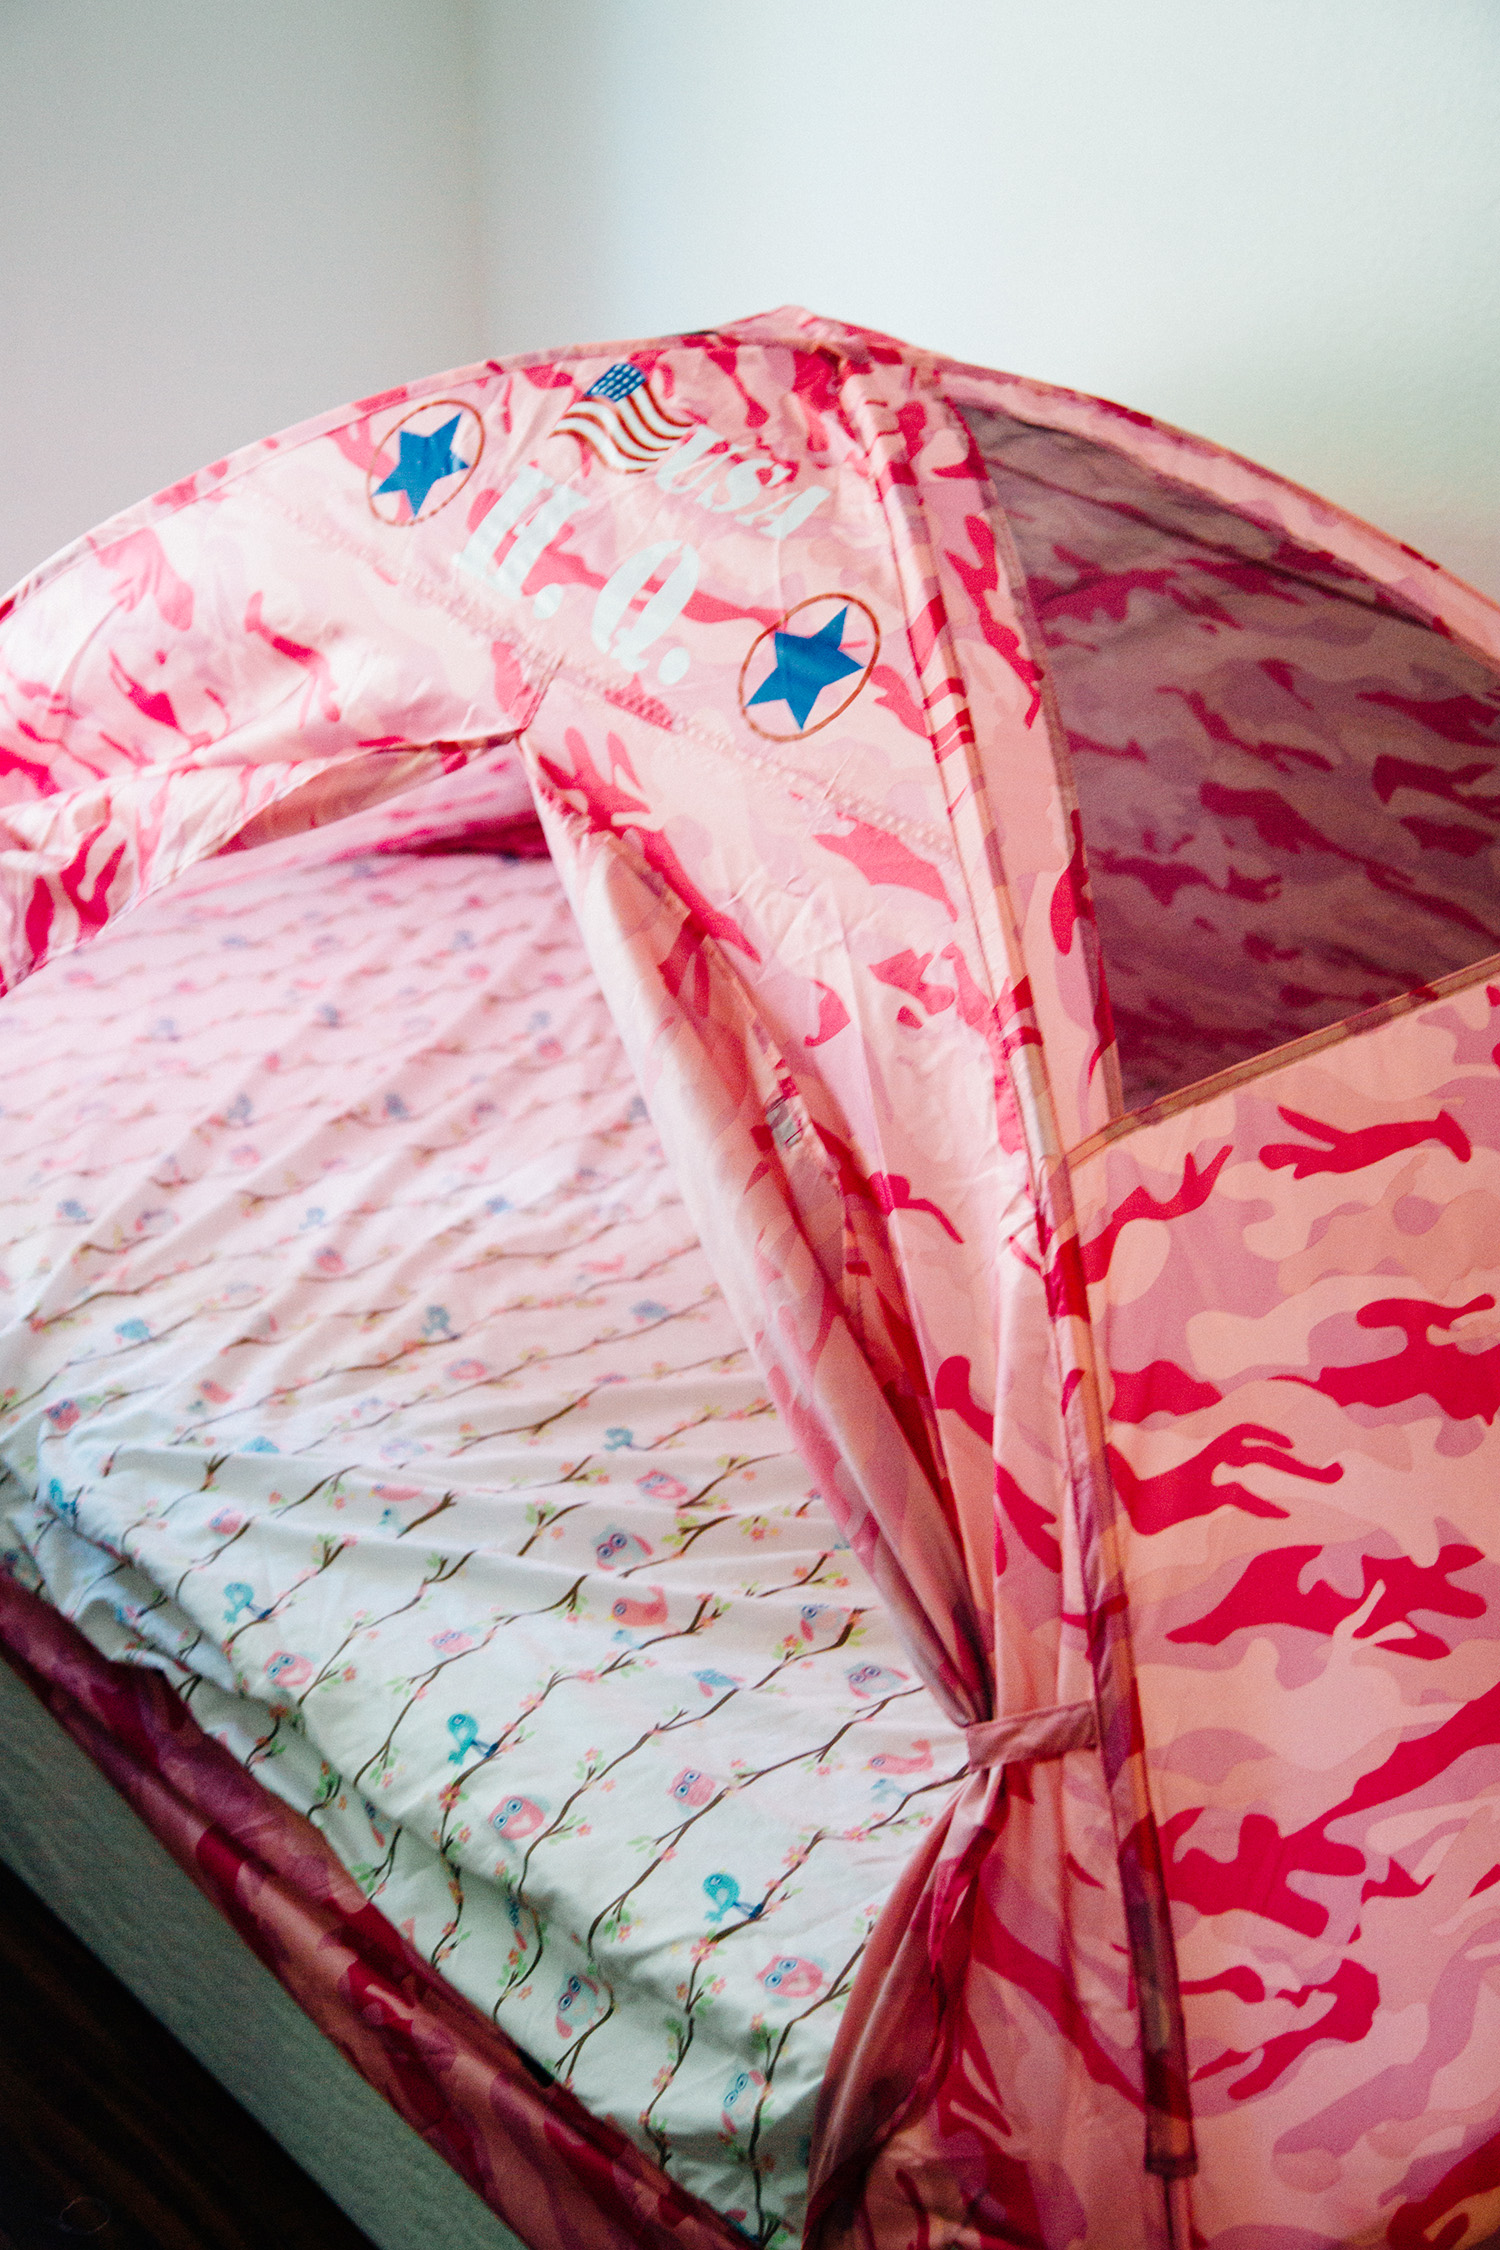
The colorful nylon shell allows for ample air flow while the “T-style” tie-back door can be opened or closed easily. It also features double-stitched seams along stress points for extra reinforcement to ensure that it gets years of use!
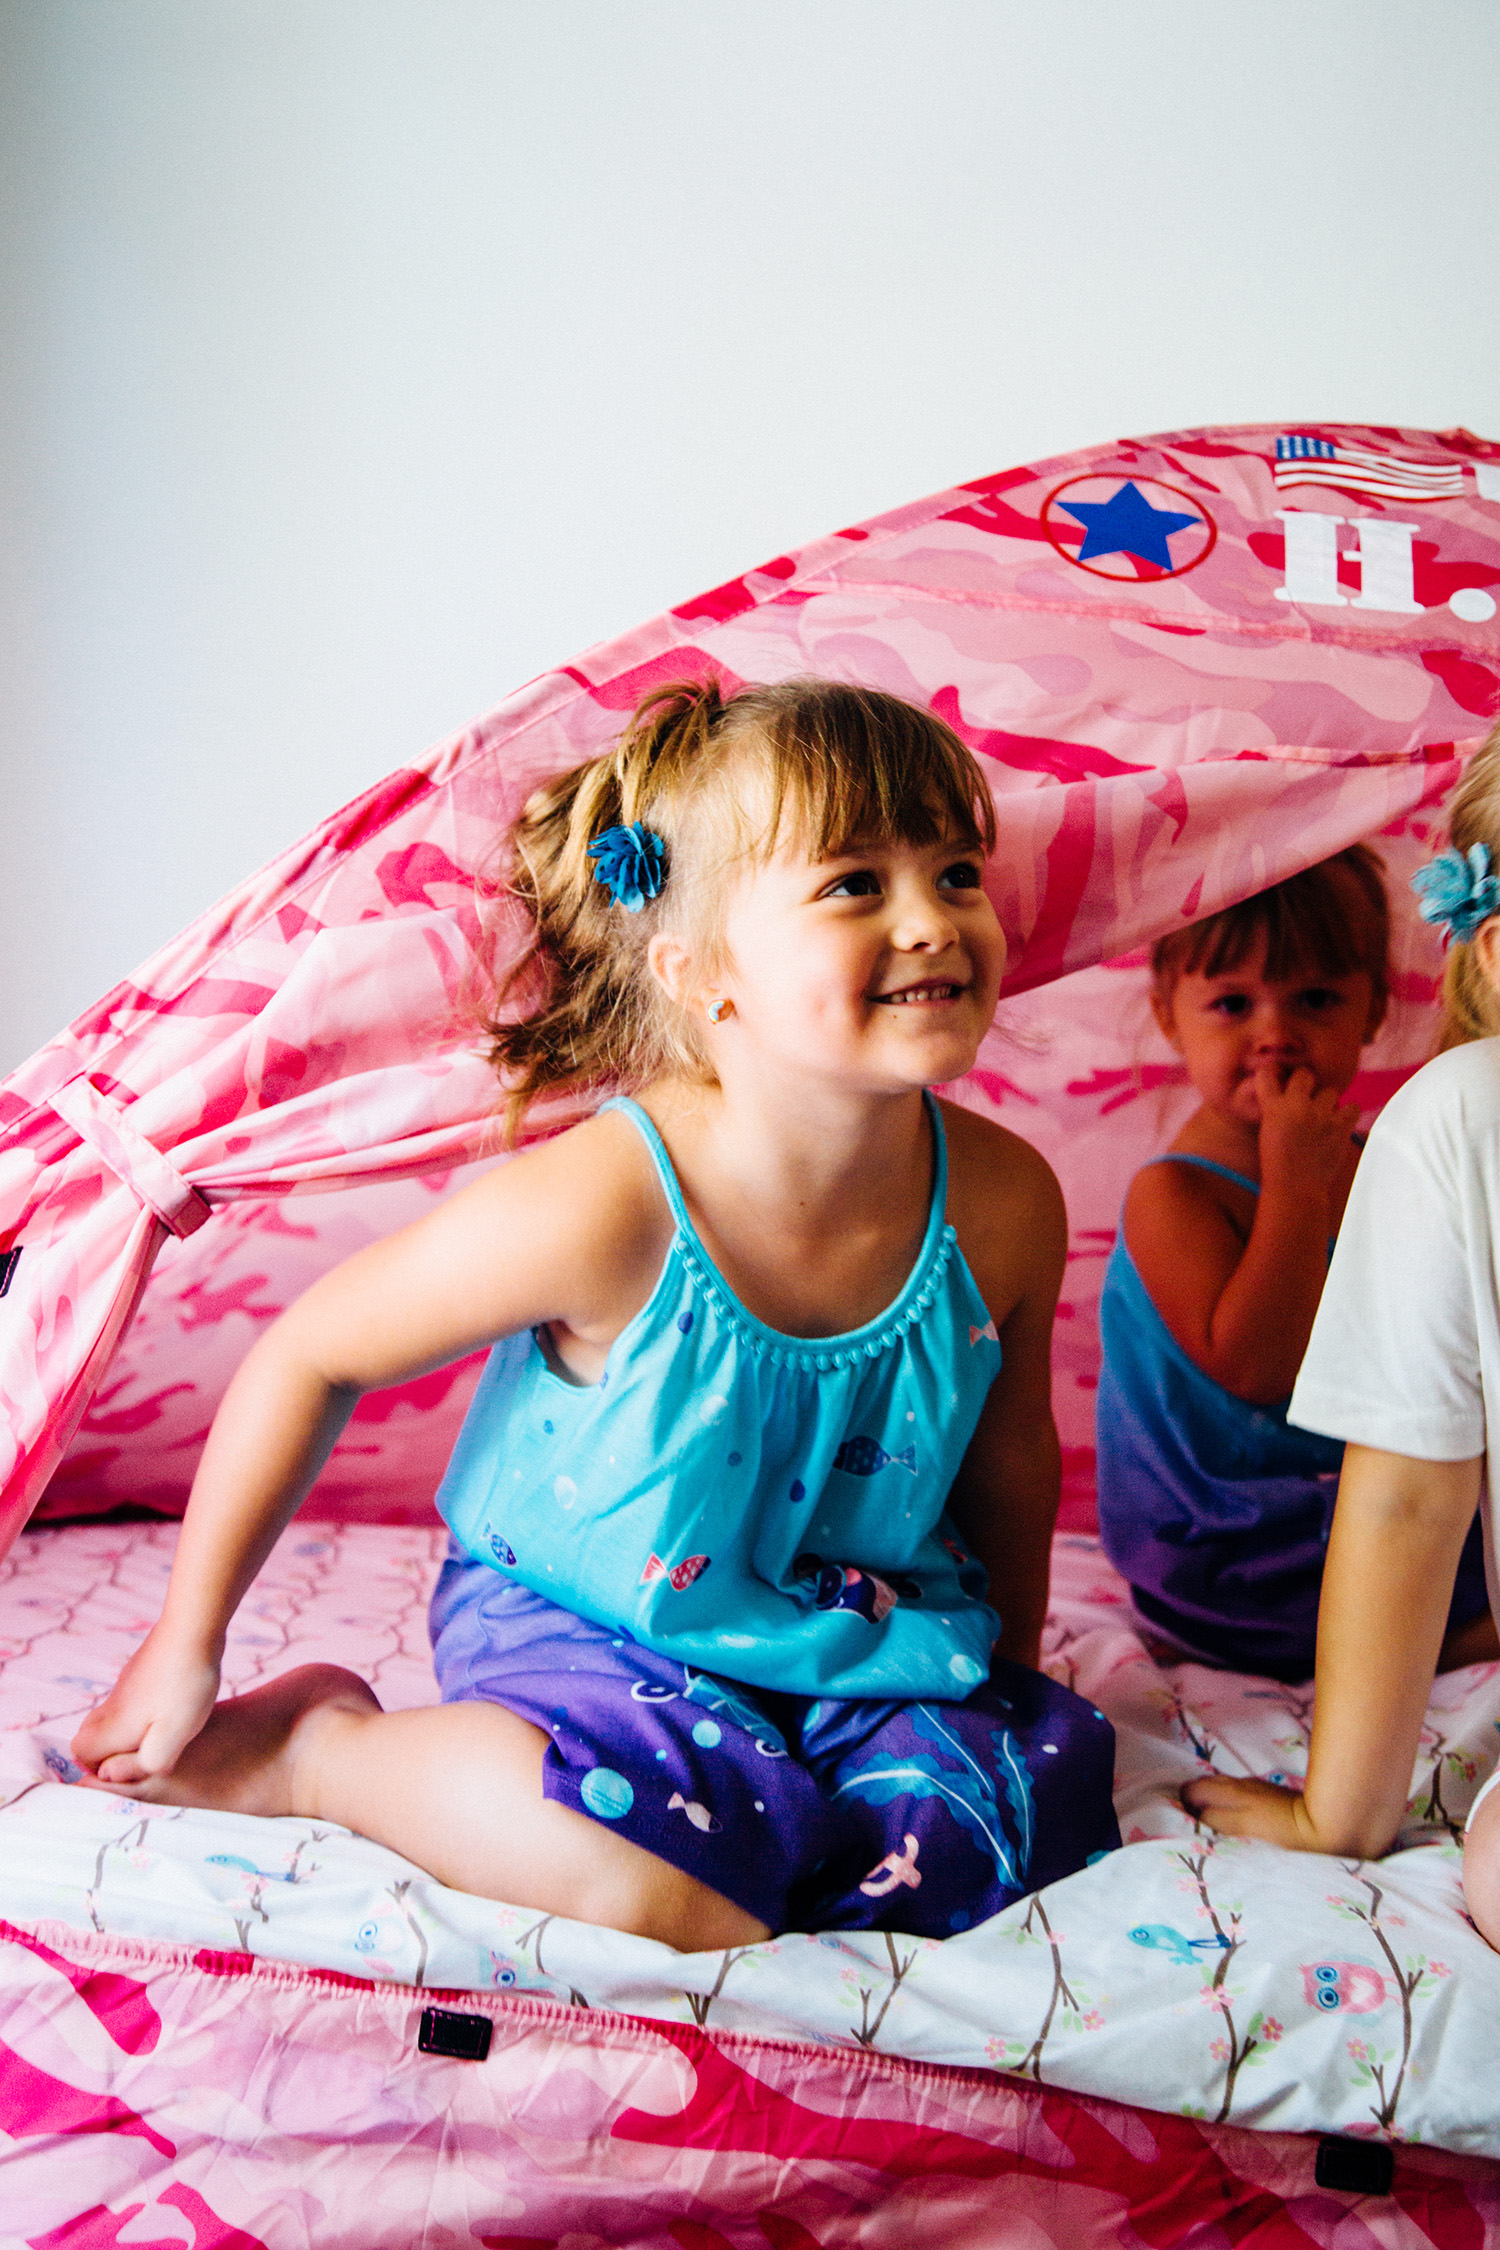

Best of all, our Pink Camo Bed Tent (like all of our bed tents!) is a breeze to set up and take down, thus making it the perfect portable “bedroom” for children who may need a little extra comfort and familiarity when it comes time to sleep.
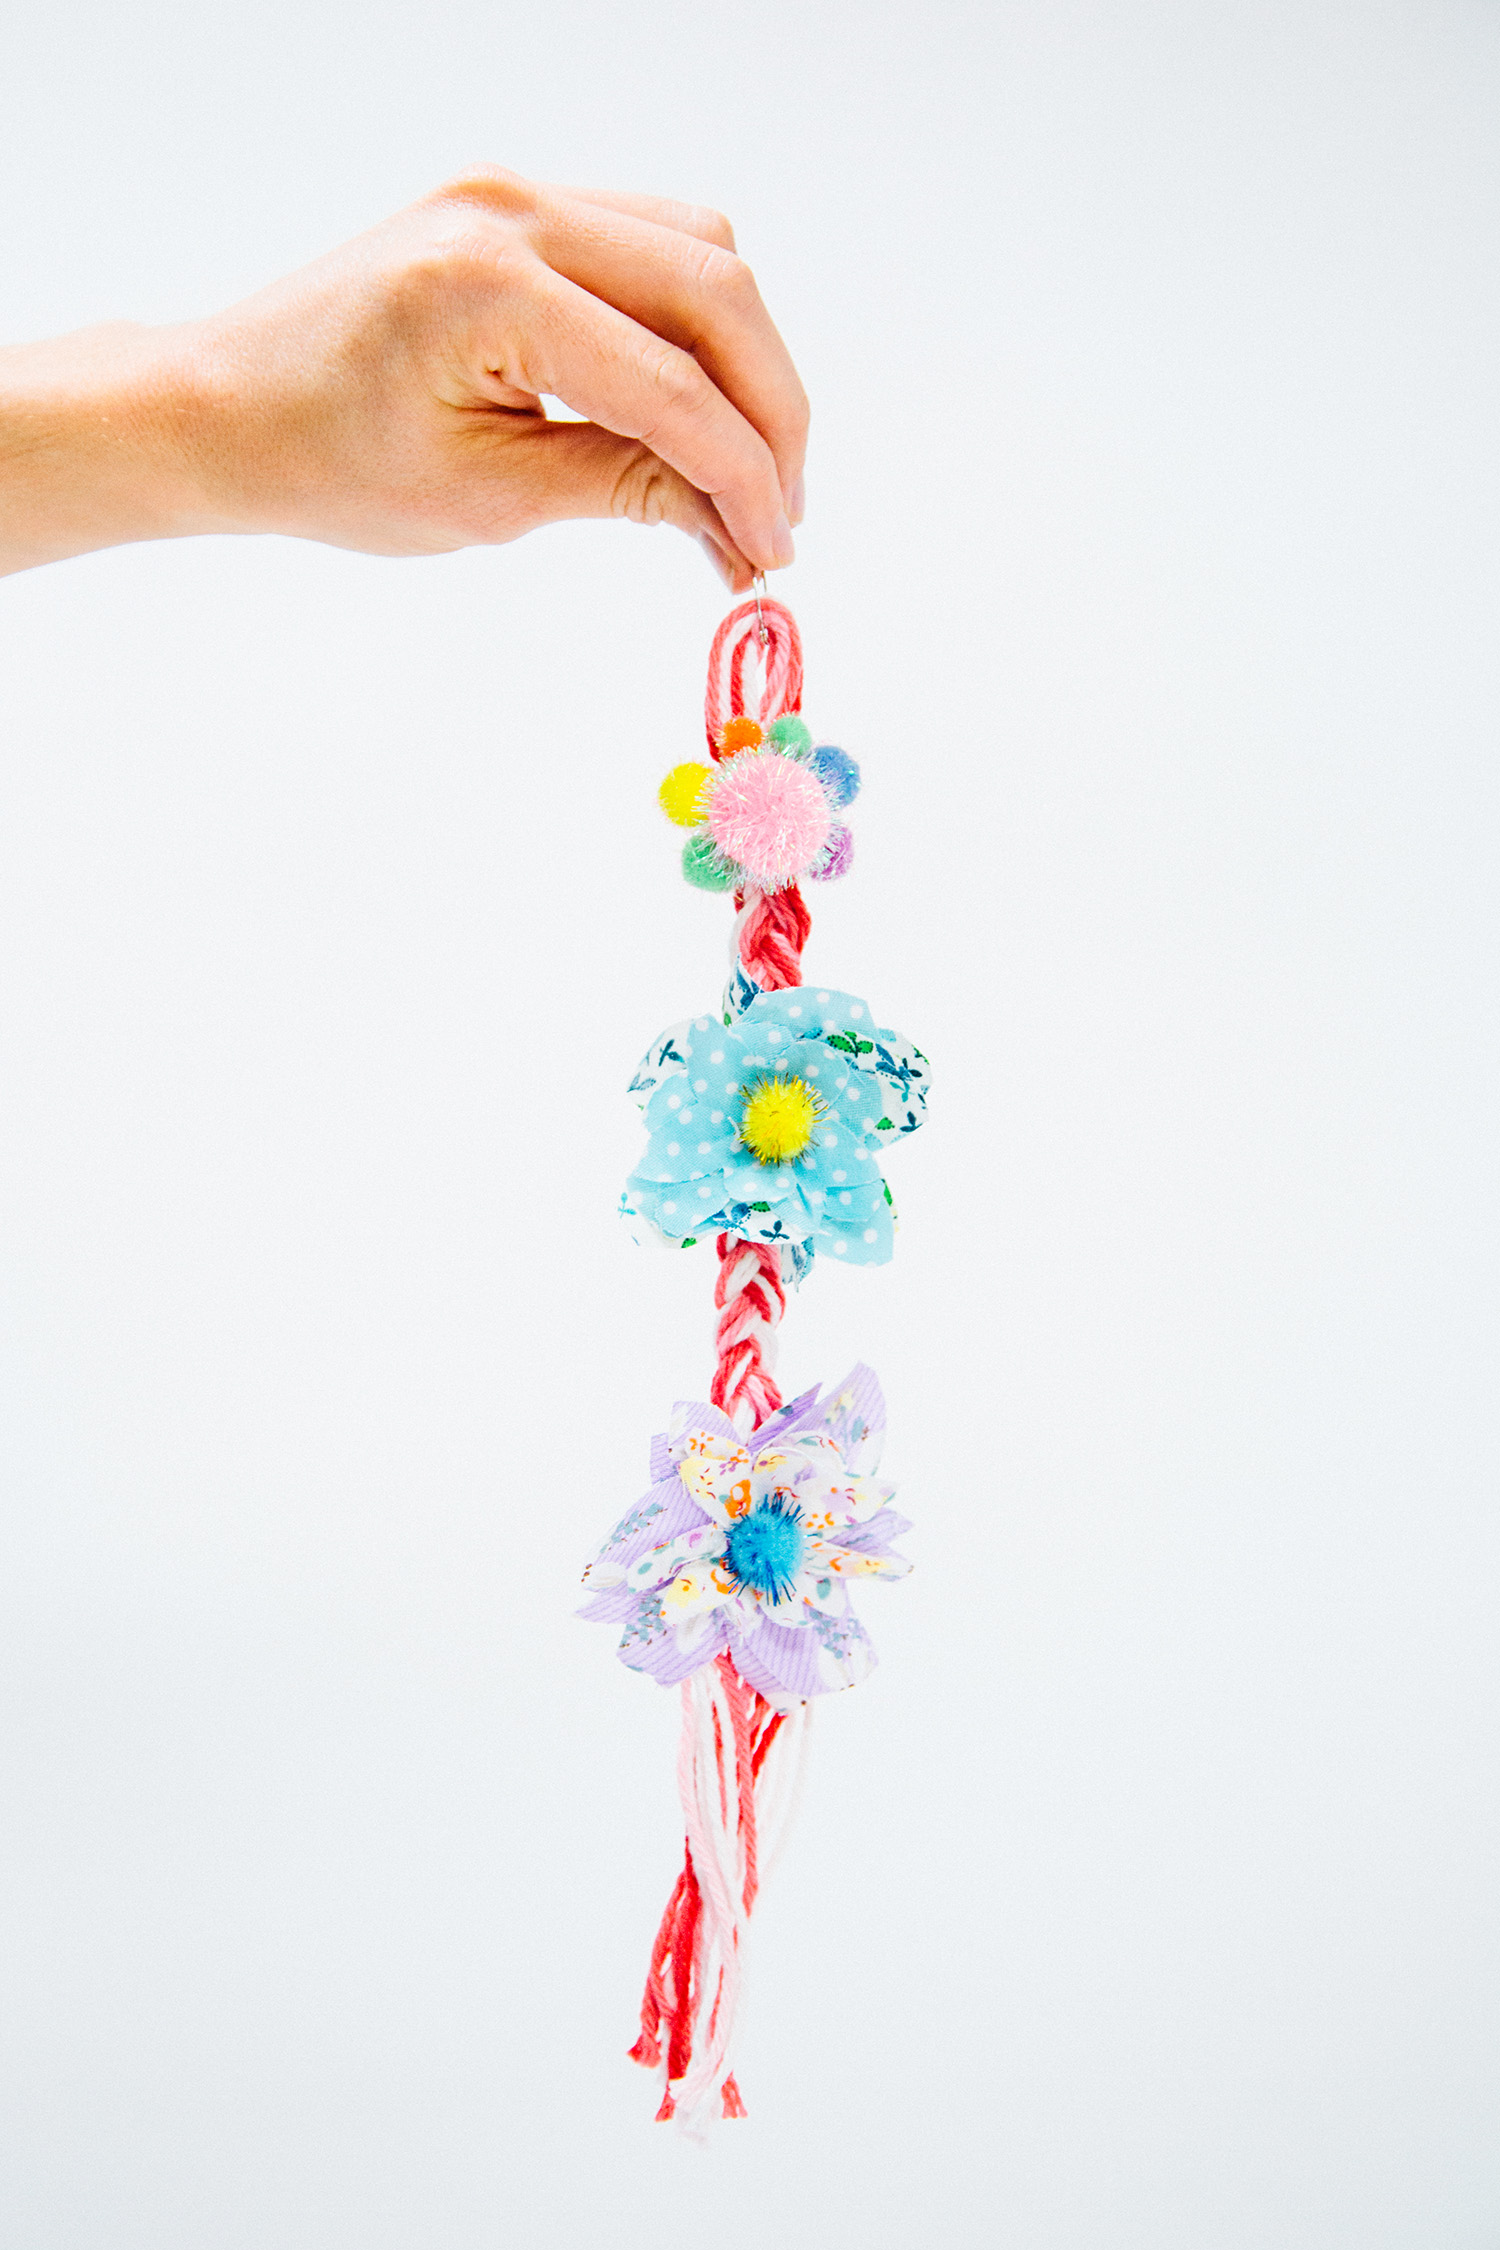
Even though the camouflage print is ideal for hiding things, you’ll never lose a hair bow again with our simple DIY hair bow hanger! Here’s what you’ll need:
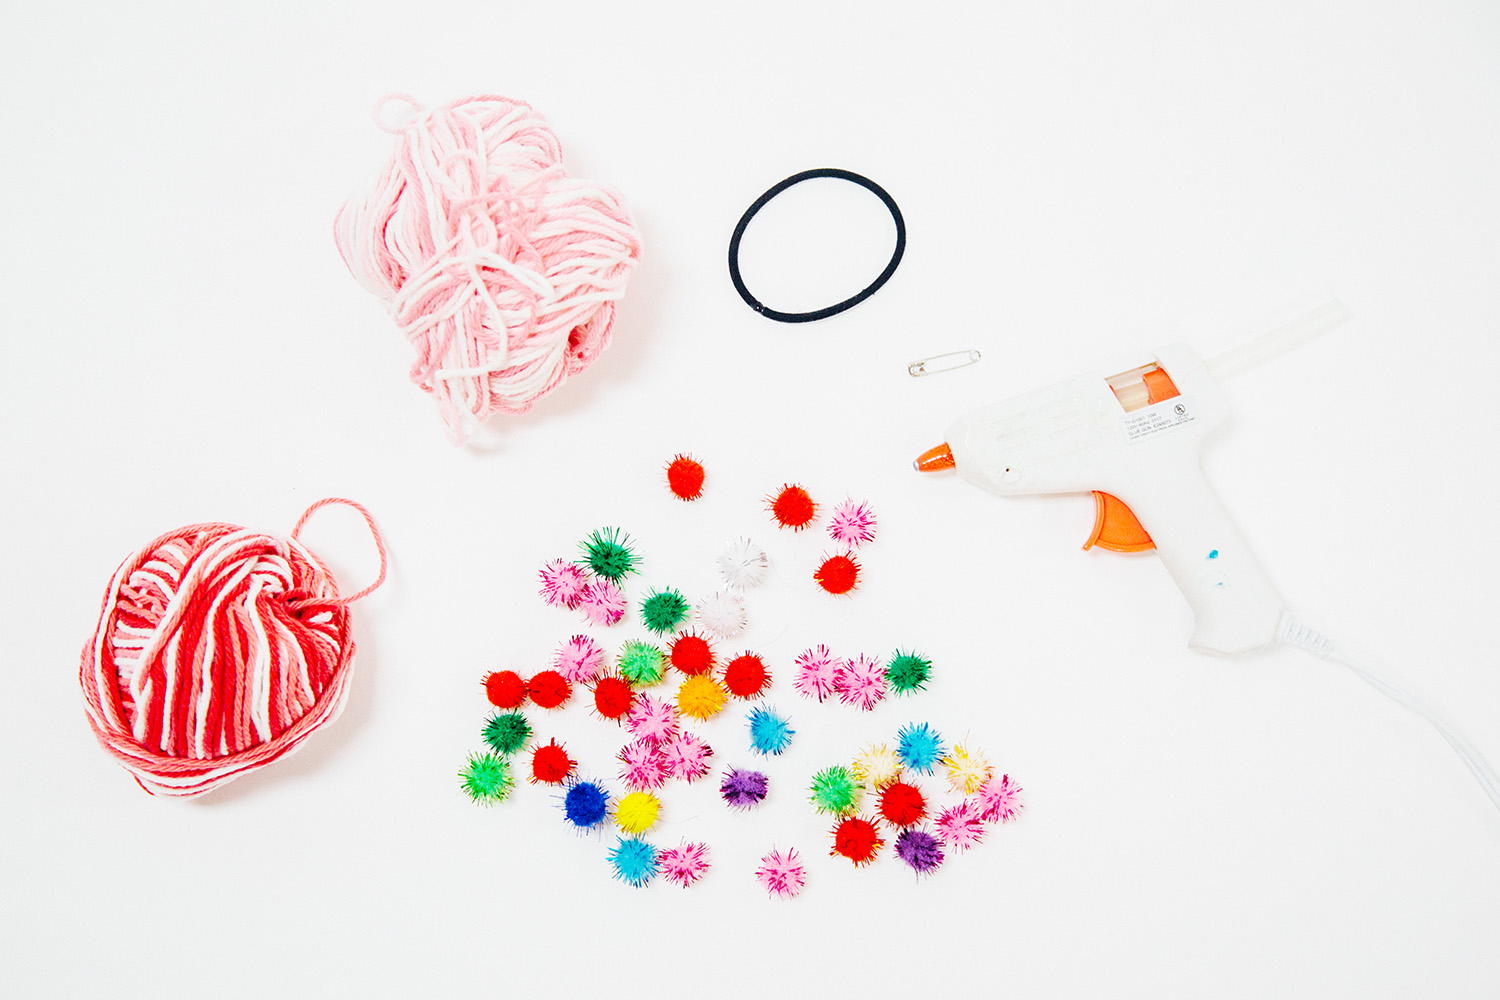
SUPPLIES:
- Yarn
- Ponytail holder
- Pompoms
- Hot glue gun
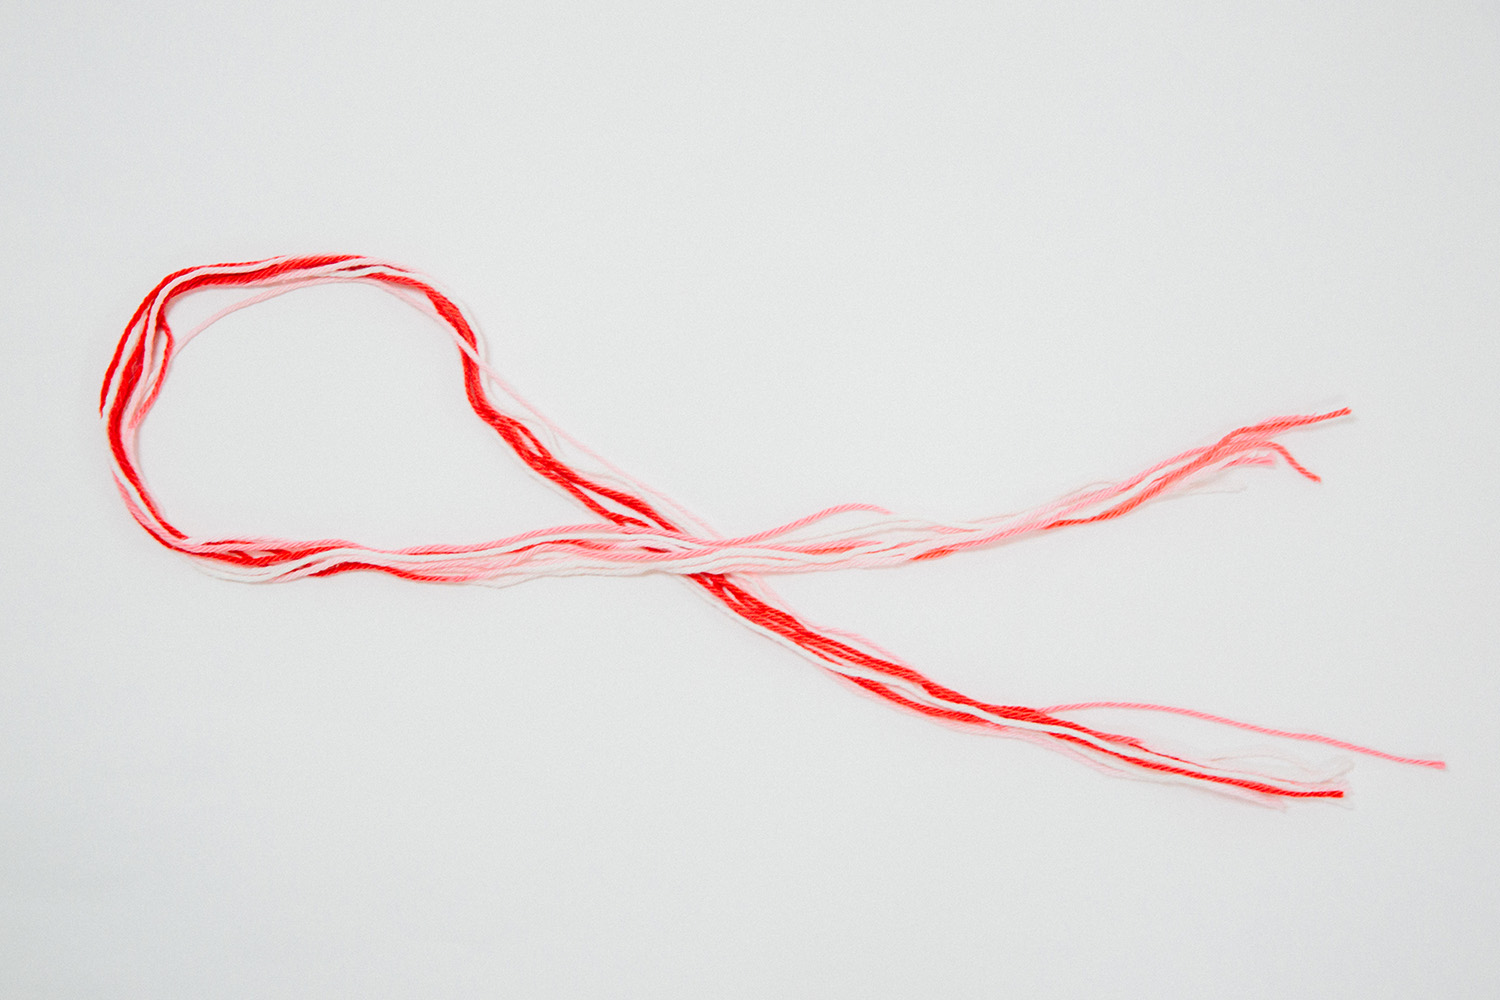
Cut several 36″ strands of yarn and group them together then fold in half.
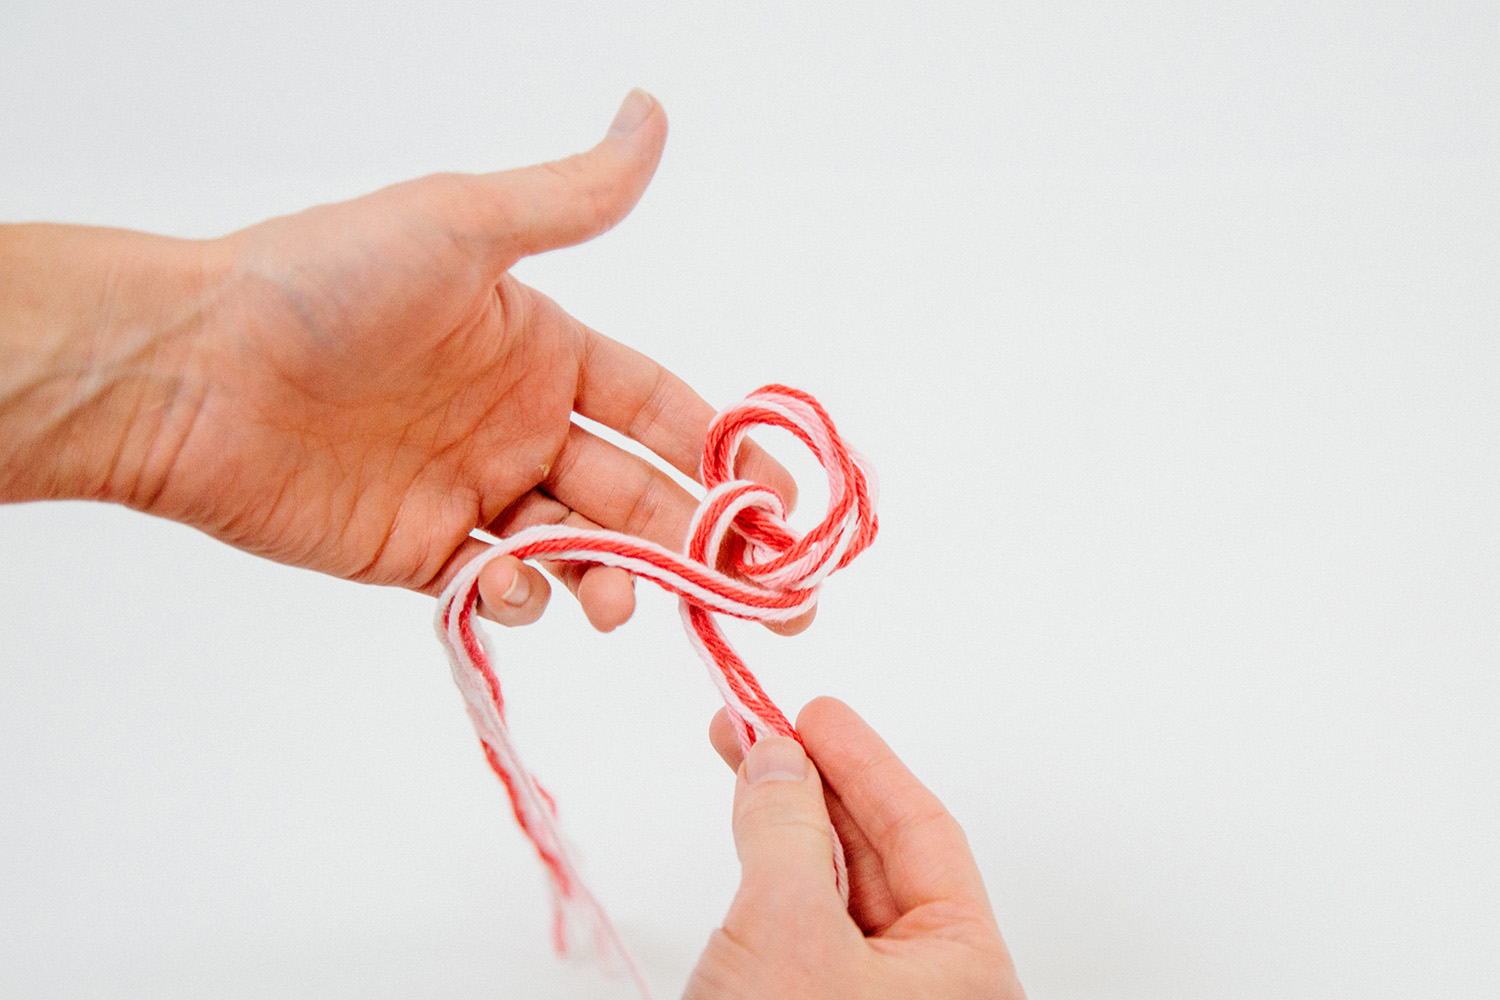
Form a small circle at the top of the fold.
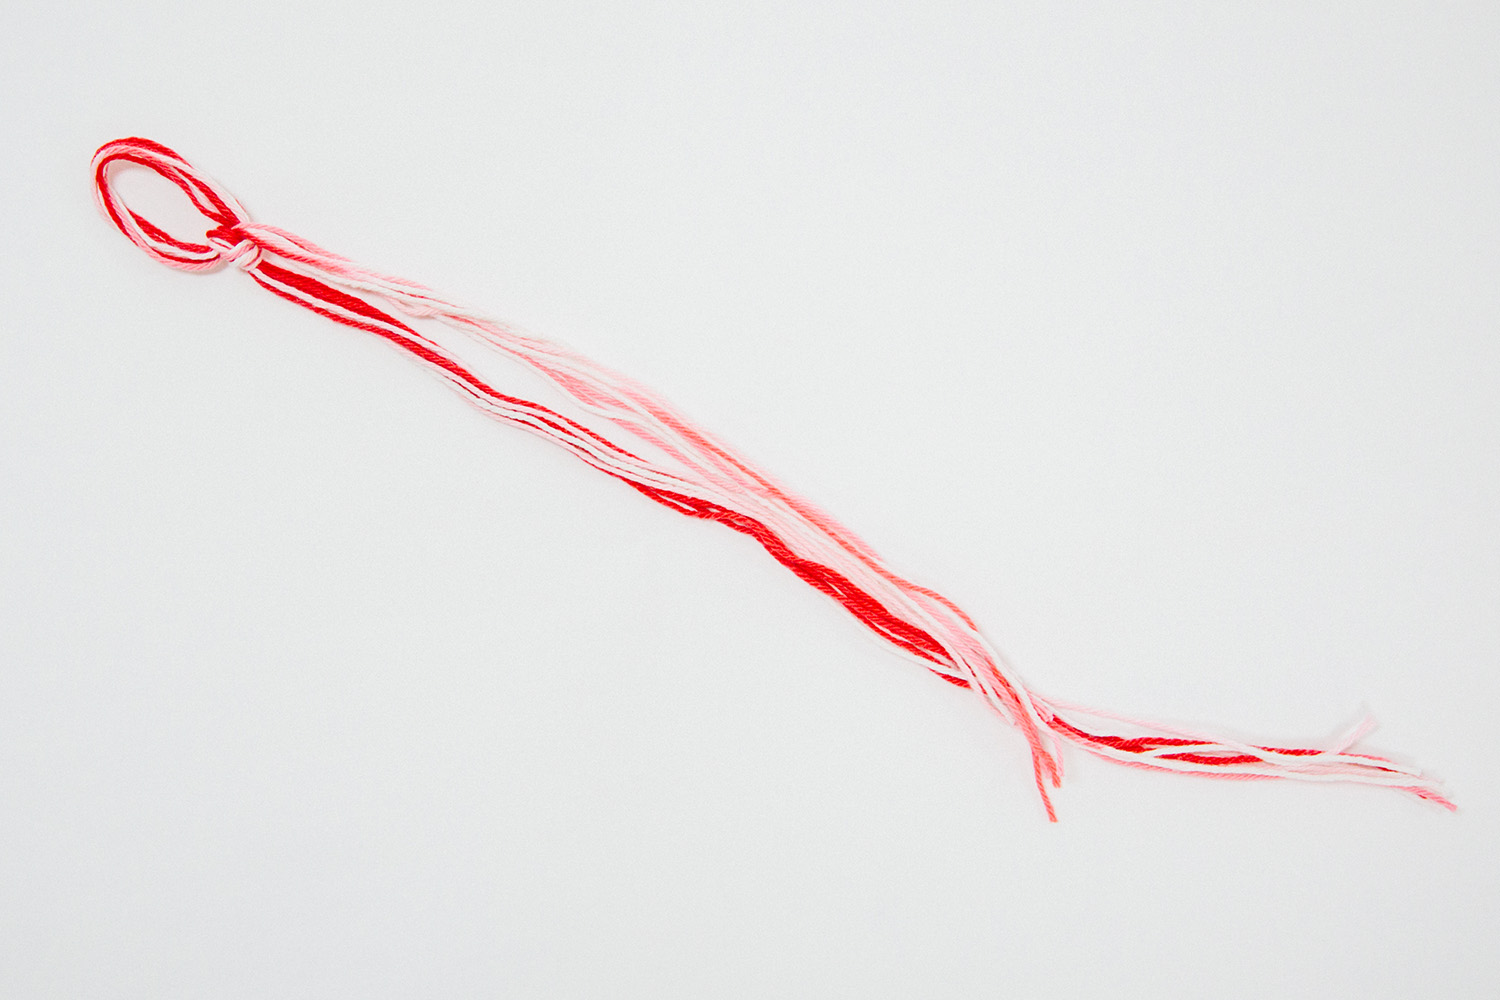
Secure the circle with a double knot.
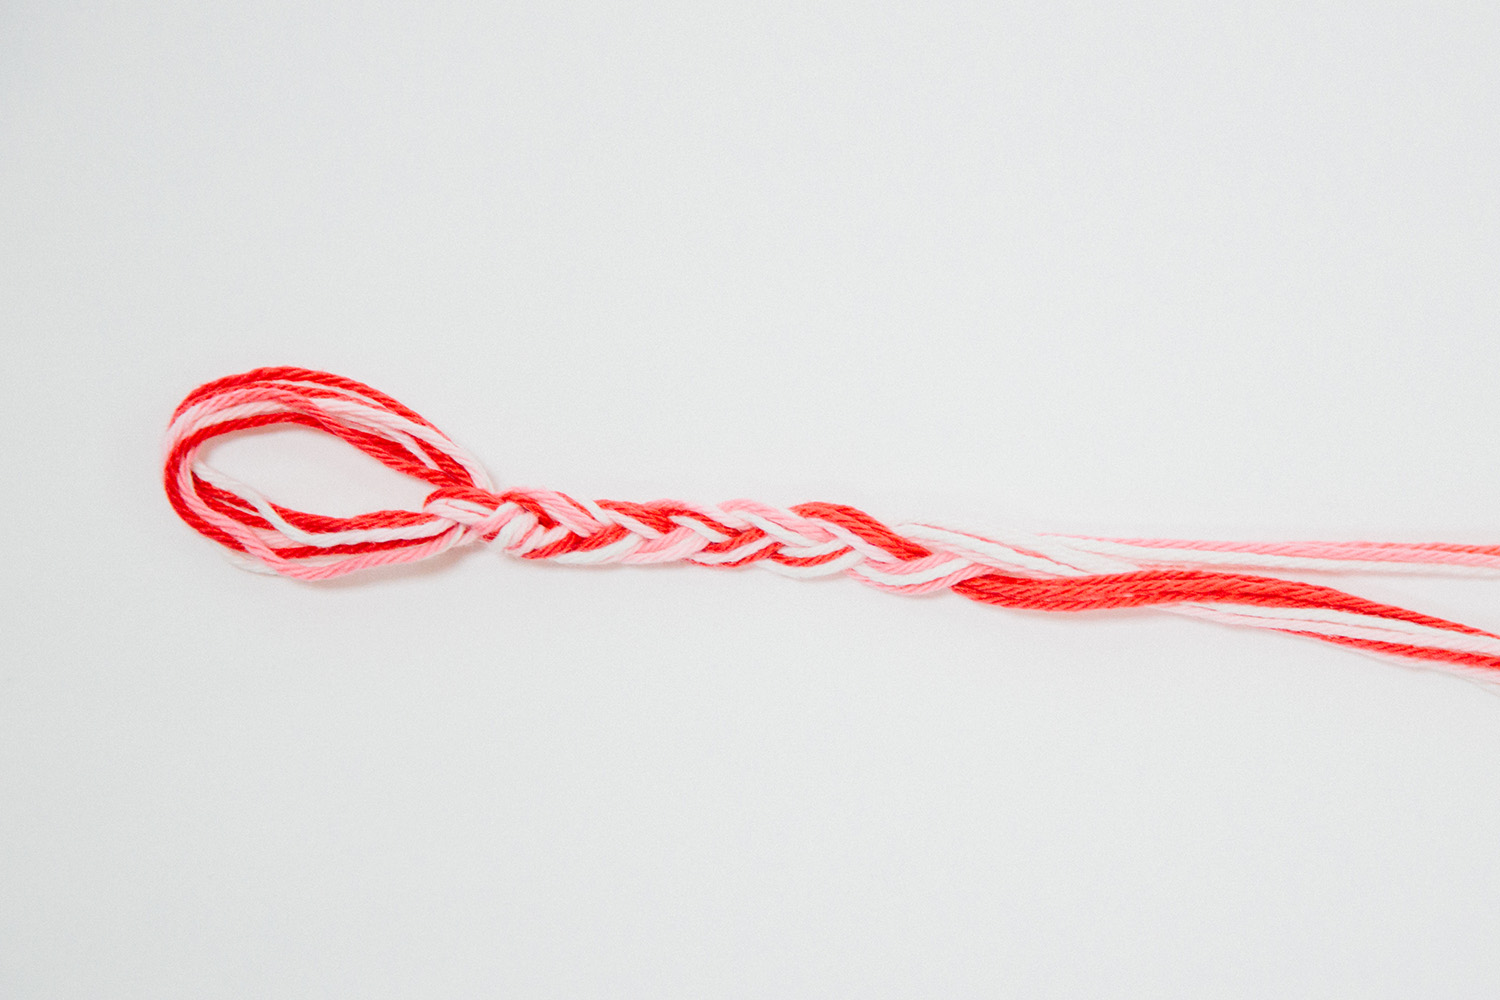
Braid the “tails” of the yarn together until you are 2-3″ from the bottom of the hanger.
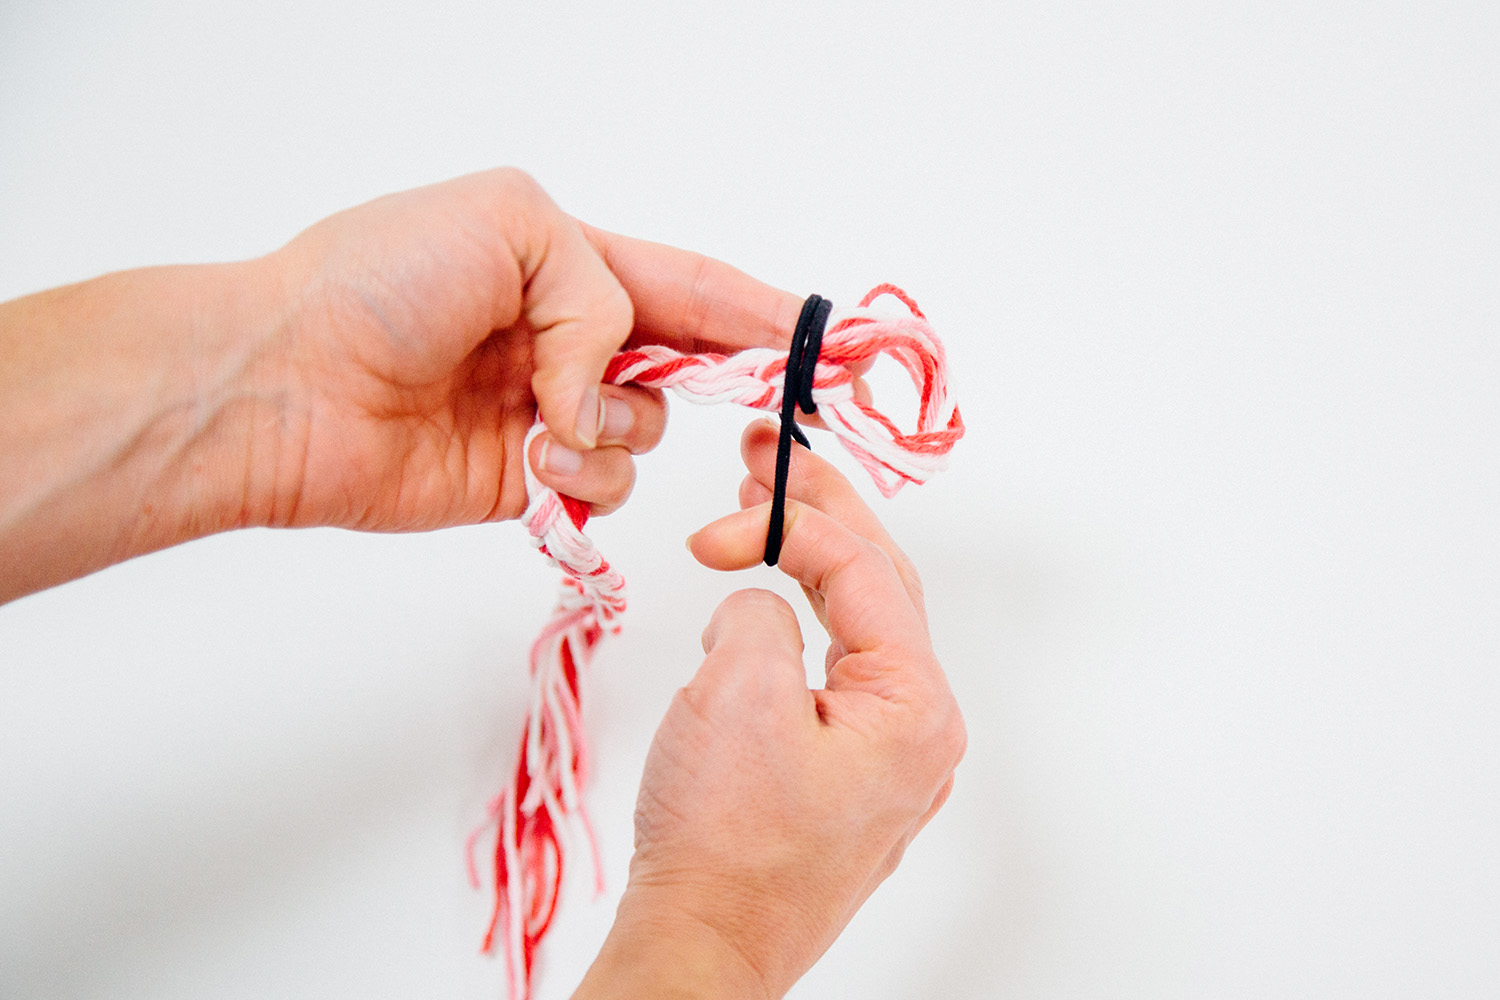
Wrap a ponytail holder around the top of the braid until it is securely in place.
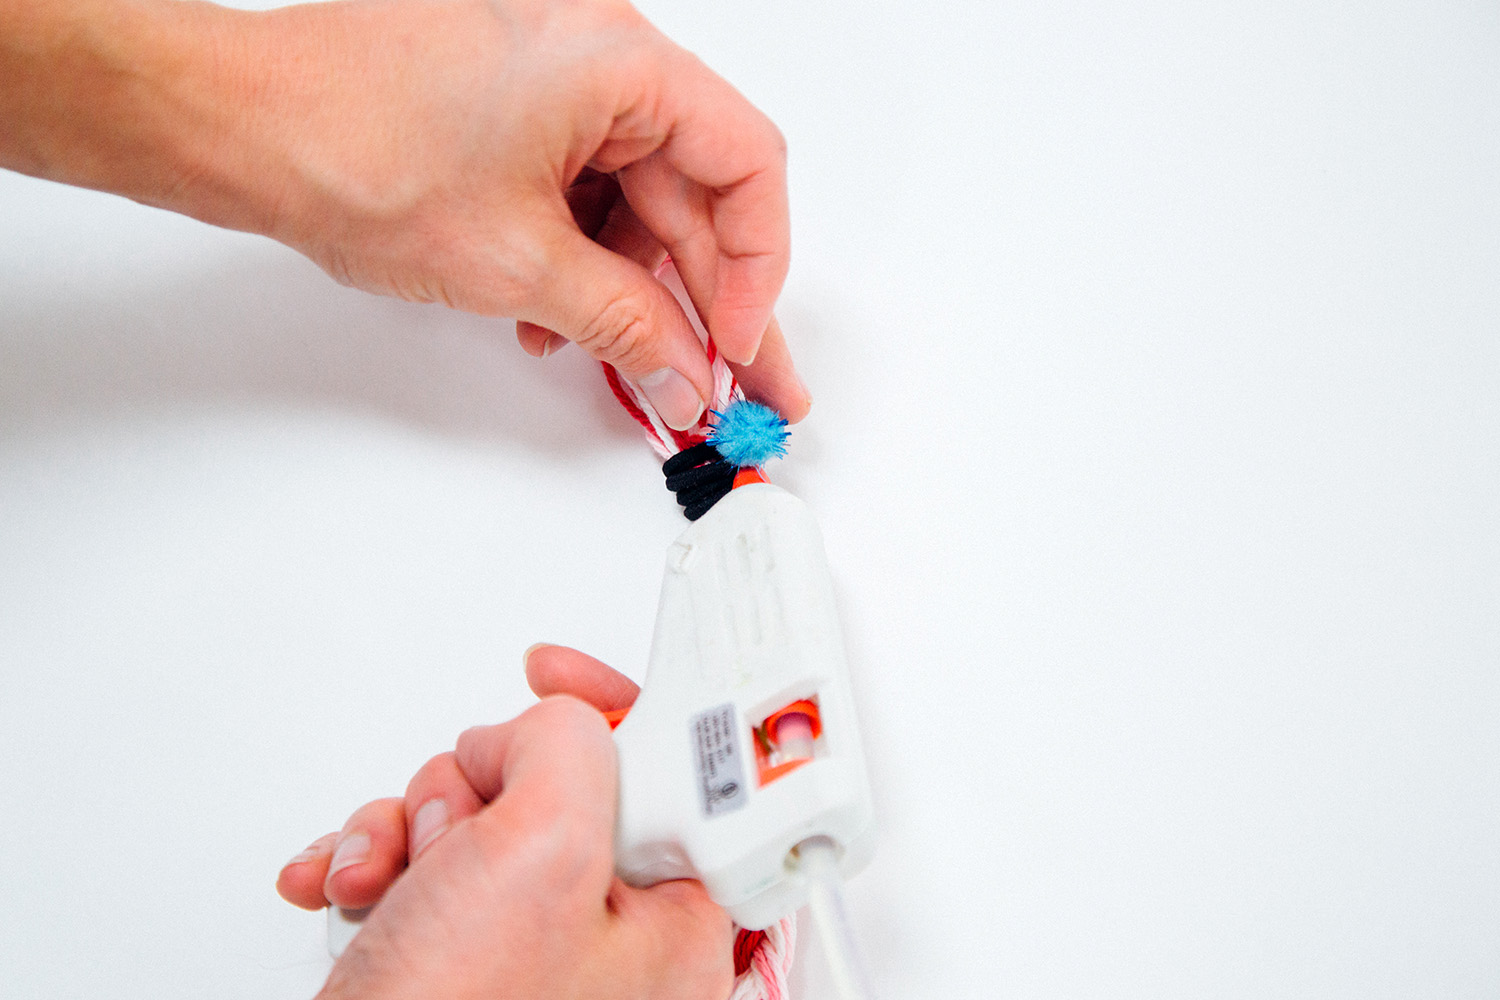
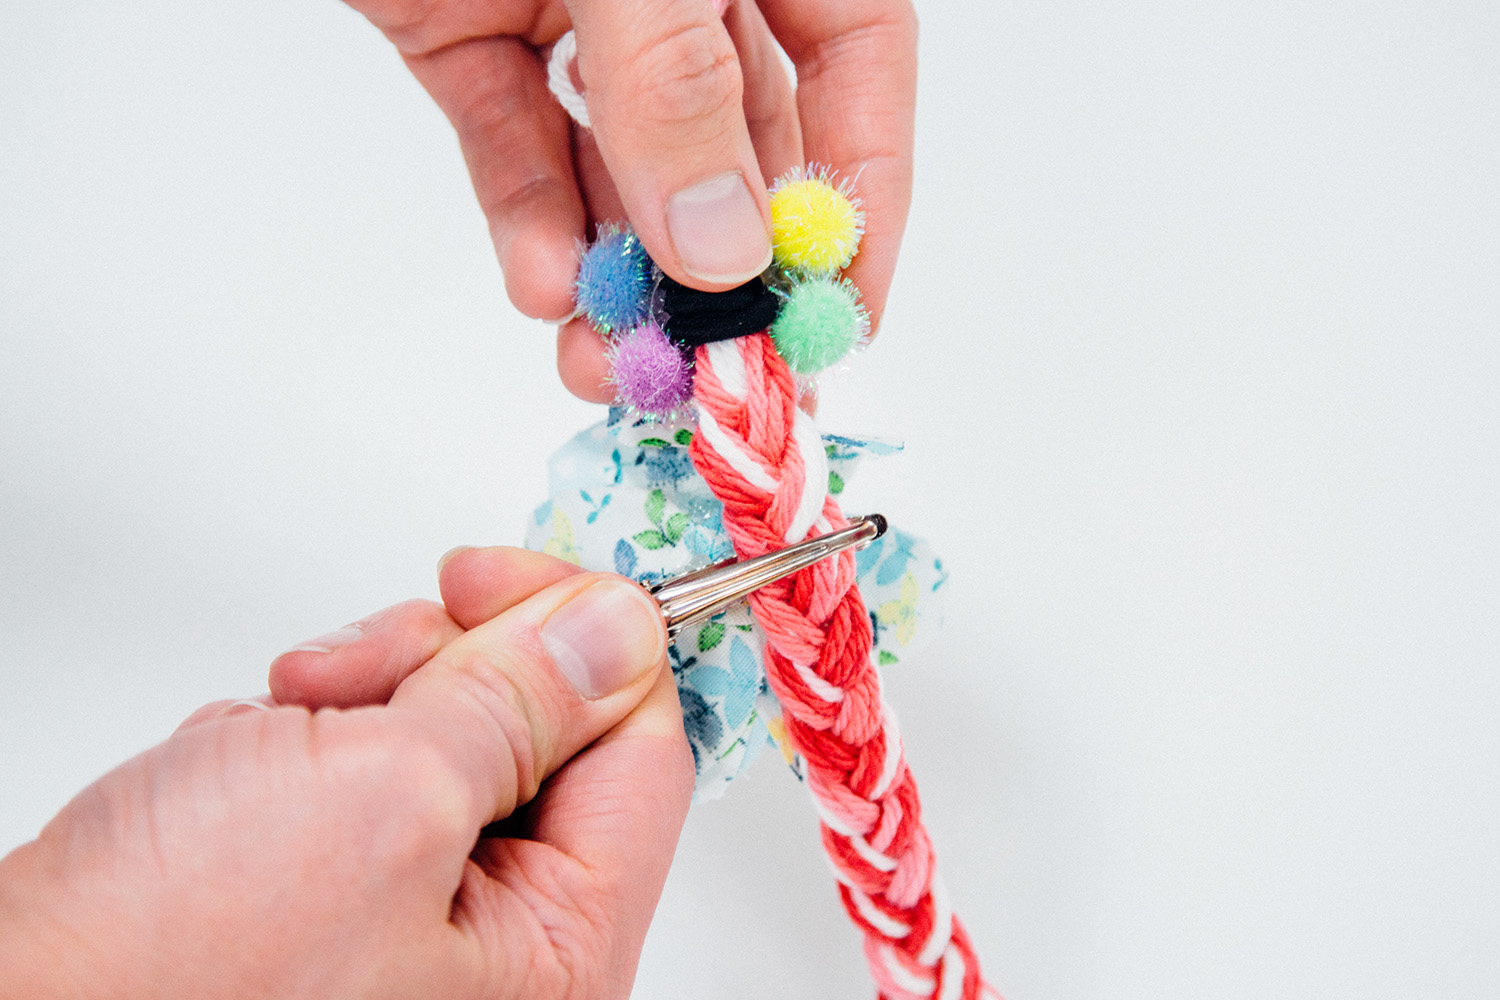
Using a hot glue gun, adhere pompoms around the entire ponytail holder until it is completely covered.
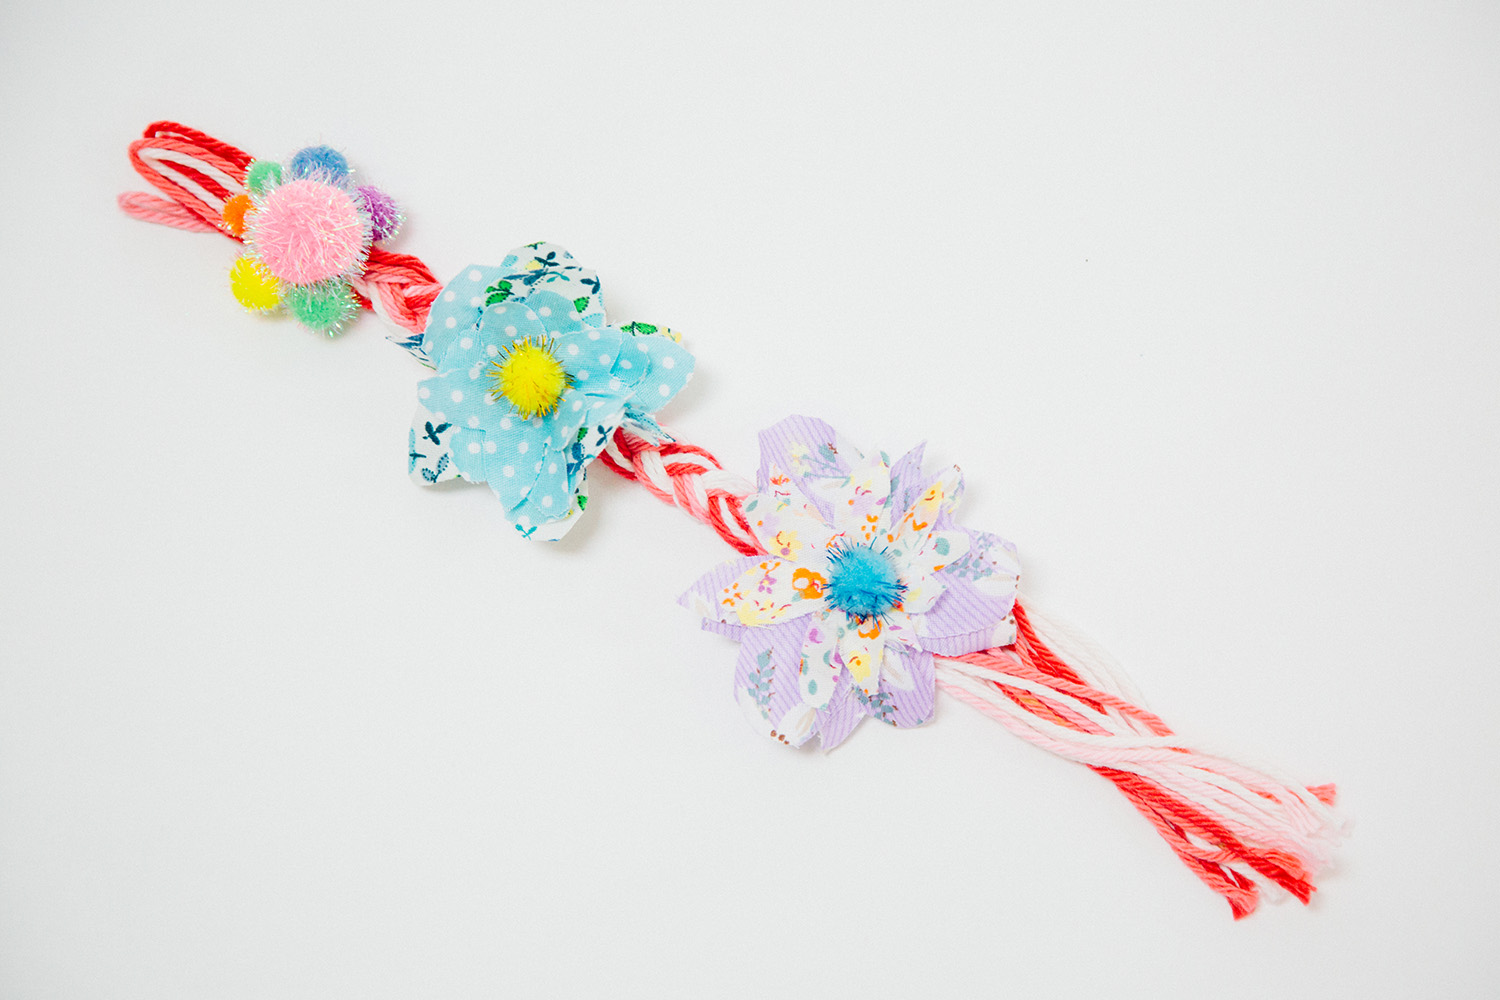
Clip each hair bow around the hanger and then remove when it’s time for wear!
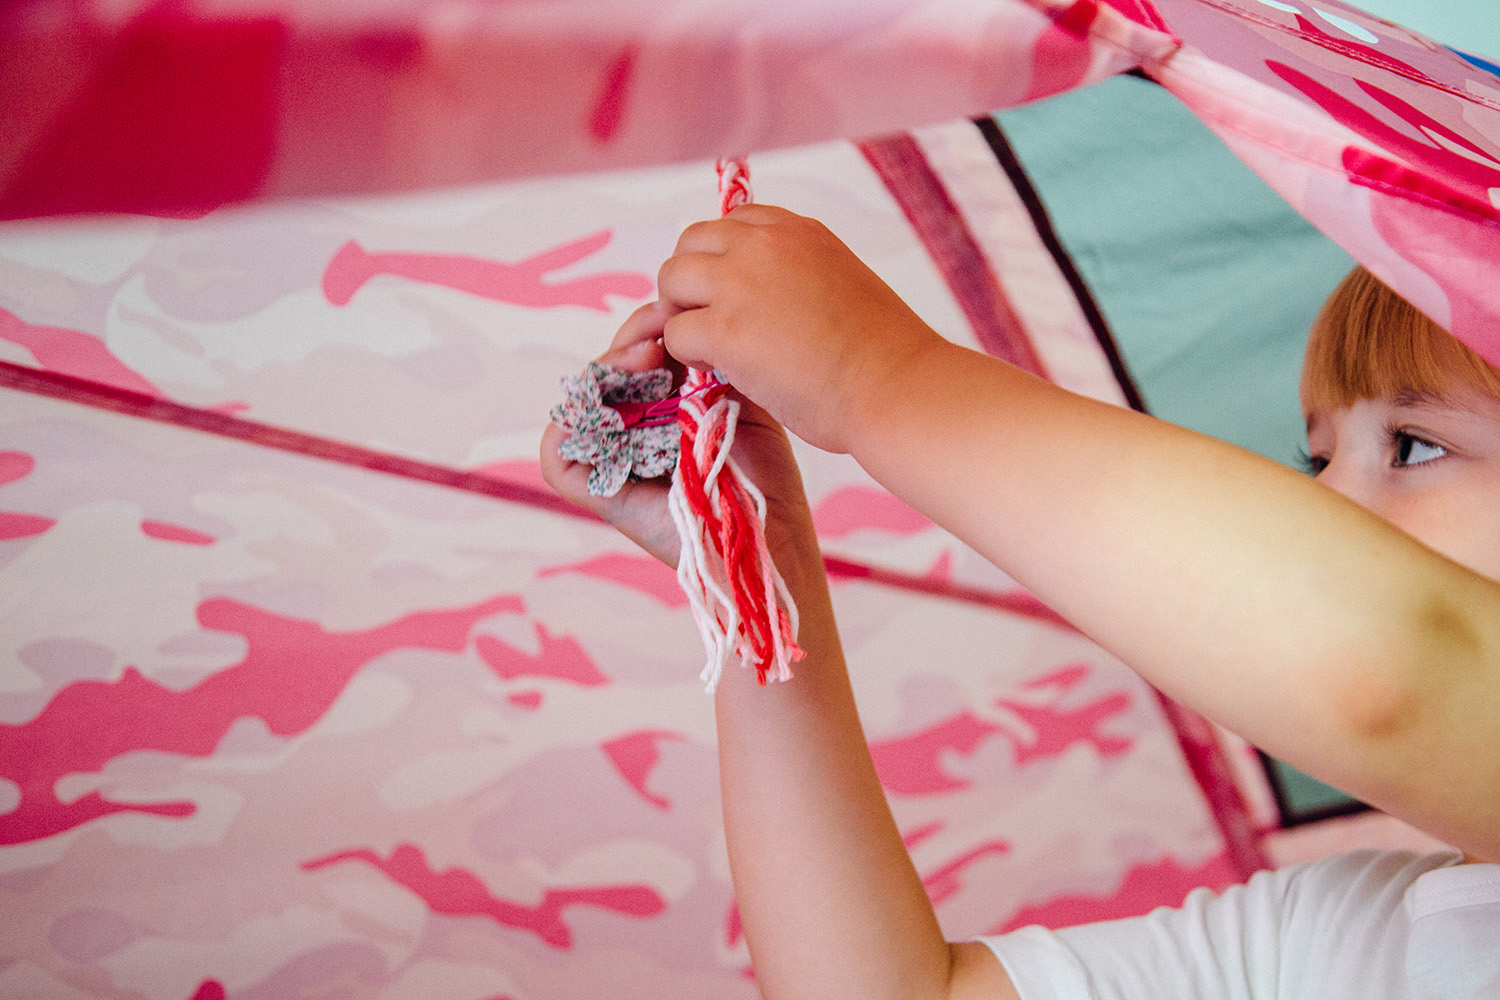

Once the hanger is finished, clip it to the inside of the bed tent using a safety pin and rest assured knowing that your child’s hair accessories are all in one place!
Sweet dreams!