Beep! Beep! DIY box cars coming through! Today we are taking inspiration from our Traffic Jam Interchangeable Teepee and showing you how to make upcycled cardboard box cars in addition to sharing a few free printables to get your child to their imagination destination.
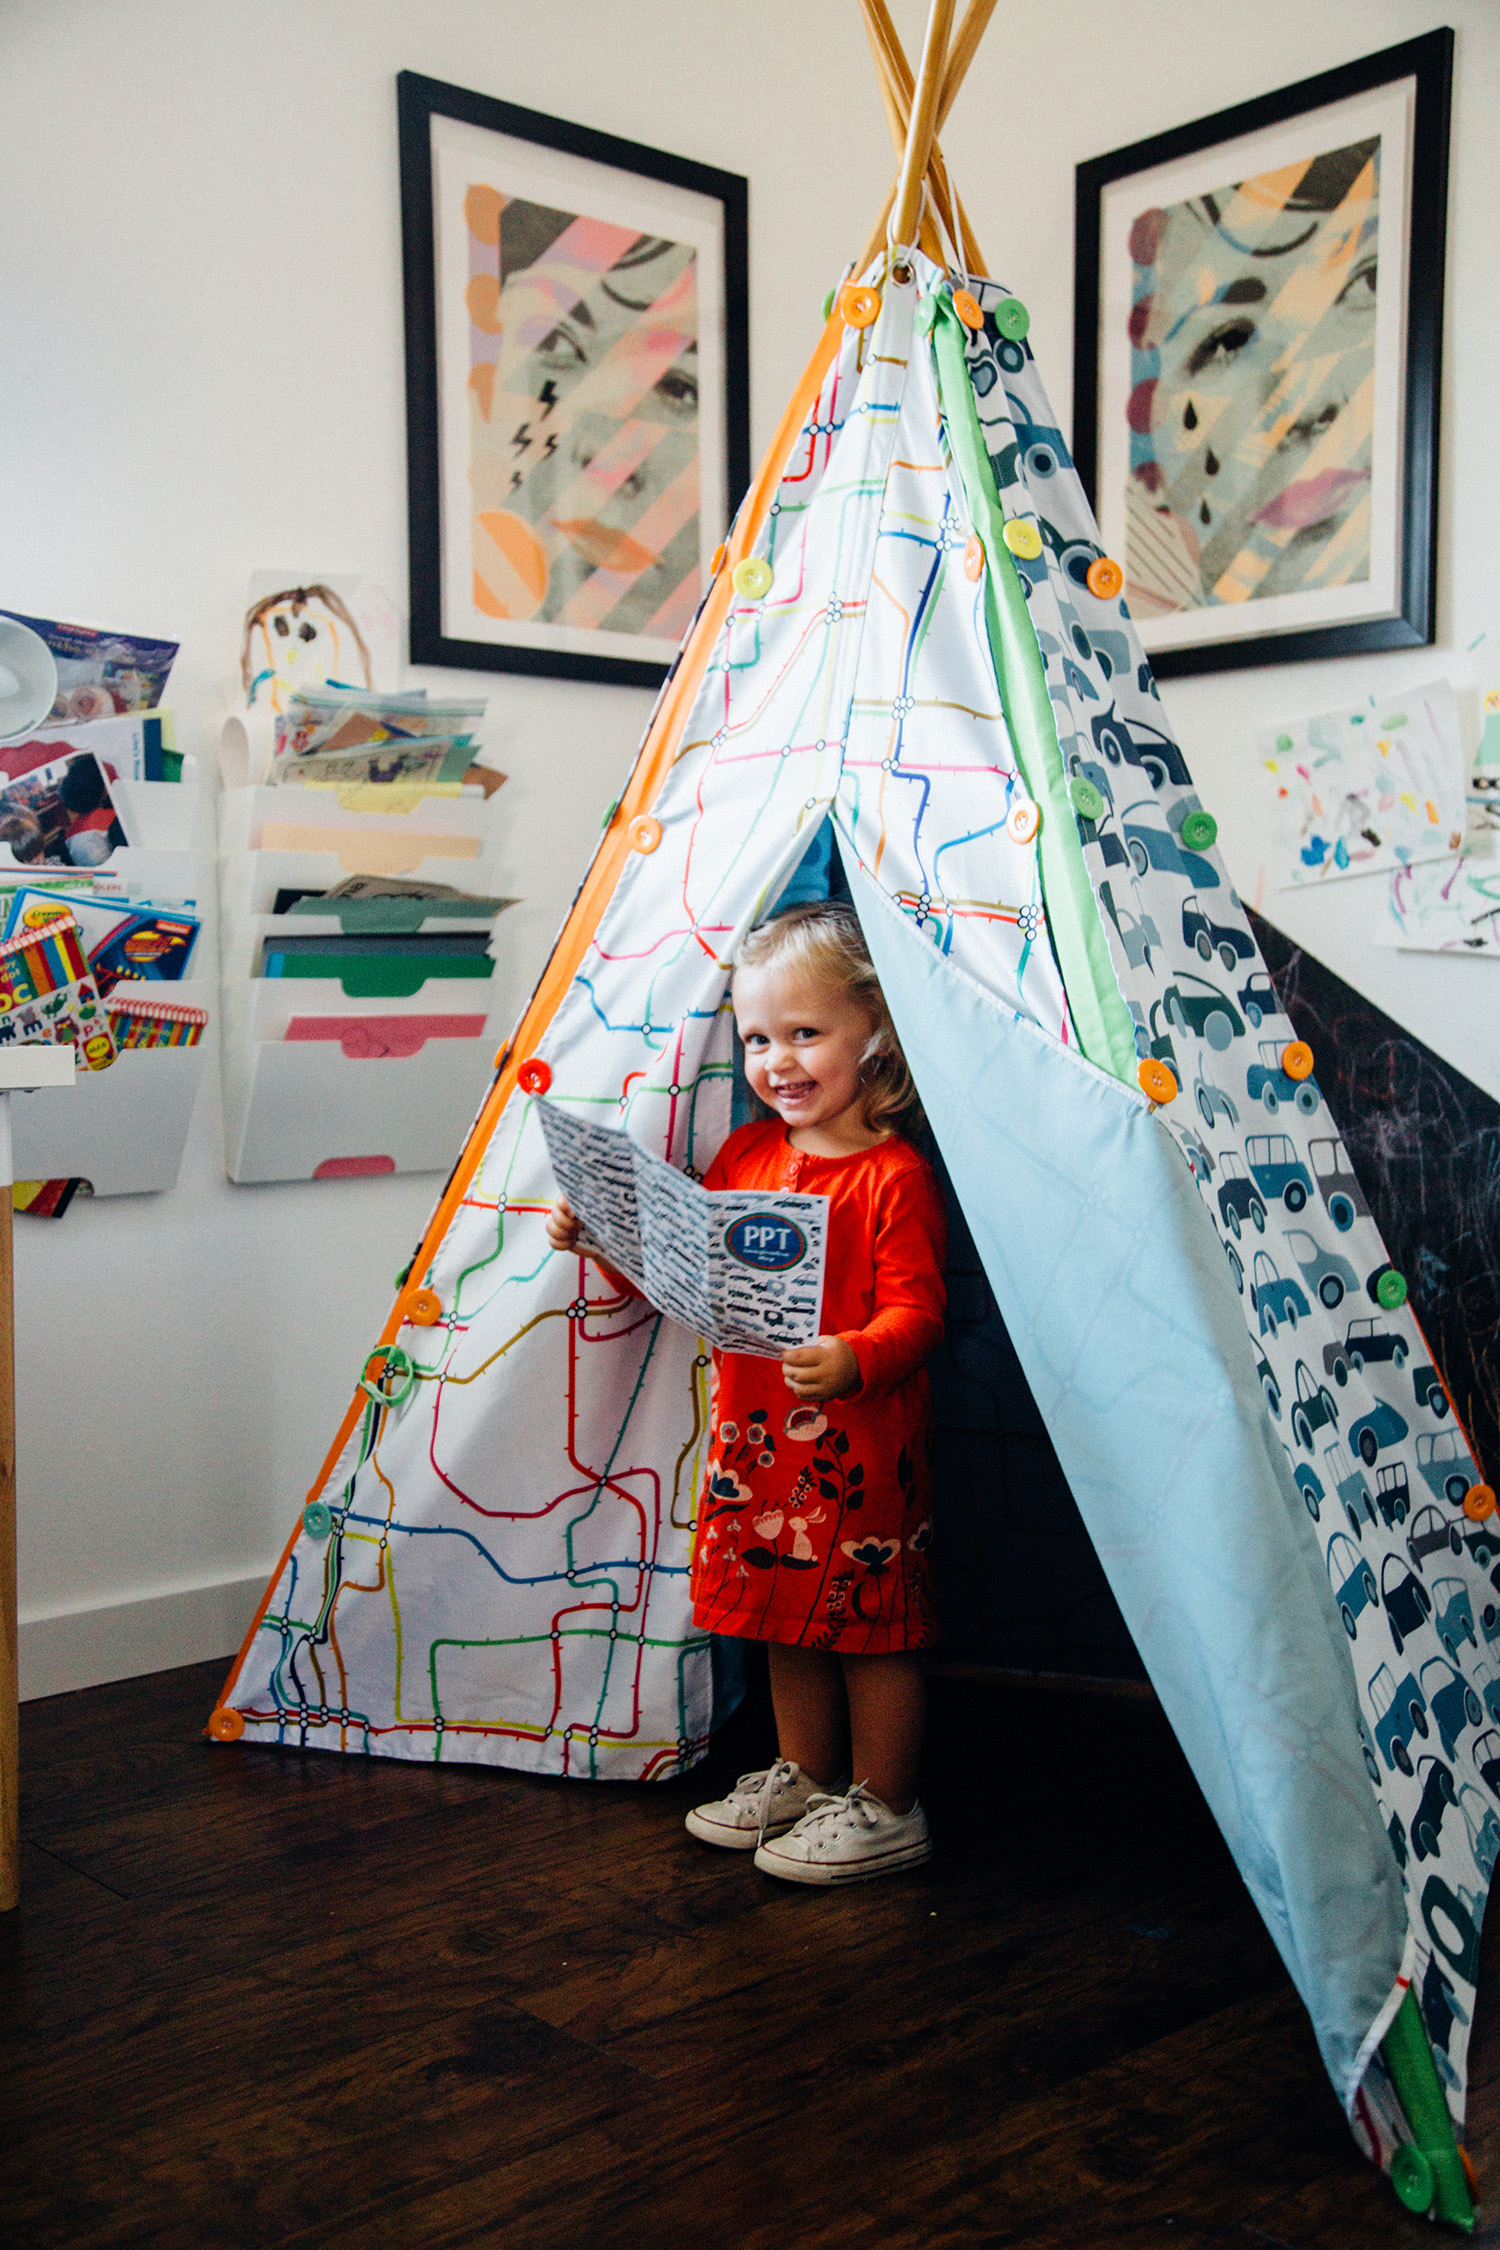
Featuring an open floor and cotton canvas draped over four sturdy wooden poles, our Traffic Jam Interchangeable Teepee is the perfect “vehicle” for mapping out the fastest route to Grandma’s house or planning an overseas adventure.
If you’re looking for versatility, this teepee is for you! There are four interchangeable panels with both solid and graphic prints that can be swapped in and out with the attached buttons. Not only is this feature great for easily altering the look and feel of the teepee, but it also strengthens your child’s fine motor skills as they maneuver the buttons to their liking.
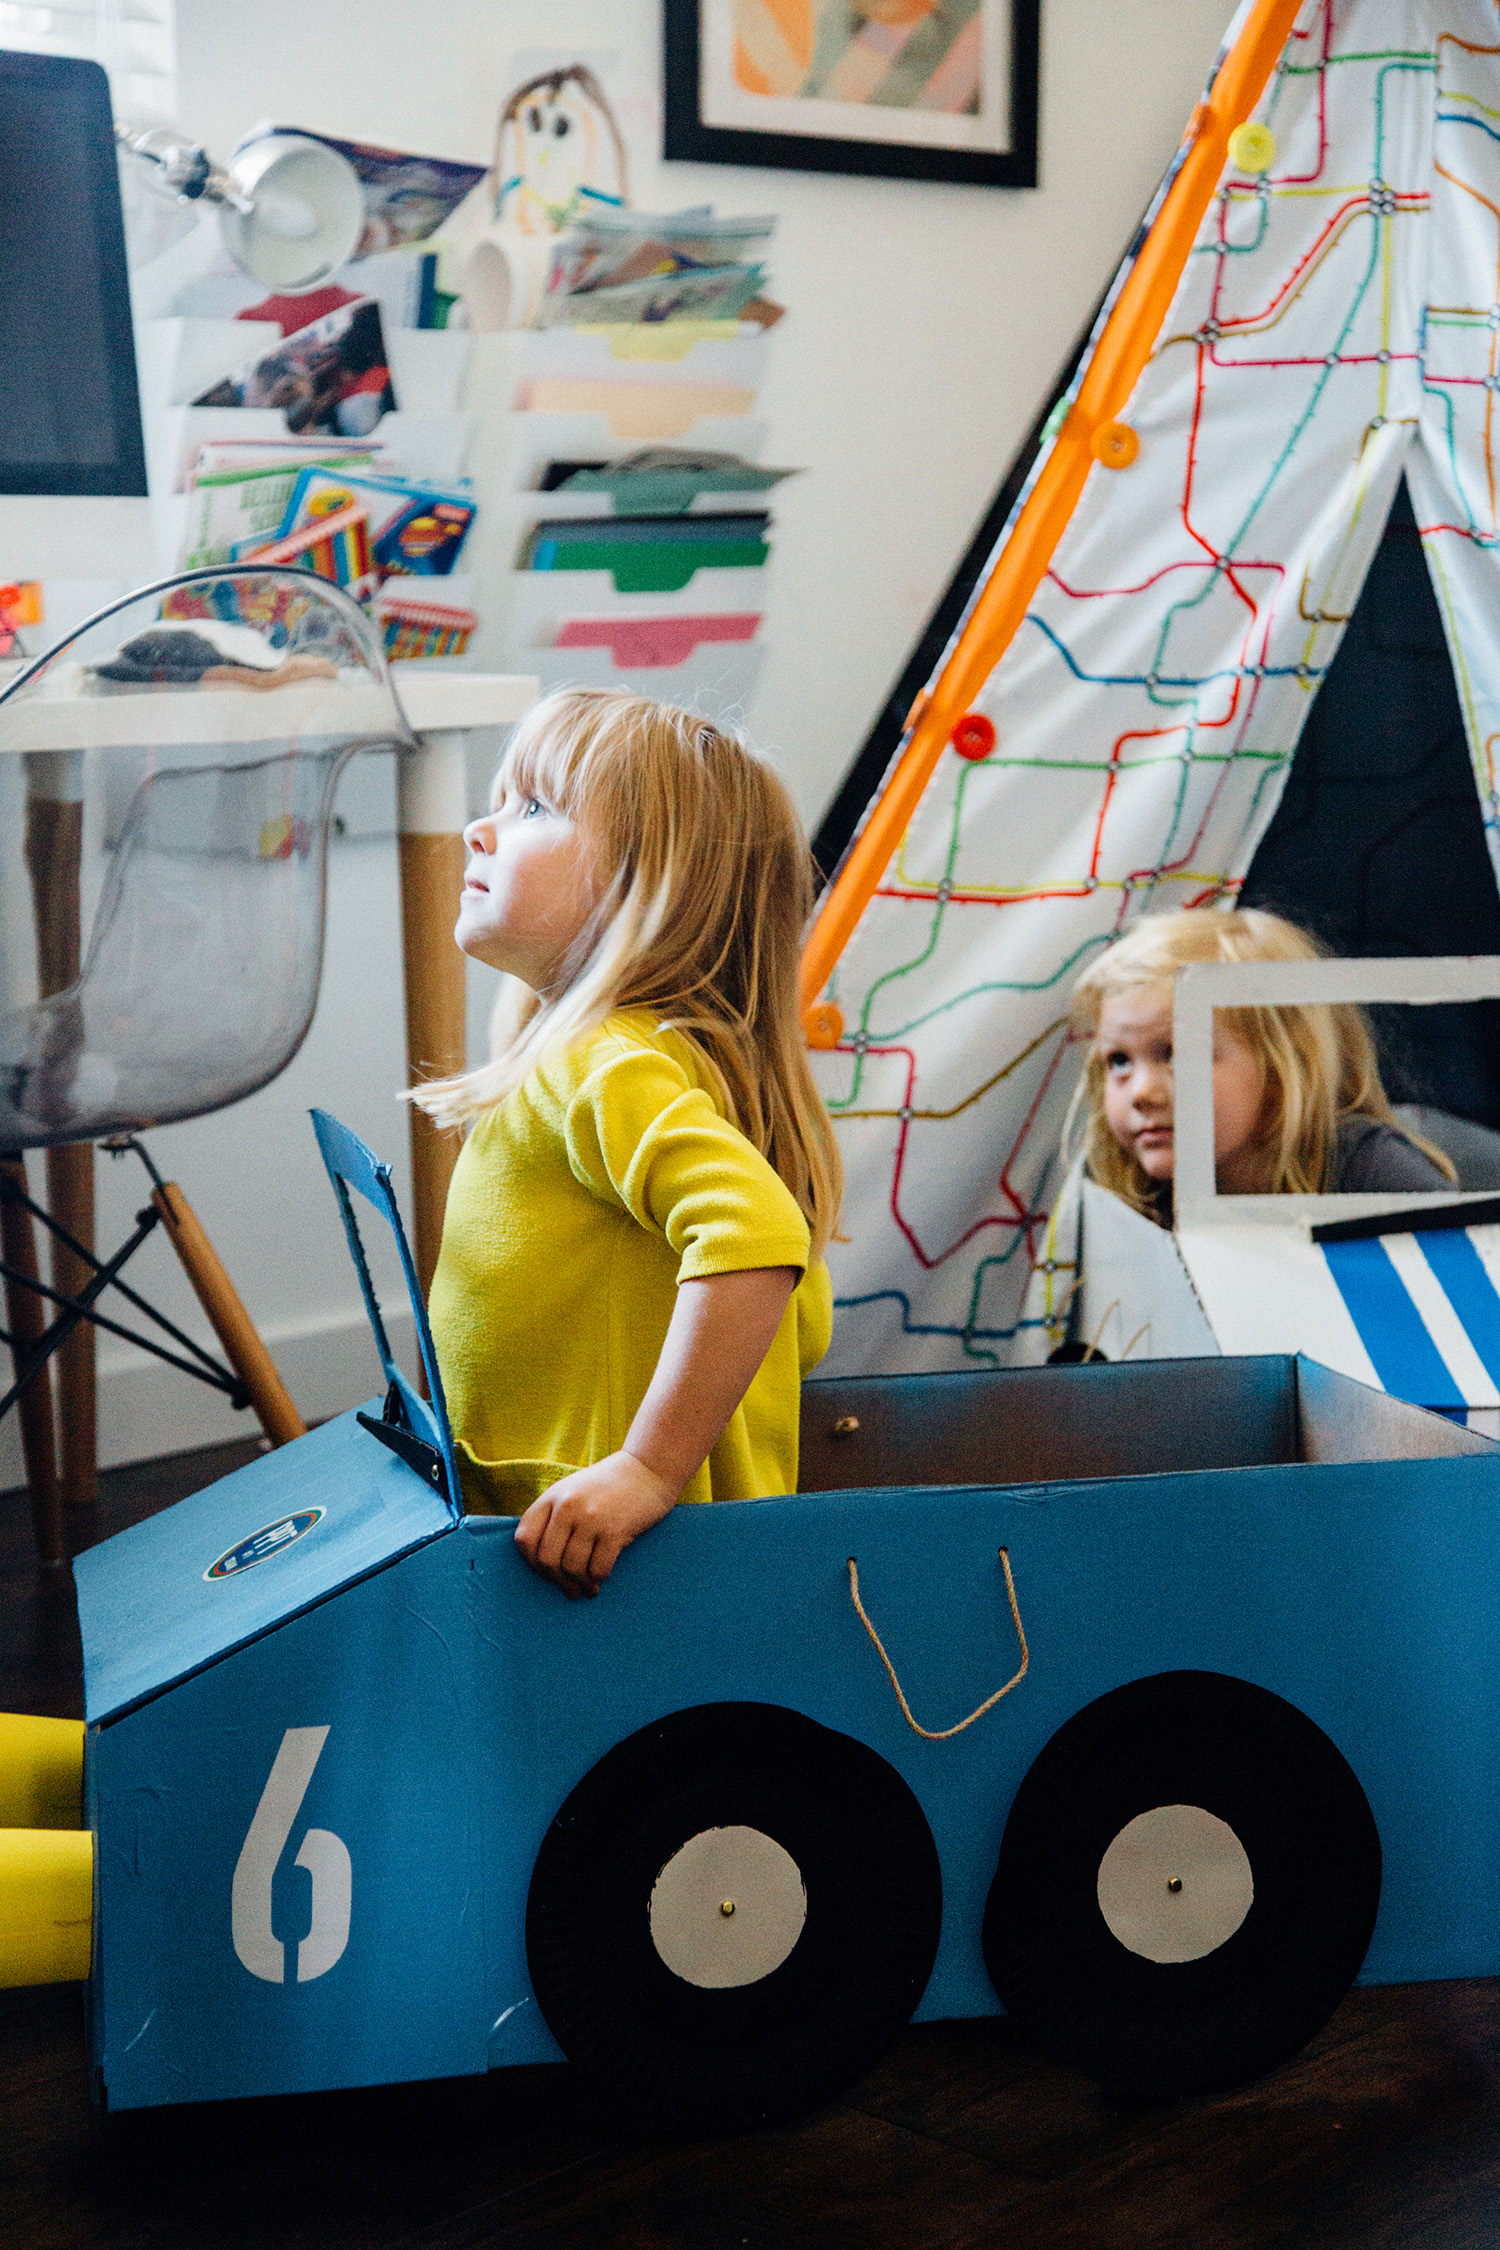
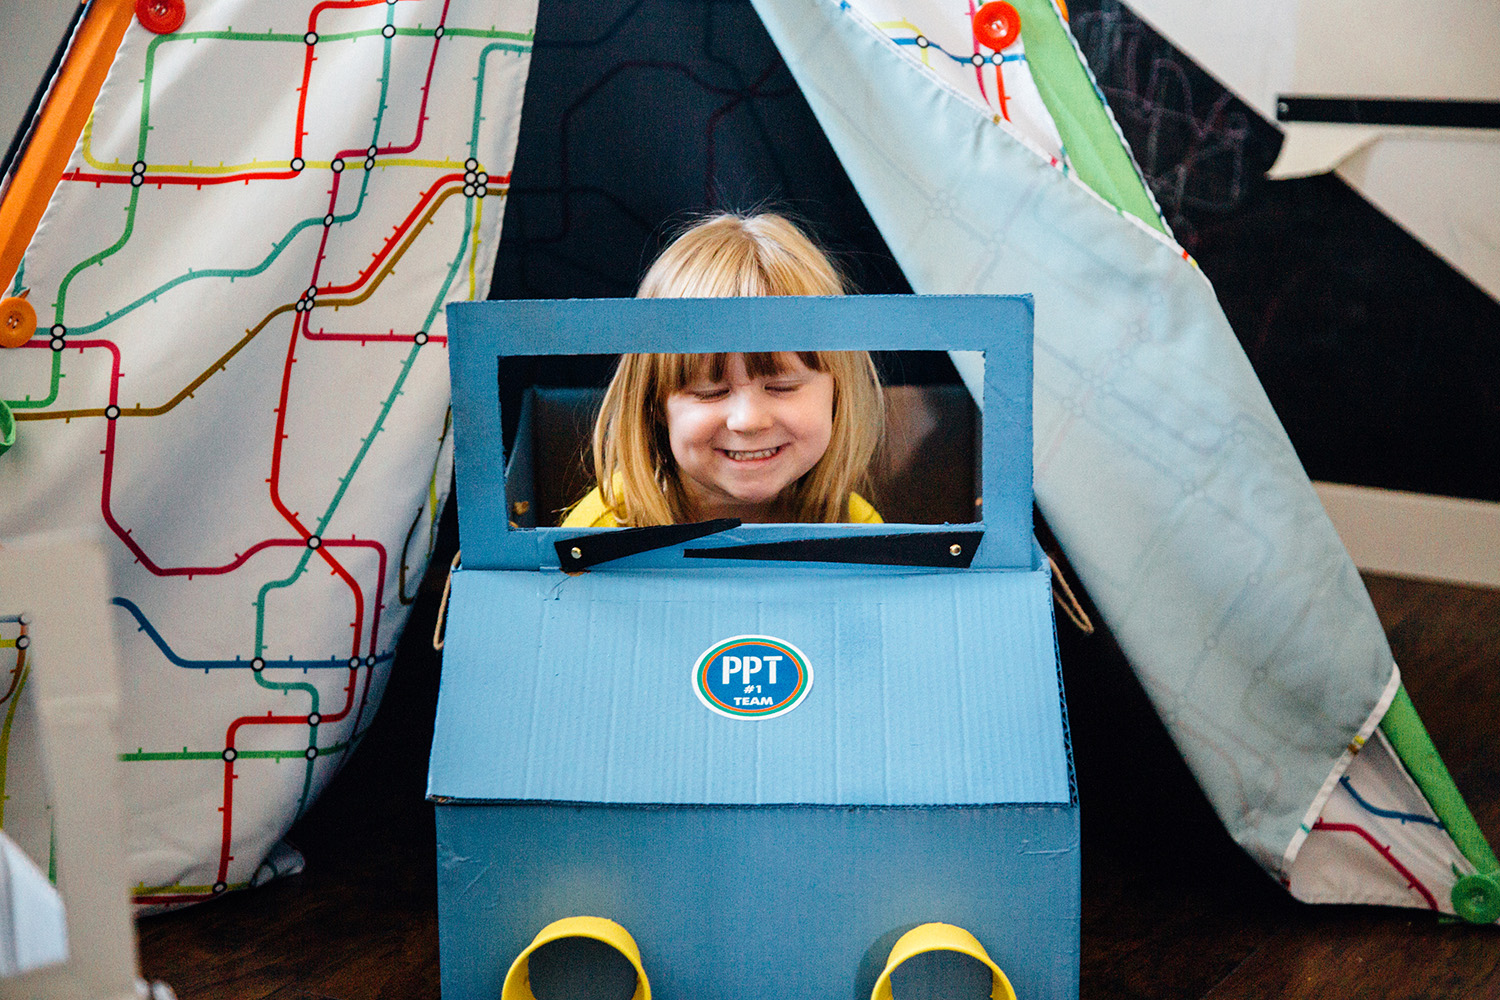
To build on the map theme of the teepee, we whipped up some fun diy cars from old cardboard boxes we had. This project is definitely involved and requires the help of an adult but the payoff is huge when your child can “cruise” through play time in their brand new set of wheels!
SUPPLIES:
-
-
- 2 cardboard boxes (medium-large sizes)
- 2 paper cups (cut in half)
- Utility knife
- Ruler
- Paint + paintbrush for stripes
- Artist or painting tape for straight lines (optional)
- Spray paint to cover car
- Glue gun and other heavy duty adhesive
- Free Map + Car Stickers Printables
- 8.5″ x 11″ adhesive-backed paper for printable stickers
- Jute string for handles
- Brads
- Paper plates for wheels
-
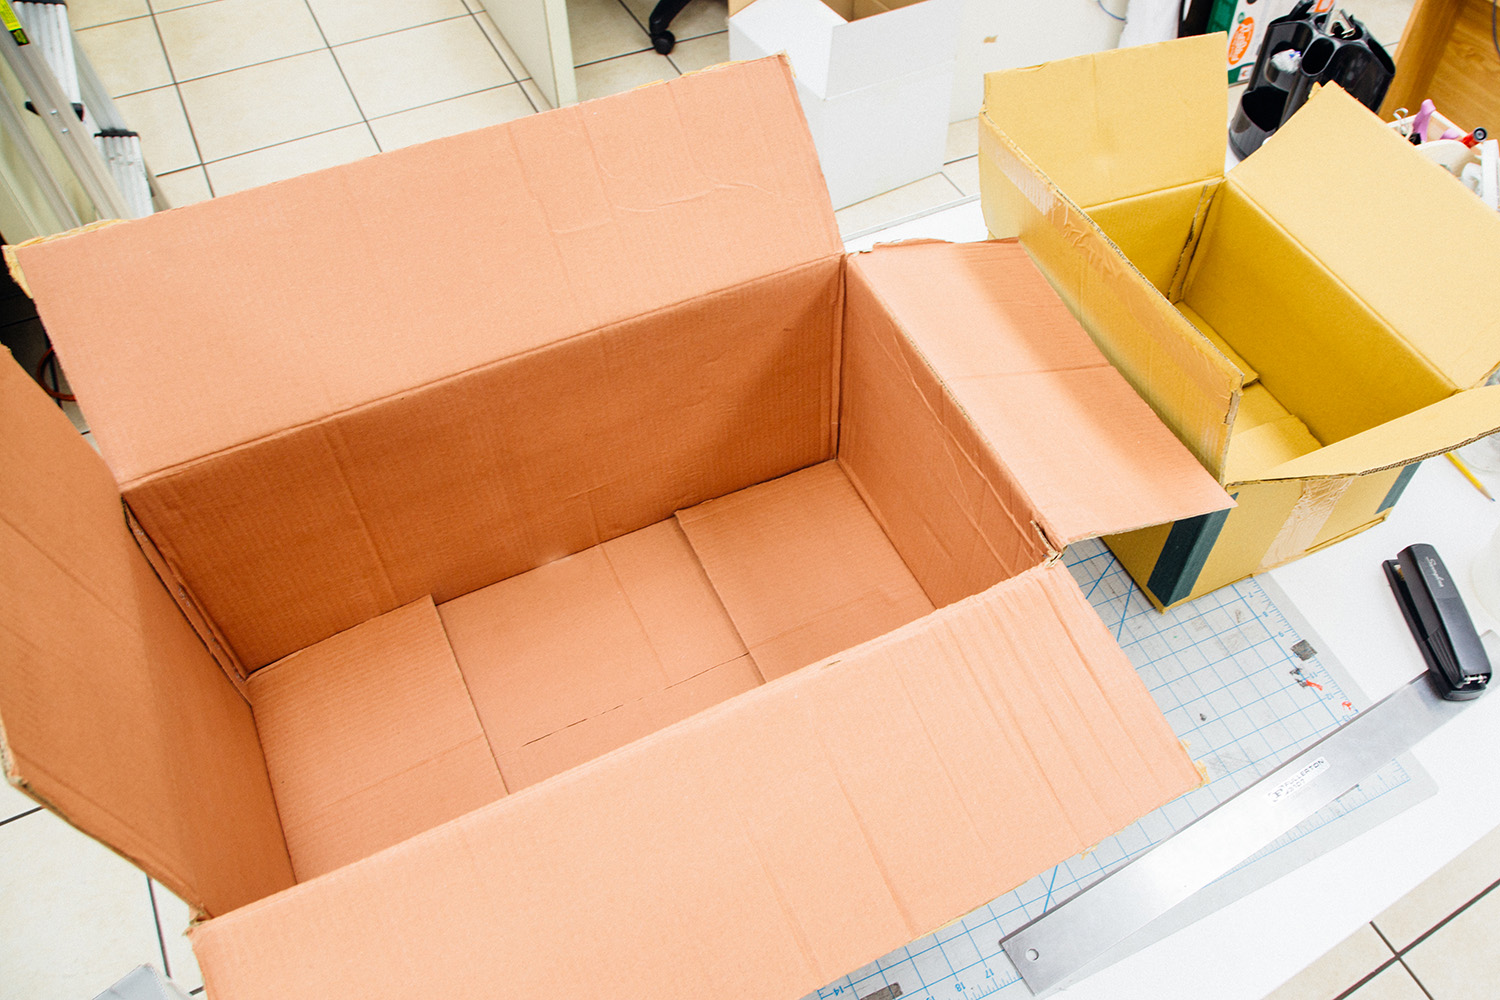
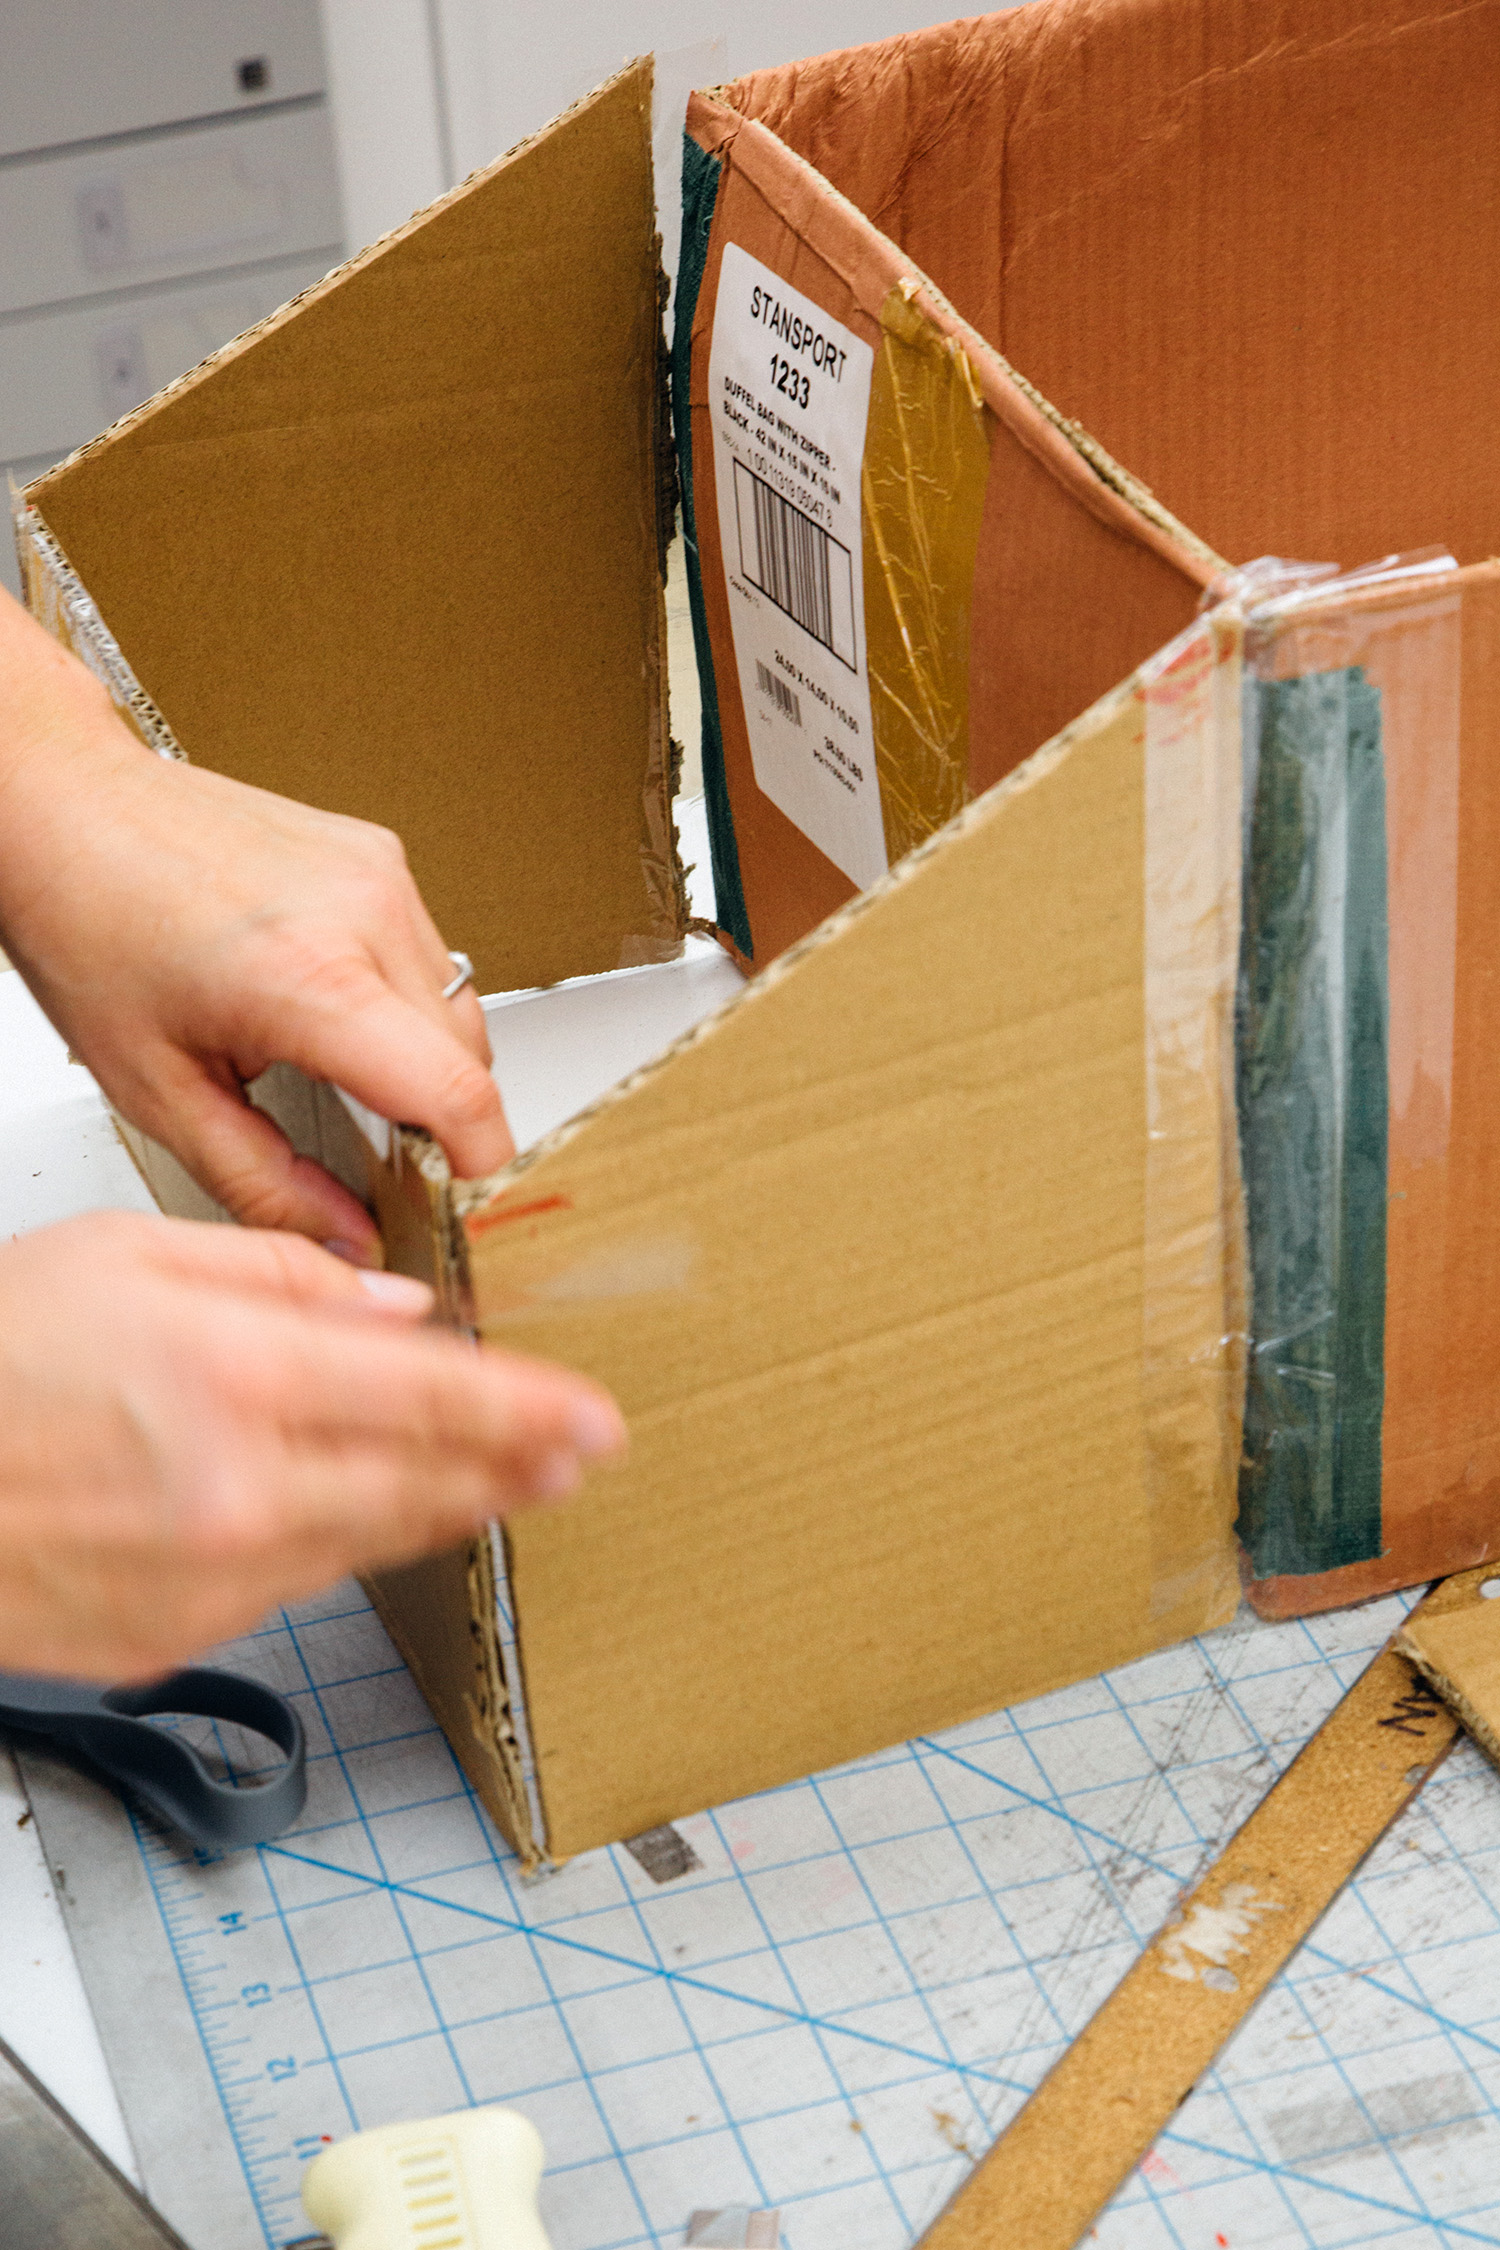
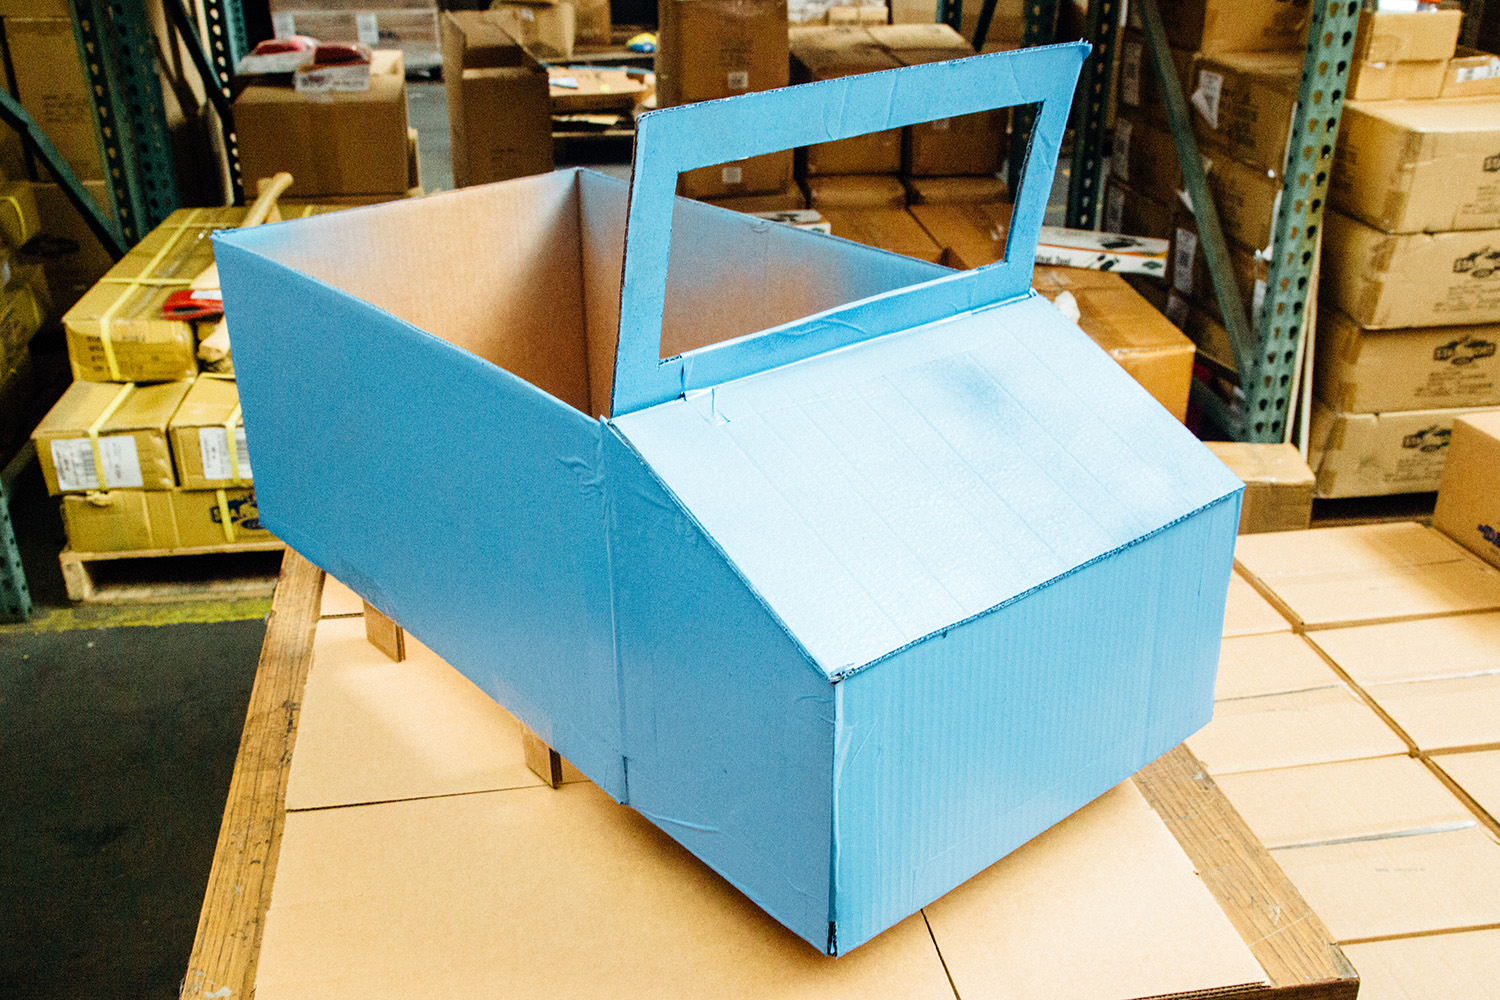
Begin by gathering one cardboard box for main car and one cardboard box for extra parts. We built the body out of a large box and used the scraps from the second box for the front trunk with lid, wind shield, wiper, stilts and corner reinforcements.
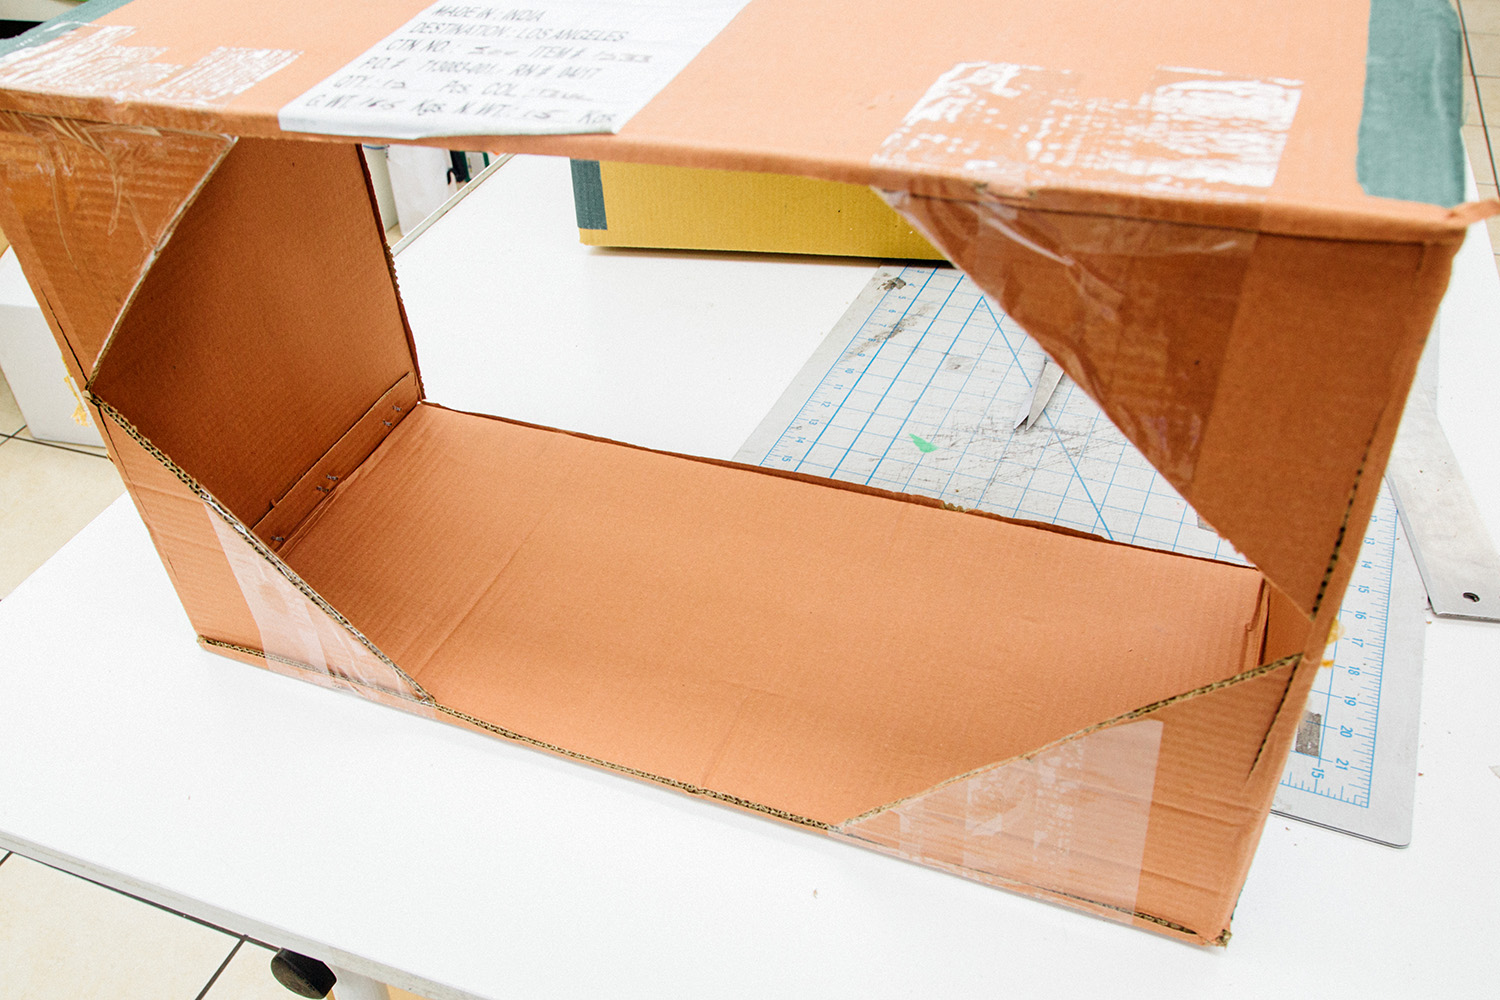
For extra stability, the corners inside the “main cab” have triangle reinforcements in each of the corners to make the structure more stable. To raise the car to allow for the wheels to hang down, we put little cardboard stilts behind the wheels. All the wheels and the wipers were attached with brads.
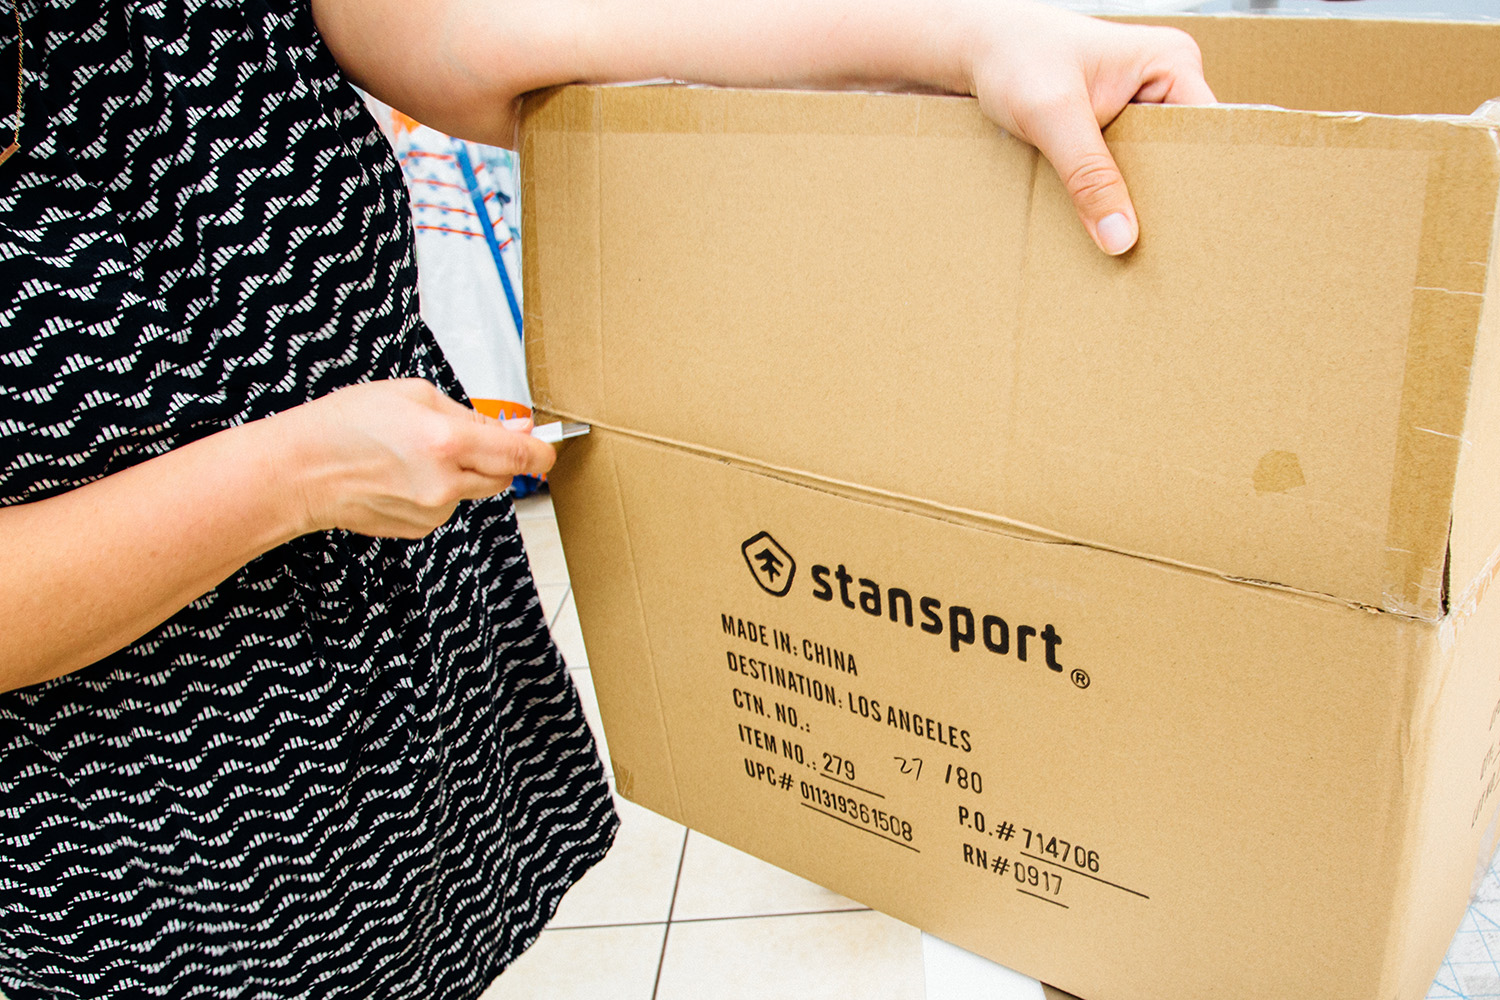
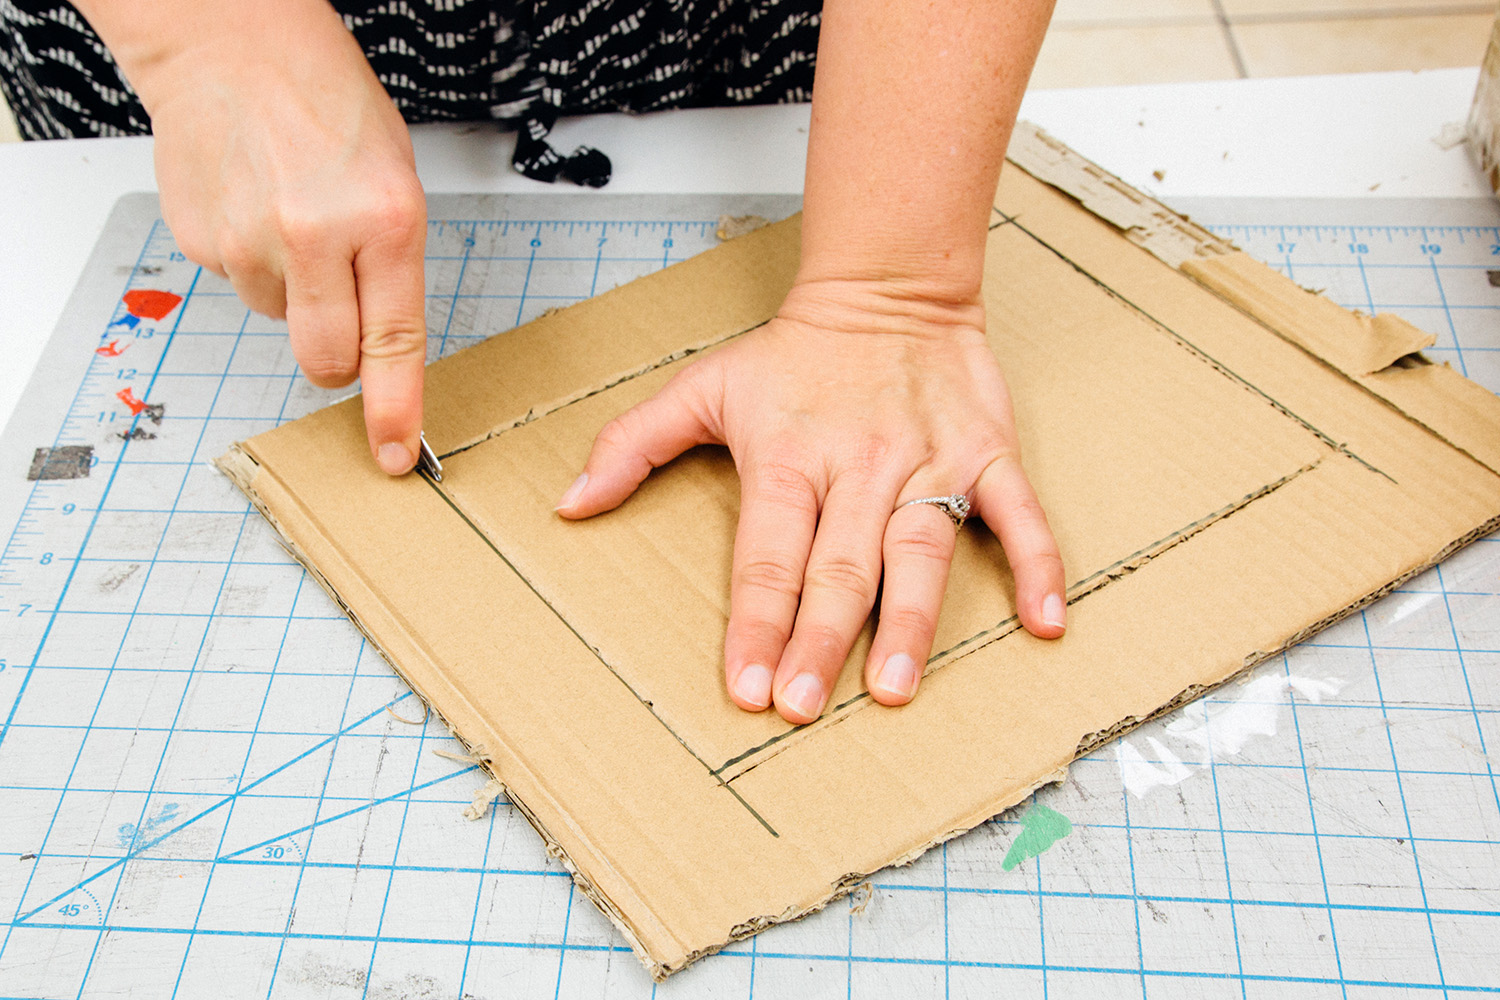
Take the second box to start cutting out the engine portion of the car (or in our case, where the trunk will go).
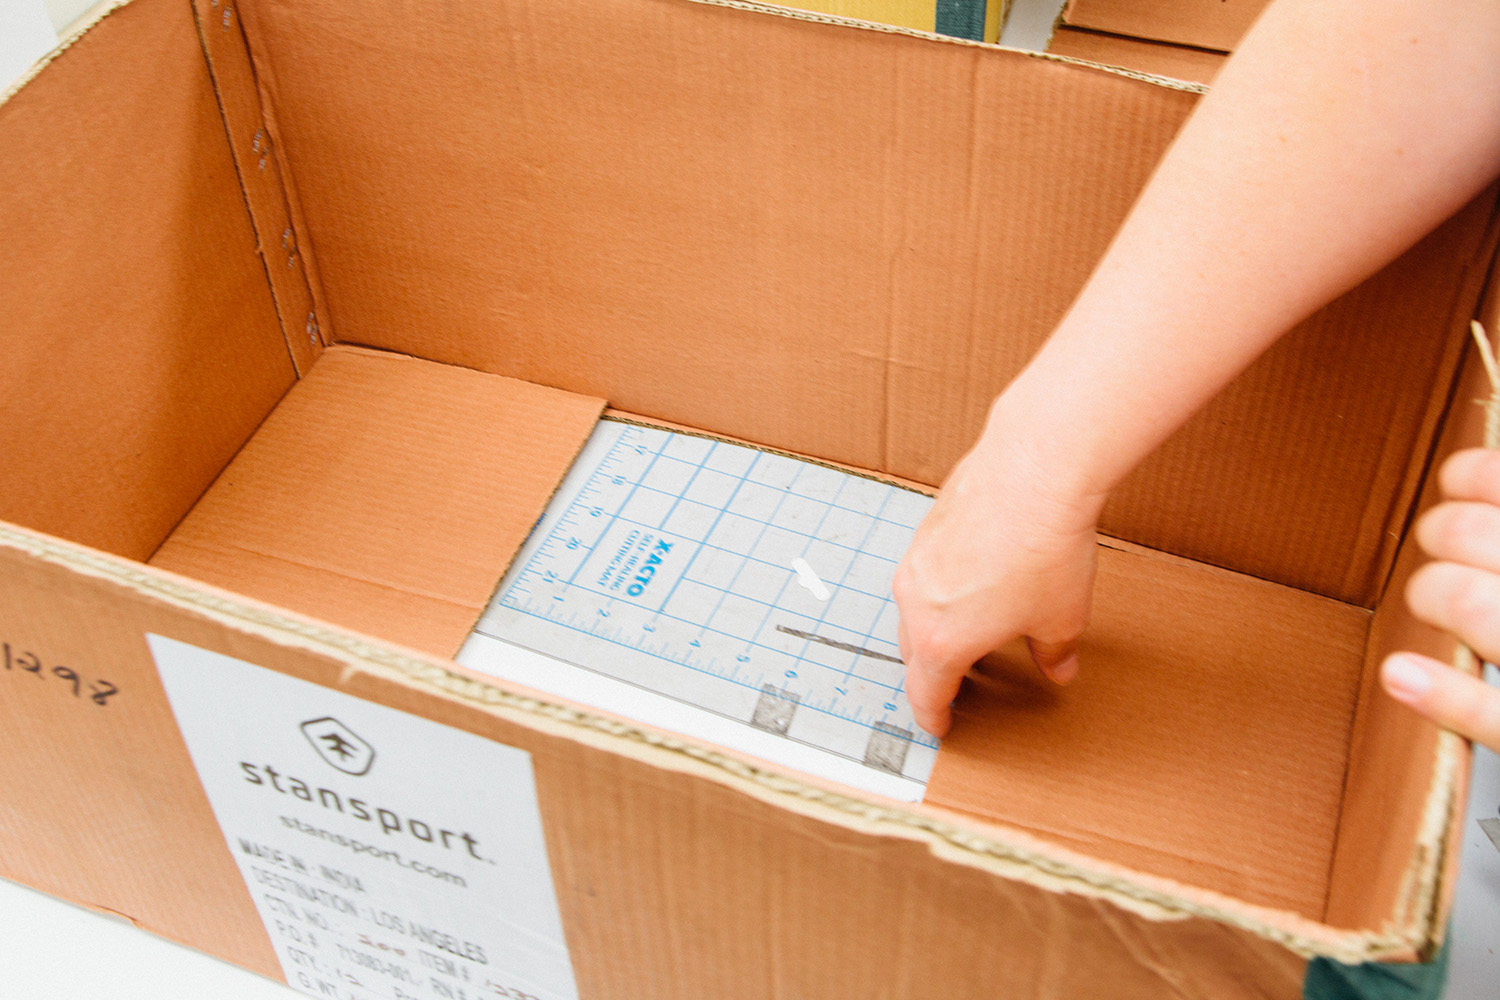
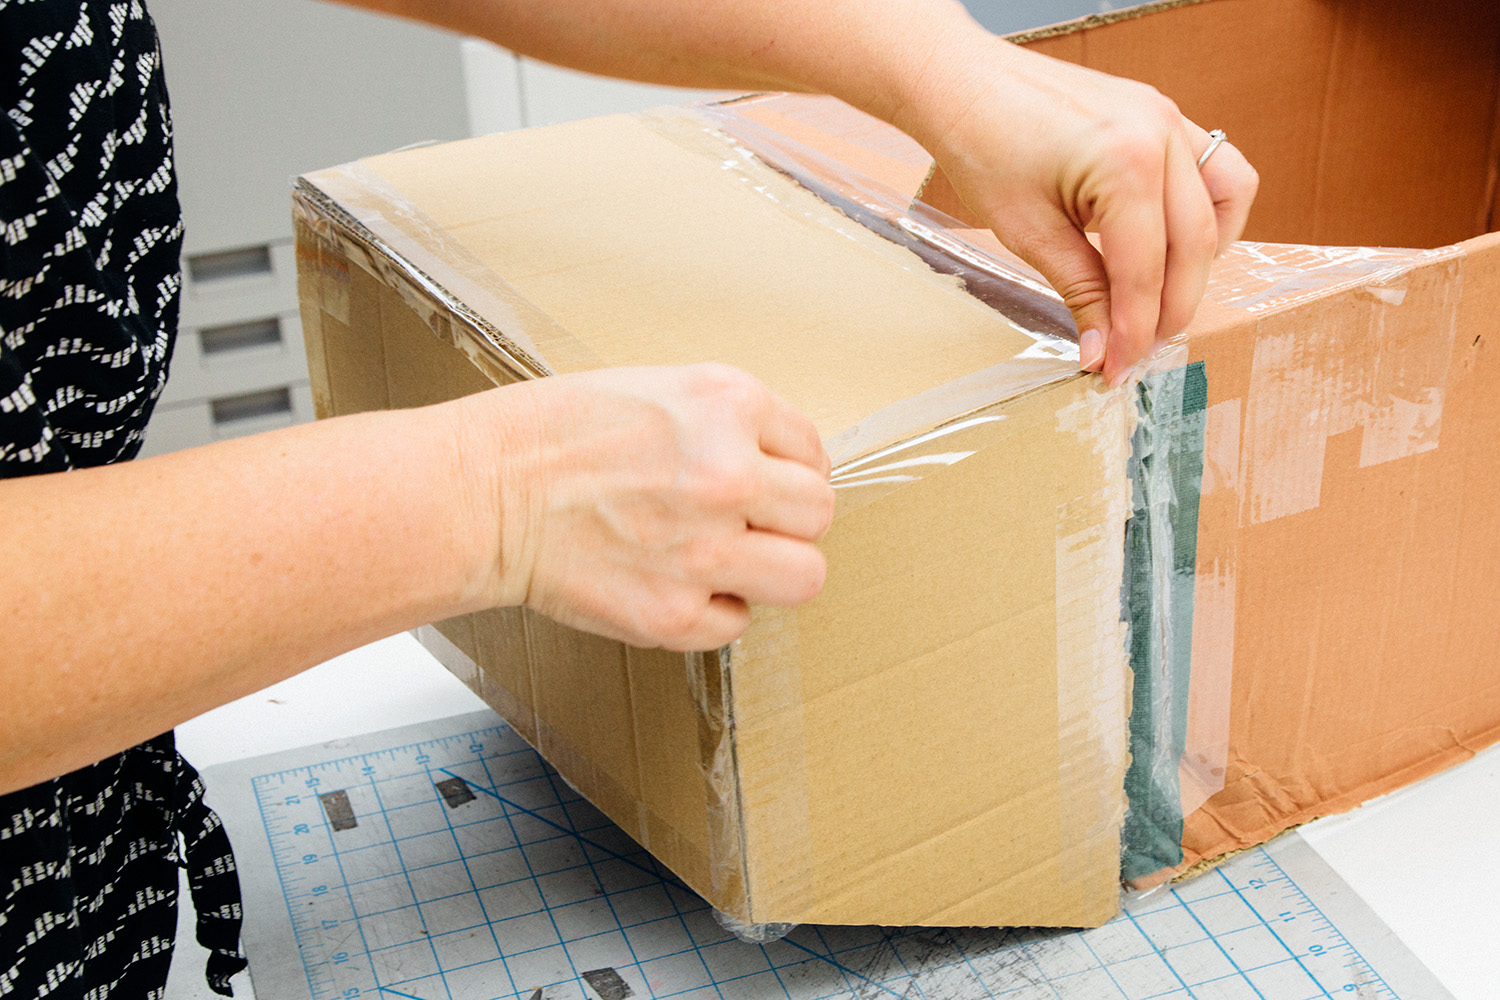
Measure out how long the height and width of the front of the car will be and cut out the trunk pieces accordingly.
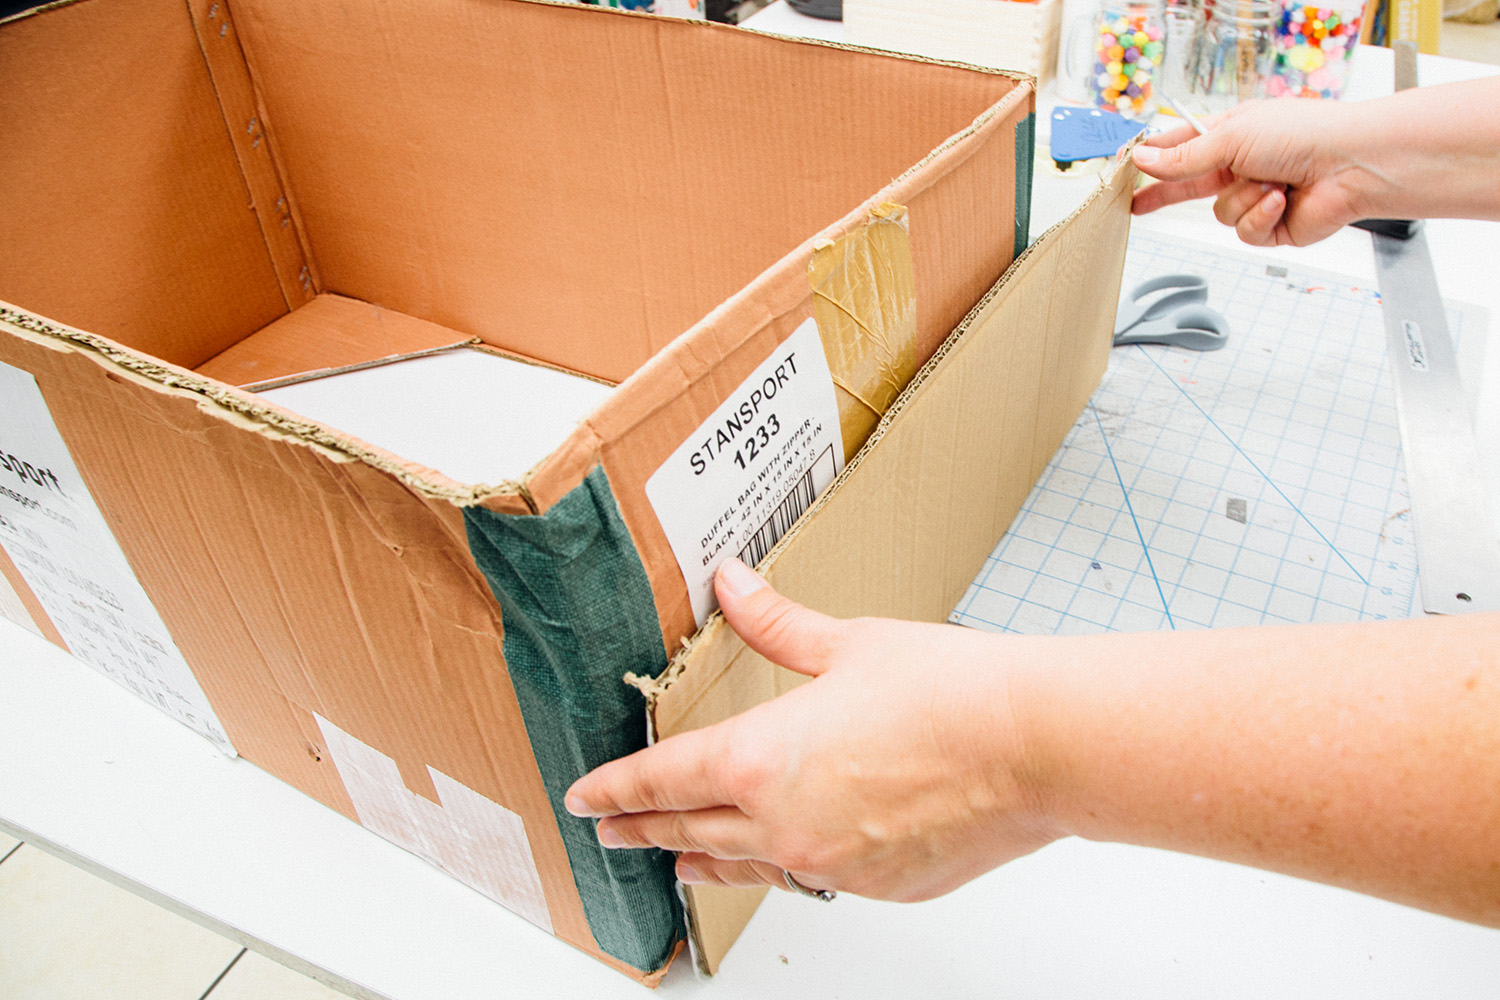
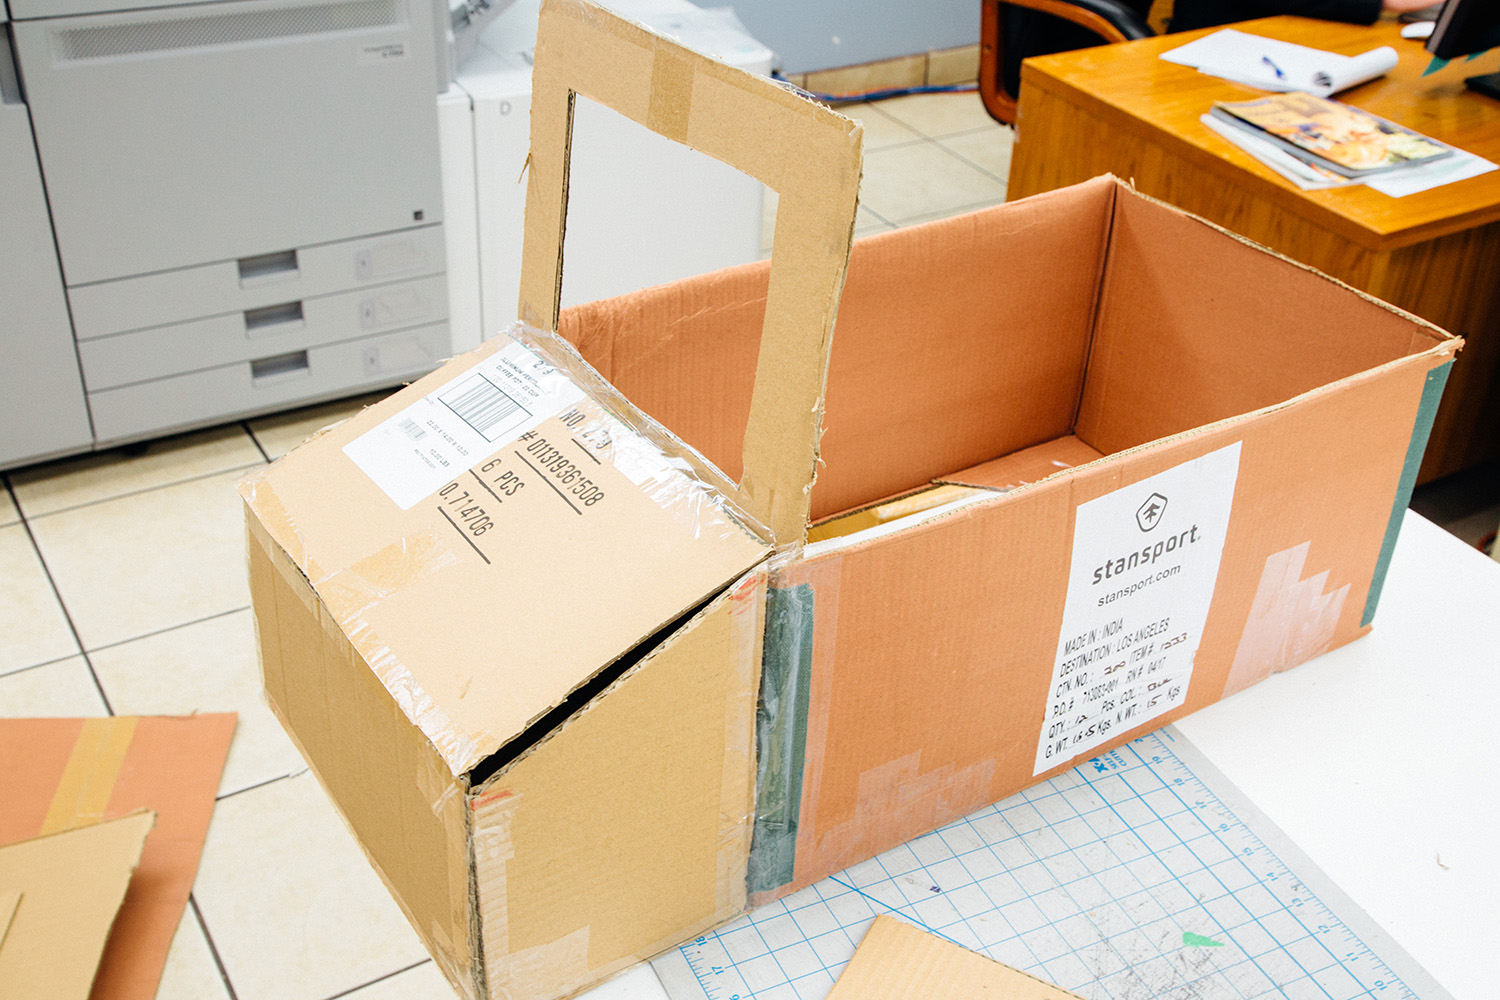
Attach each component of the front of the car to the “main cab” box using heavy duty tape.
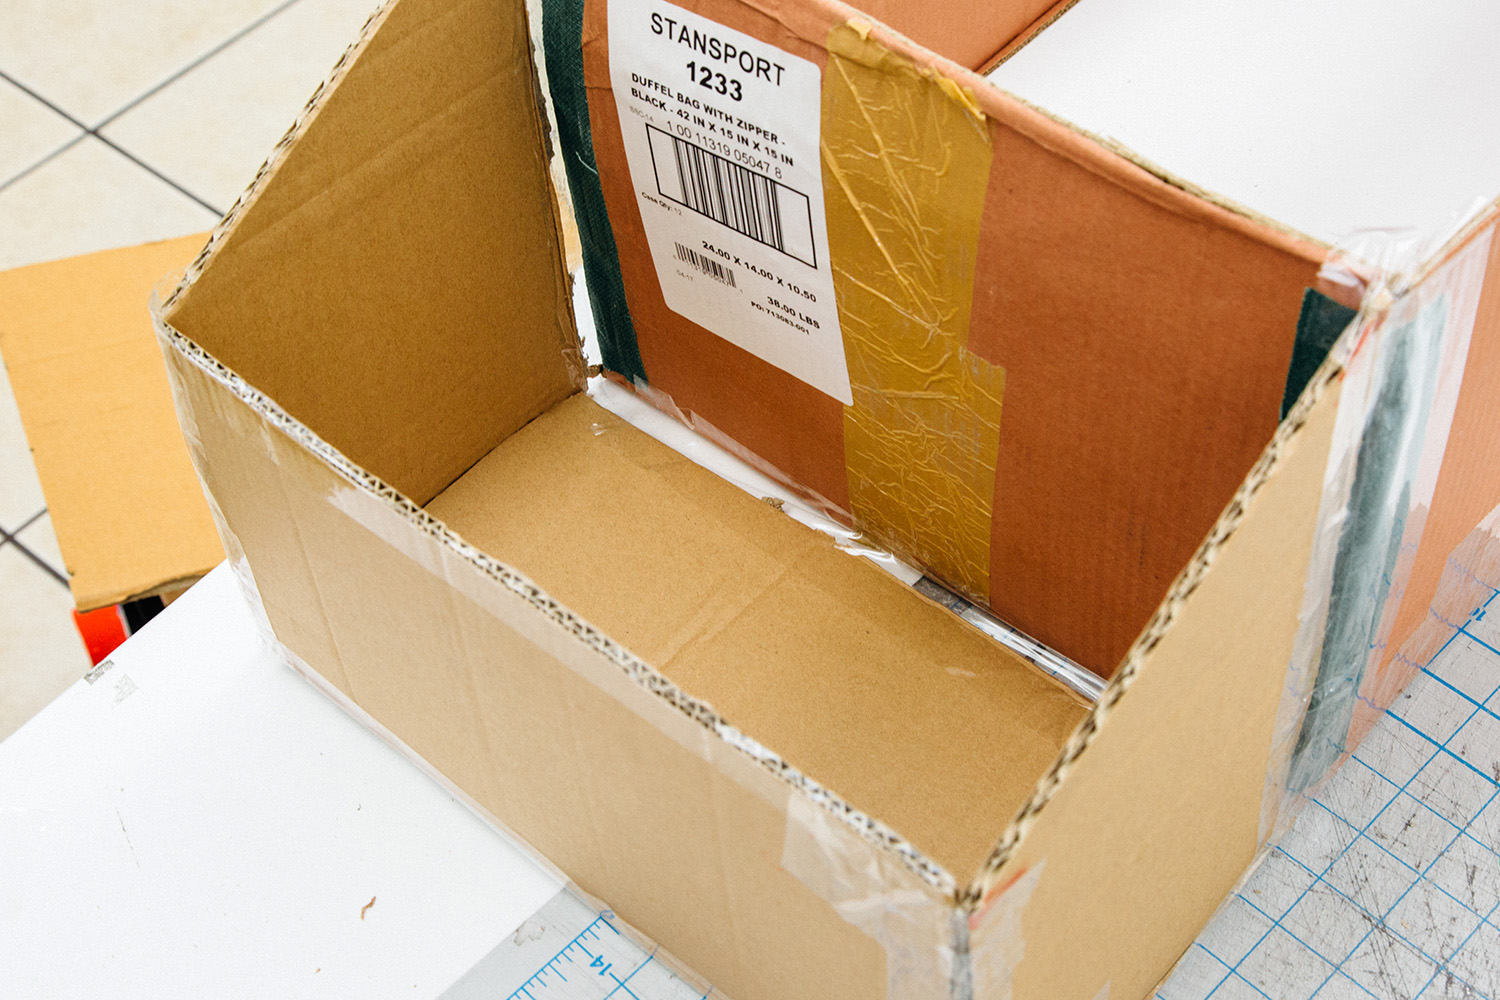
Once all of the components are added, place the “hood” of the car on top
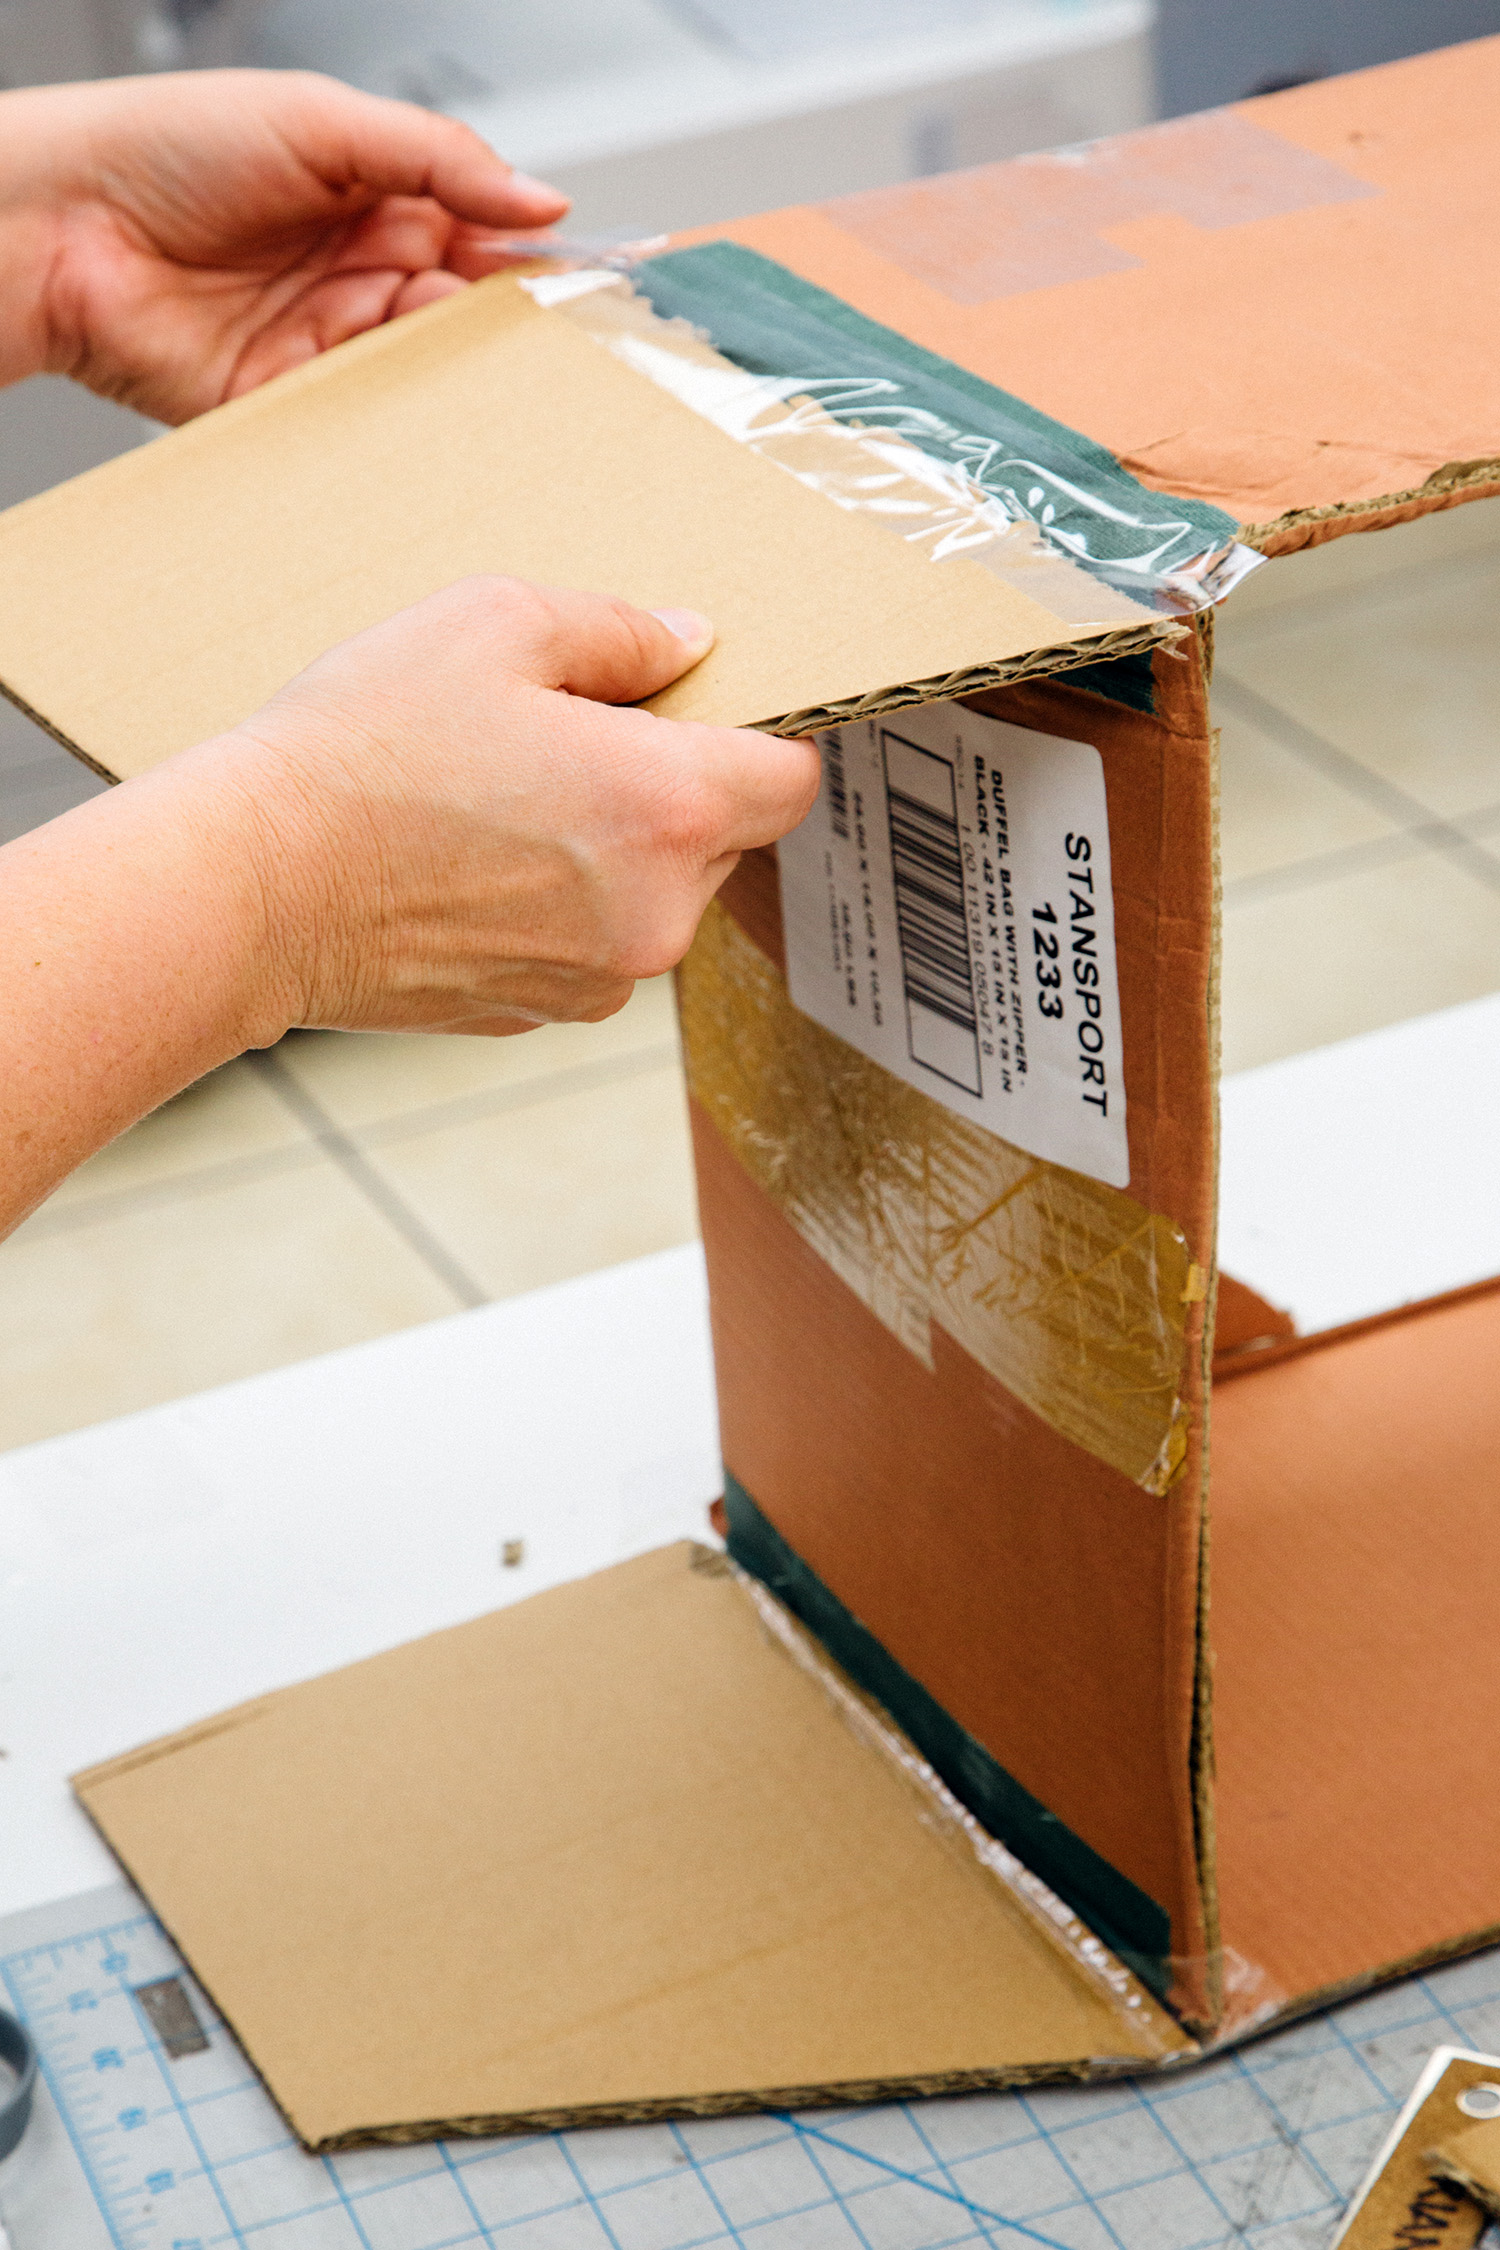
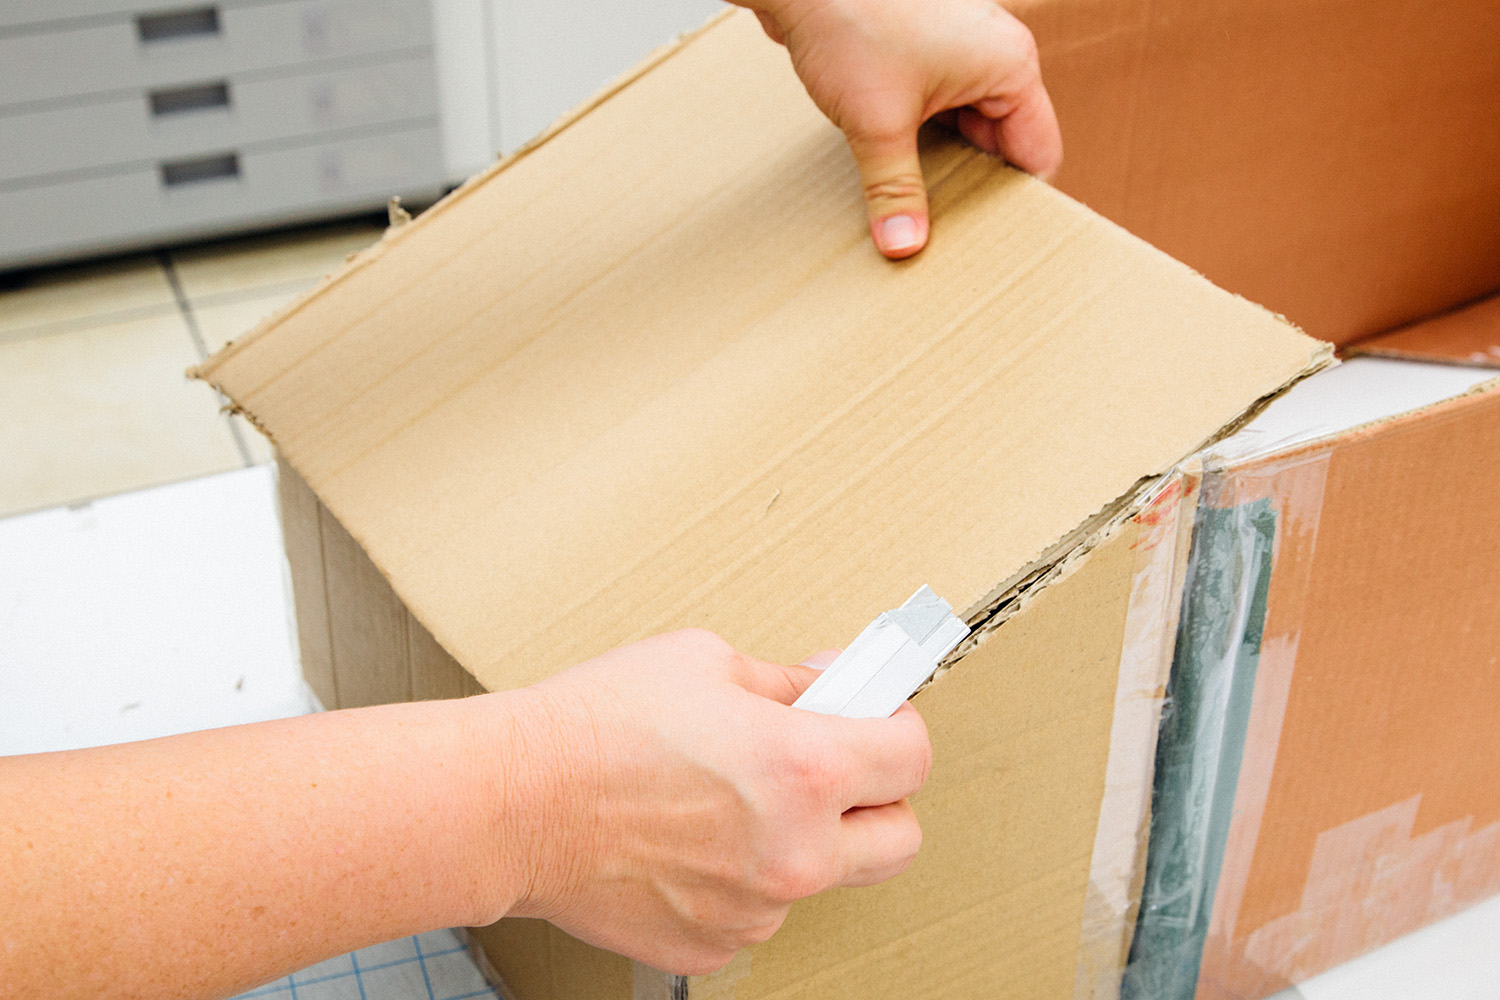
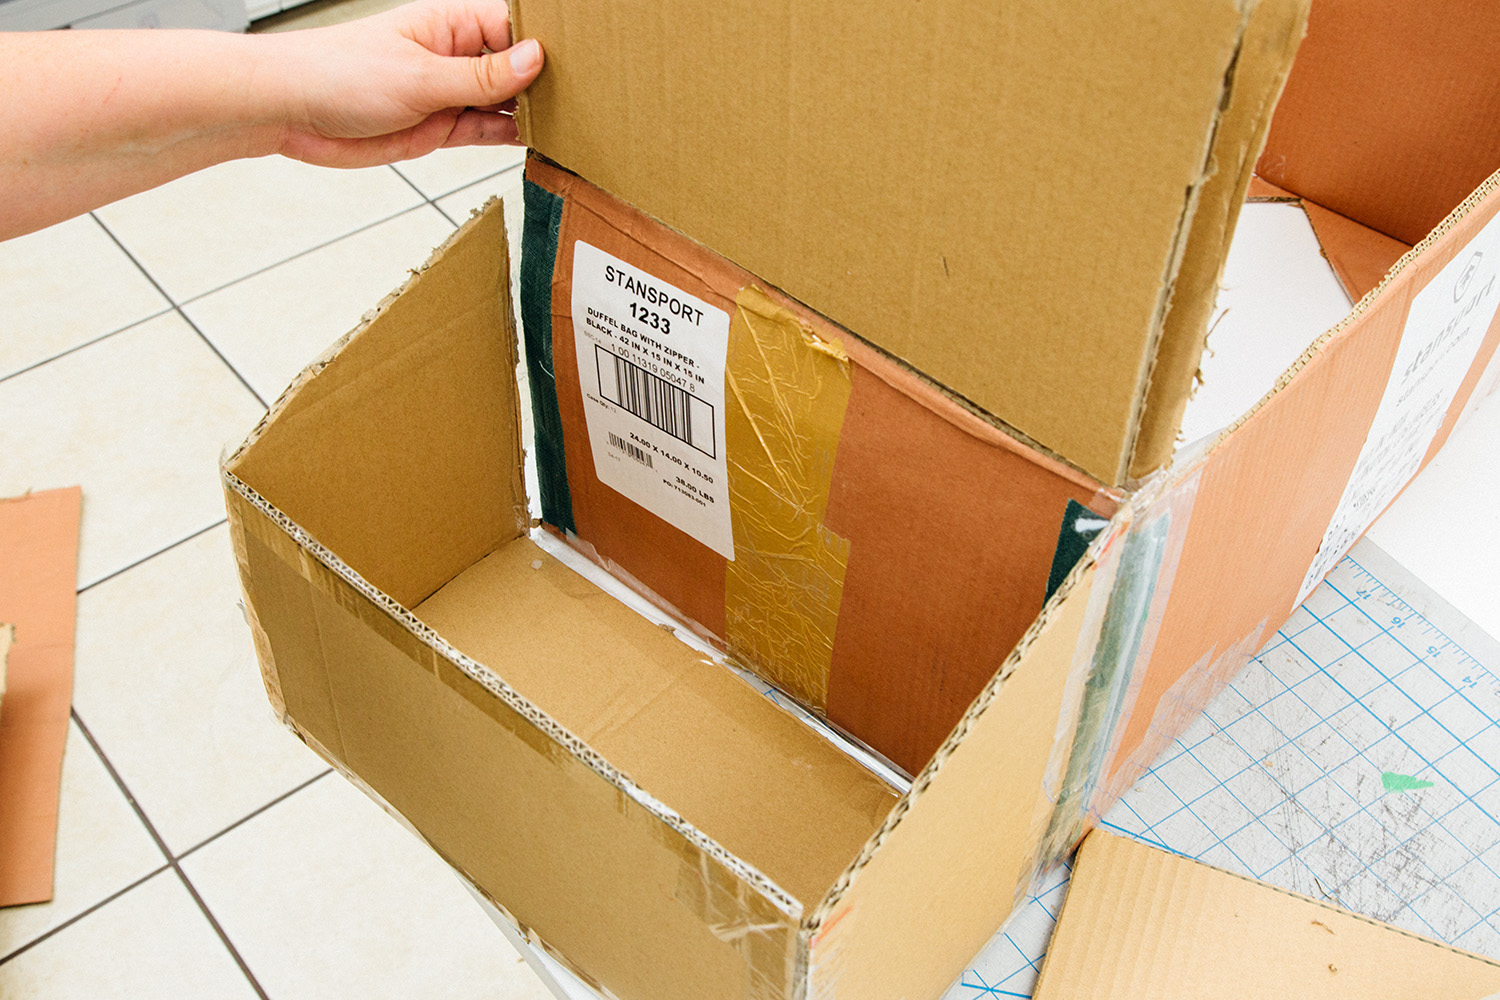
Take the windshield cardboard piece and cut out a rectangle.
Adhere the windshield to the top of the car and ensure that everything is secure.
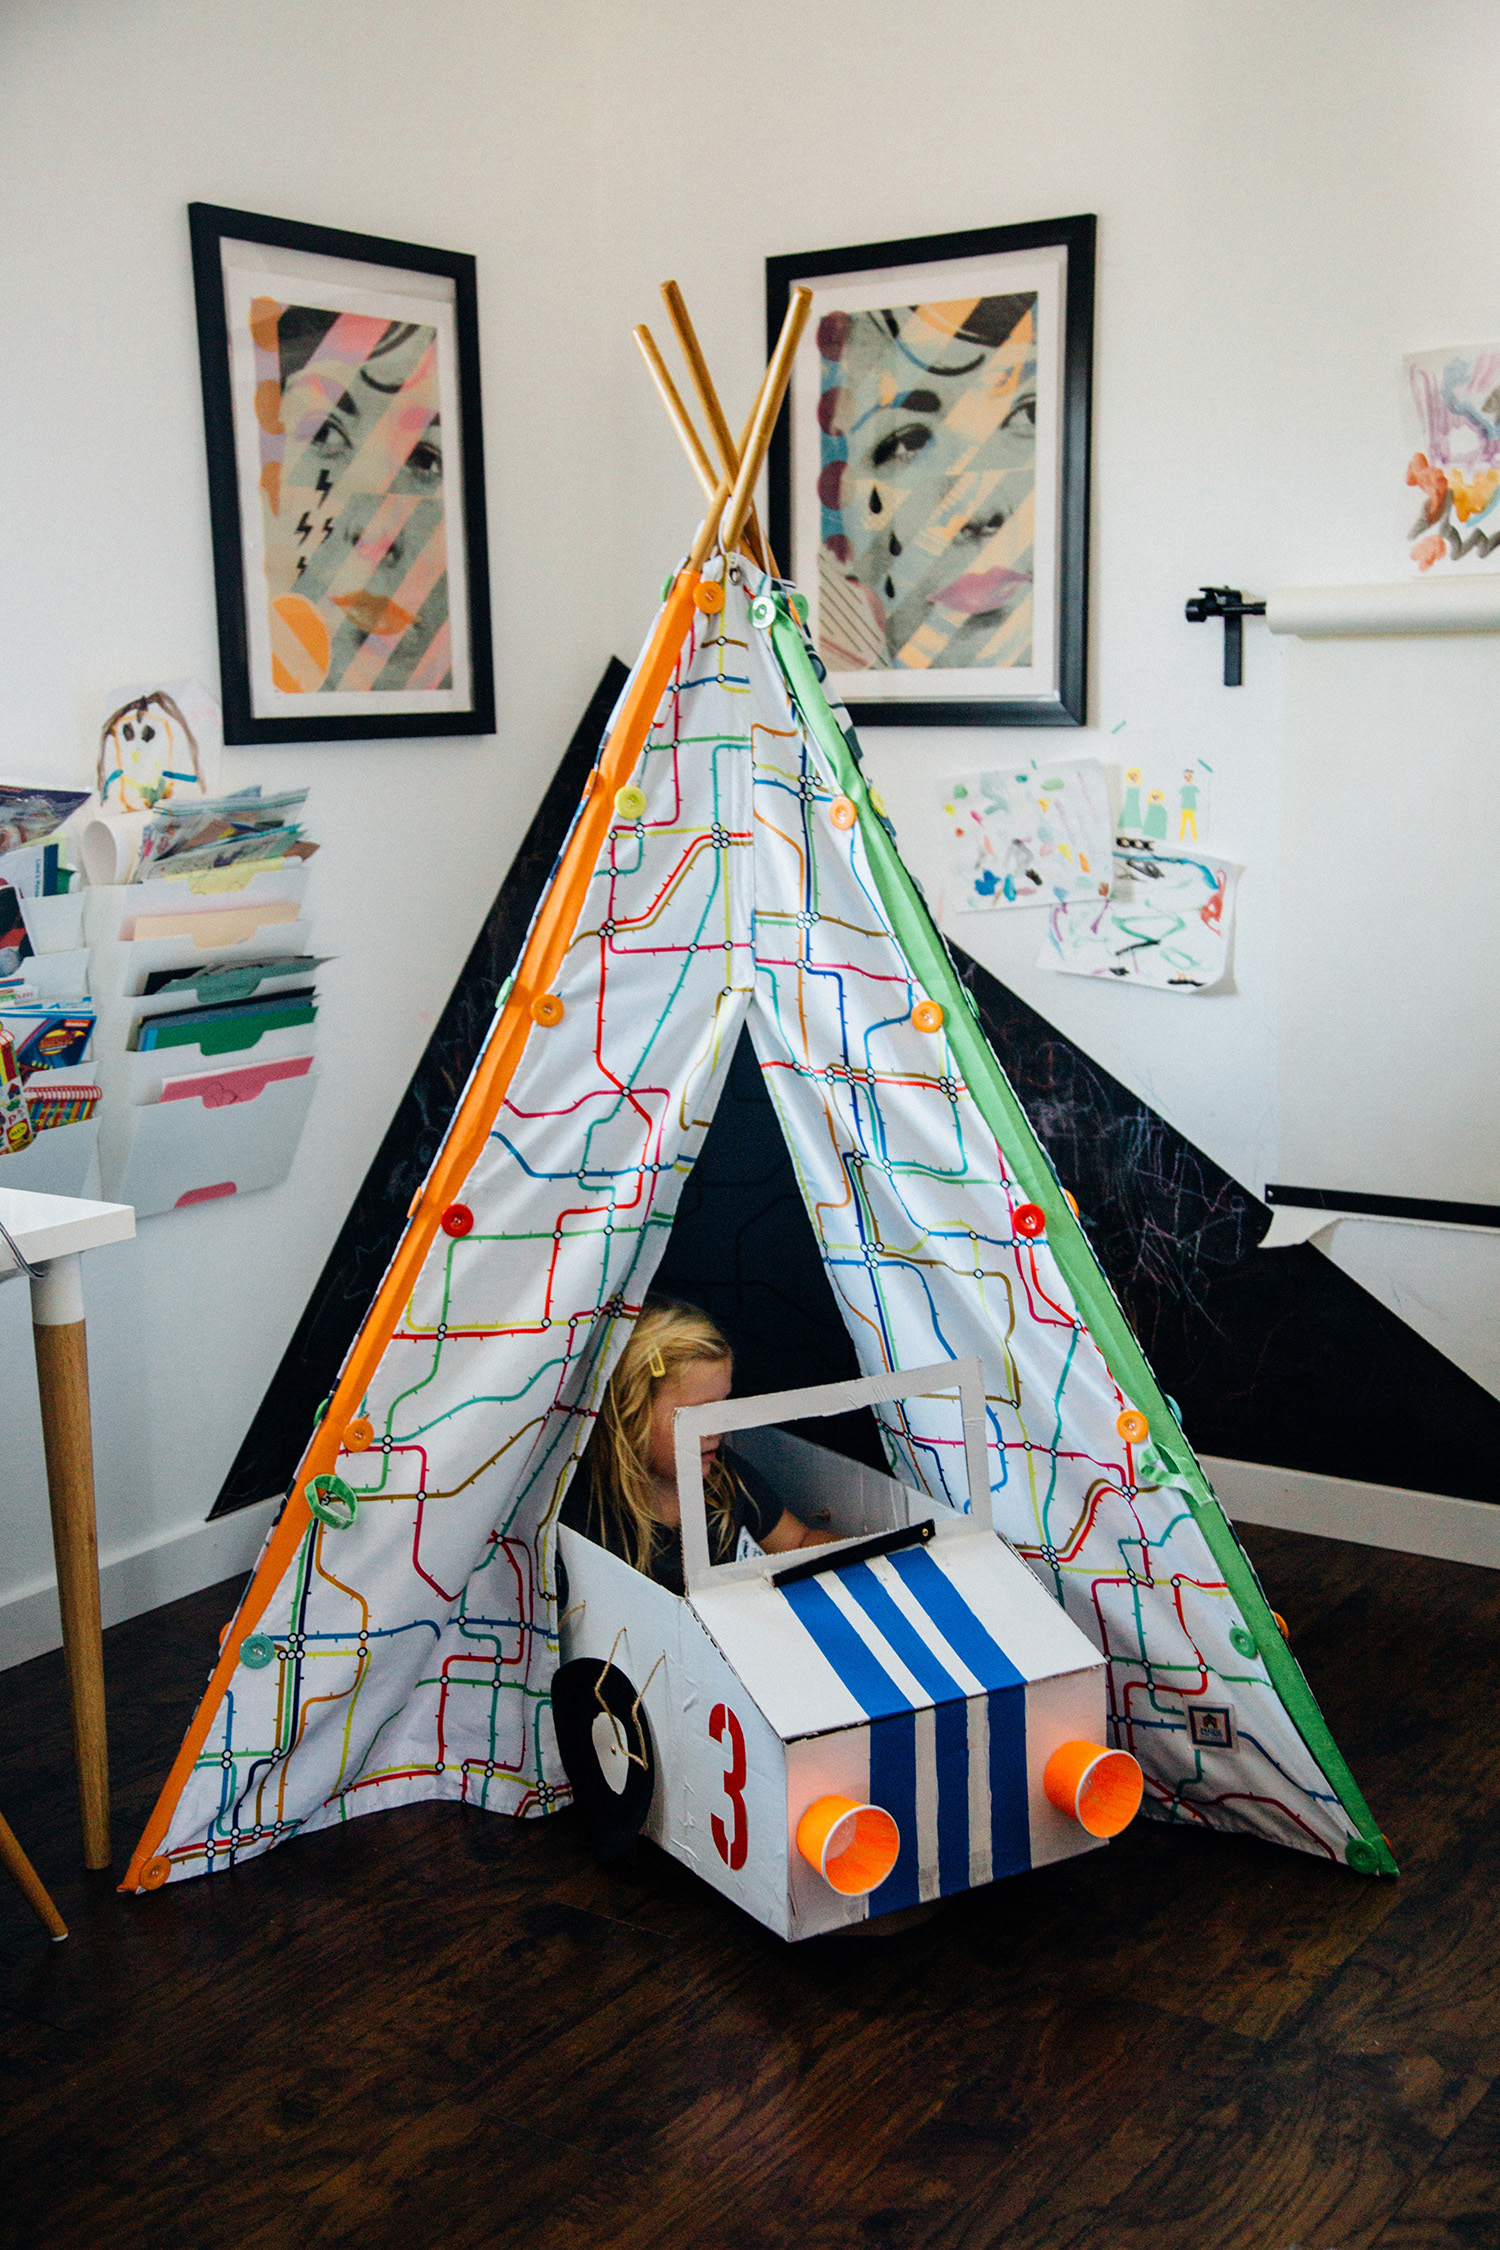
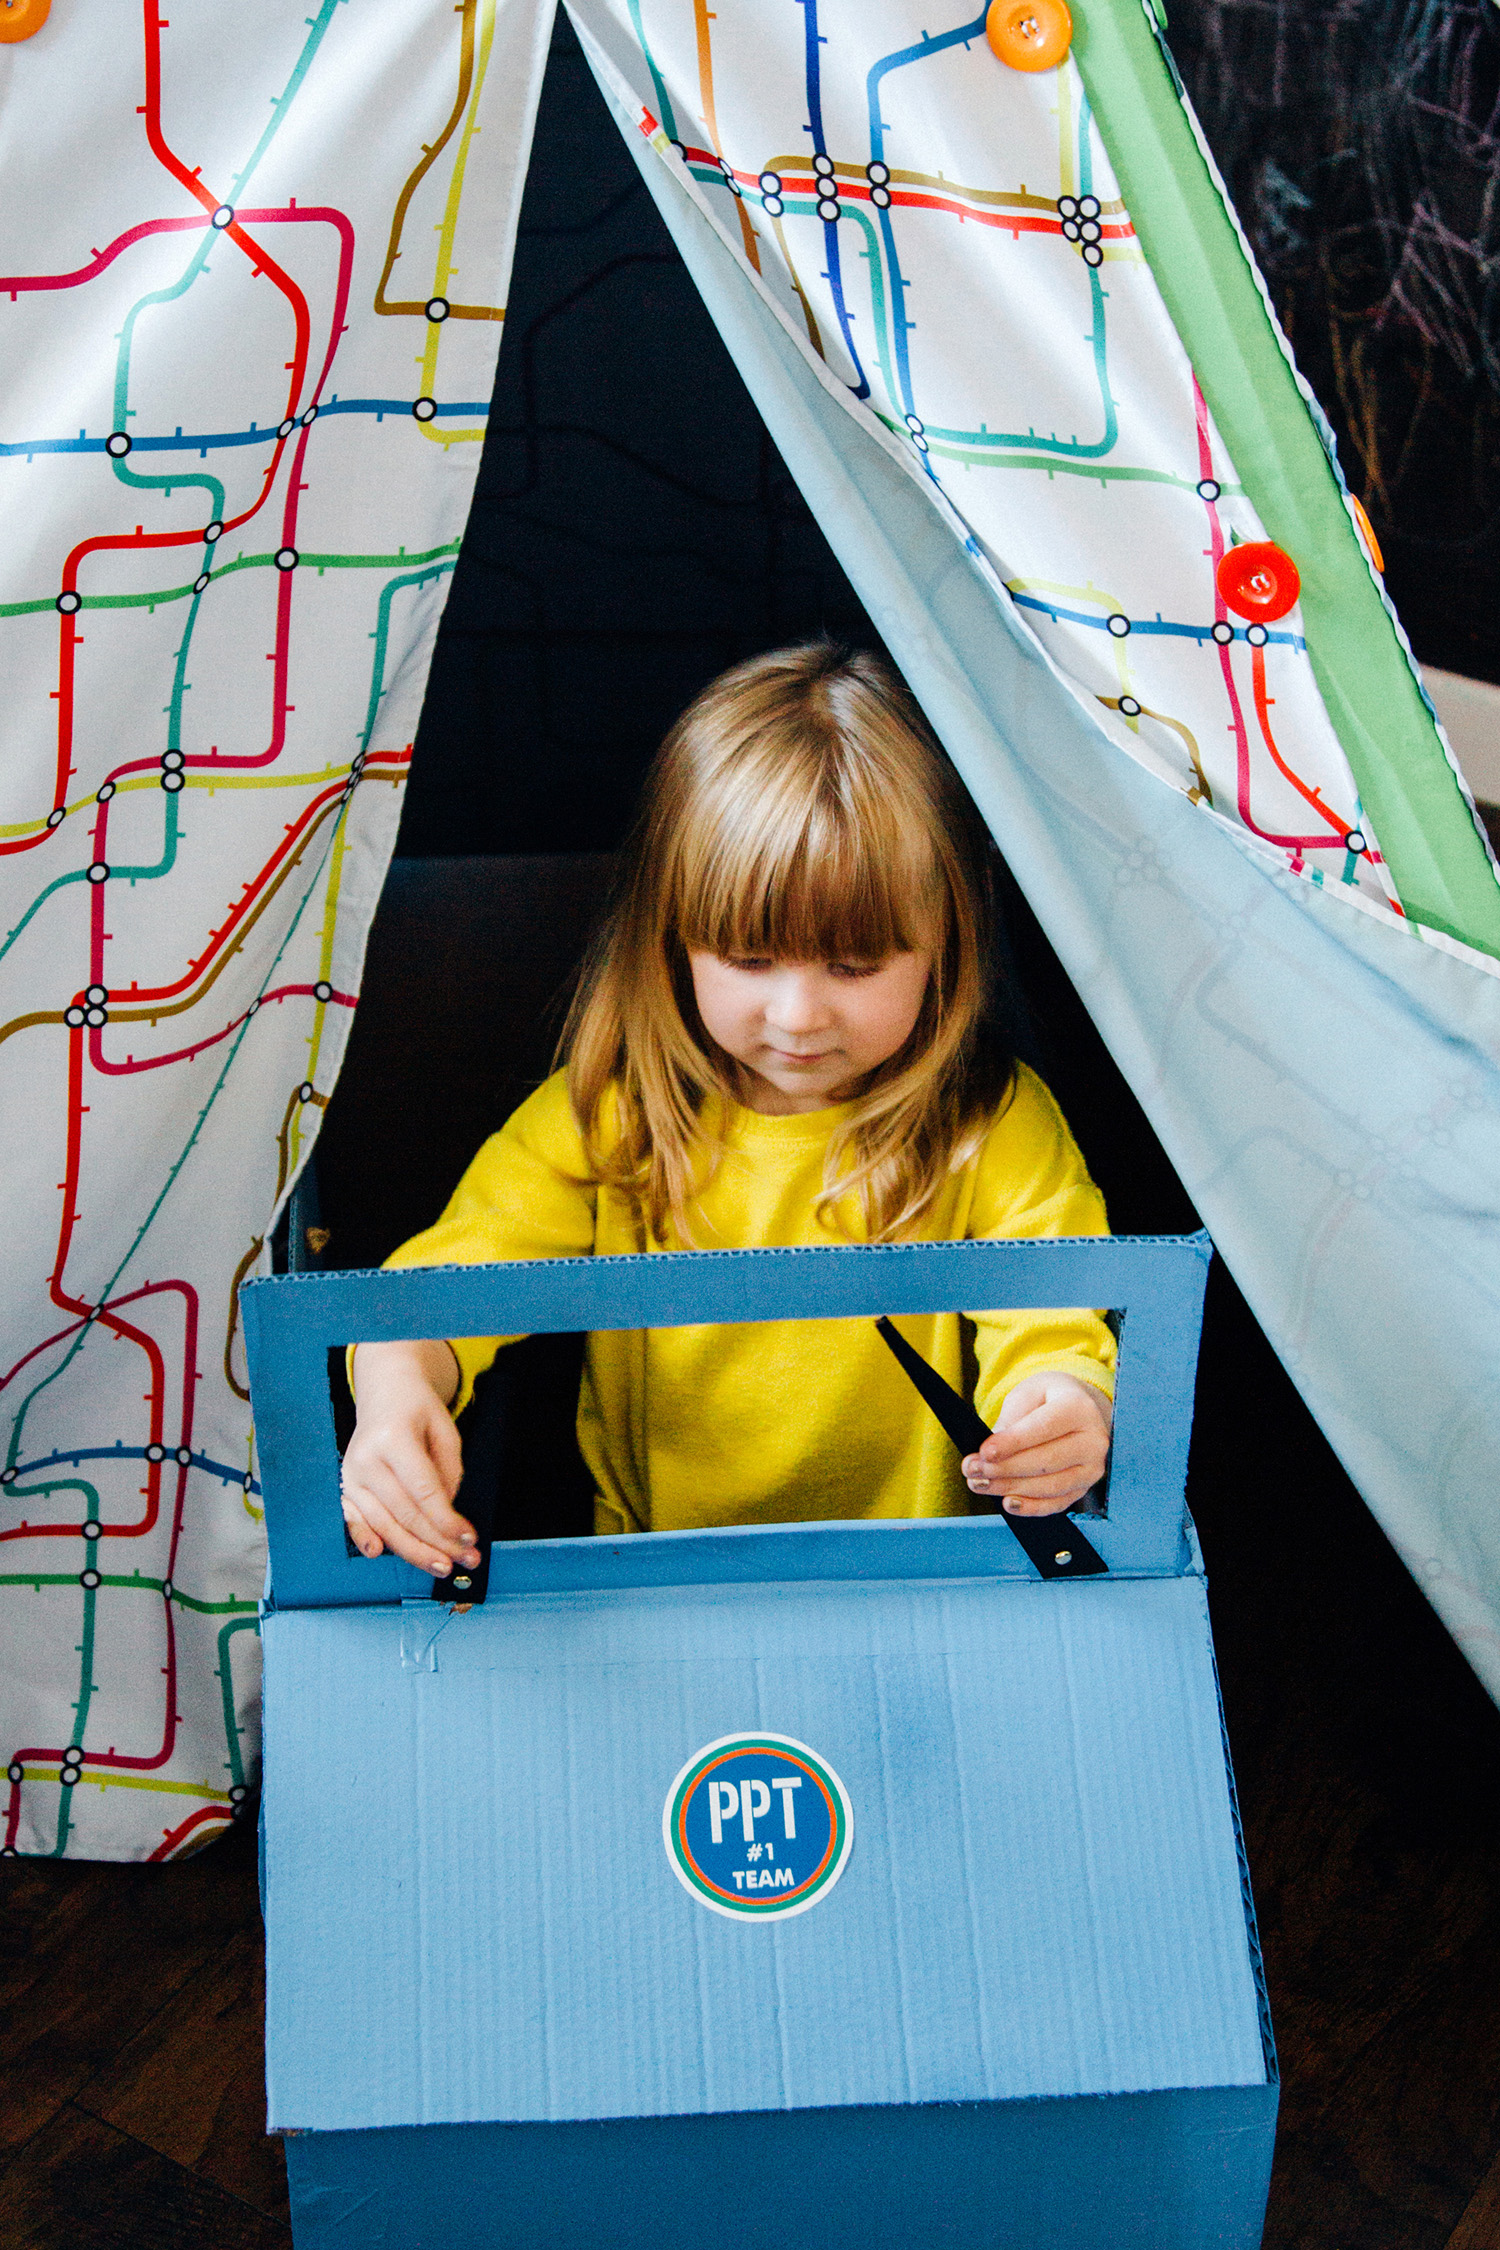
Notice that the “front trunk” will be a great place for your child to store their maps or other important travel gear.
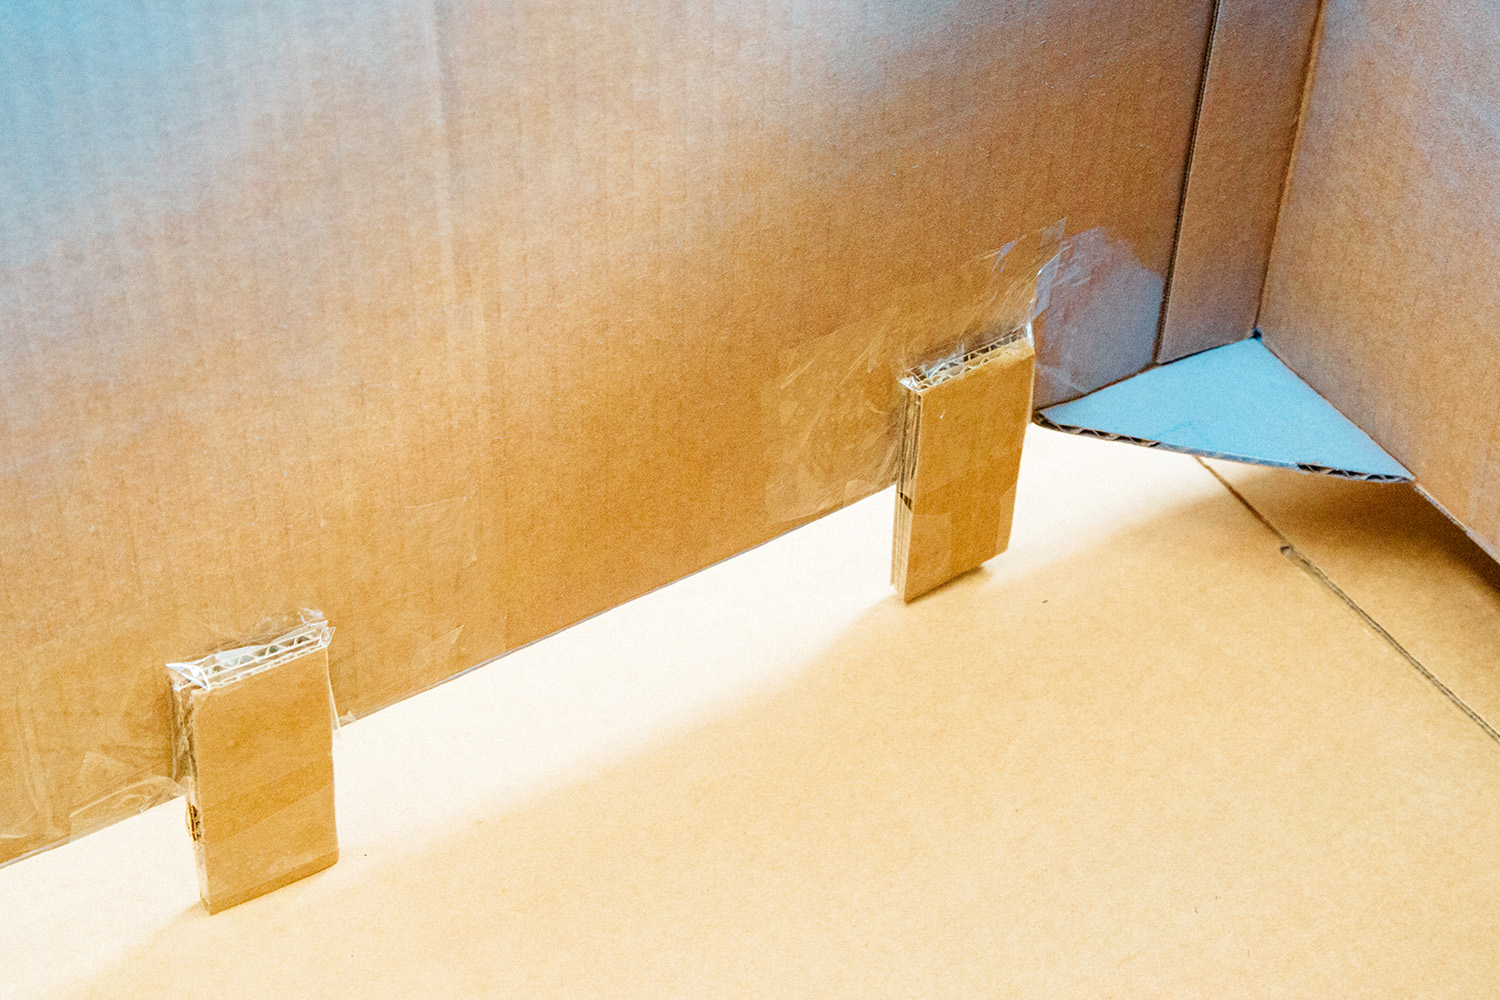
Cut out four small rectangles out of cardboard and adhere to the inside of the box where the wheels will go. This allows the car to sit off the ground once the paper plate wheels are adhered to the outside of the box.
Spray paint the entire car and let dry.
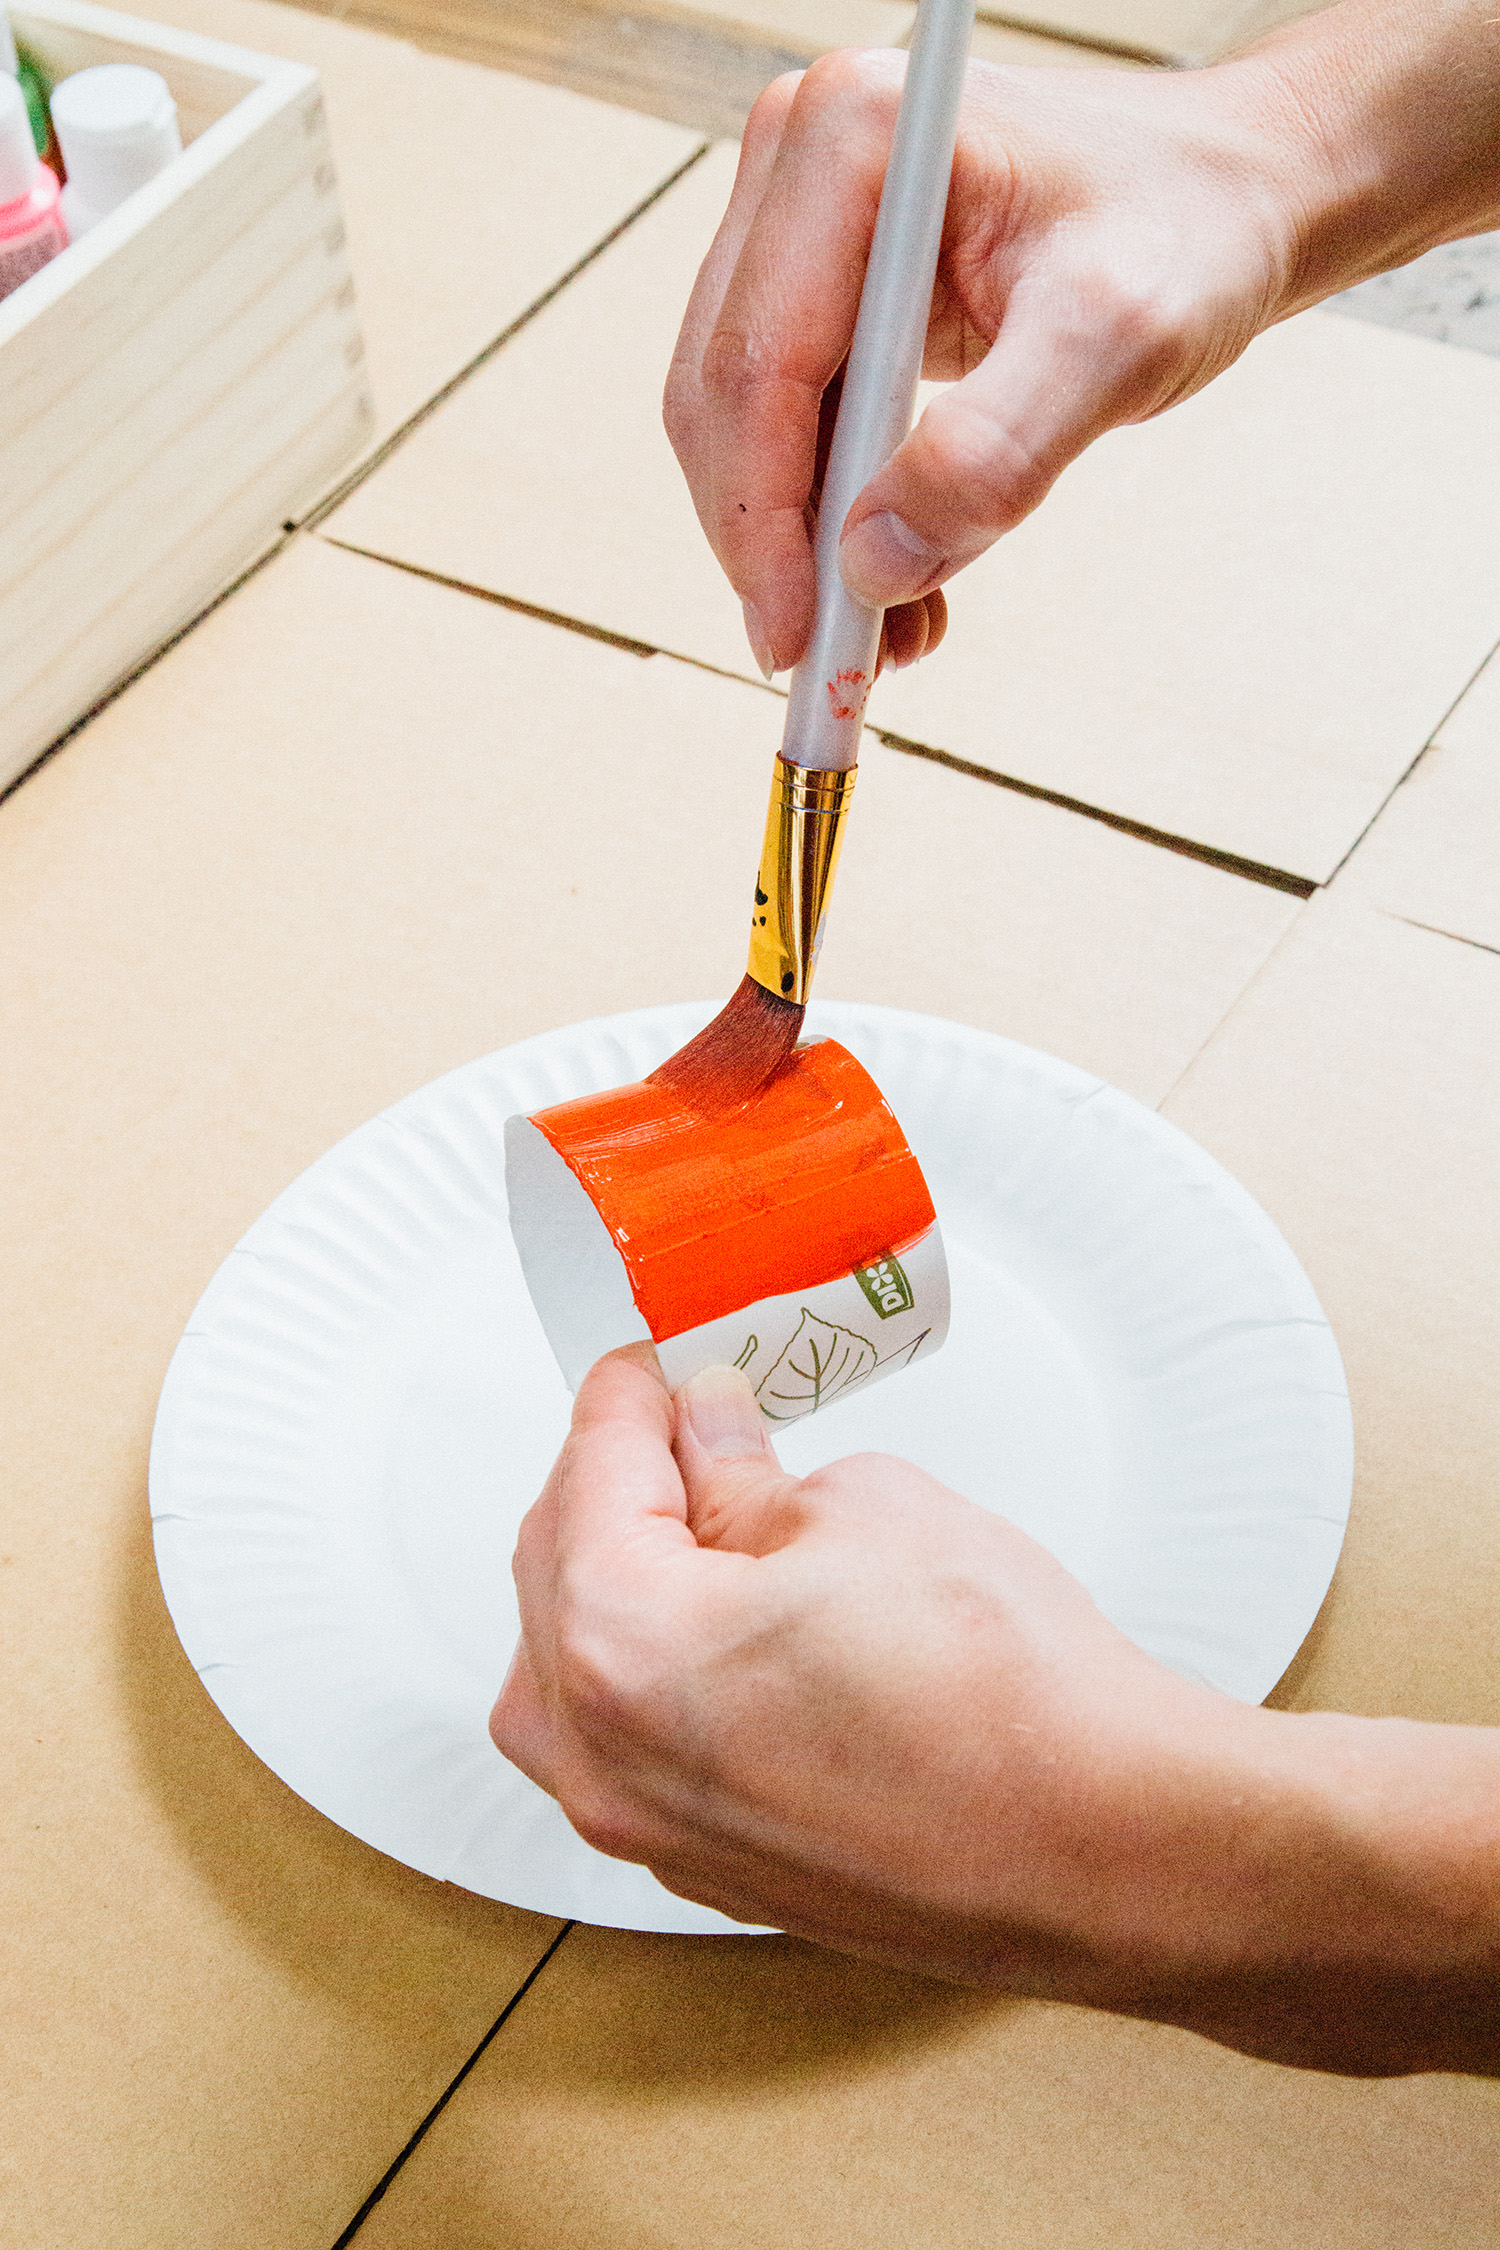
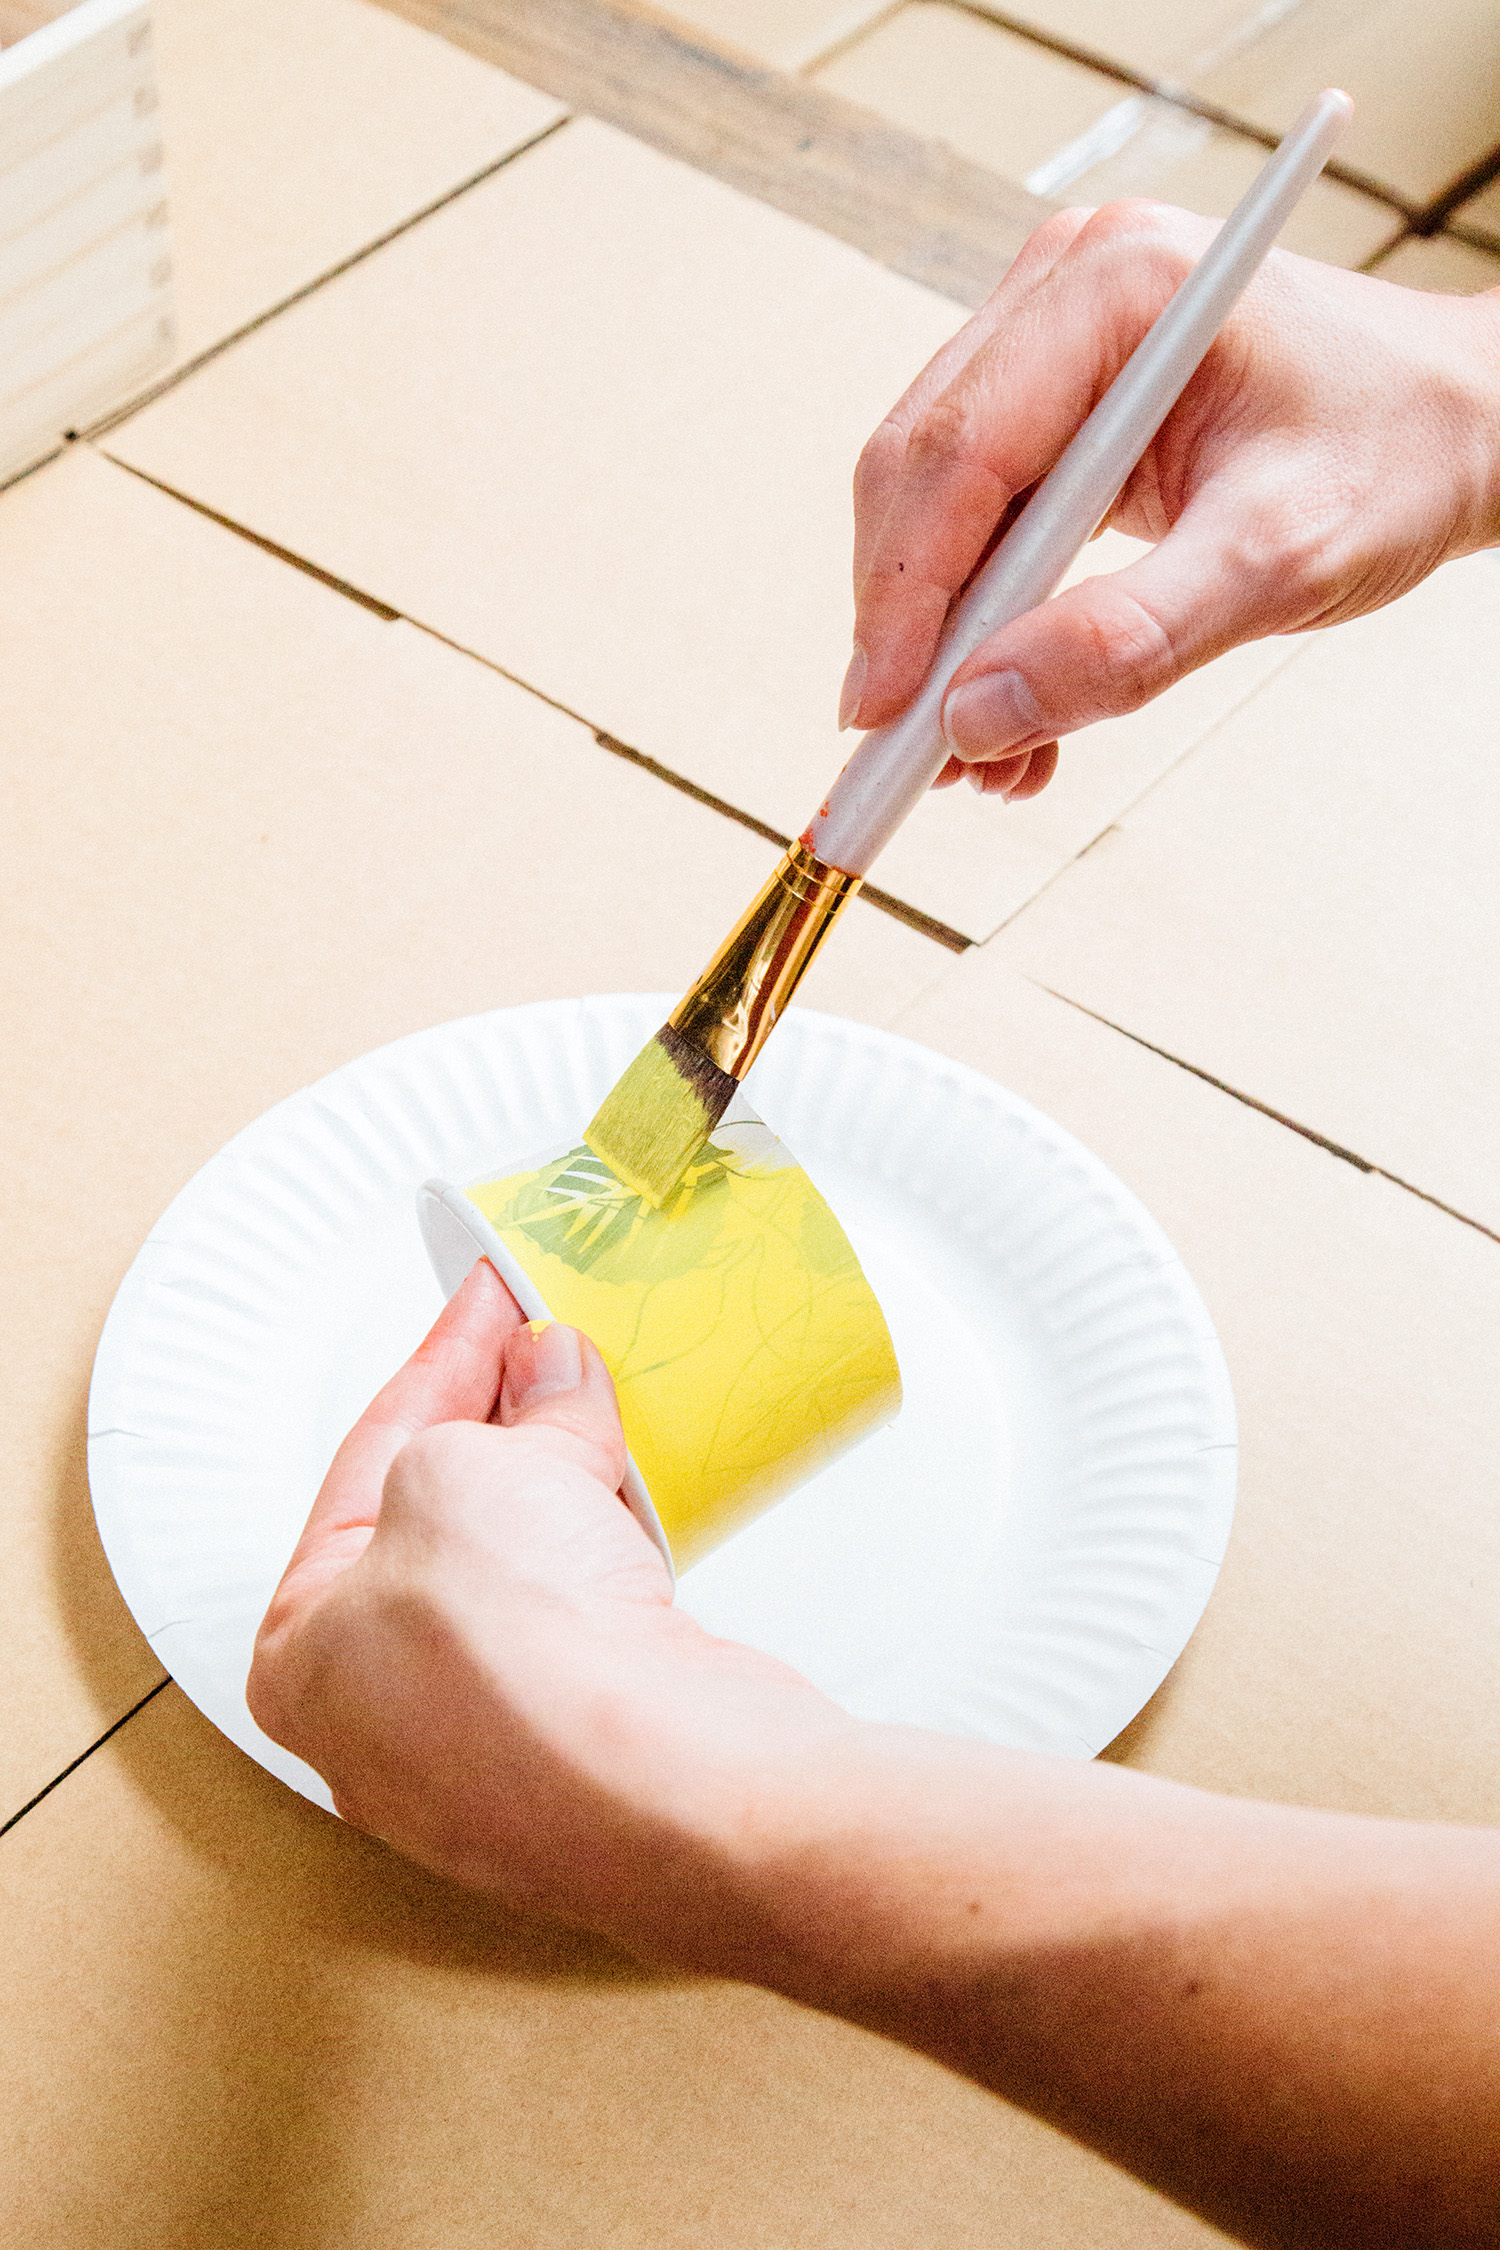
Paint the paper cups that we cut in half, to act as headlights and taillights and then adhere to the car once dry.

Adhere the wheels to the outside of the car. Next, cut two long strands of jute and place them through two small holes on each side of the box (four holes total) so that the driver can use the string as handles. Finally, add racing stripes, numbers and any other embellishments that will make this car unique to your child.
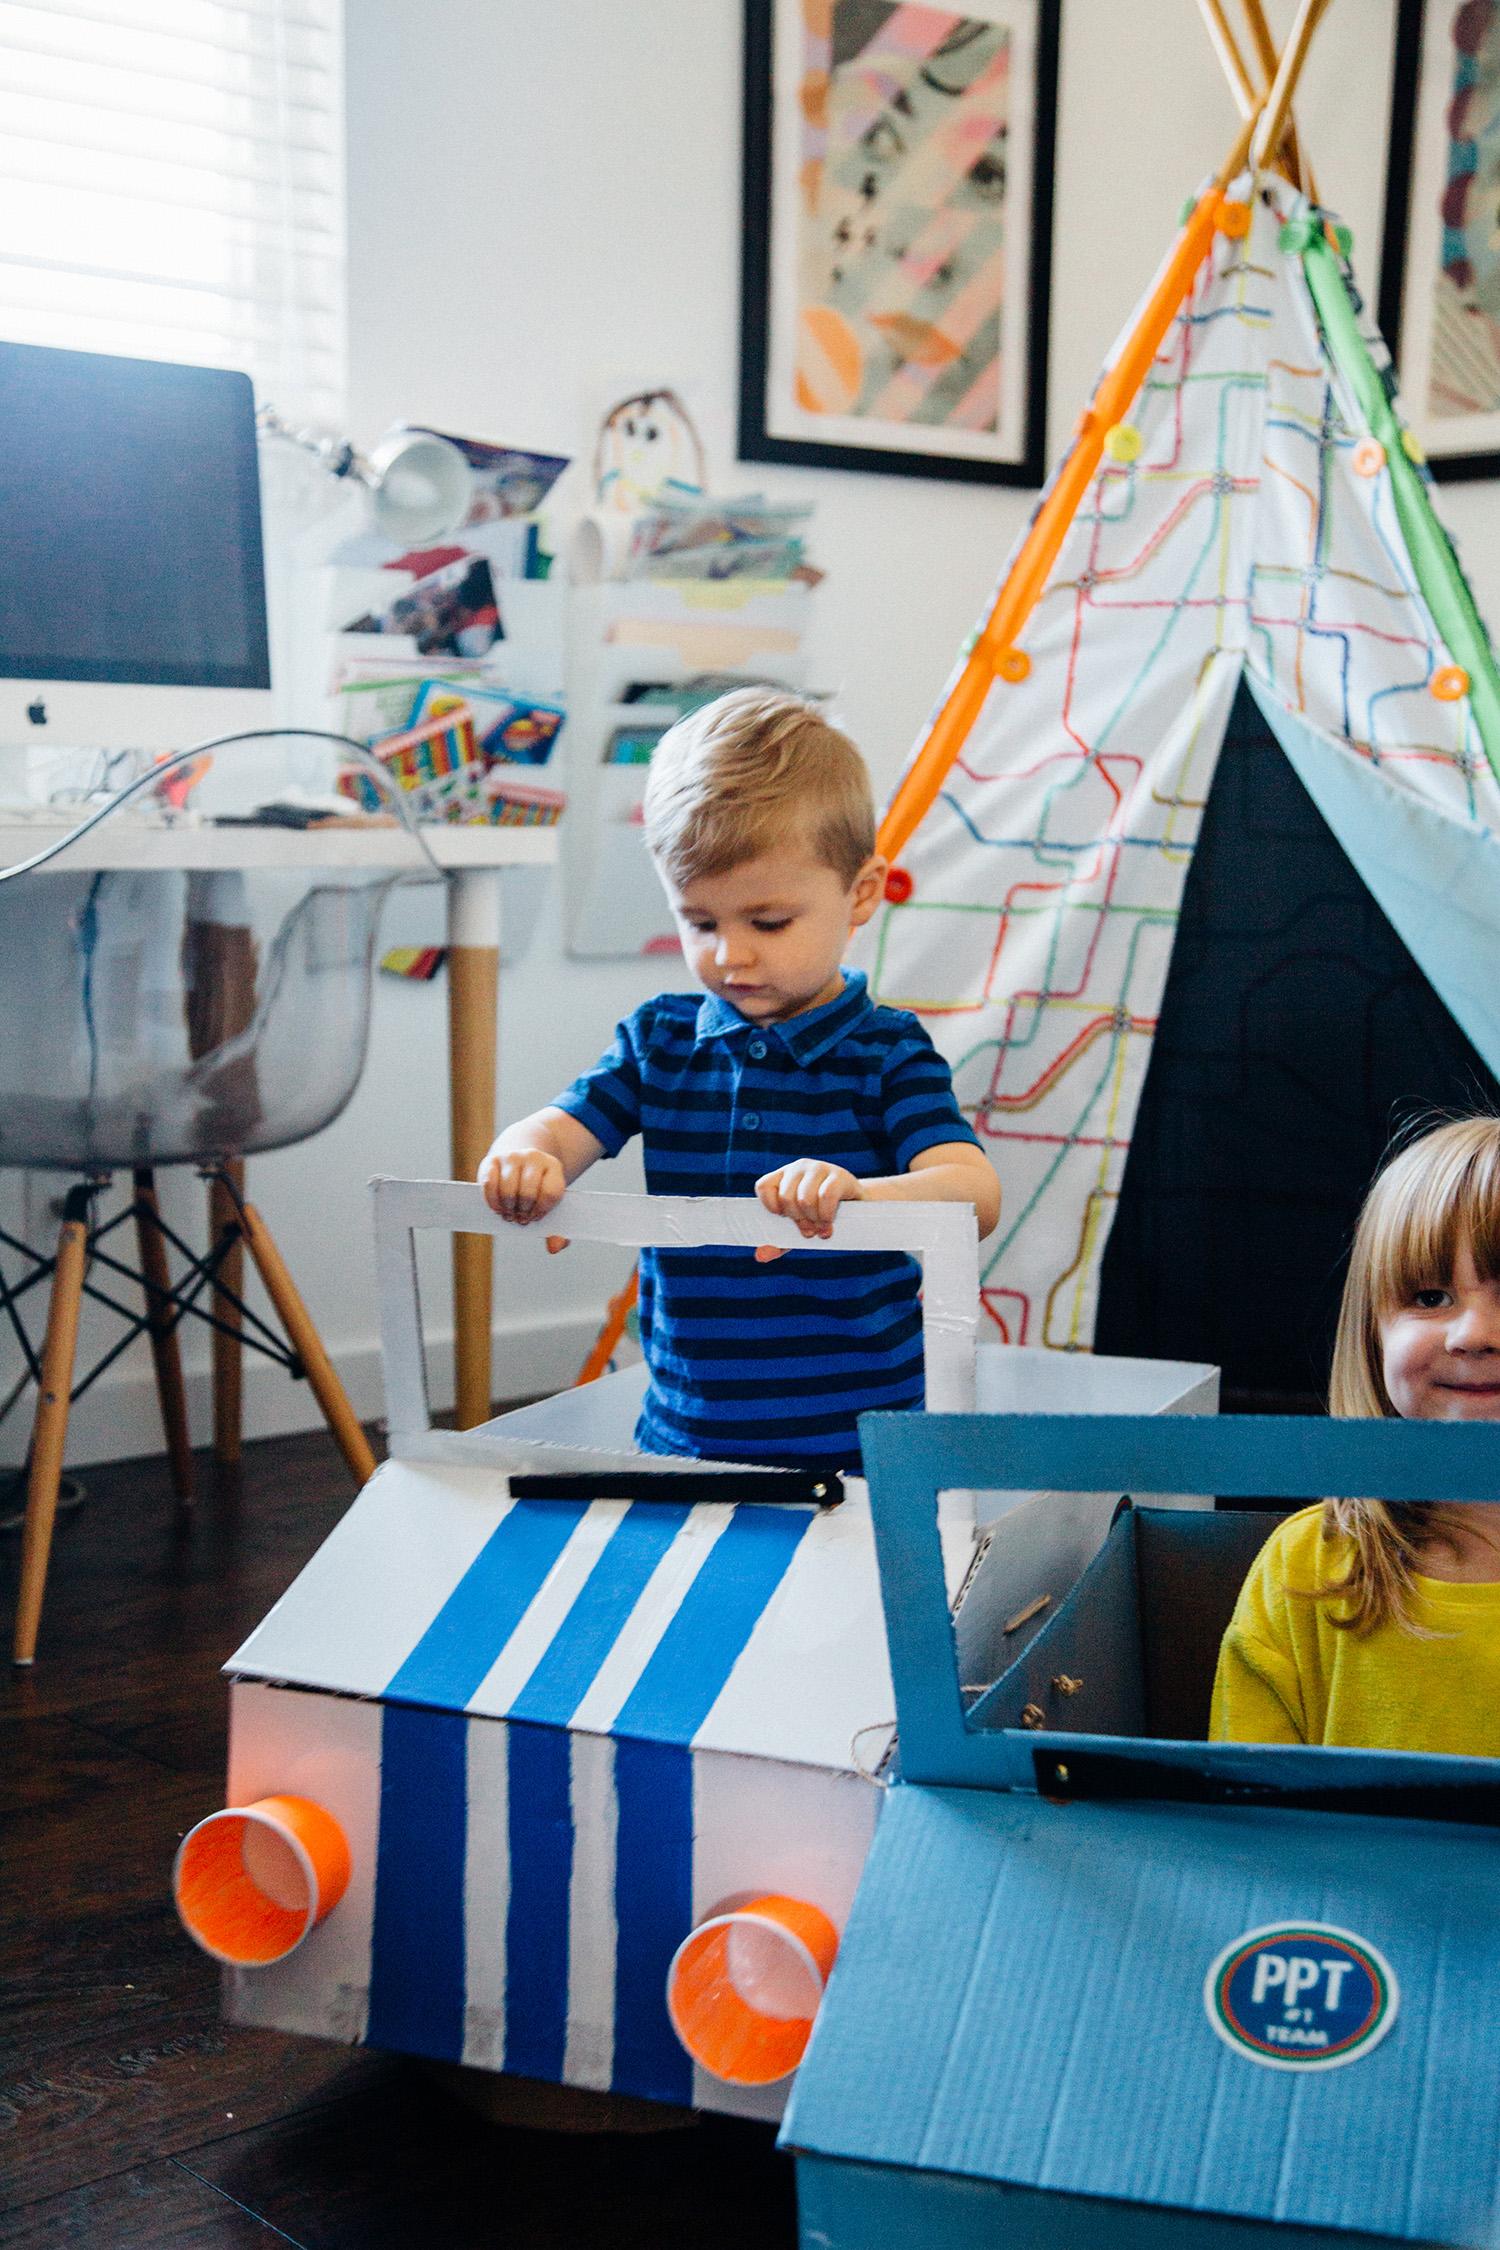
Take it for a test ride!
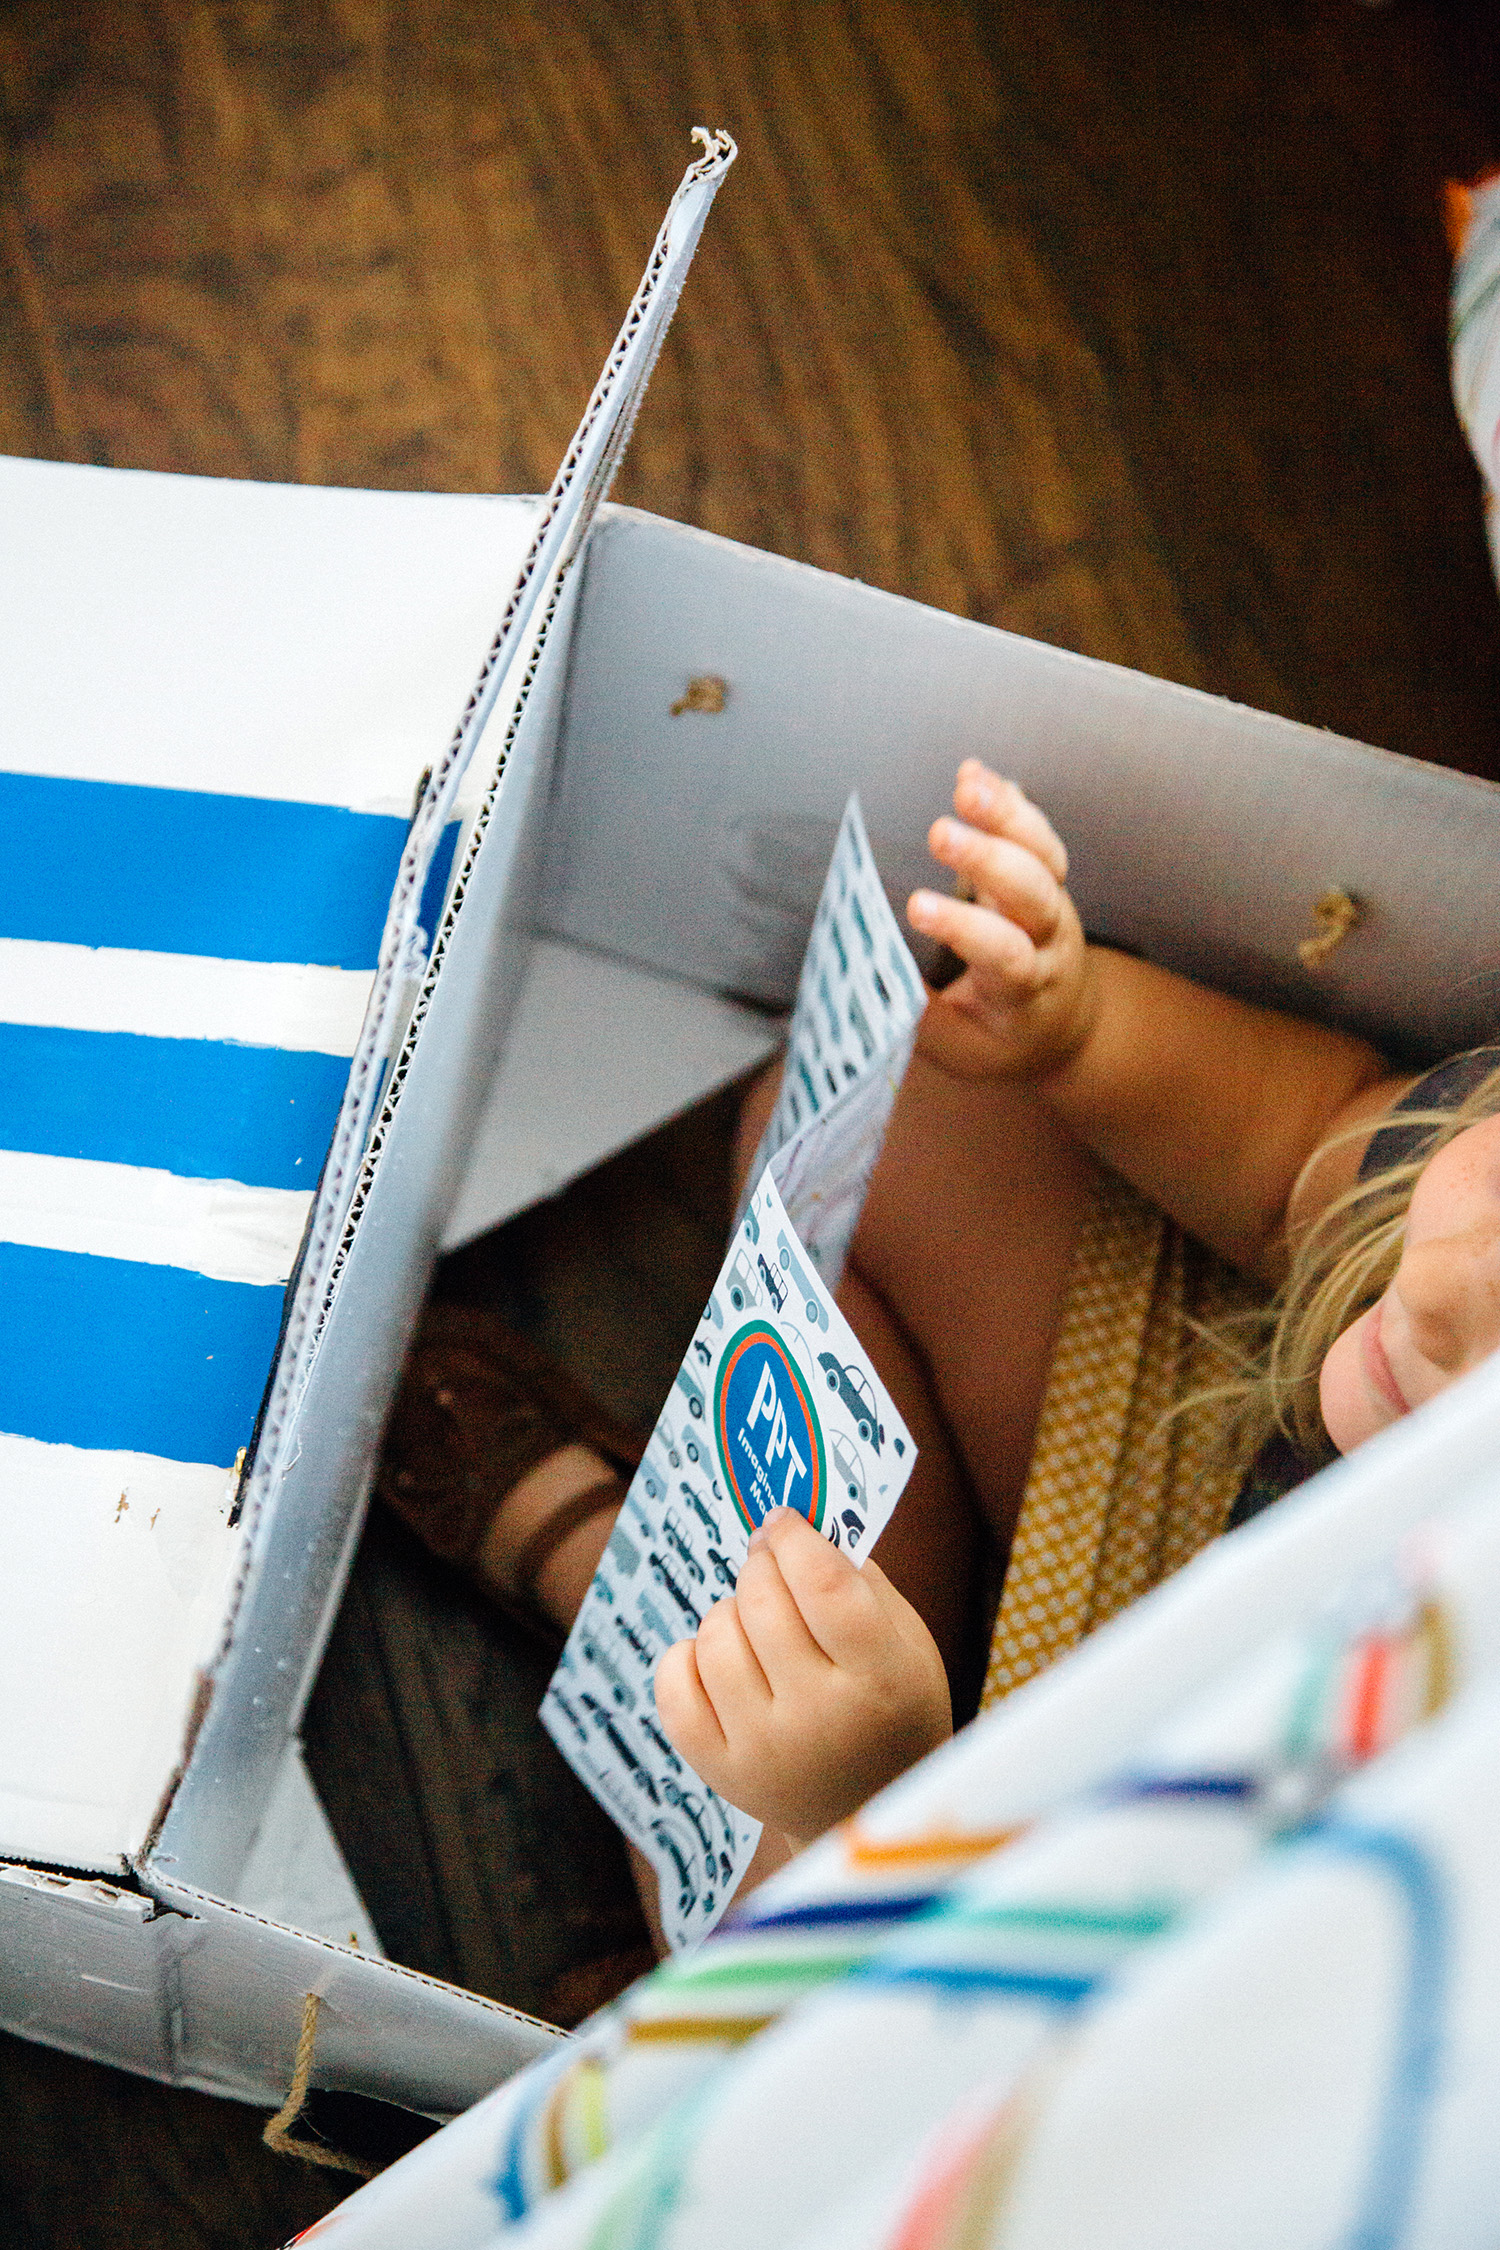
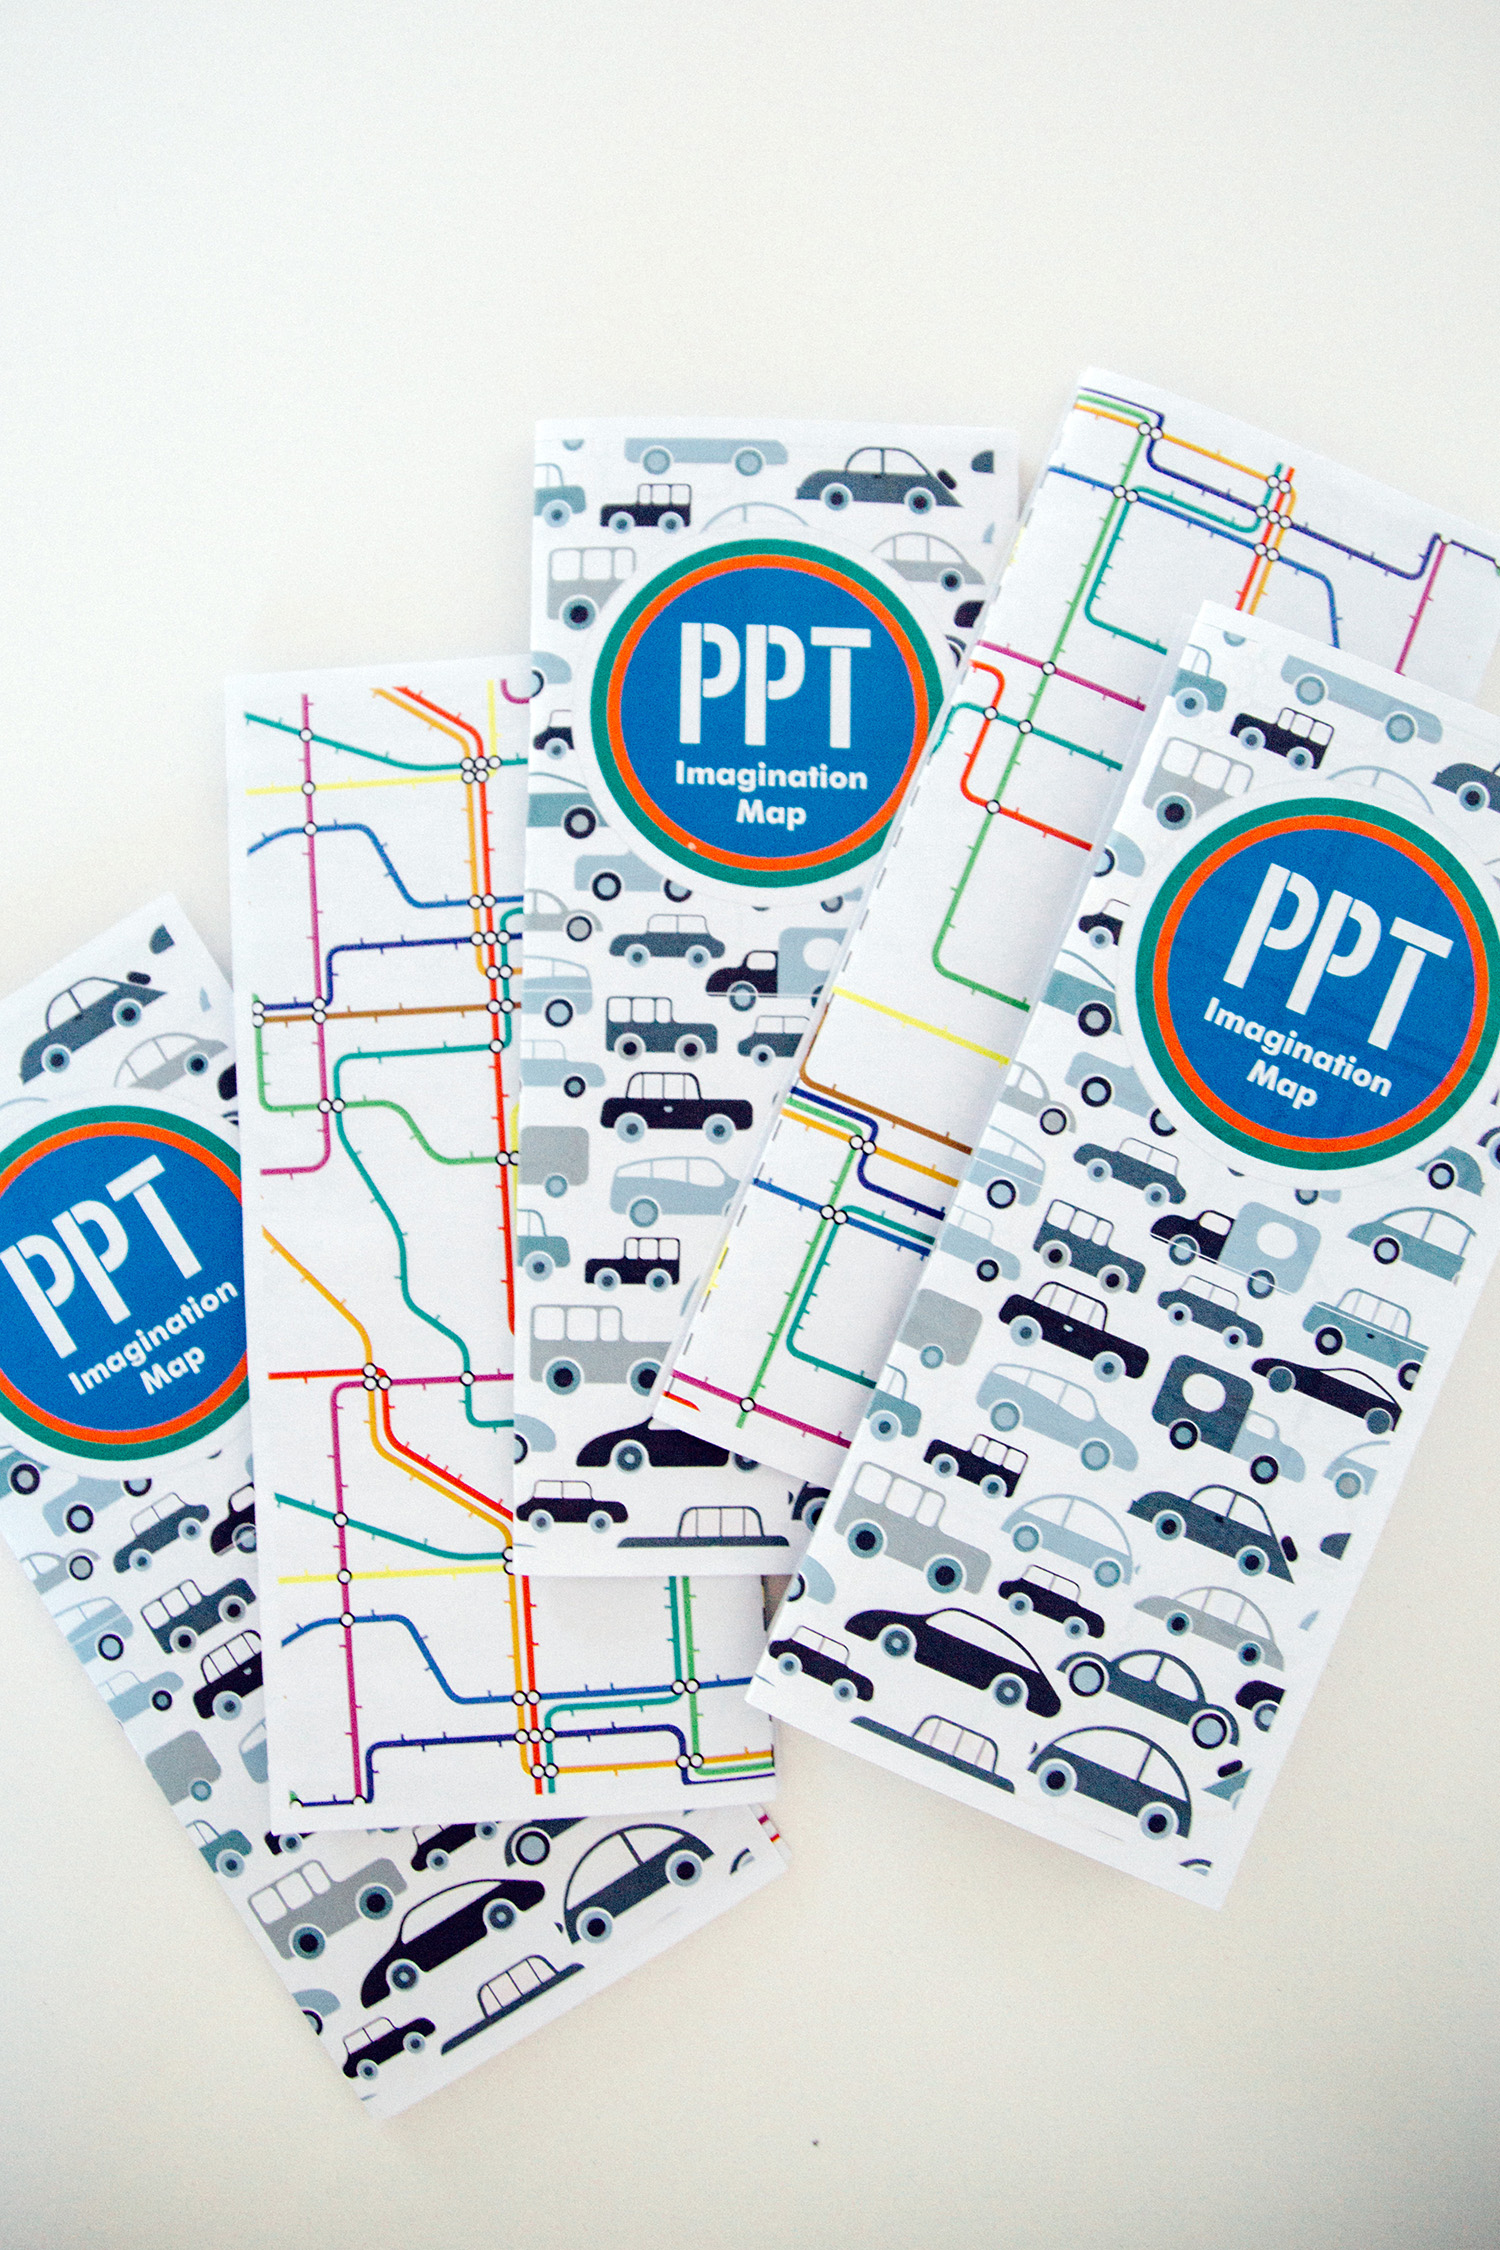
Don’t forget to download our free map printable and car stickers!
No matter where the road leads, we will get you there in style!